This post may contain affiliate links. Please read our disclosure policy.
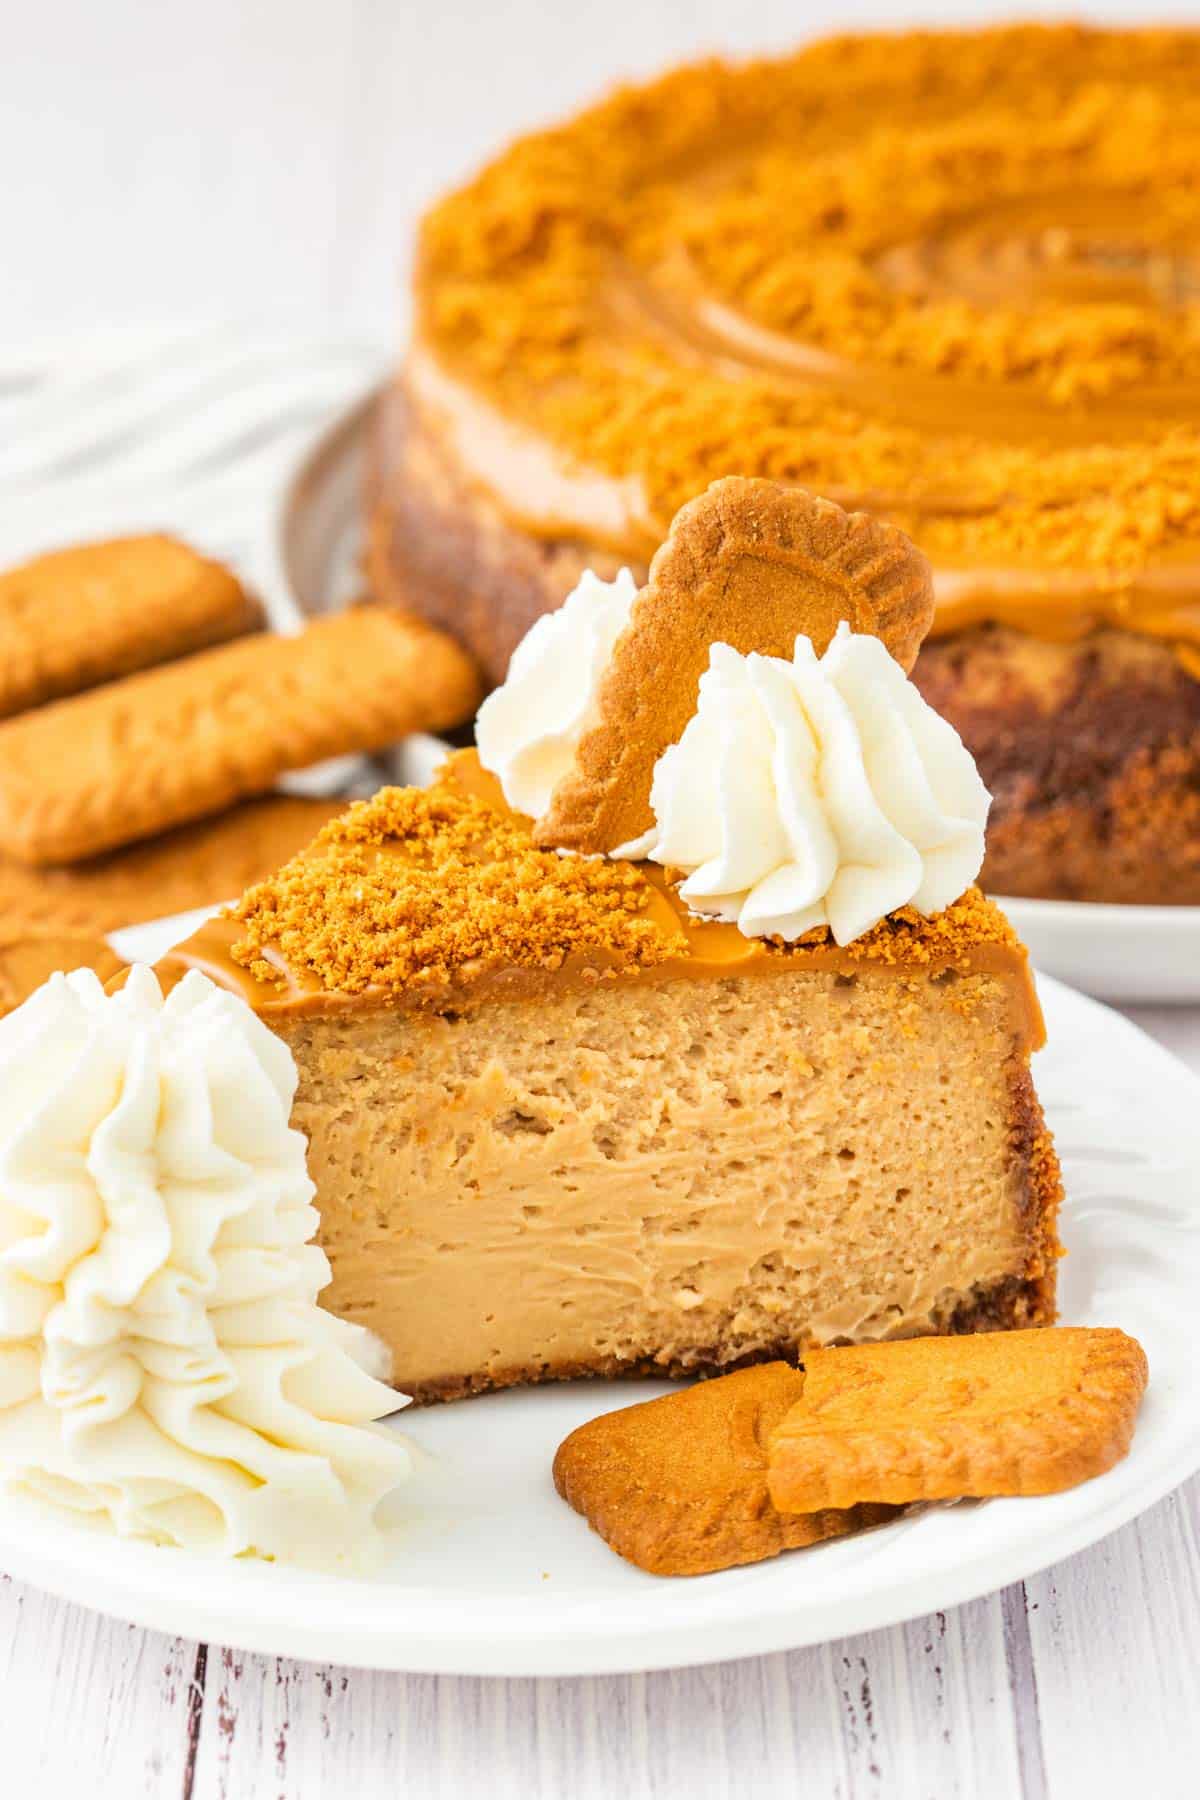
My Easy Biscoff Cheesecake Recipe combines all the delicious Biscoff Cookie flavors you love with dreamy creamy cheesecake. Topped with Biscoff spread and crushed Lotus cookies, it is loaded with Speculoos flavor!
Why We Love This Recipe!
- Biscoff Lovers: The perfect dessert includes lotus biscuits and cookie butter spread, don’t you agree?
- Delicious Cheesecake: You are going to love the cookie butter flavor of this uniquely scrumptious recipe.
- Simple Recipe: It is a cinch to create a masterpiece with this baked cheesecake recipe.
What is a Biscoff or Speculoos Cookie?
Biscoff cookies are a type of spiced shortbread cookie known to many as speculoos cookies. The Lotus brand’s speculoos cookie or biscuit is made with cinnamon and gets its flavor from the way they process their sugar into caramelized deliciousness.
You can get this in many cookie forms, like chocolate-covered cookies, sandwich cookies, or the original version. However, this recipe uses the original.
You have most likely been offered these wonderful little cookies when flying on an airplane. Paired with tangy cheesecake and a cookie crust, you just can’t beat this variation. Honestly, the most difficult part of making their recipe is waiting 5 to 6 hours while it chills!
If you are one of my Biscoff Cookie lovers, we have you covered. Try these Biscoff Cookie Butter Cheesecake Bars, Biscoff Cookie Butter Latte, and No-Churn Biscoff Ice Cream.
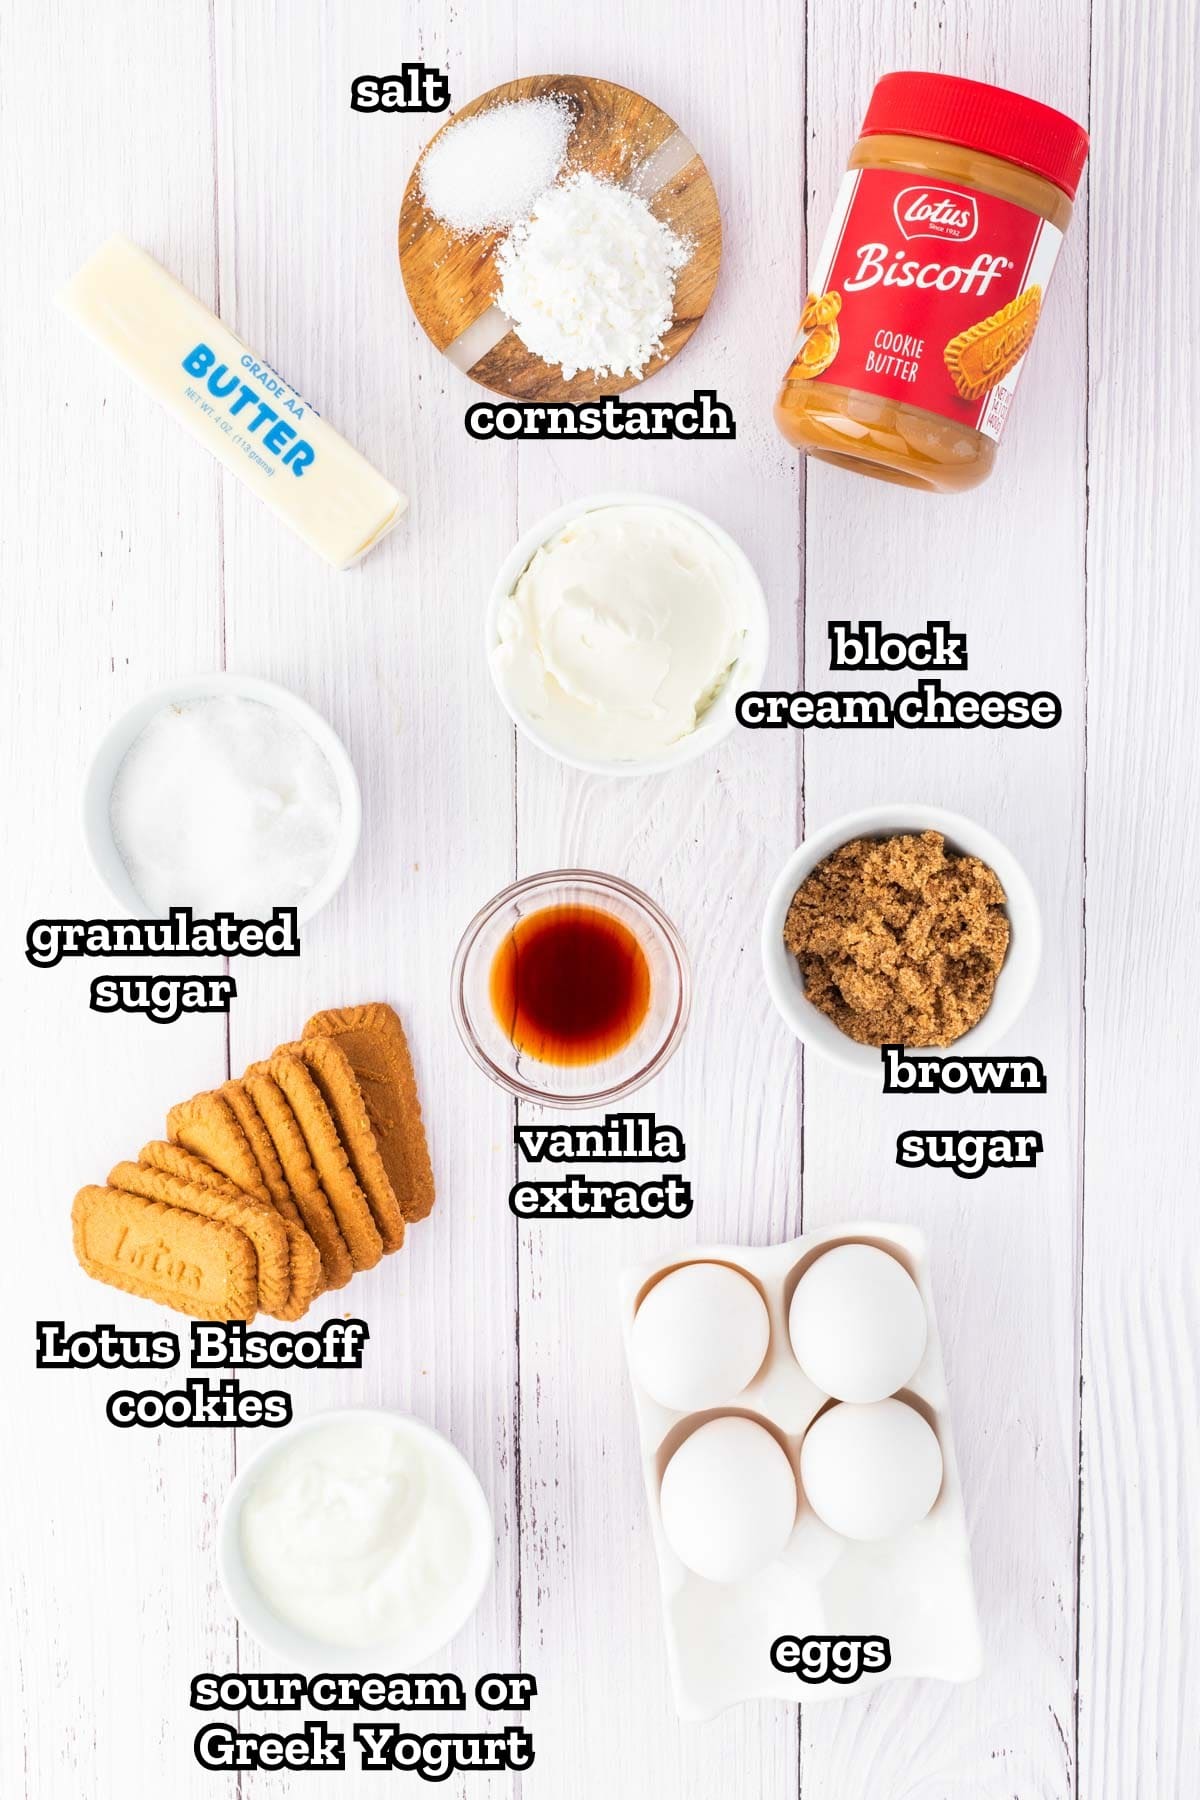
Ingredient Notes
Toppings to Decorate
- Biscoff Cookie Butter | The top of the cheesecake is generously covered in this cookie butter.
- Biscoff Cookies | Use pulverized cookie crumbs and whole cookies too!
- Whipped Cream | Use Cool Whip or homemade whipped cream made with heavy cream.
Variations and Substitutions
How to Bake Biscoff Cheesecake
✱ Be sure to see the recipe card below for exact ingredients and full recipe instructions!
Step 1 | Prep
Preheat the oven to 350°F and add a roasting pan or other large pan to the lower section of the oven to make a hot water bath. Place enough hot water in the pan that it will rise to 2 inches around the cheesecake springform pan. Line the springform pan with parchment paper or coat it with cooking spray.
To prevent water from leaking into the springform pan, place a slow cooker liner or oven-roasting bag around it. Alternatively, using 18-inch heavy-duty aluminum foil, wrap the outside of the springform pan with four layers of foil.
Step 2 | Make the Cookie Crust
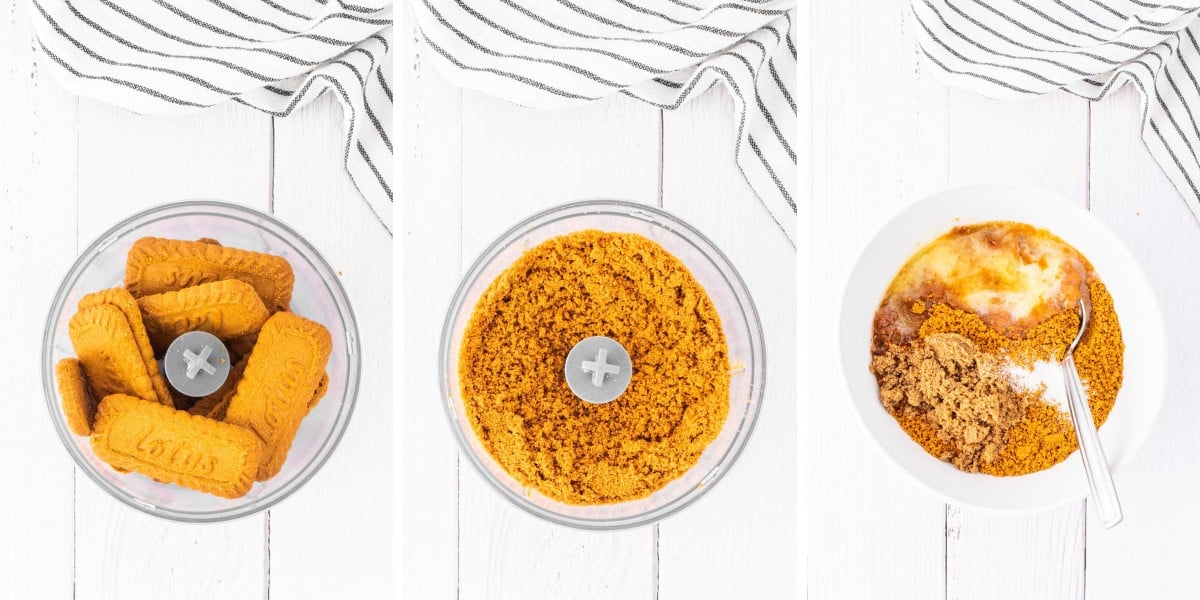
Pulse the Biscoff Cookies in a food processor until they are fine crumbs, or smash them inside a sealed plastic bag.
Place the crumbs in a large mixing bowl and add the brown sugar, melted butter, and salt. Blend the crust ingredients until combined. Use an electric stand mixer or a hand mixer for a smoother mixture.
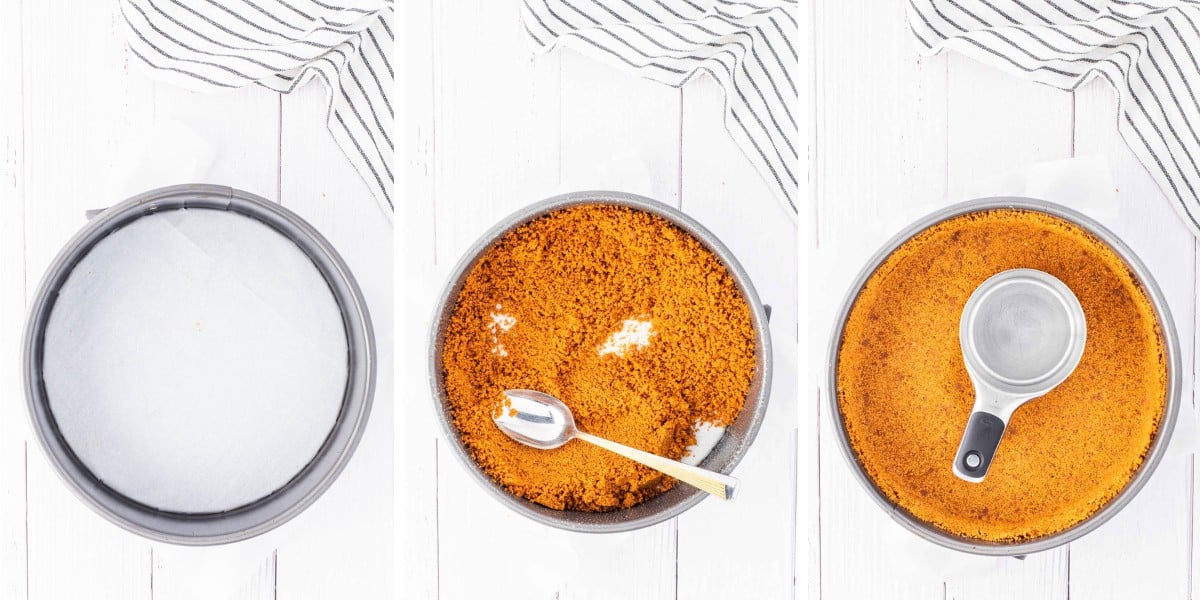
Pour the crumb mixture into the prepared bottom of the springform pan. With the back of a spoon, press the crust evenly into the bottom and up the sides of the pan as far as you desire the crust to rise. Be careful to get an even layer of crust.
It’s best to finish the crust with the bottom of a measuring cup or glass to get an even, hard-packed crust and keep buildup out of the corner.
Bake crust for 10 minutes. Remove from the oven and allow the crust to cool completely.
Step 3 | Creamy Biscoff Cheesecake Filling
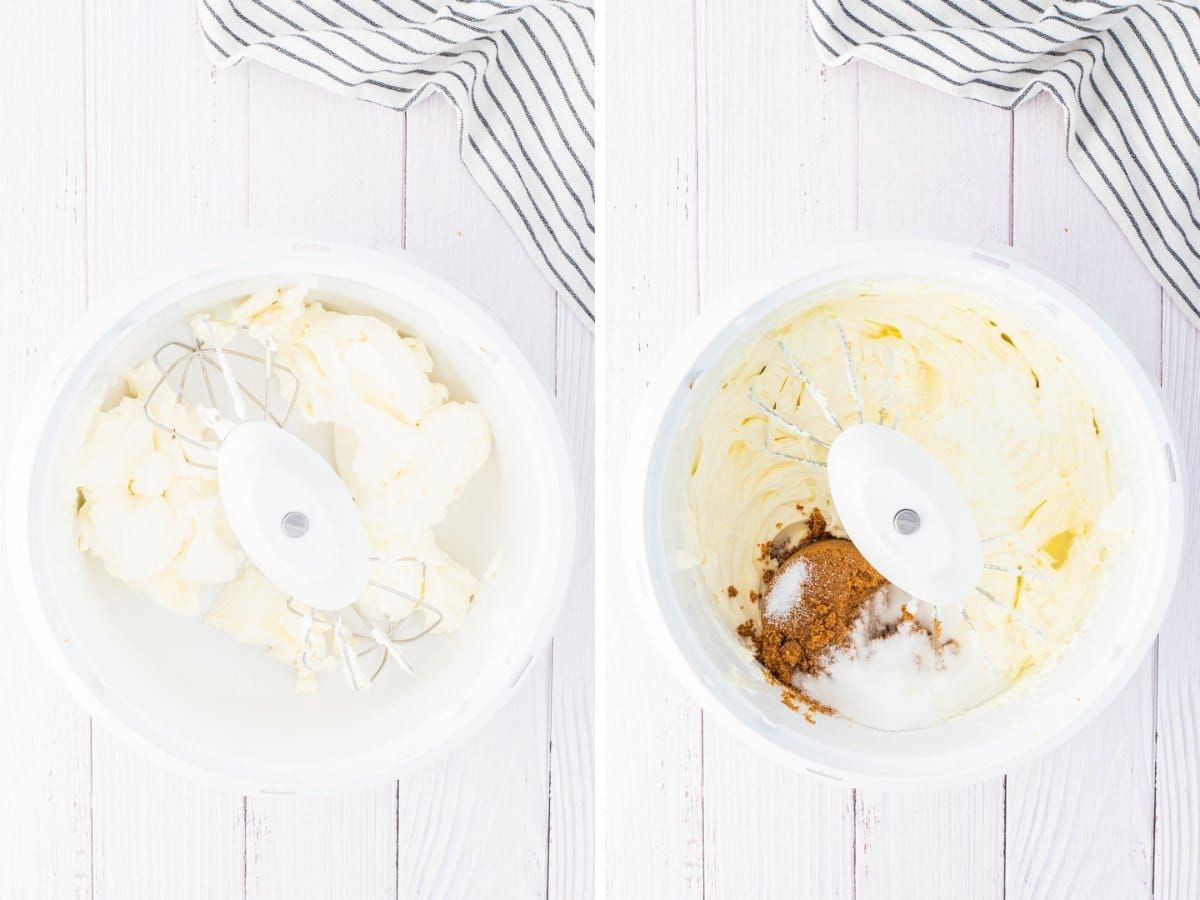
First, put the softened cream cheese in a mixing bowl and beat on medium speed with the whisk attachment for a few minutes until creamy. Next, add the brown sugar, sugar, cornstarch, and salt, and beat until the ingredients are all mixed in, scraping down the sides of the bowl.
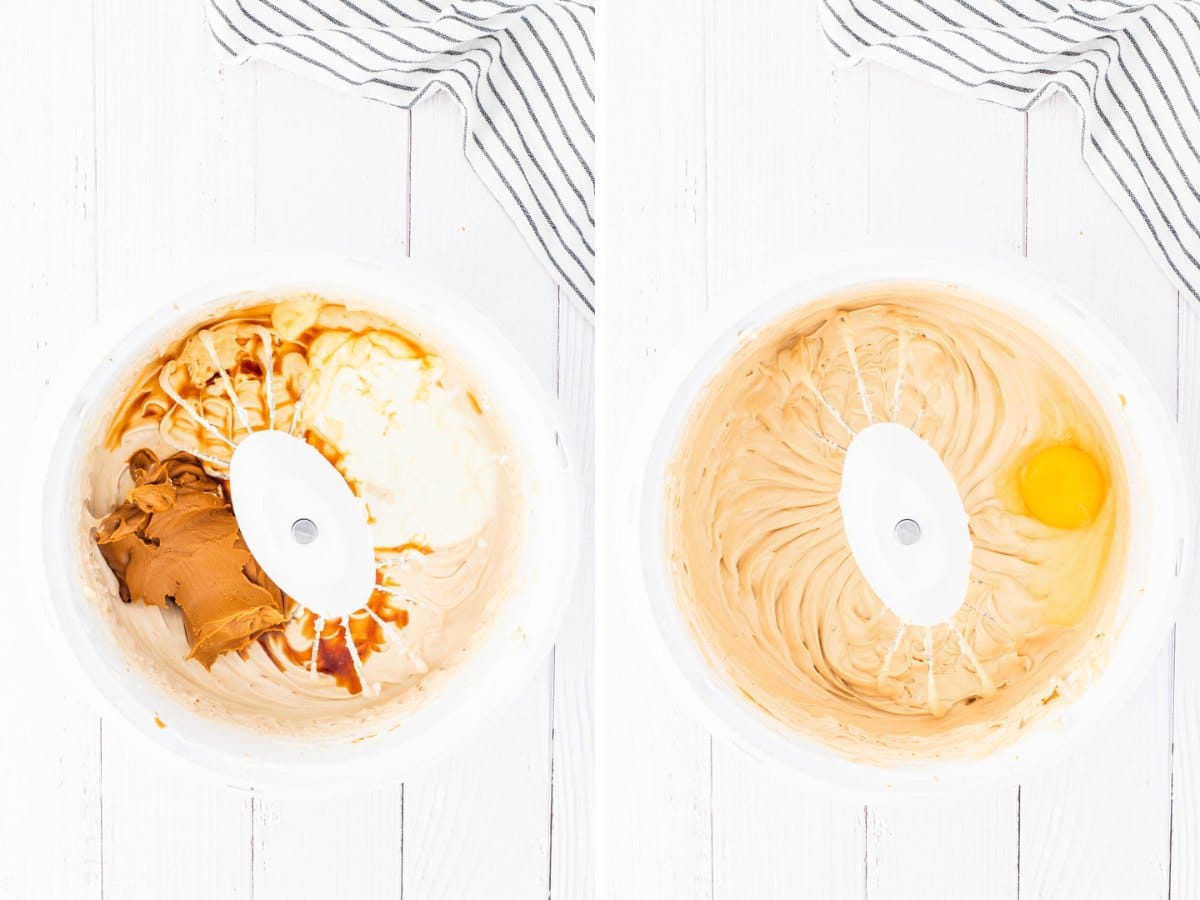
Then, add in the sour cream (or Greek yogurt), Biscoff cookie butter, and vanilla extract, and beat until blended, scraping down the bowl so the cream cheese doesn’t clump.
Add the eggs, one at a time, to the cream cheese mixture on slow speed, scraping down the bowl with a rubber spatula as you go. Do not overmix.
Step 4 | Pour & Bake
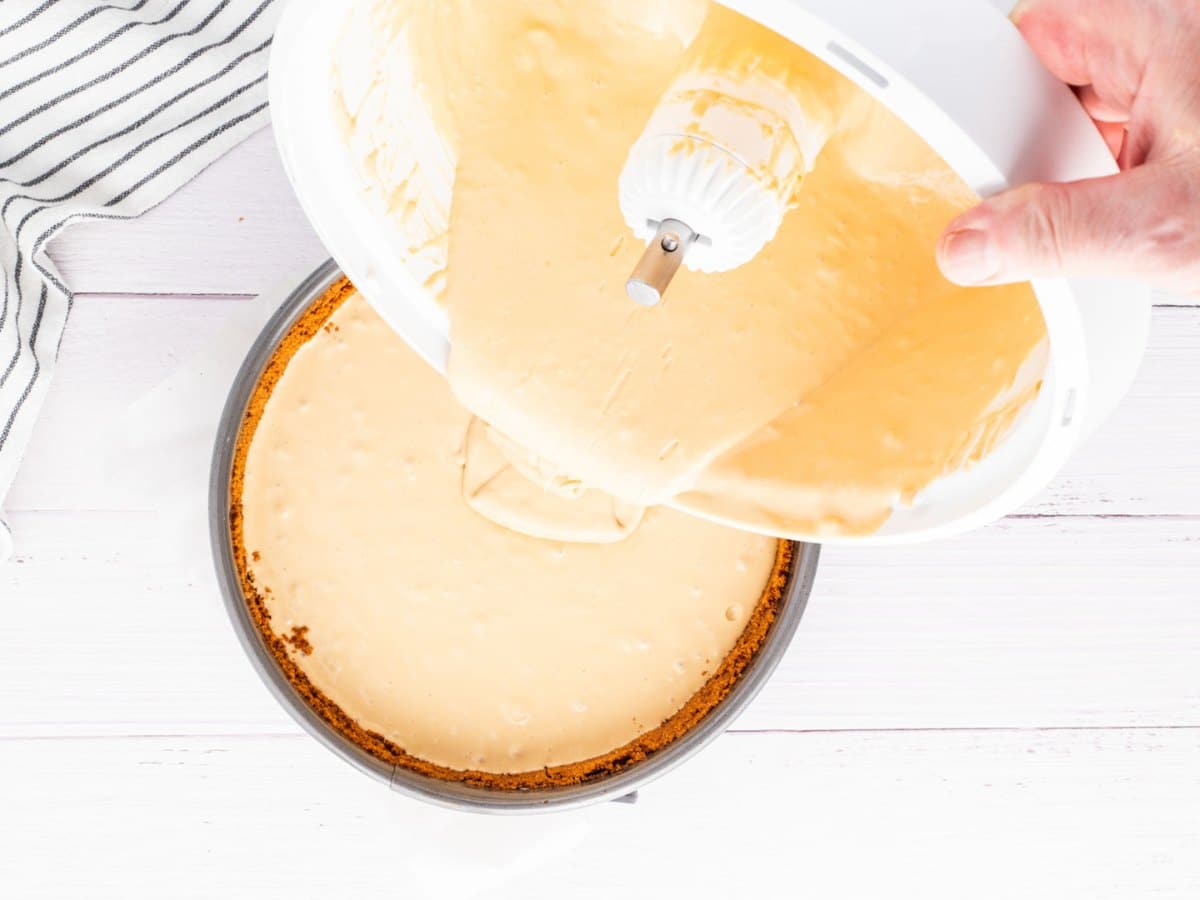
Pour the creamy cheesecake mixture into the baked crunchy Biscoff cookie crust. Spread evenly.
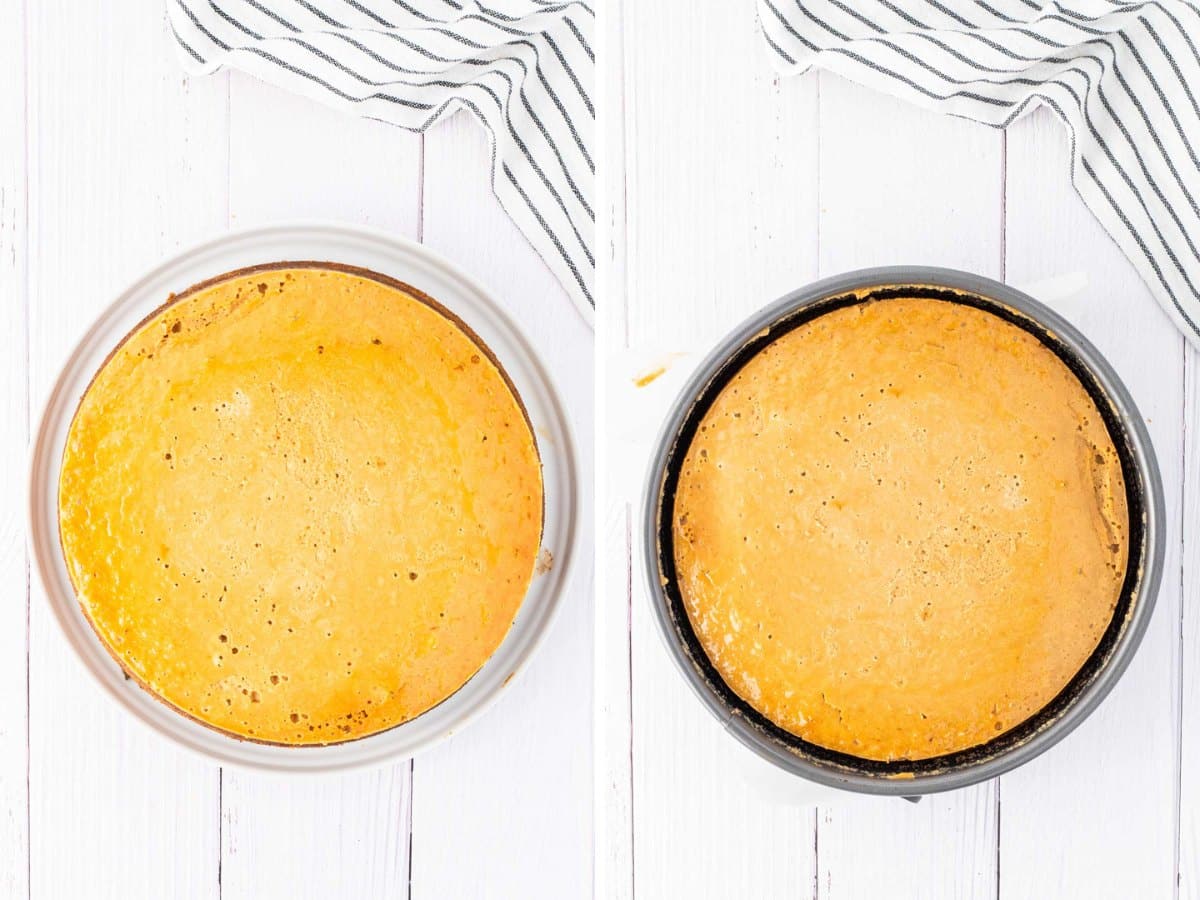
Place the cheesecake in the water bath in the oven, being careful not to touch the very hot water. Bake for approx. 60-70 minutes (don’t open the oven door to check on it during baking).
The cheesecake will be done when the center is still a little jiggly when you gently shake the pan, while the outer edges seem firm.
When it’s finished baking, turn off the oven and leave the cheesecake inside the oven for an hour, making a small opening in the oven door by placing a wooden spoon in it. This slow cool-down process reduces the chances of cracking the surface of the cheesecake.
Take the cheesecake out of the oven and run a knife around the edge to release it from the sides of the pan as it cools and shrinks (this is so it doesn’t crack).
Let it cool completely. Carefully remove the springform pan, then put it in the fridge for at least 5 hours (overnight is best).
Step 5 | Decorate the top of the Cheesecake
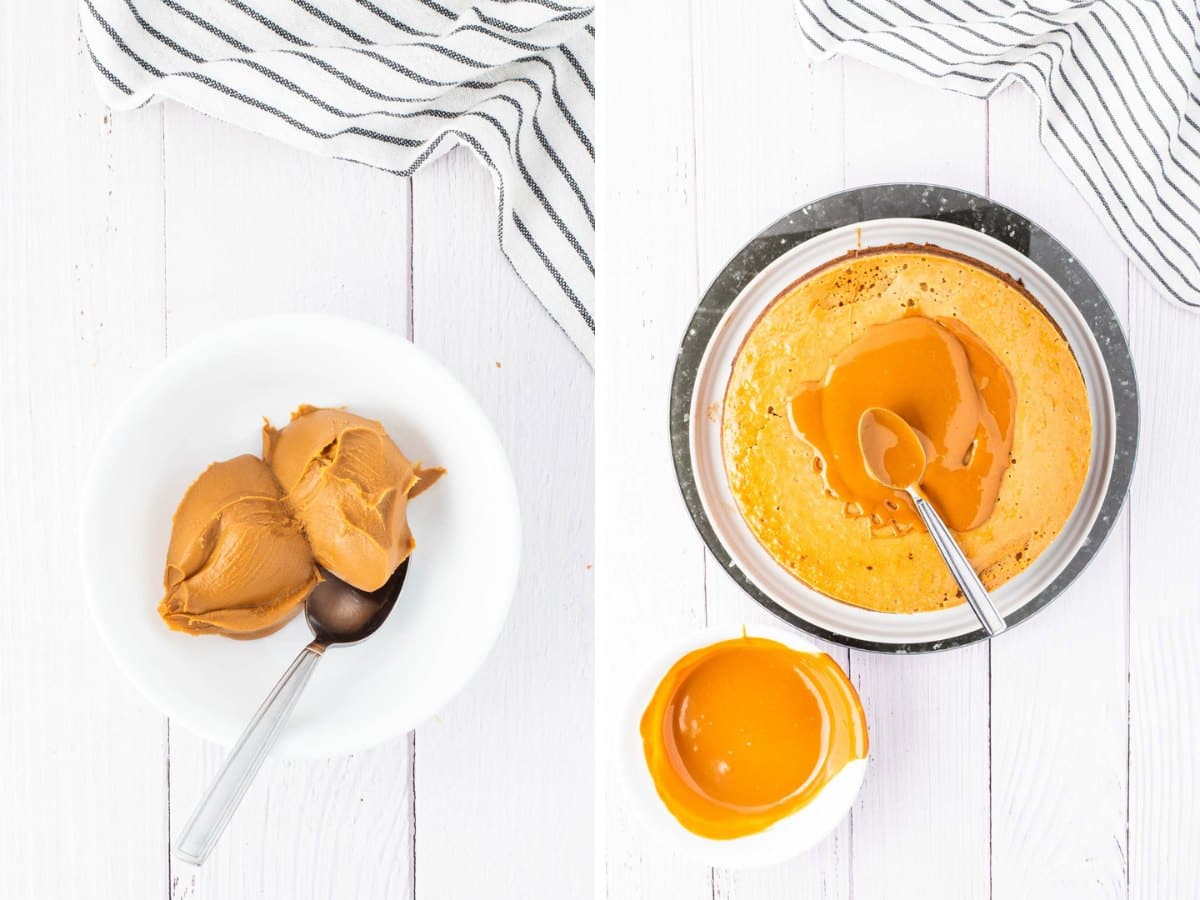
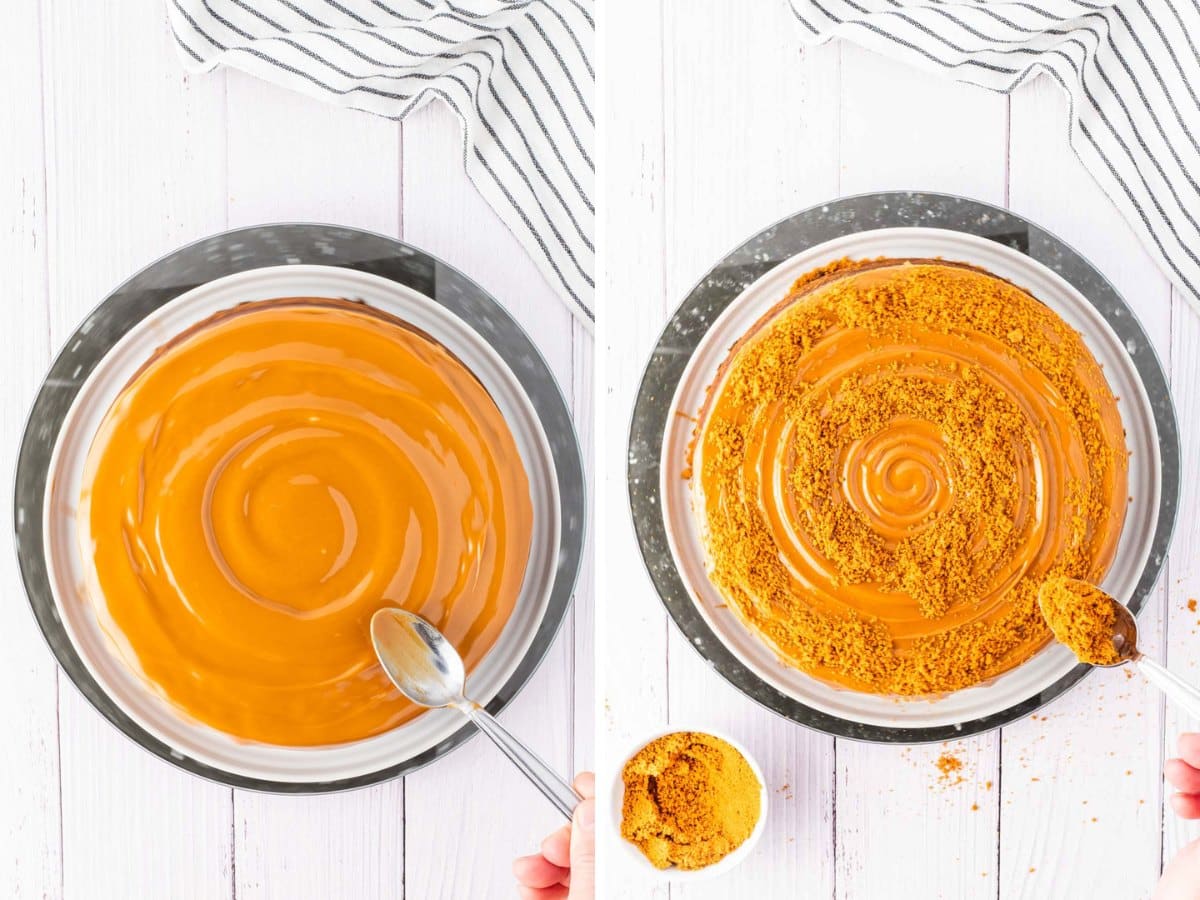
Melt the Biscoff cookie butter in the microwave for a few seconds until runny, and give it a good stir.
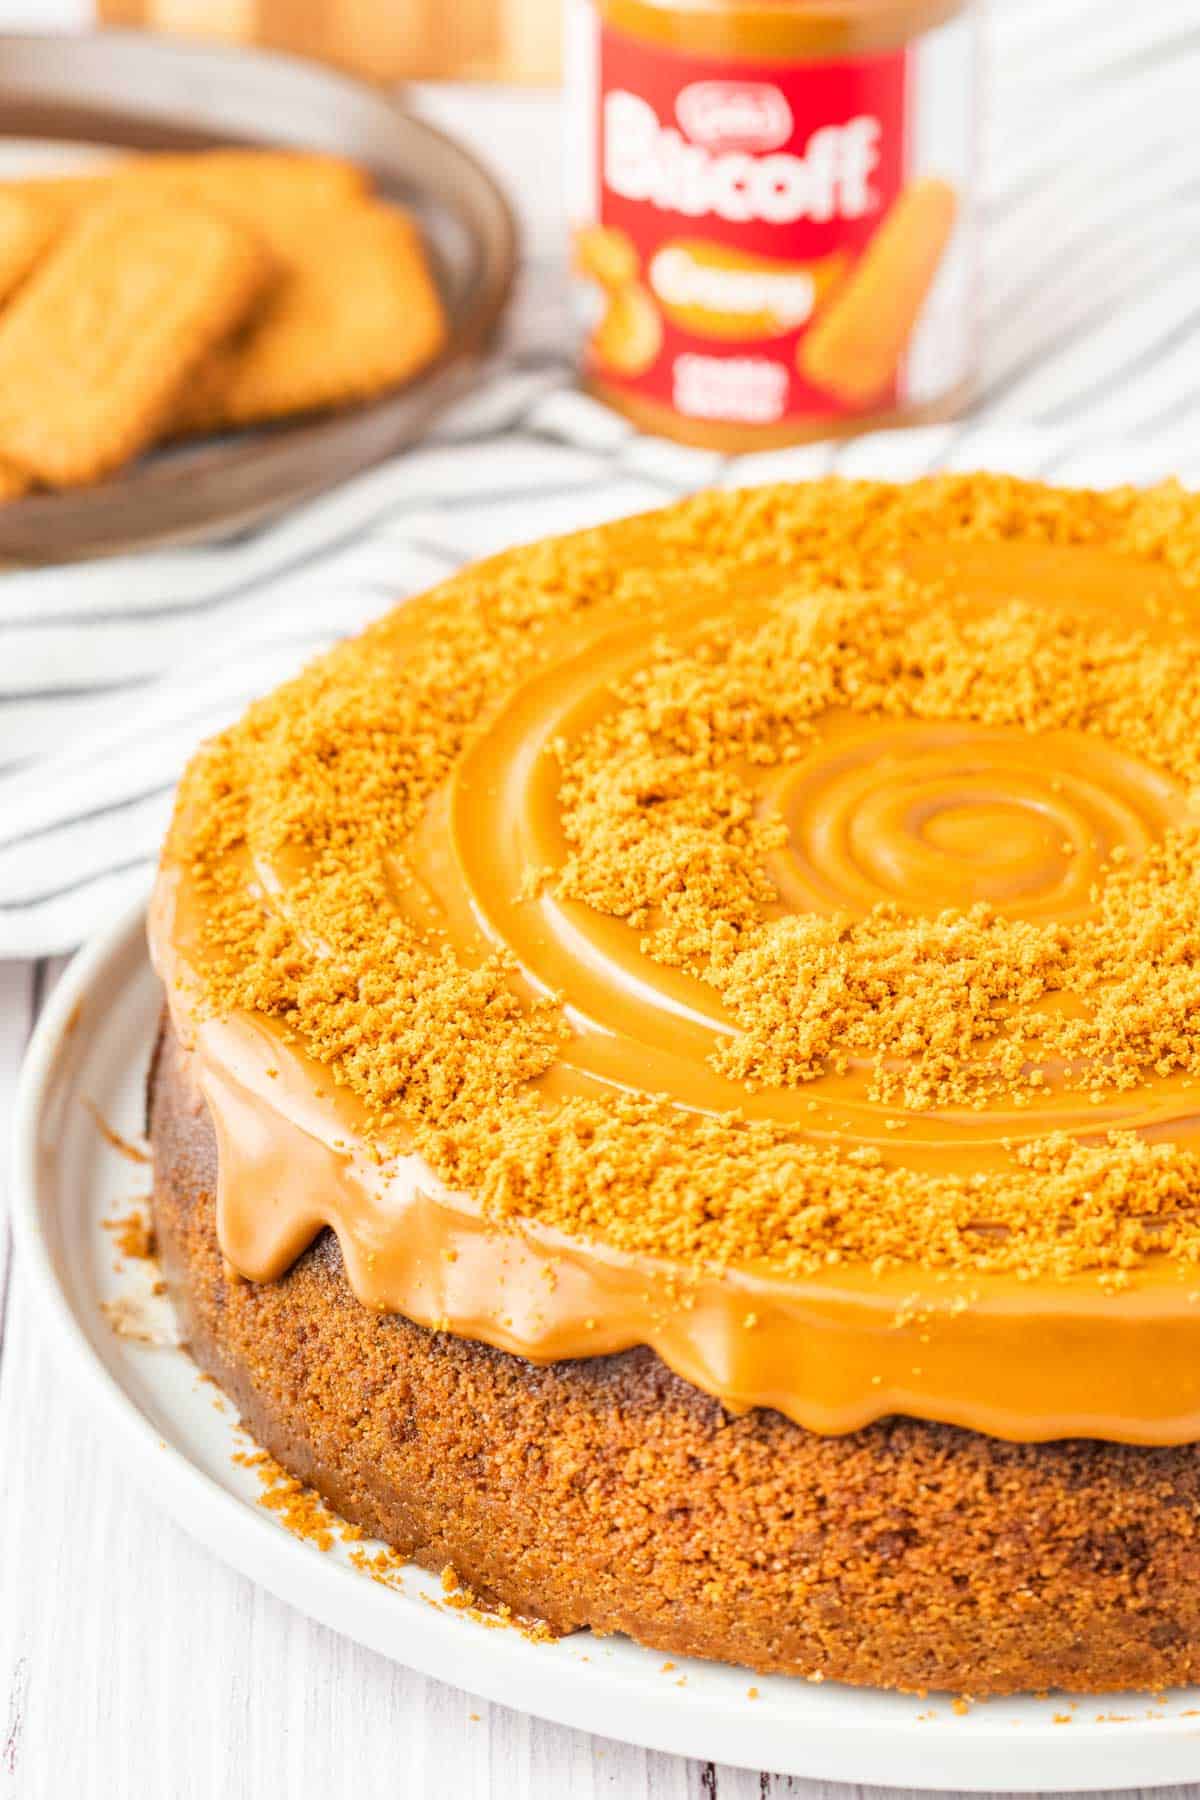
Then pour it over the cheesecake and spread with an offset spatula or the back of a spoon. It works best if you place the cake on a lazy Suzan and turn it while spreading it from the center outward, making a groove.
Garnish with Biscoff Cookie crumbs around the edges of the cheesecake.
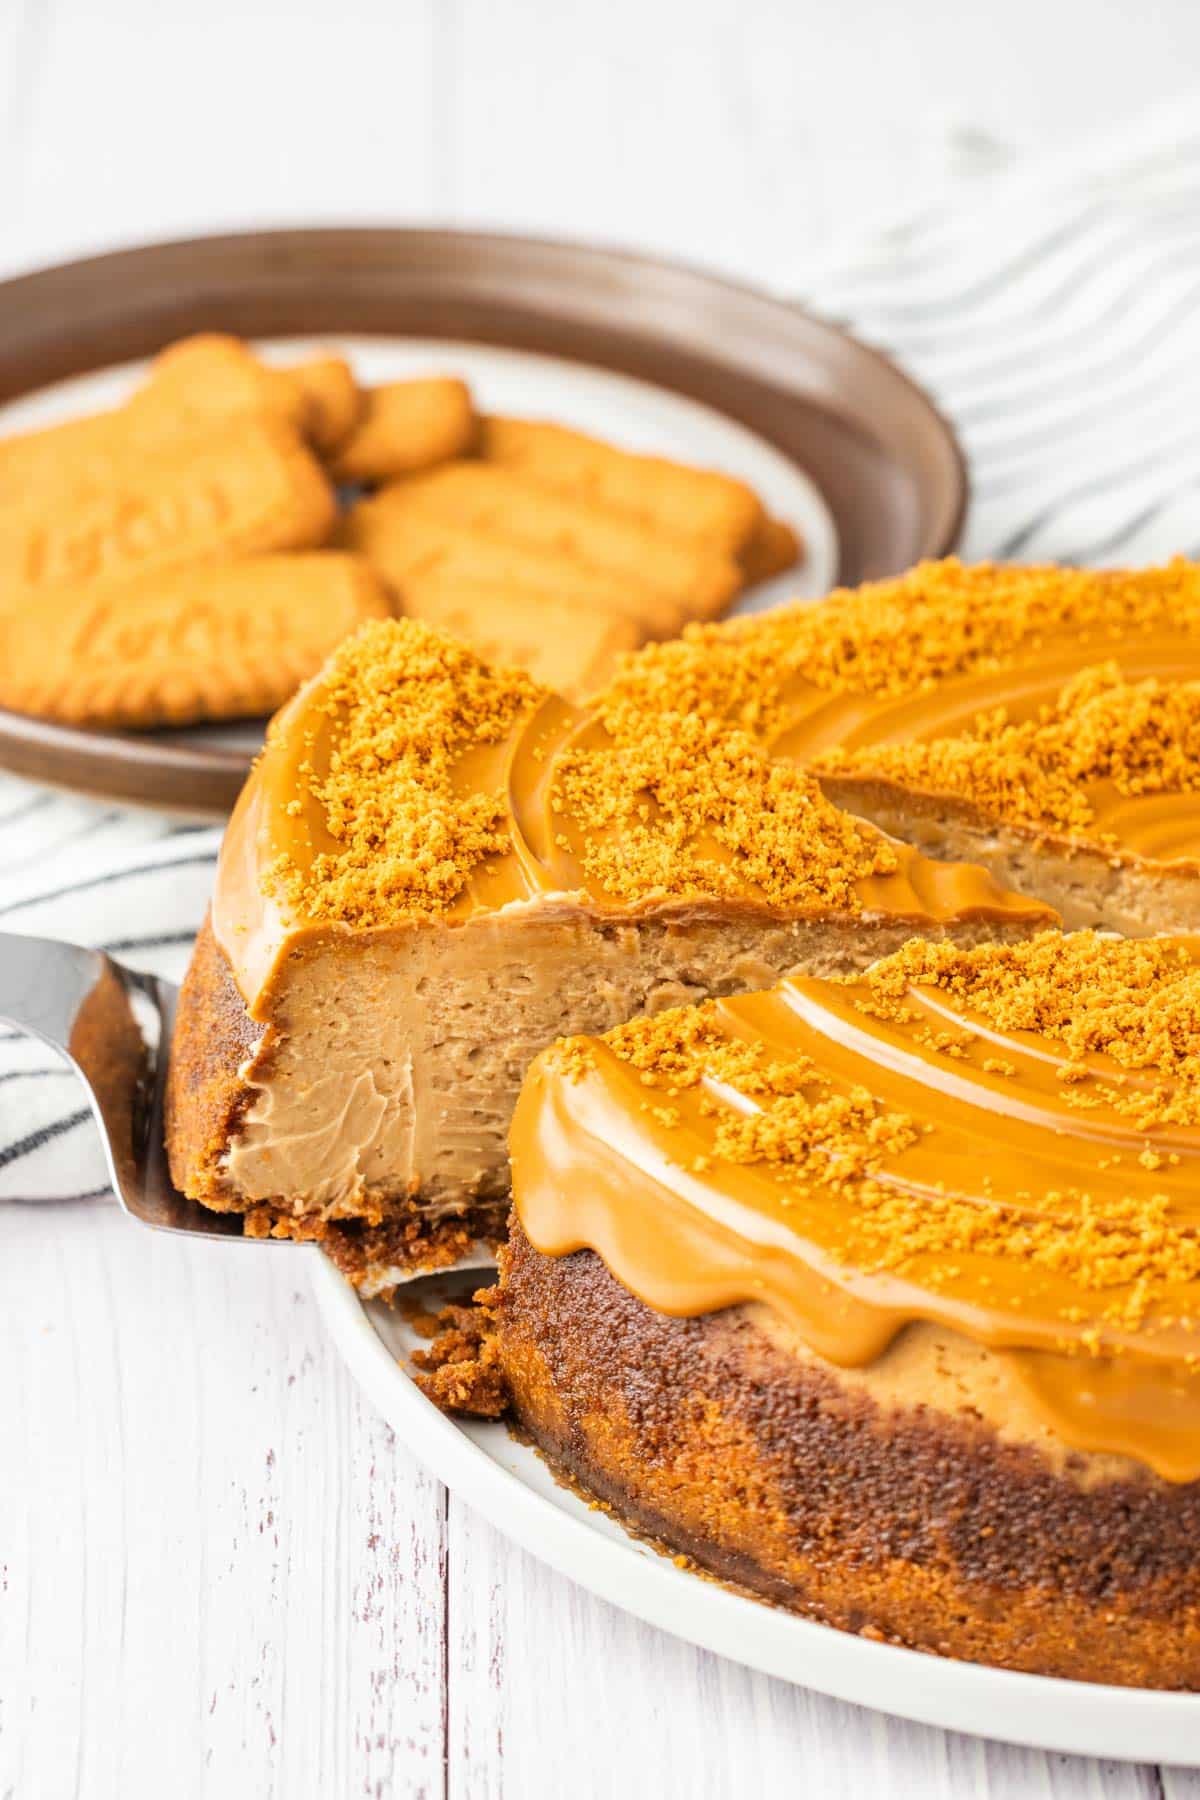
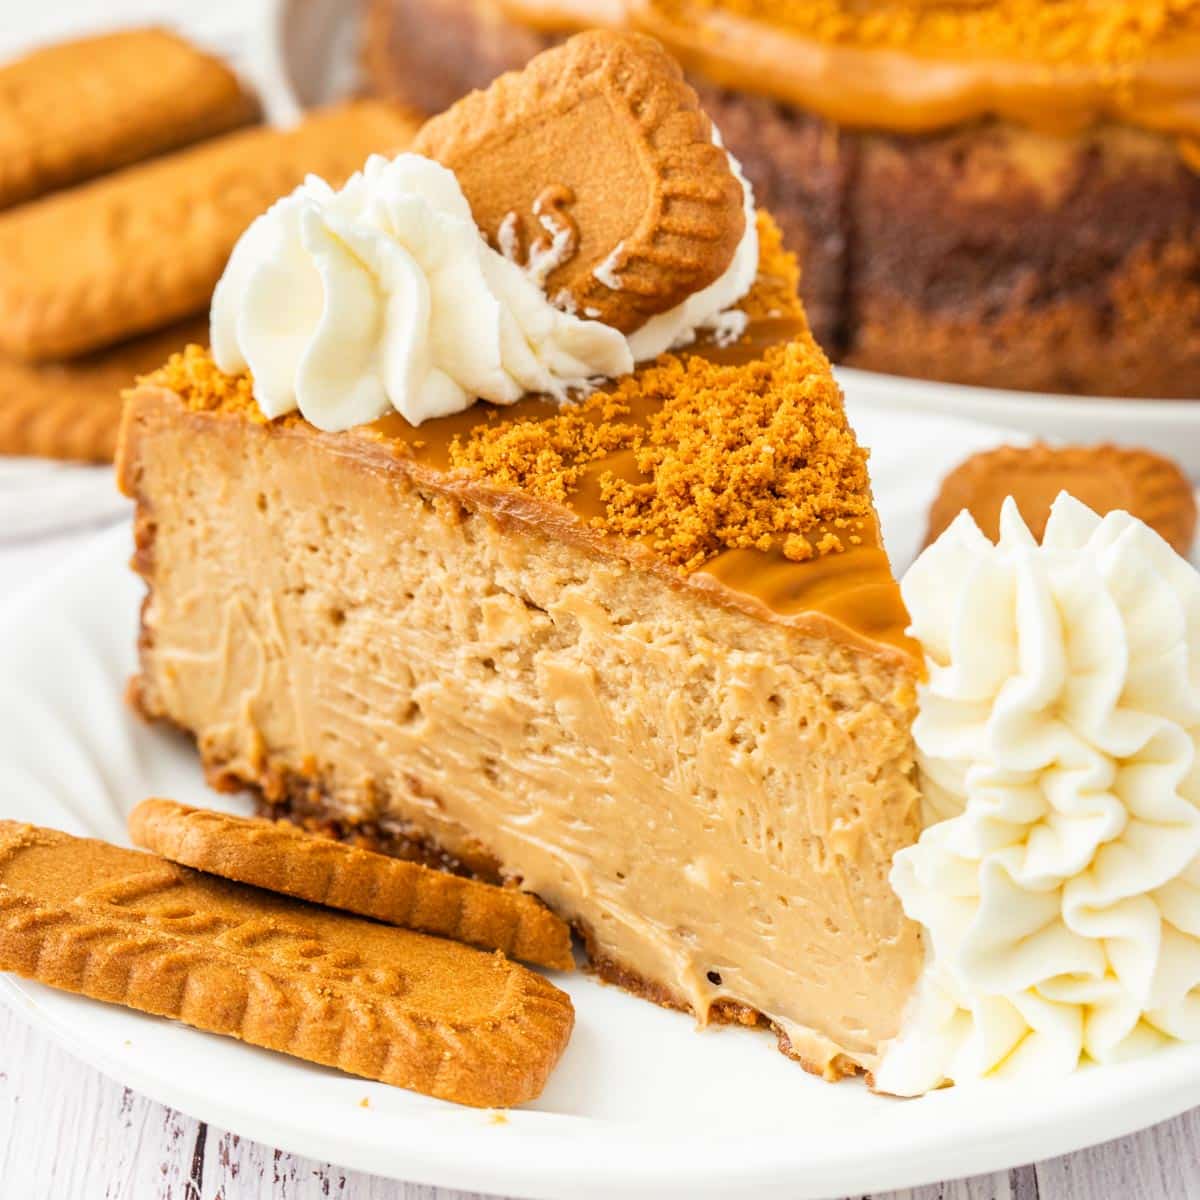
Slice and serve with whipped cream and broken Biscoff cookies if desired.
Tips
- Finish the crust with the bottom of a measuring cup or glass to get an even, hard-packed crust and keep buildup out of the corner.
- Be careful not to overmix the batter.
- Don’t open the oven door to check on it during baking.
- Leave the cheesecake in the oven for a few hours to slow the cool-down process, which reduces the chances of cracking its surface.
- Chilled cheesecake is best! Be sure to allow plenty of time to chill out in the fridge.
Want to Save this Recipe?
By submitting this form, you consent to receive emails from Soulfully Made.
Recipe FAQs
Major grocery stores carry the brand. But if you cannot locate them, Trader Joe’s carries a Speculoos Cookie Butter, and Walmart carries one as well.
Of course, it can. Cover the cheesecake and store it in the fridge for up to 5 days.
Yes, you really do. It is the best way to ensure a fully cooked cheesecake.
Mix the ingredients well enough to incorporate the ingredients for the best creamy cheesecake results.
Storage
Storage: Cover the remaining pieces of cheesecake in the refrigerator covered with plastic wrap or in an airtight container. It will keep for 4 to 5 days.
Freeze: You can freeze this cheesecake on a plate, then cover it with plastic wrap so you do not mess up the gorgeous top. Store it wrapped in the freezer for up to 2 months.
What to Serve with Lotus Biscoff Cheesecake Recipe
Serve this divine dessert with a dollop of Homemade Whipped Cream or a scoop of this Biscoff Ice Cream. You could even try adding a new topping like my Roasted Almonds or Toasted Pecans. Let me know what you think if you do!
More Cheesecake Recipes
- Classic Cheesecake Recipe
- Applebutter Cheesecake Tart
- Blueberry Cheesecake Cookies
- No-Bake Strawberry Cheesecake Parfaits
- Berry Cheesecake Salad
Hungry for more easy, home-cooked, delicious recipes?
Sign up for my free recipe club to get family-friendly recipes in your inbox each week! Find me sharing daily meal-time inspiration on Pinterest, Facebook, and Instagram.
Biscoff Cheese Recipe
Click Stars To Rate
Ingredients
- 32 Lotus Biscoff Cookies - crushed (8 ounce package)
- 2 tablespoons brown sugar
- ½ cup unsalted butter - melted
- ½ teaspoon salt
- 32 ounces cream cheese - room temperature (4 8 ounce blocks)
- 1 cup brown sugar
- ¼ cup granulated sugar
- 1 tablespoon cornstarch
- ¼ teaspoon salt
- ½ cup sour cream (or Greek yogurt) - room temperature
- 1 cup Biscoff Cookie Butter
- 1 tablespoon vanilla extract
- 4 large eggs - (room temperature)
- ½ cup Biscoff Cookie Butter
- ¼ cup Bsicoff Cookies - (crumbled)
- fresh whipped cream
- whole Biscoff Cookies
Instructions
- Preheat the oven to 350°F and add a roasting pan or other large pan in the lower section of the oven to make a hot water bath. Place enough hot water in the pan that it will rise to 2 inches around the cheesecake springform pan. Line the springform pan with parchment paper, or coat with cooking spray.
- To prevent water from leaking into the springform pan, place a slow cooker liner or oven-roasting bag around it. Alternatively, using 18-inch heavy-duty aluminum foil, wrap the outside of the springform pan with four layers of foil.
- Pulse the Biscoff Cookies in a food processor until they are fine crumbs, or smash them inside a sealed plastic bag. Place in a bowl and add the brown sugar, melted butter and salt, and blend until combined. For a great mixture, blend them with an electric mixer.
- Pour the crumb mixture into the prepared springform pan and press evenly into the bottom and up the sides of the pan as far as you desire the crust to rise. Be careful to get an even layer of crust. It’s best to use the bottom of a measuring cup or glass to get an even, hard-packed crust and keep buildup out of the corner.
- Bake crust for 10 minutes. Remove from the oven and allow the crust to cool completely.
- Put the cream cheese in a mixing bowl and beat on medium speed for a few minutes until creamy. Add the brown sugar, sugar, cornstarch, and salt, and beat until the ingredients are well blended, scraping down the bowl.
- Add in the sour cream (or Greek yogurt), Biscoff cookie butter, and vanilla extract, and beat until blended, scraping down the bowl so the Cream Cheese doesn’t clump.
- Add the eggs one at a time, to the cream cheese mixture, on slow speed, scraping down the bowl. Do not overmix.
- Pour the cream cheese mixture into the baked cookie crust. Spread evenly.
- Place the cheesecake in the water bath in the oven, being careful not to touch the very hot water. Bake for approx. 60-70 minutes (don’t open the oven door to check on it during baking). The cheesecake will be done when the center is still a little jiggly when you gently shake the pan, but the outer edges seem firm.
- When it’s baked, turn off the oven and leave the cheesecake inside for an hour, making a small opening in the oven door by placing a wooden spoon in it. This slow cool-down process reduces the chances of cracking the surface of the cheesecake.
- Take the cheesecake out of the oven and run a knife around the edge to release it from the sides of the pan as it cools and shrinks (this is so it doesn’t crack). Let it cool completely. Carefully remove the springform pan, then put it in the fridge for at least 5 hours (overnight is best).
- Melt the Biscoff cookie butter in the microwave for a few seconds until runny. Stir well.
- Pour over the cheesecake and spread with a spatula. It works best if you place the cake on a lazy Suzan and turn it while spreading it from the center outward, making a groove.
- Garnish with Biscoff Cookie crumbs around the edges of the cheesecake.
- Slice and serve with whipped cream and broken Biscoff cookies if desired.
Want to Save this Recipe?
By submitting this form, you consent to receive emails from Soulfully Made.


