This post may contain affiliate links. Please read our disclosure policy.
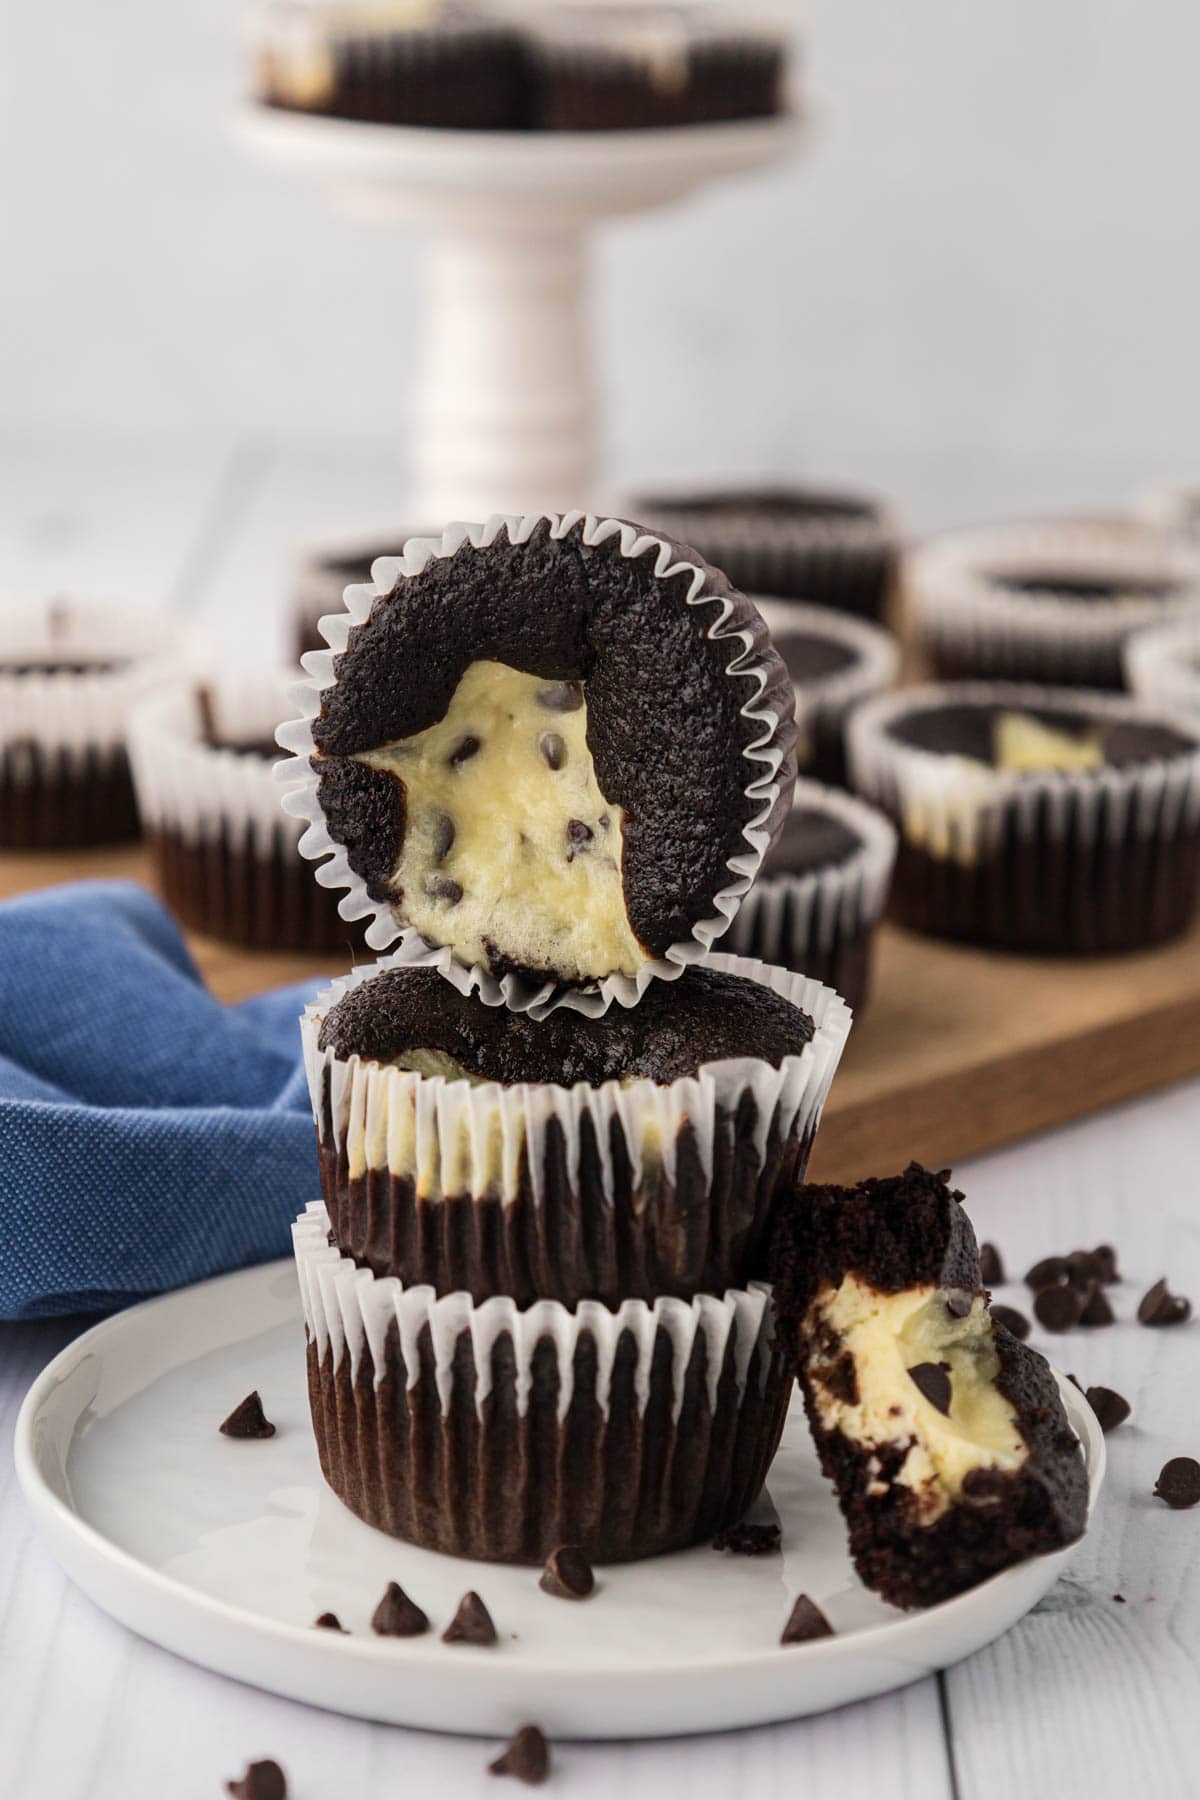
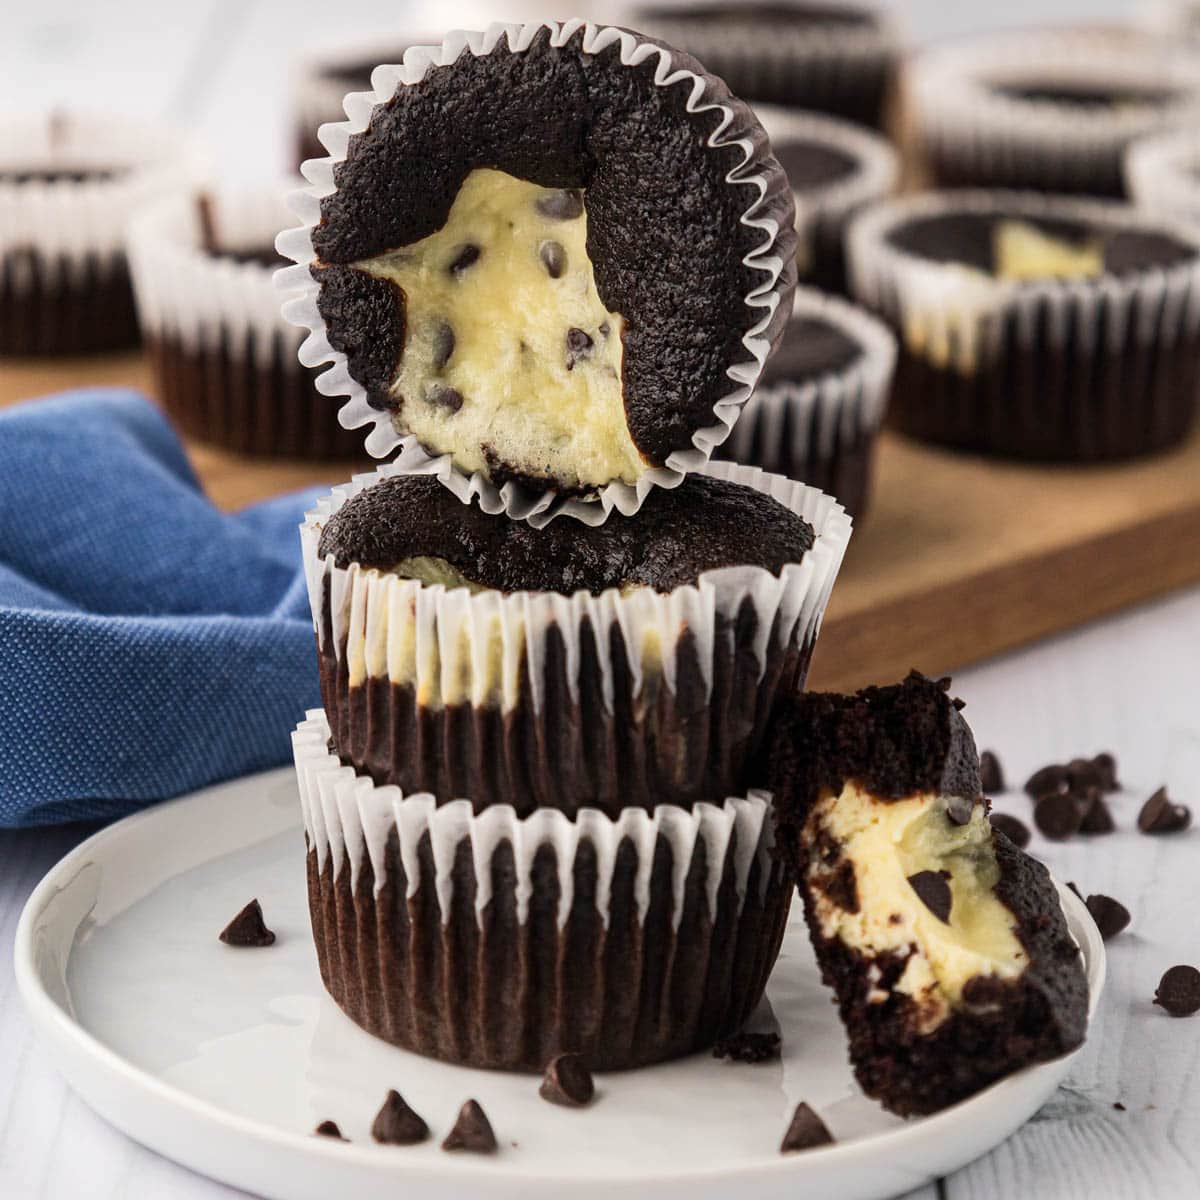
Black Bottom Cupcakes are a nostalgic favorite with roots in Baltimore, Maryland. They combine the richness of chocolate cake with a smooth, cheesecake-like filling, creating the most moist and decadent chocolate cheesecake bite! These easy-to-make treats don’t even need frosting—one taste, and I promise you’ll be hooked!
Nikki’s Recipe Rundown
- Taste: The flavor is a perfect balance of rich chocolate and tangy cream cheese, with a little sweetness from mini chocolate chips in every bite.
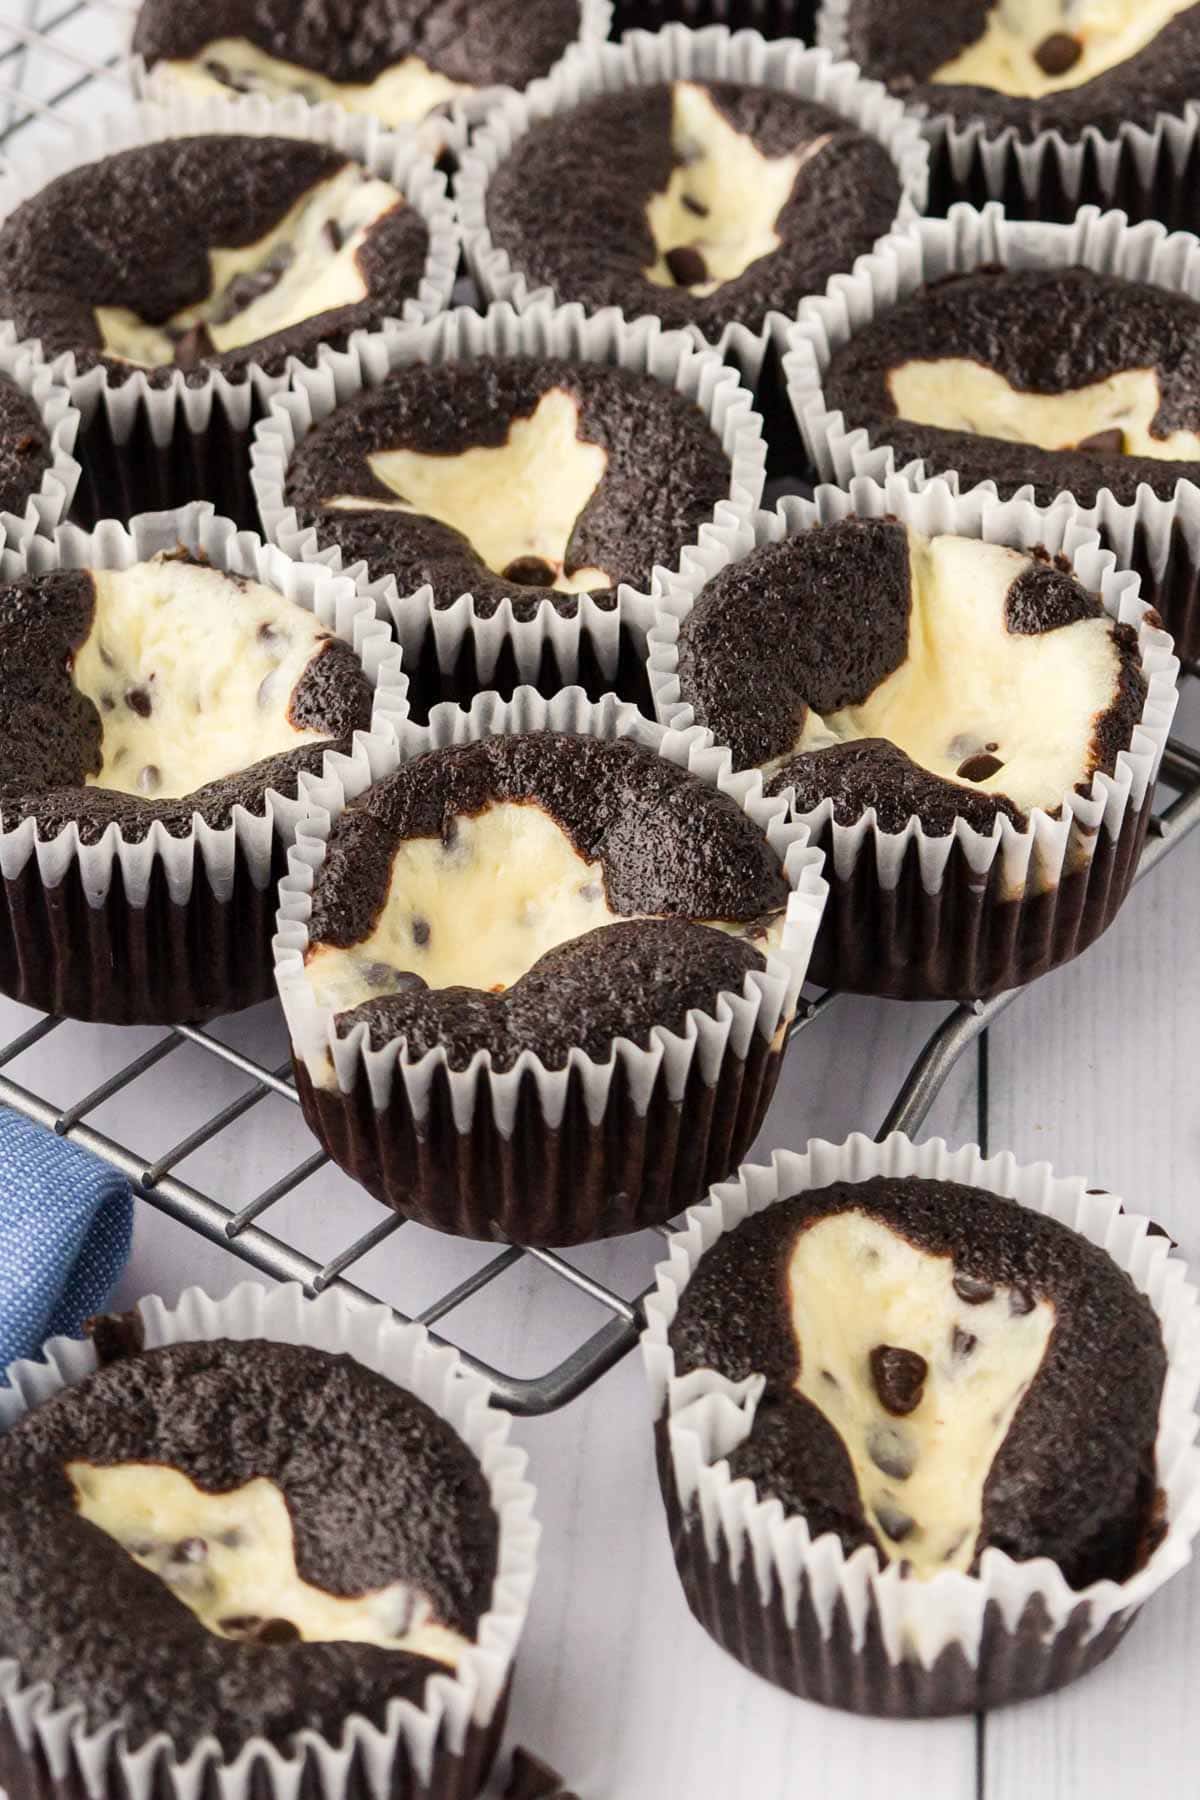
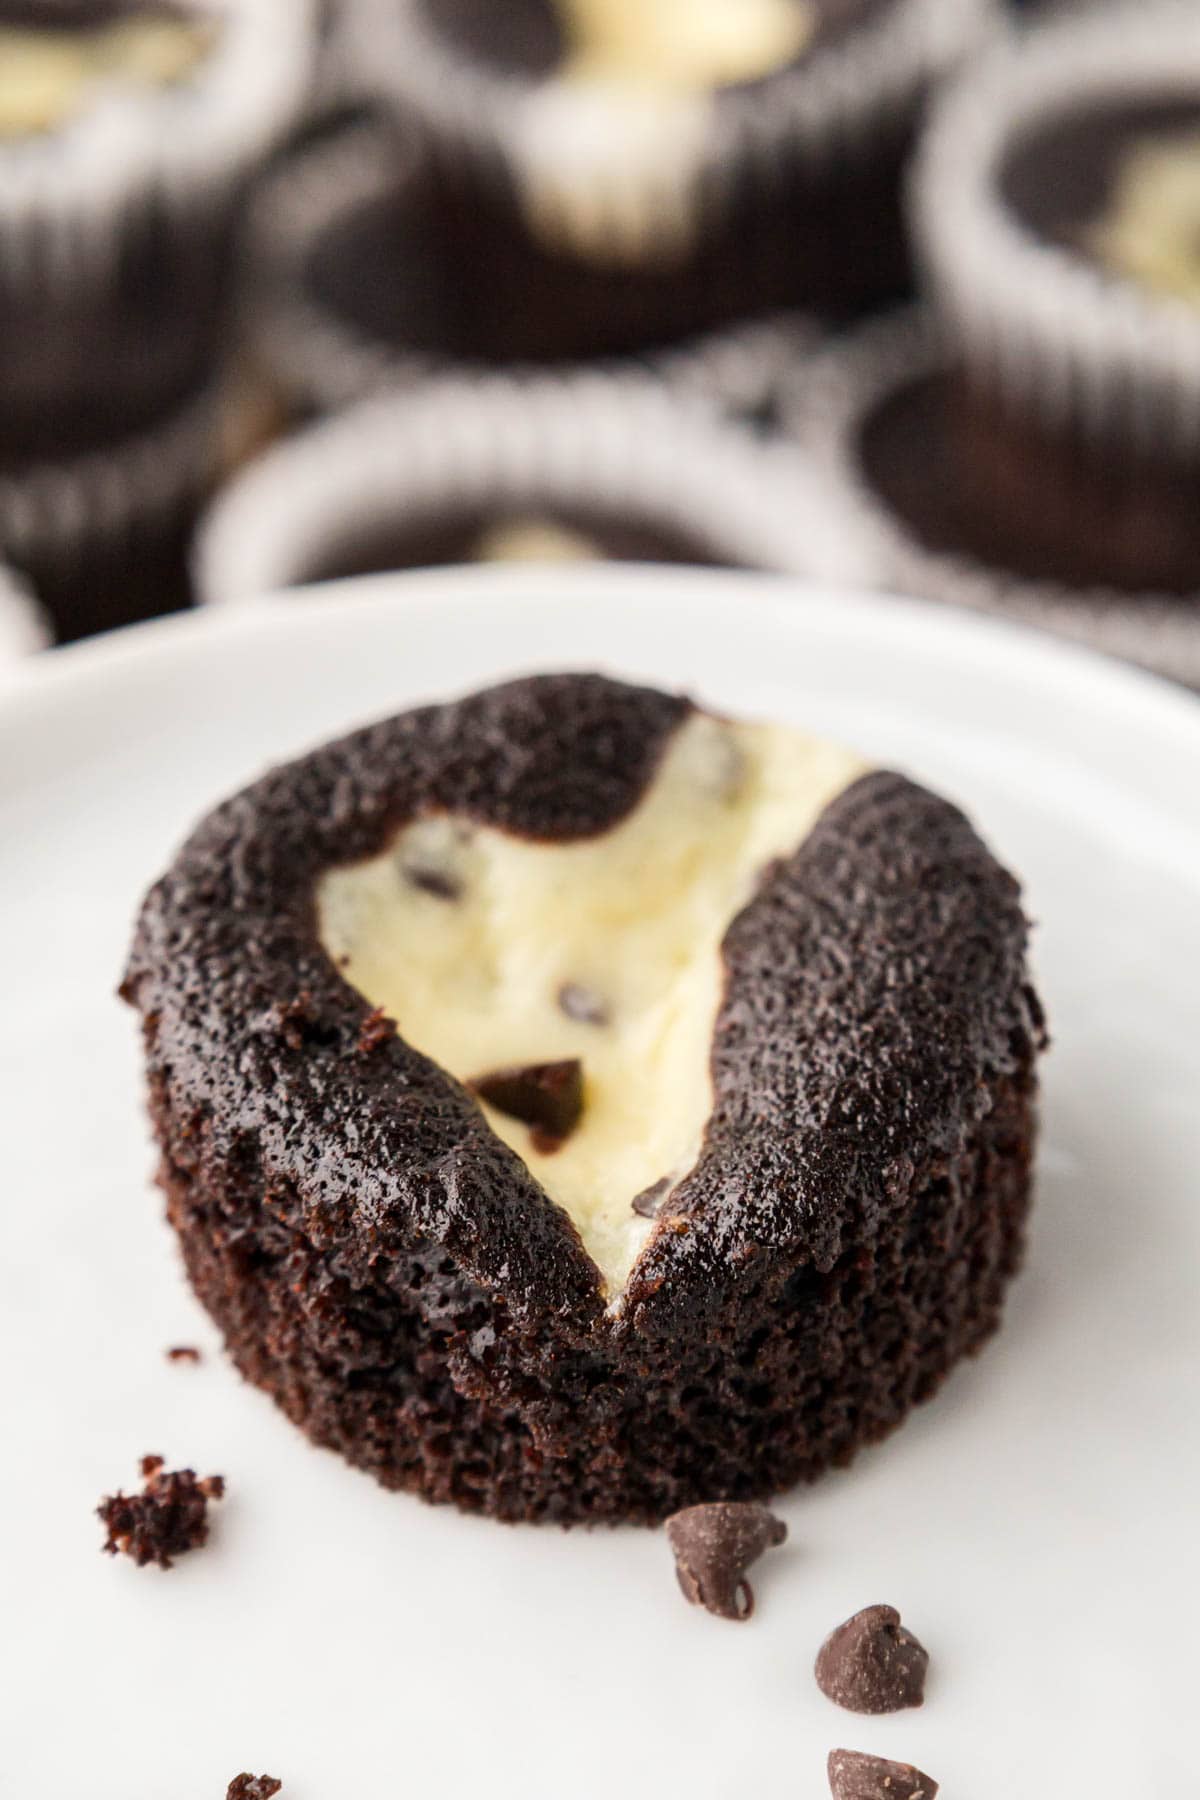
- Texture: Moist chocolate cake pairs with a smooth, creamy center, and the signature swirl where the cheesecake filling rises through the top adds a delightful mix of fluffy and creamy.
- Ease: Super simple—no frosting needed, just mix, scoop, and bake.
- Pros: Two-in-one dessert that’s perfect for freezing or making ahead.
- Considerations: Keep the batter levels just right to maintain that cheesecake swirl on top, and store them in the fridge.
- Recipe Repeatability: Once you make these, they’ll become a go-to—whether for potlucks, family gatherings, or just a little indulgence for yourself!
Black-bottom cupcakes have been a part of my life for as long as I can remember, thanks to my mom being from Baltimore, Maryland. Every visit to my grandparents included these cupcakes—they were either baked at home or enjoyed on a visit to the mall (Grandma and I loved this version that included shopping). It became a little tradition we looked forward to on every trip, making those visits even more special. I still have my grandmother’s handwritten recipe, and every time I see it, it stirs up so many emotions—joy, nostalgia, and sometimes a few tears.
While my grandmother’s recipe is spot-on in the flavor department, I did tweak it a bit over the years. No matter how carefully I followed her instructions, the cream cheese and chocolate chip filling always seemed to sink into the middle instead of sitting on top. It didn’t change the taste (still incredible!), but I wanted to give you all a version that looked just like the ones from Baltimore bakeries. After some experimenting, I finally nailed it, and now I can confidently share a recipe that stays true to tradition and delivers that classic black-bottom look.
How To Make Baltimore Black Bottom Cupcakes
✱ Be sure to see the recipe card below for exact ingredients and full recipe instructions!
Step 1 | Prep Muffin Tin
Start by preheating your oven to 350°F. Line a 12-cup muffin tin with paper liners or give the pan a good spray with non-stick spray—whatever you prefer.
Step 2 | Make Cheesecake Filling
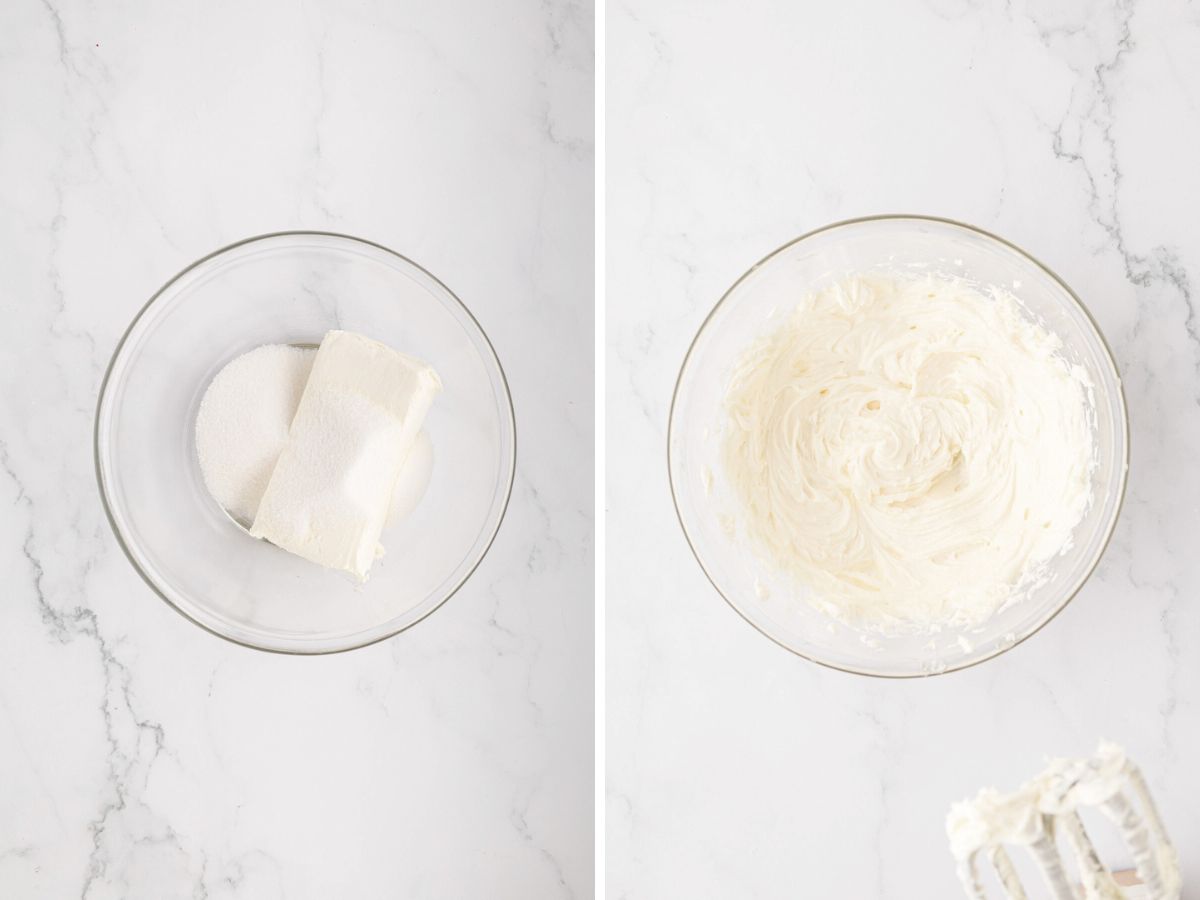
In a medium bowl, use an electric mixer (or your stand mixer if that’s your style) to beat the cream cheese and sugar until the mixture is soft, smooth, and creamy—no lumps allowed!
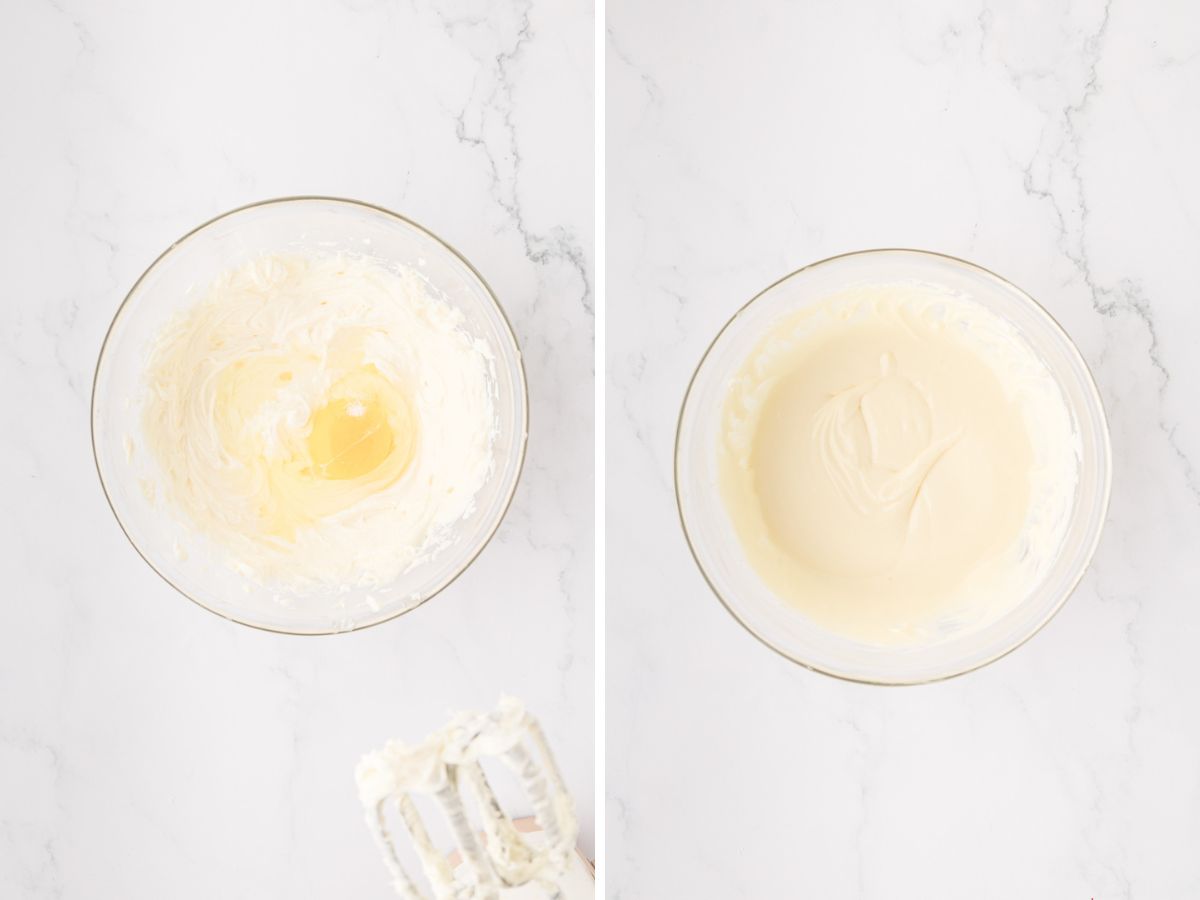
Once that’s good to go, mix in the egg and salt until combined.
Then, stir in the mini chocolate chips.
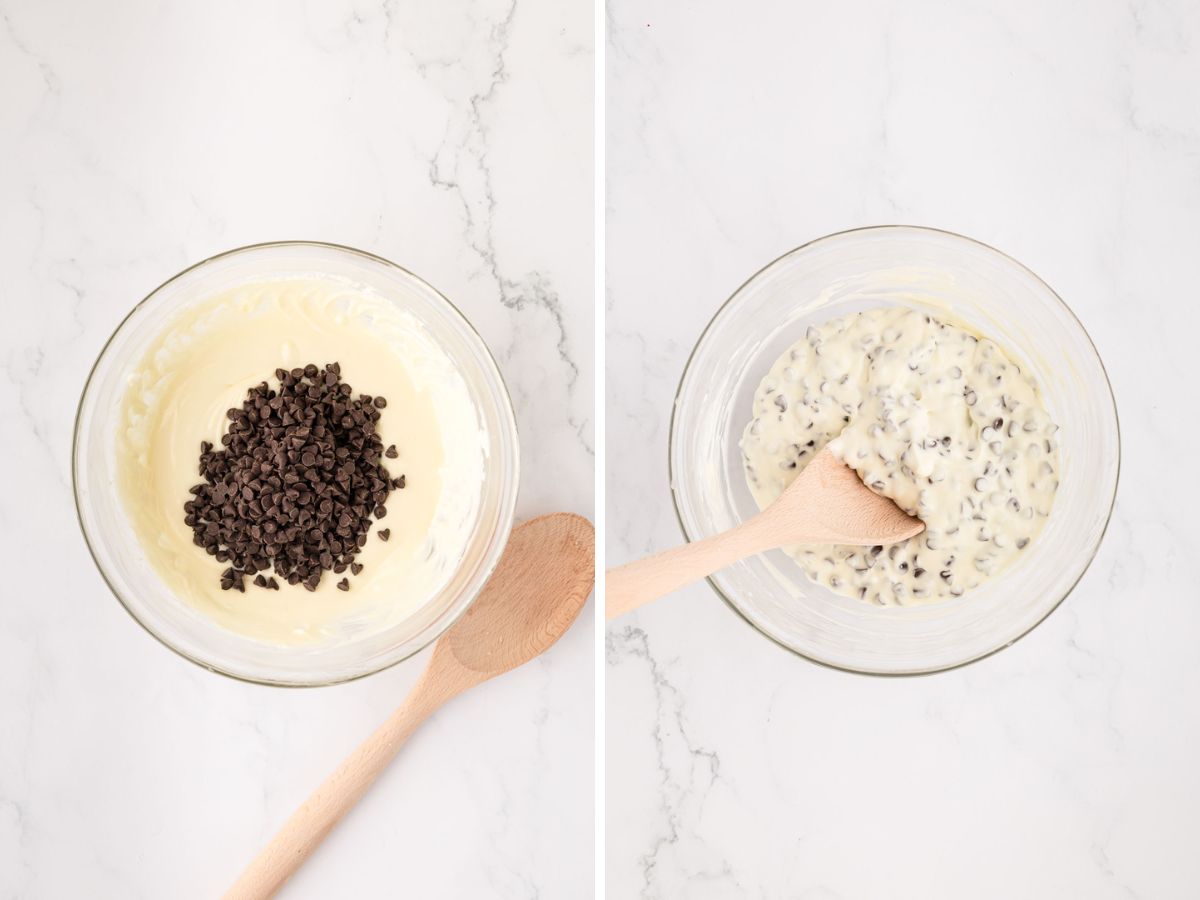
Set the filling aside for now.
Step 3 | Make Chocolate Cupcake Batter
In a large bowl, sift the flour, sugar, cocoa powder, baking soda, and salt.
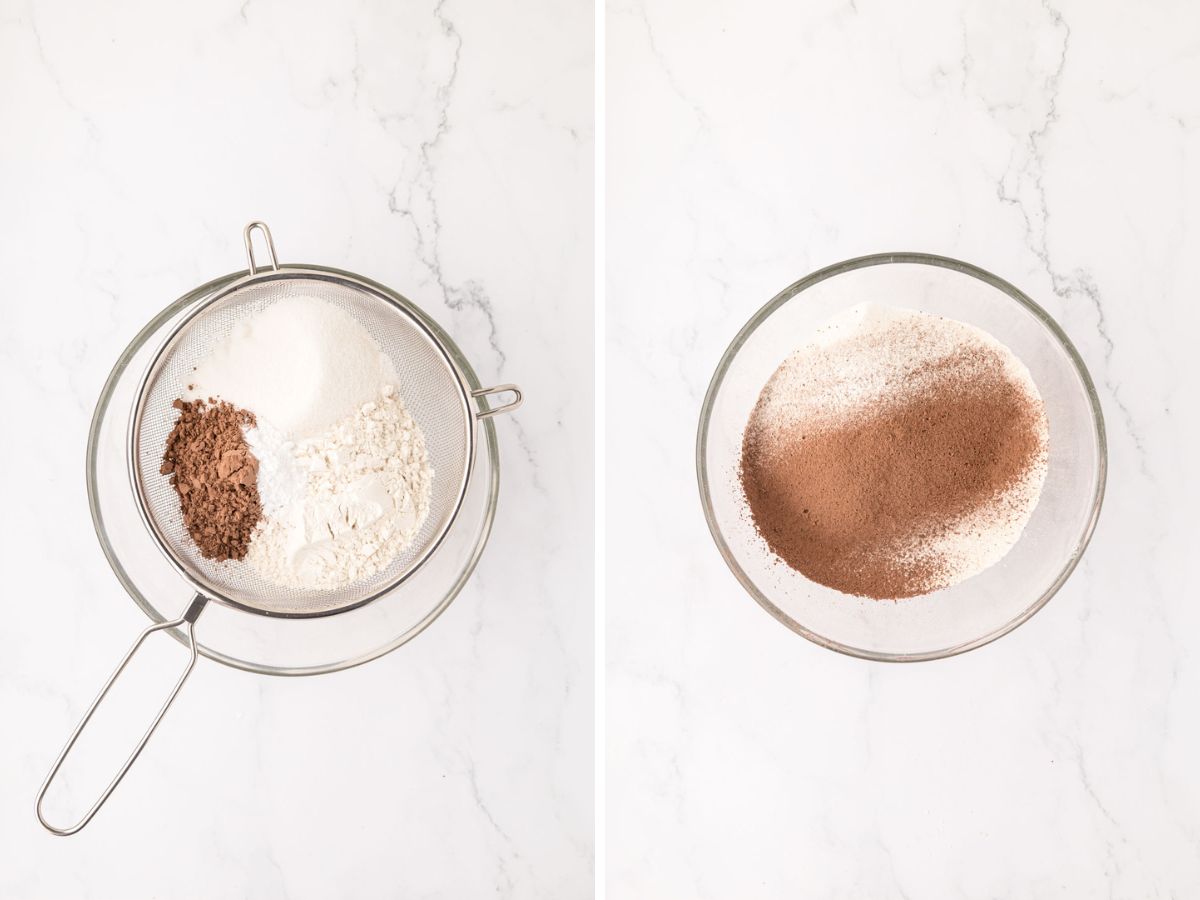
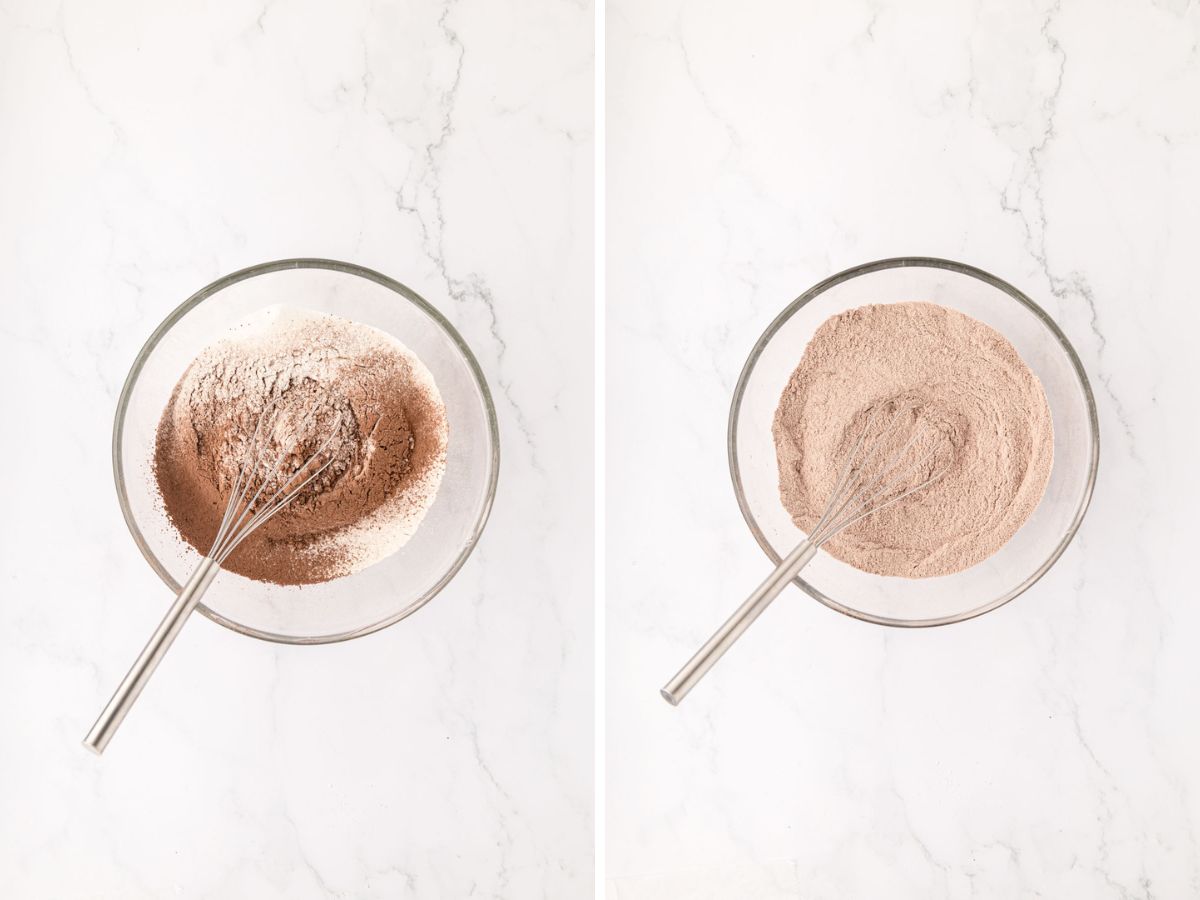
Whisk together until combined.
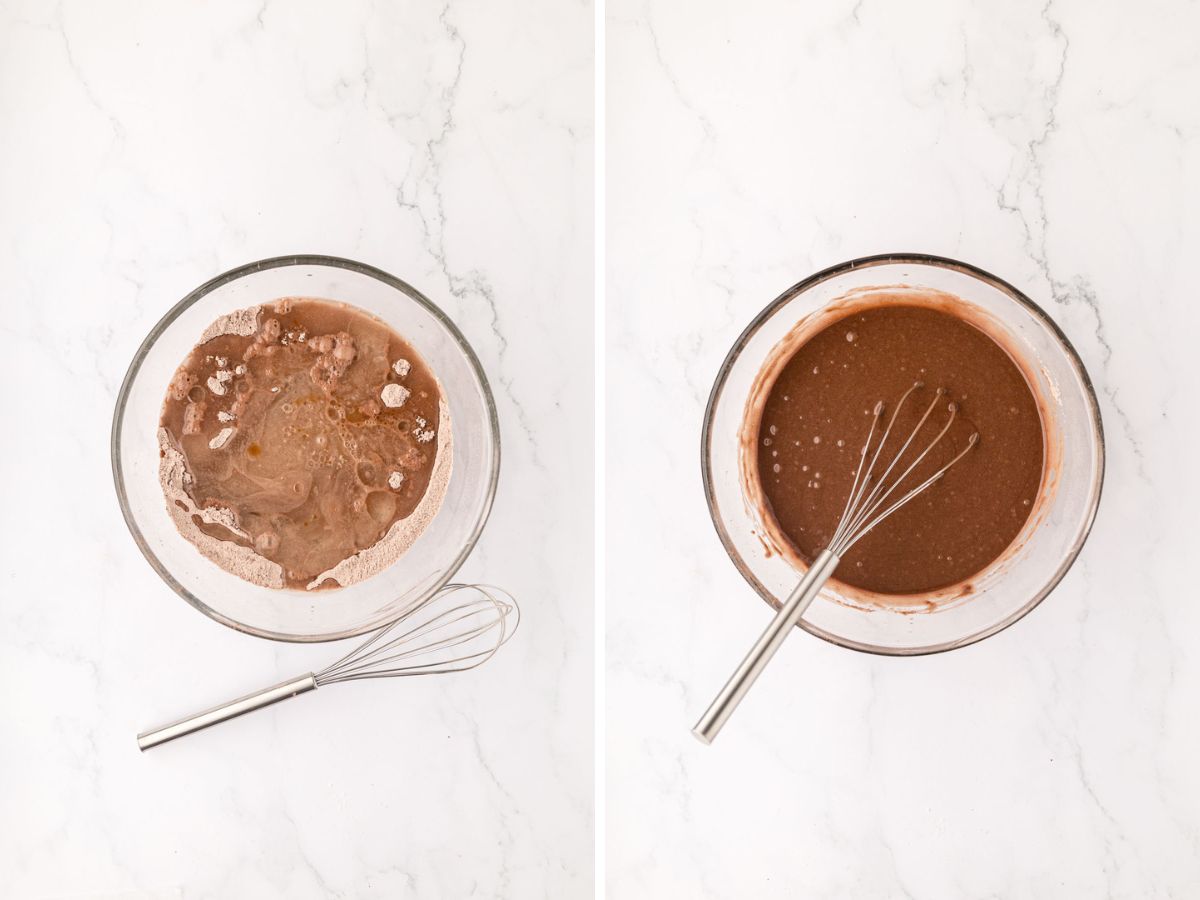
Next, stir in the water, oil, vinegar, and a splash of vanilla until the batter is smooth and lump-free.
Step 4 | Fill Muffin Pan & Bake
Using a large cookie or ice cream scoop, divide the chocolate batter evenly among the muffin cups, filling each one only about a third of the way up. Trust me, you don’t want to go over that, or the cheesecake layer won’t sit pretty on top.
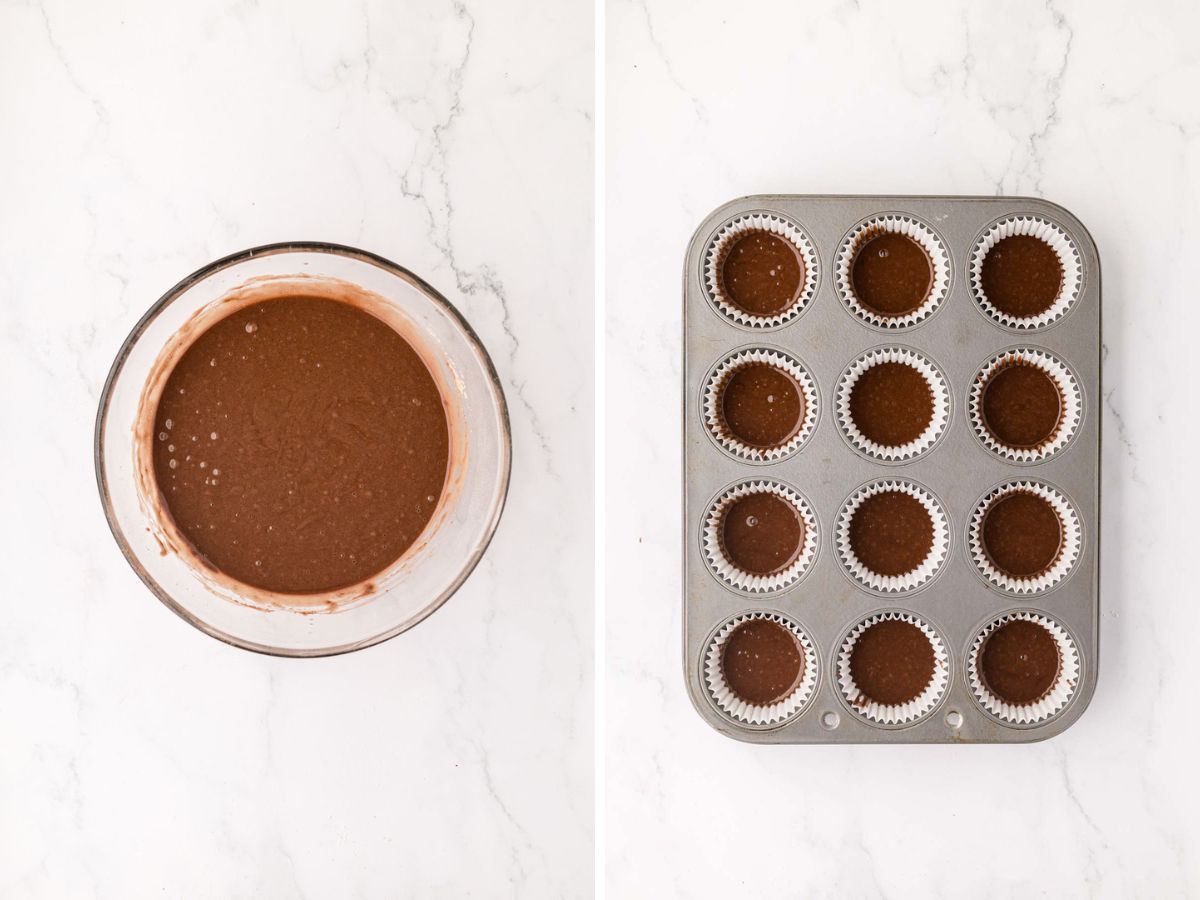
Now for the fun part—dollop about 1 ½ tablespoons of the cream cheese filling right in the center of each cupcake.
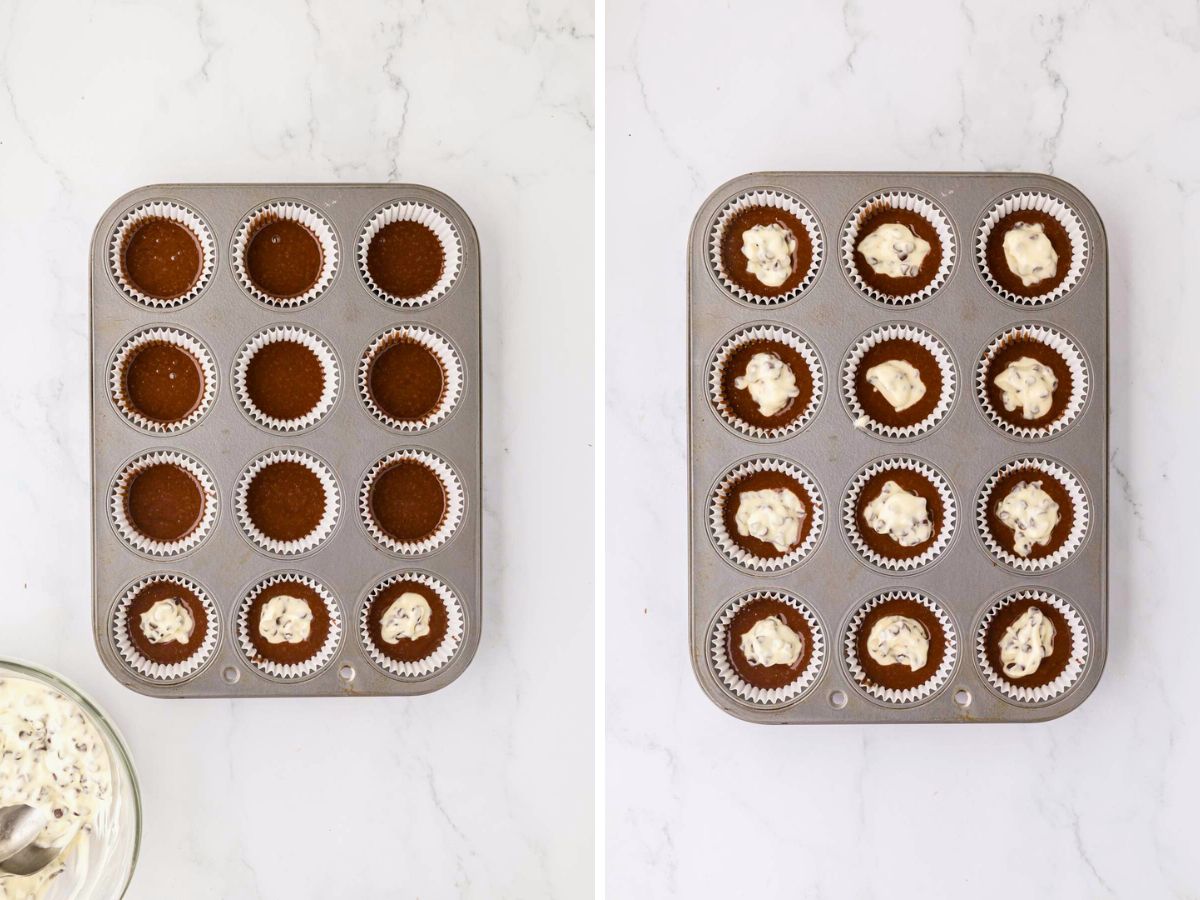
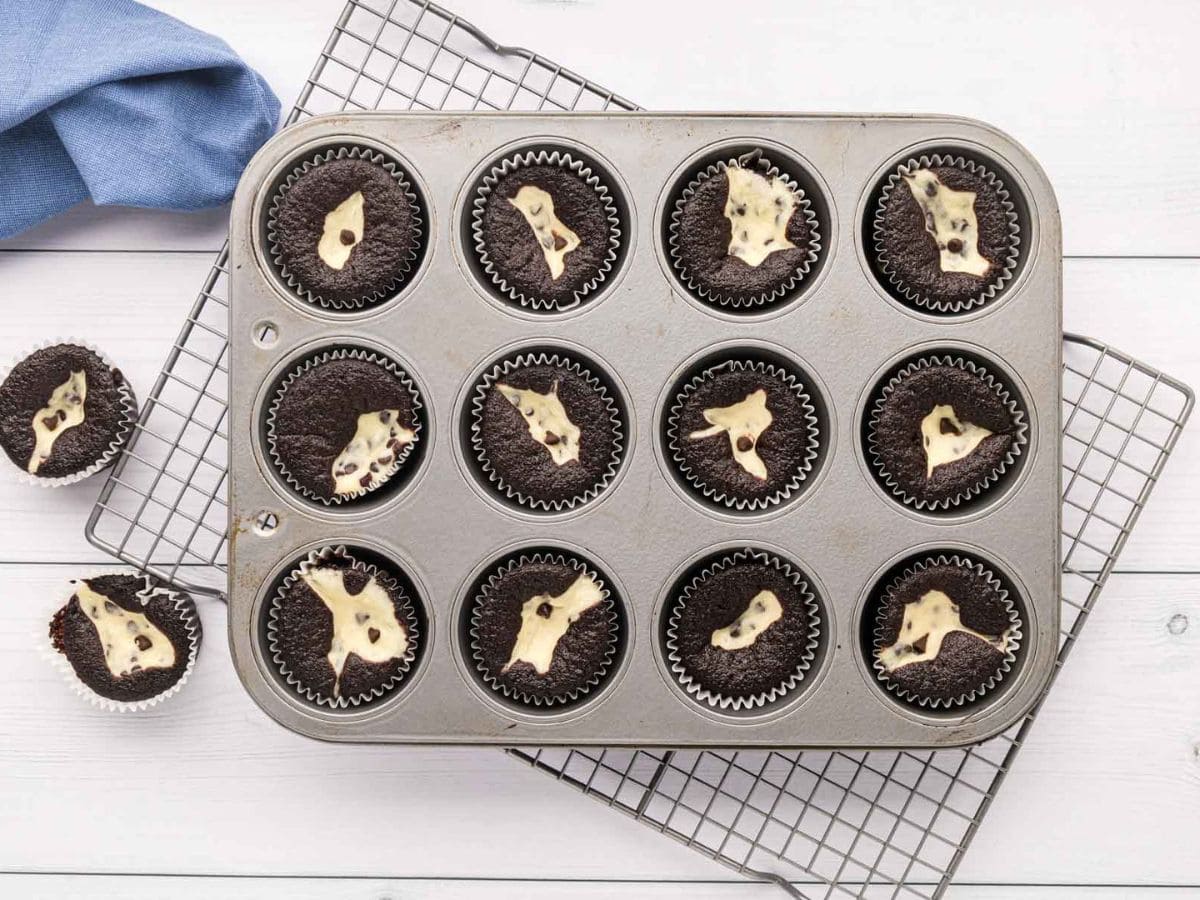
Once they’re all filled, pop the tin into your preheated oven and bake for 16-20 minutes. For me, 18 minutes is the sweet spot, but every oven is a little different, so keep an eye on it.
When they’re done, let the cupcakes cool before diving in. And there you have it—little bites of chocolate and cheesecake heaven. Enjoy!
Want to Save this Recipe?
By submitting this form, you consent to receive emails from Soulfully Made.
Recipe Tips for Moist Chocolate Cupcakes with Cheesecake Filling
- Room Temperature Ingredients: Make sure the cream cheese and egg are at room temperature so the filling blends smoothly—no lumps!
- Don’t Overfill the Liners: Stick to filling the liner only ⅓ full for the chocolate batter. If you go over, the cheesecake layer won’t sit nicely on top.
- Use a Cookie Scoop: This makes portioning both the chocolate batter and cream cheese filling easier and keeps everything consistent.
- Mini Chocolate Chips Work Best: They distribute evenly throughout the filling without sinking or clumping.
- Check at 16 Minutes: Every oven is different, so start checking around the 16-minute mark. Mine are perfect at 18 minutes.
- No Sifter? No Problem: I like to sift the dry ingredients to remove lumps. If you’re in a rush or don’t have a sieve or sifter, whisk the dry ingredients well. It’ll still turn out great.
FAQs about Black Bottom Cupcakes
Black bottom cupcakes are a nostalgic dessert with roots tied to Baltimore, Maryland, dating back to the 1960s or 1970s. I couldn’t track down an exact origin, but I know they were a staple every time we visited my grandparents in Baltimore, and they likely started as a cherished family recipe from the area. These simple yet delicious cupcakes reflect the practical baking of the time—using pantry staples like cocoa powder, vinegar, and oil to create a light, moist chocolate base topped with a creamy, cheesecake-like filling. You’ll still find these treats around Maryland today, both homemade and in bakeries, keeping that nostalgic tradition alive.
Sure! But mini chocolate chips are ideal since they distribute more evenly in the filling. If using regular chips, you can lightly chop them to prevent sinking.
Definitely! Just double all the ingredients, and you’re good to go. You may need to bake in batches unless you have multiple muffin tins.
Absolutely! These cupcakes store well. You can bake them a day in advance and refrigerate them, or even freeze them for later. Just let them cool completely before storing.
Yes, it’s best to refrigerate them if you’re not eating them the same day since the cream cheesecake filling needs to stay chilled. Some people even like to eat these chilled.
Storage for Chocolate Cheesecake Cupcakes
Store in the Refrigerator: Since they contain cream cheese, it’s best to refrigerate them if they’ll be around for more than a day. Place them in an airtight container to keep them moist and fresh for up to 5 days.
Freezing: These cupcakes freeze beautifully! I like to wrap each one in plastic wrap and place them in a freezer-safe bag or container. But you can place them in the freezer on a tray to freeze initially and then store in the freezer bag (this prevents them from sticking together) They’ll keep for up to 3 months. When ready to enjoy, let them thaw in the fridge or at room temperature.
If You Love This Recipe, Try These
Hungry for more easy, home-cooked, delicious recipes?
Sign up for my free recipe club to get family-friendly recipes in your inbox each week! Find me sharing daily meal-time inspiration on Pinterest, Facebook, and Instagram.
Black Bottom Cupcakes
Click Stars To Rate
Equipment
Ingredients
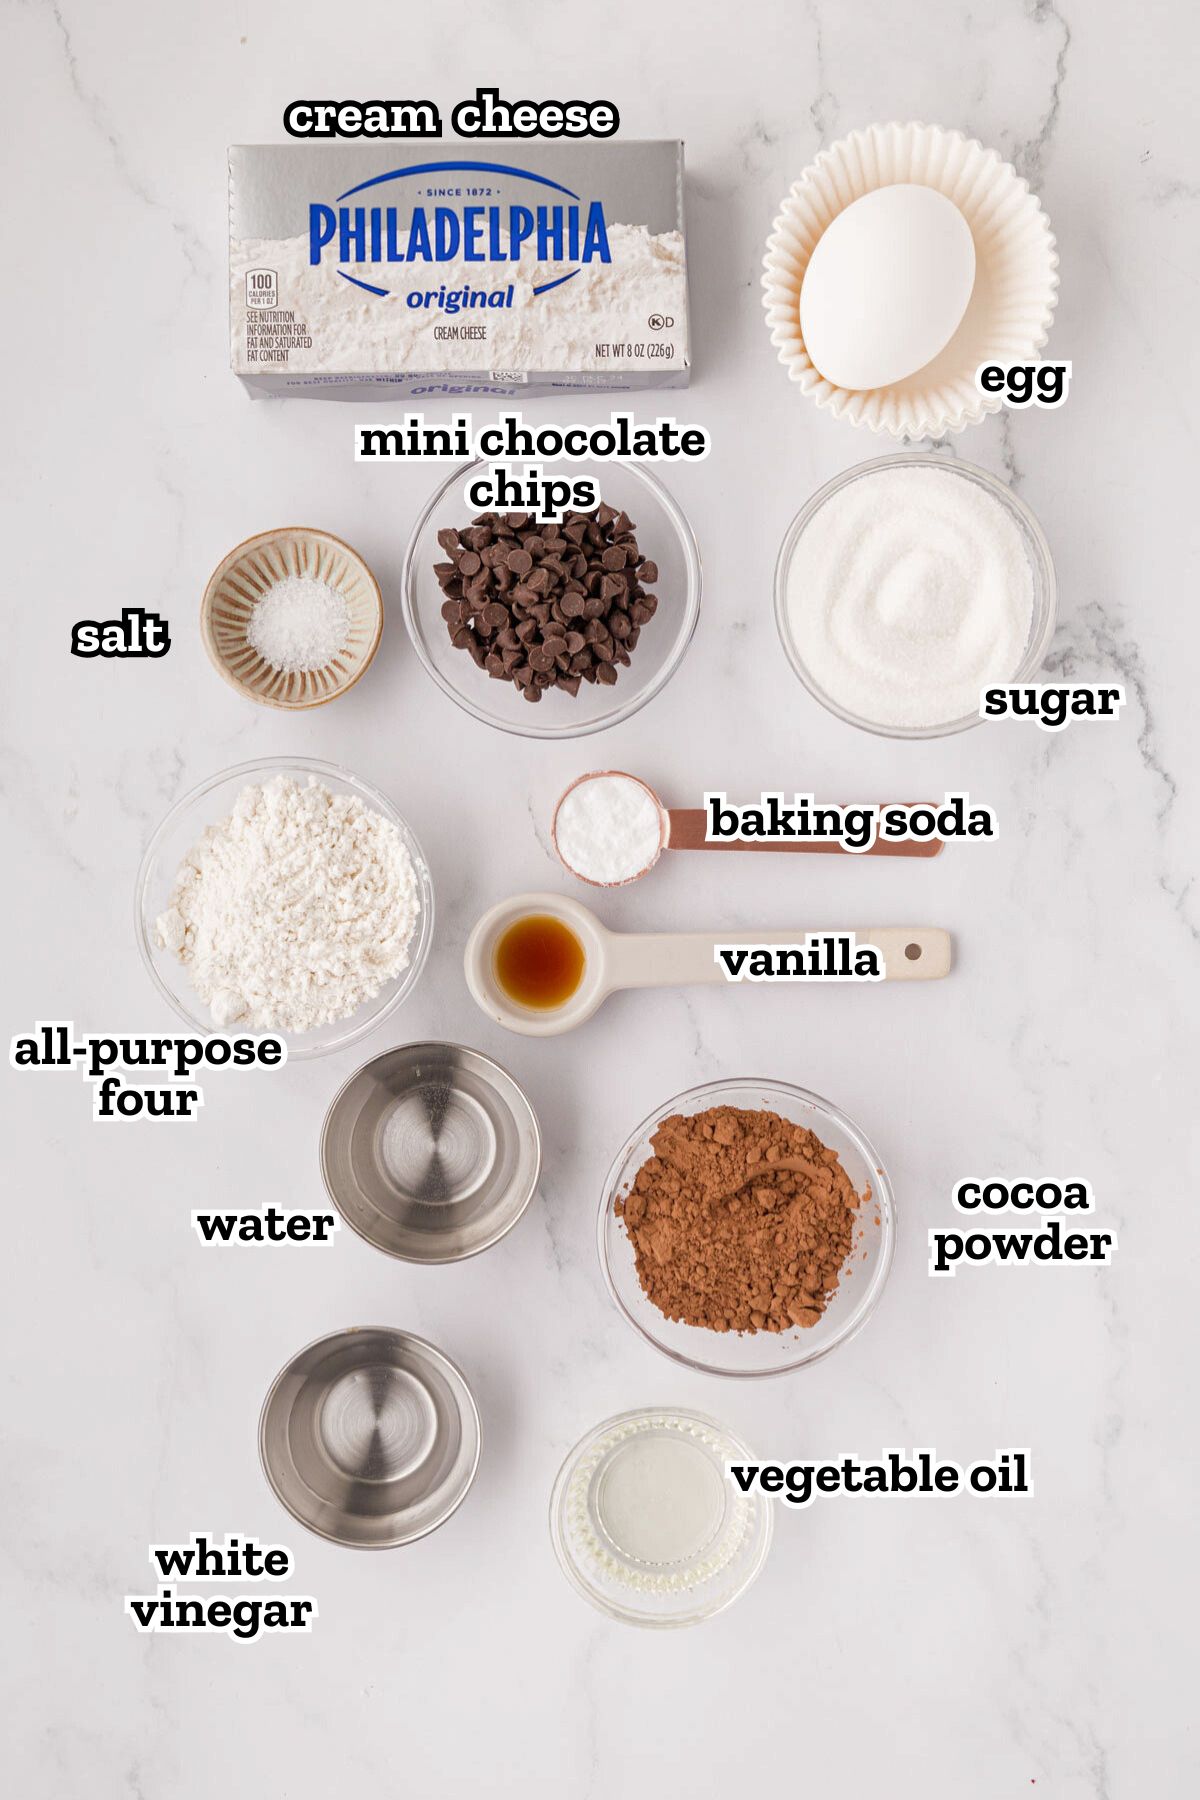
- 6 ounce cream cheese - room temperature
- 1 large egg - room temperature
- ¼ cup granulated sugar
- ⅛ teaspoon kosher salt
- ½ cup mini semi-sweet chocolate chips
- ¾ cup all-purpose flour
- ½ cup white granulated sugar
- ¼ cup unsweetened cocoa powder - (you can use as little as 1/8 cup)
- ½ teaspoon baking soda
- ½ teaspoon kosher salt
- ½ cup water
- ¼ cup vegetable or canola oil
- 1 ½ teaspoons white vinegar
- vanilla
Instructions
- Preheat the oven to 350 degrees F. Line a 12-cup muffin tins with paper cups or spray the pans.
- In a medium bowl, with an electric mixer or in a stand mixer – beat cream cheese and sugar until soft and creamy (no lumps of cream cheese). Add egg and salt and mix until combined. Stir in chocolate chips; set aside.6 ounce cream cheese, 1 large egg, ¼ cup granulated sugar, ⅛ teaspoon kosher salt, ½ cup mini semi-sweet chocolate chips
- In a large bowl, sift together the flour, sugar, cocoa powder, baking soda, and salt using a mesh sieve or strainer. Then, whisk until well combined.¾ cup all-purpose flour, ½ cup white granulated sugar, ¼ cup unsweetened cocoa powder, ½ teaspoon kosher salt, ½ teaspoon baking soda
- Add water, oil, vinegar, and vanilla extract and stir until batter is smooth and well combined.½ cup water, ¼ cup vegetable or canola oil, 1 ½ teaspoons white vinegar, vanilla
- Using a cookie or ice cream scoop, evenly divide chocolate batter into prepared muffin tins, filling each liner only ⅓ full with batter. Be sure to not fill more than ⅓ way if you want the cheesecake to sit on top.
- Gently dollop about 1 ½ Tablespoons of cheesecake batter onto the top of the chocolate batter in the center.
- Transfer to a 350℉ oven and bake for 16-20 minutes. (18 minutes is the magic number in my oven, but every oven varies).
- Allow to cool completely and then enjoy.
Notes
- 8 ounce cream cheese, room temperature
- 1 large egg, room temperature
- ⅓ cup granulated sugar
- ⅛ teaspoon kosher salt
- 1 cup mini semi-sweet chocolate chips
- 1 ½ cup all-purpose flour
- 1 cup white granulated sugar
- ¼ cup unsweetened cocoa powder
- 1 teaspoon baking soda
- 1 cup water
- ½ cup vegetable
- 1 Tablespoon white vinegar
- 1 teaspoon vanilla extract
Want to Save this Recipe?
By submitting this form, you consent to receive emails from Soulfully Made.


Hi Nikki,
Thanks for including this recipe! We are fans. 🙂 I am originally from the Baltimore area myself (Dundalk, to be exact), and although we never purchased these from a bakery or made them at our house, we had them. A childhood friend of my sister’s shared them with us a time or two. I had no idea until recently that they were a “Baltimore” thing! I was wondering where this recipe may have originated- did your grandmother ever say, or would you be able to possibly ask? I would love to know- I am fascinated by the history of recipes and such. Thanks a million!
Hi, Heather. She never did say where they originated and sadly she is no longer with us. I will keep asking and searching and will let you know if I find out more. I hope you enjoy them. They are such a family favorite in our home.