This post may contain affiliate links. Please read our disclosure policy.
Carrot Cake Balls are a delicious and adorable alternative to traditional Easter carrot cake. They’re easily thrown together with a dry cake mix, cream cheese, and chopped walnuts. To top it all off, the cake balls are dipped into melted vanilla wafers and decorated with an Easter-inspired design!
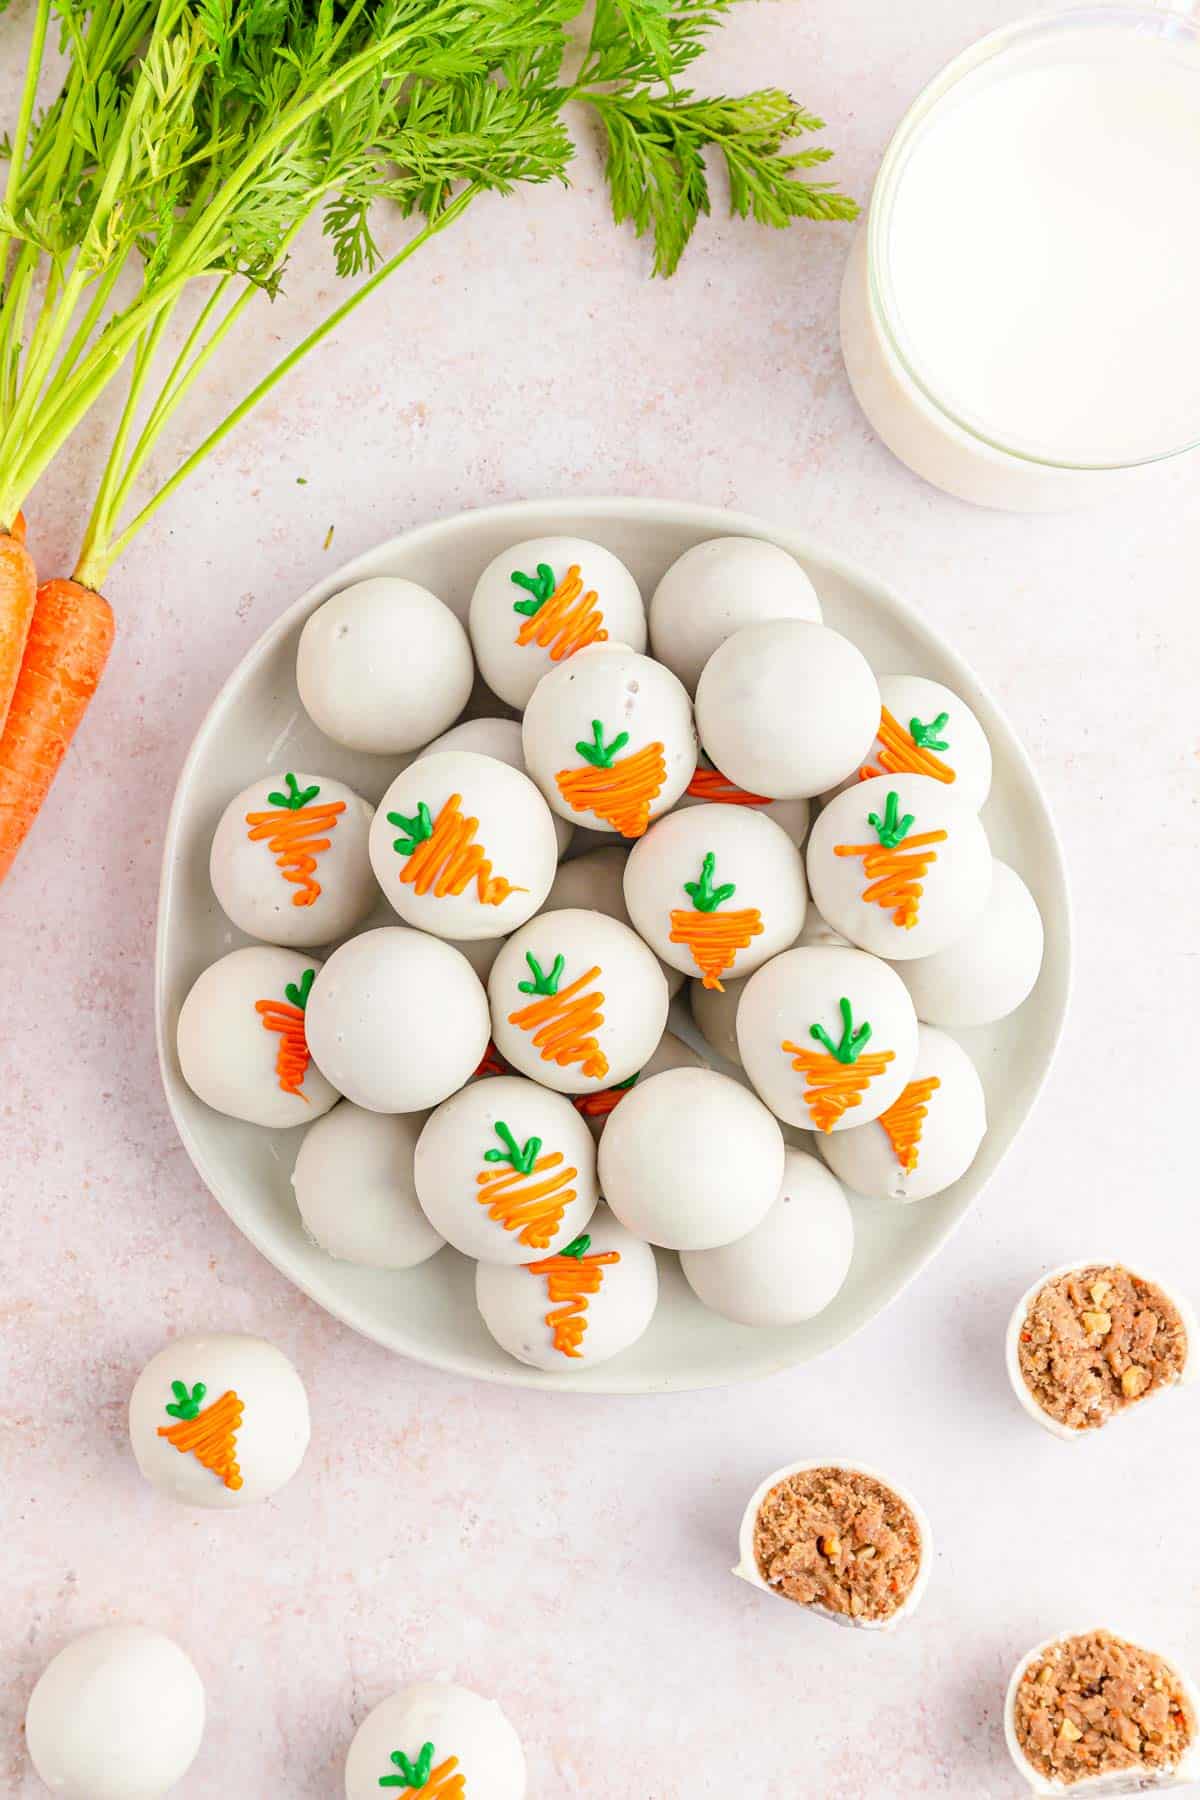
Consider bringing these tasty little treats to your next family gathering or the big Easter feast. It won’t take long for you to realize how irresistible these festive holiday desserts are!
One minute you’re setting up a pretty display of your homemade and hand-decorated carrot cake balls. But when you turn your back, they are suddenly missing from the tray! I’ve never heard of the Easter Bunny stealing sweet holiday treats.
So, that leaves only two possibilities– Your family and loved ones couldn’t resist one bite-sized doughy cake ball after another, or you somehow gobbled the whole batch down in a blink of an eye! Both scenarios are highly likely, trust me.
If you’re on the hunt for more crowd-pleasing desserts for the upcoming spring holiday, try my Oreo Easter Bark Recipe with pastel M&Ms and Oreo crumbles or these adorable Mini Strawberry Tartlets made with fresh strawberries. And you can never go wrong with classic Italian Ricotta Cookies that melt in your mouth!
Why We Love This Recipe!
- Festive for Easter: On its own, carrot cake screams Easter! But the green and orange candy melts take this festive treat to the next level. Delicious carrot cake is a perfect snack for spring or a bite-sized holiday dessert.
- Great for a Crowd: This recipe makes 24 cake balls, allowing around 12 guests to have two each, which is ideal for many family Easter celebrations. It’s also easy to double or triple to feed more people.
- Fun to Make: These cake balls are exciting and oh-so-easy to make. It’s a great Easter recipe for your kids to help out with.
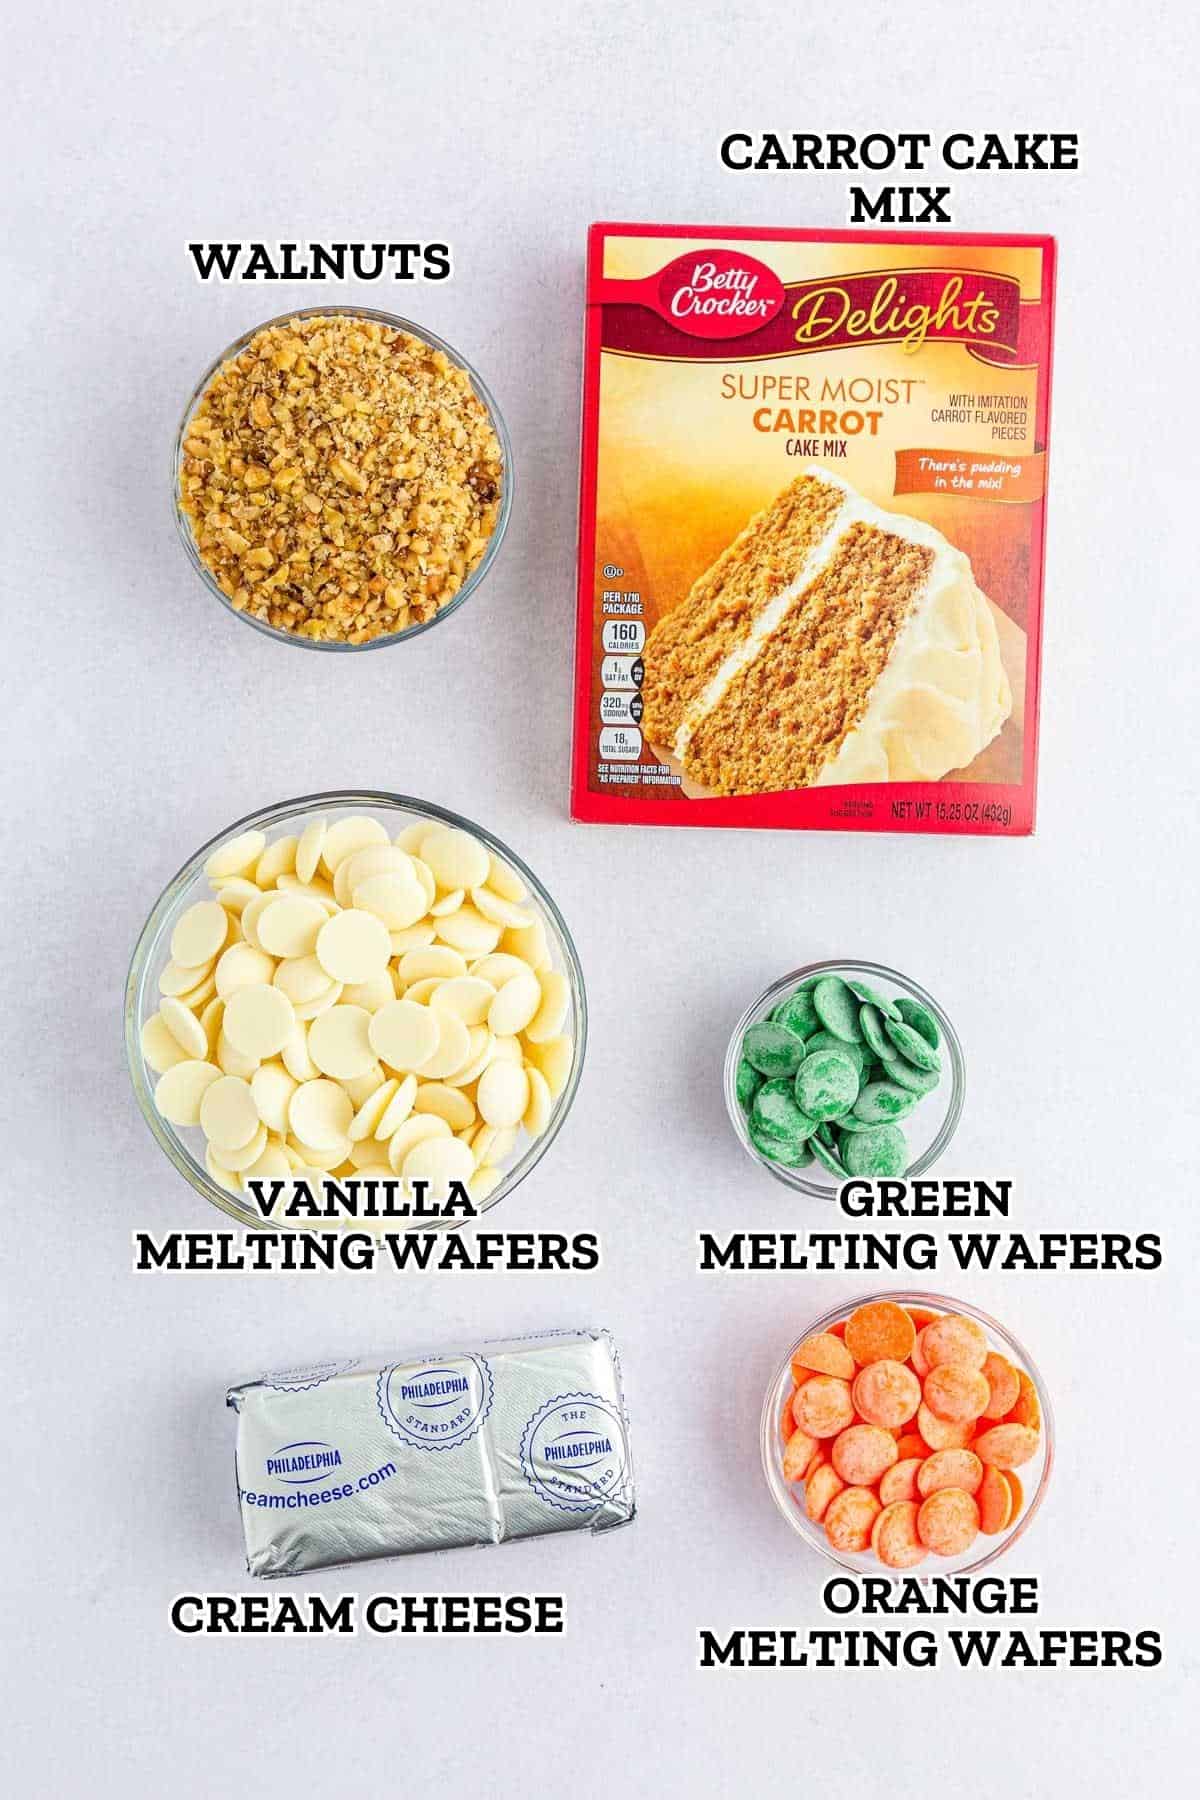
Ingredient Notes
Variations and Substitutions
How To Make No-Bake Carrot Cake Bites
✱ Be sure to see the recipe card below for exact ingredients and full recipe instructions!
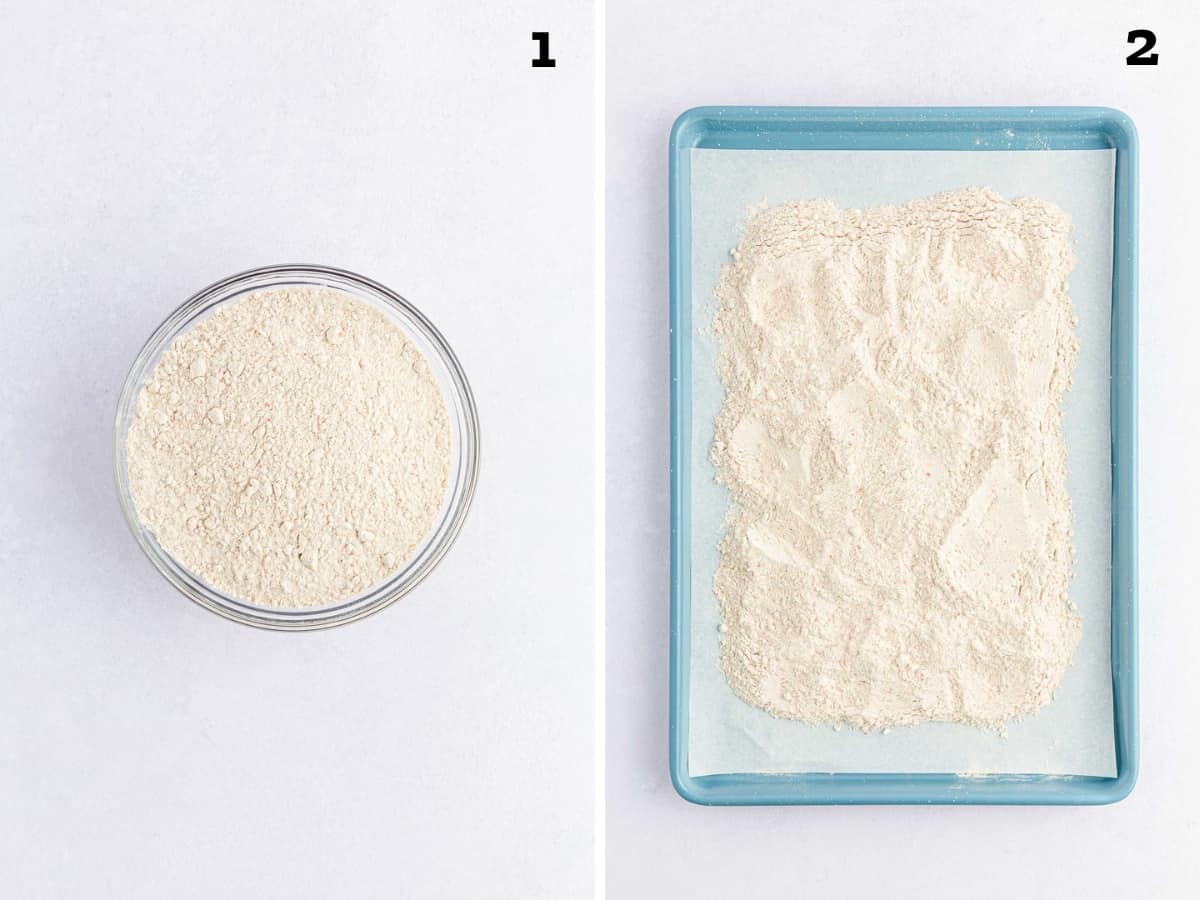
Step 1 | Heat treat the cake mix
The first thing to do is heat-treat the dry cake mix. Line a baking sheet with parchment paper and preheat the oven to 350 degrees. Next, spread the dry cake mix onto the prepared baking sheet and bake in the oven for about five minutes. Then, remove the sheet pan from the oven and let the mix cool for five to ten minutes.
If preferred, you can also heat treat the dry mix in the microwave. Just pour the mix into a microwave-safe dish and heat for a couple of minutes in 30-second increments, stirring each time you remove it.
Then, set the treated mix aside for later.
Step 2 | Beat the cream cheese
Use a hand mixer or stand mixer to beat the cream cheese. Set the speed to medium-high and continue mixing until the cream cheese is silky smooth. Remember to scrape the side of the bowl to incorporate all of the cream cheese.
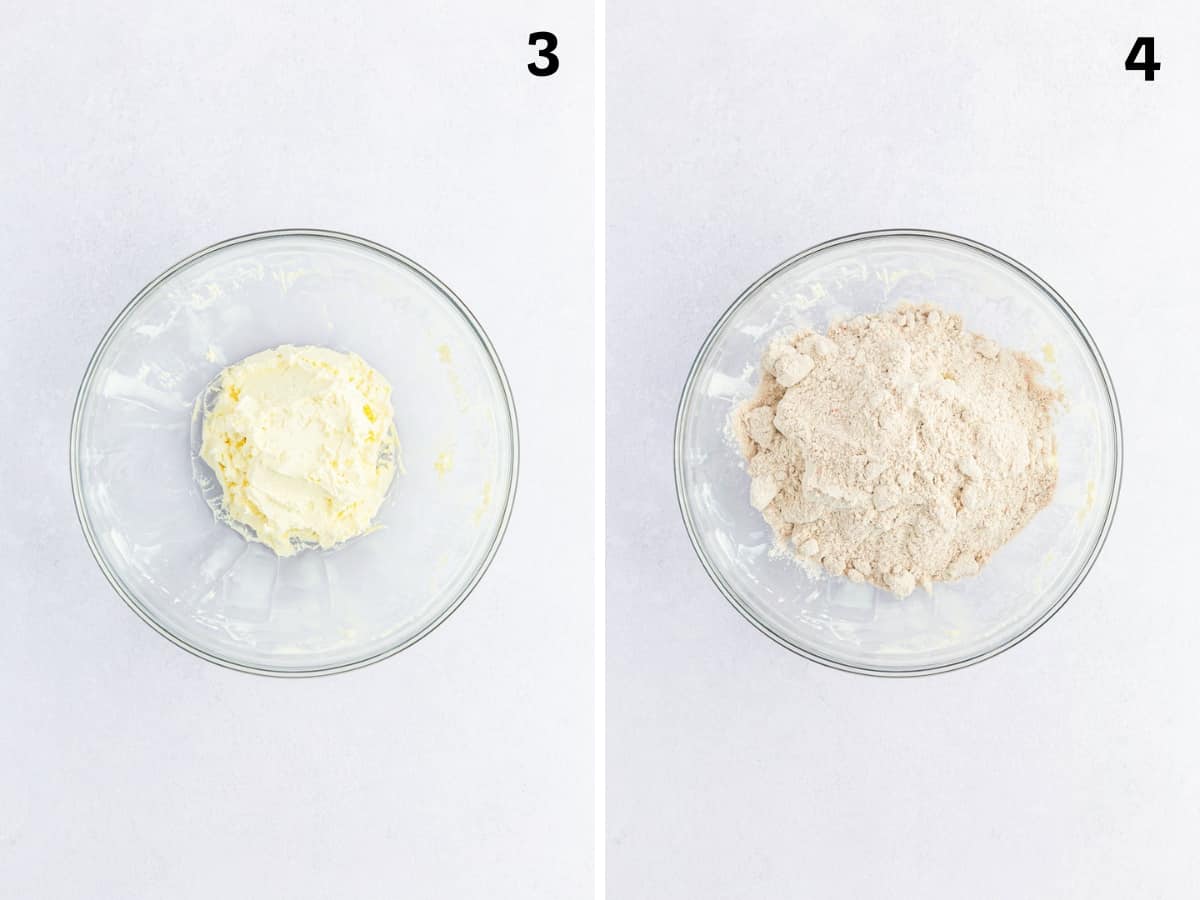
Step 3 | Add the cake mix and nuts
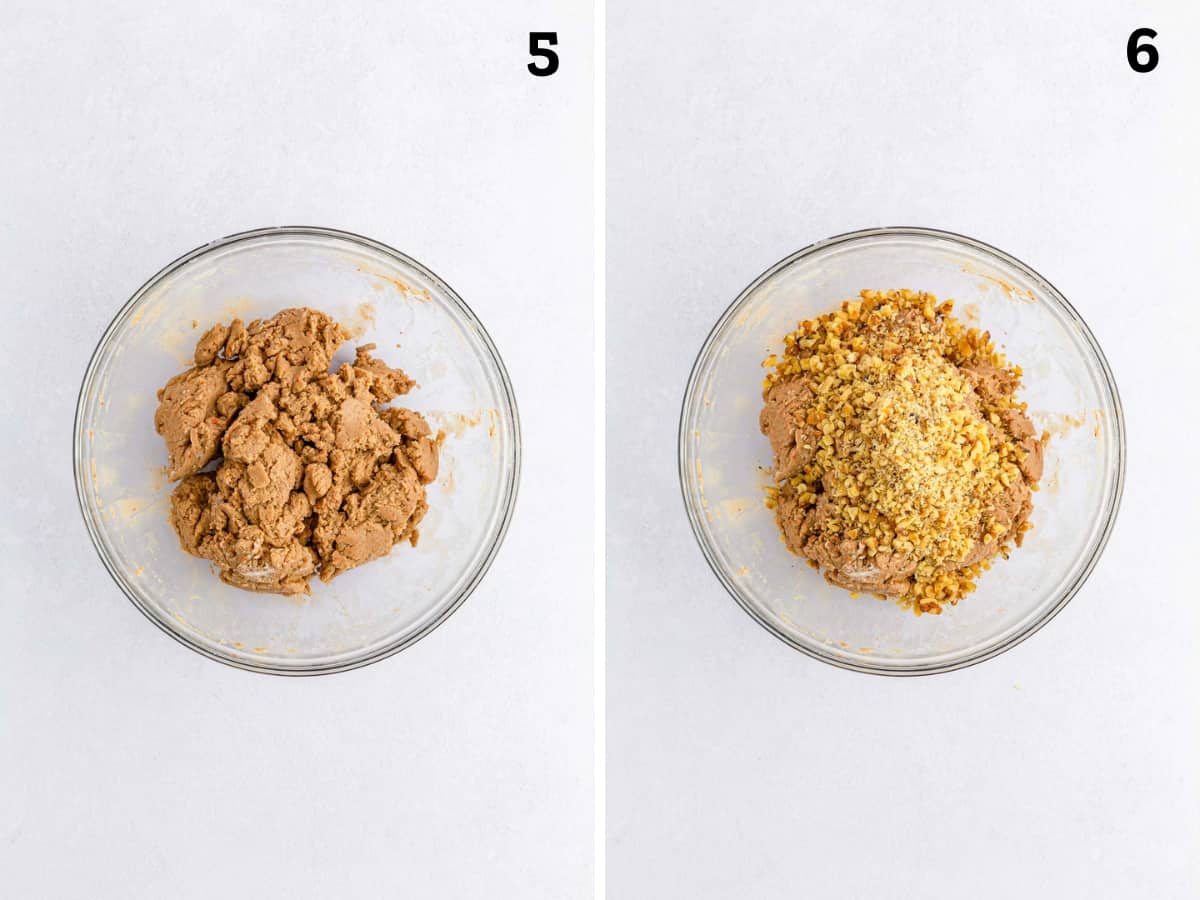
Next, pour the cooled cake mix into the mixing bowl with the cream cheese and mix on medium speed. When you achieve a sticky dough-like consistency, the batter is ready for the walnuts! So, chop them up and fold them in, evenly distributing the walnuts.
Step 4 | Chill the cake mixture
Now, cover the bowl with plastic wrap and set it in the refrigerator to cool for a couple of hours.
Step 5 | Scoop and form the cake balls
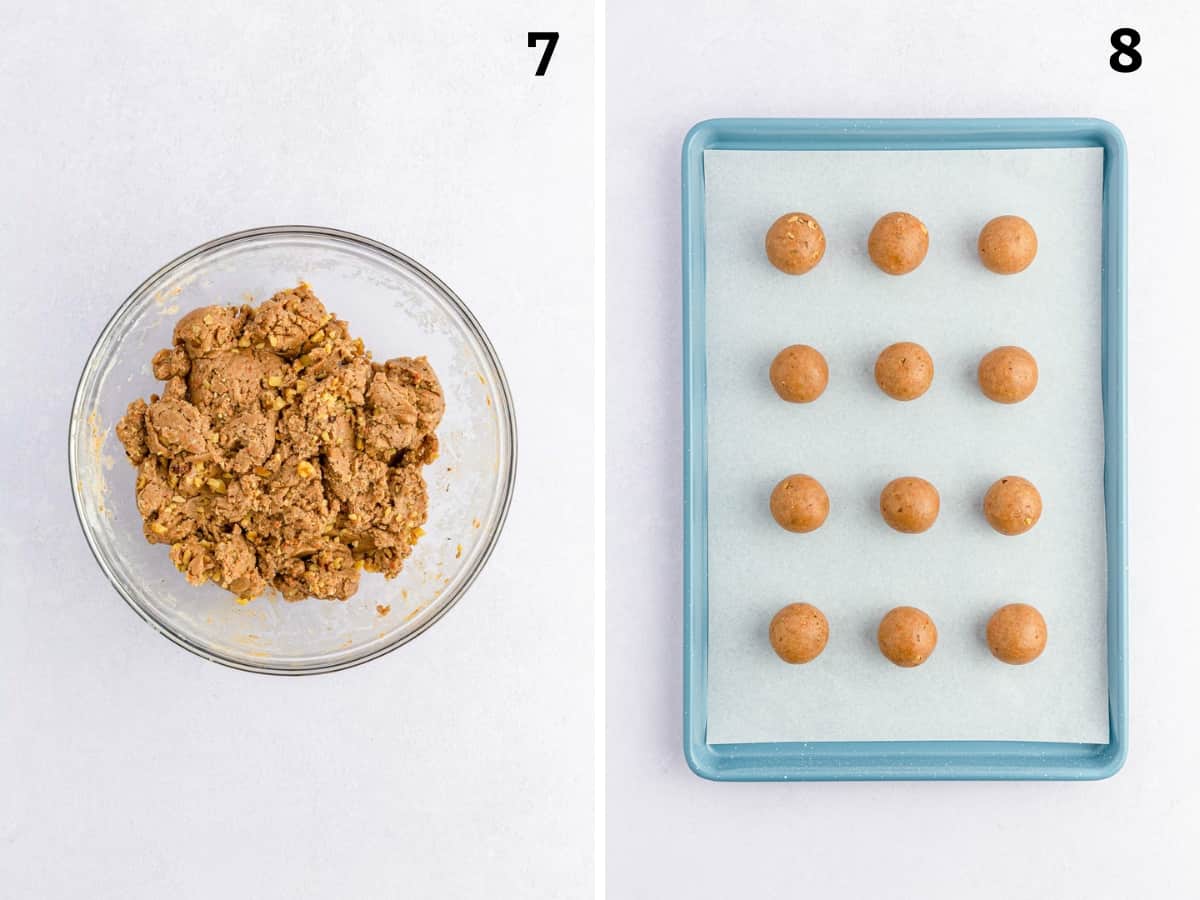
After about two hours, the mixture should be well chilled and ready to scoop onto two parchment-lined baking sheets. Scoop one tablespoon at a time and roll them in your hands to form smooth and round balls. Use a spoon or medium cookie scoop to get the right amount each time. Continue until all the mix is used, placing the cake balls about two inches apart.
Step 6 | Melt the vanilla wafers
Prepare to dip the cake balls in vanilla melting wafers by heating a double boiler over low heat. Add the wafers and melt them, stirring until they are nice and smooth. You can also warm the white candy melts in the microwave at the low heat setting for 30 seconds at a time, stirring between each interval.
Step 7 | Cover with melted vanilla wafers
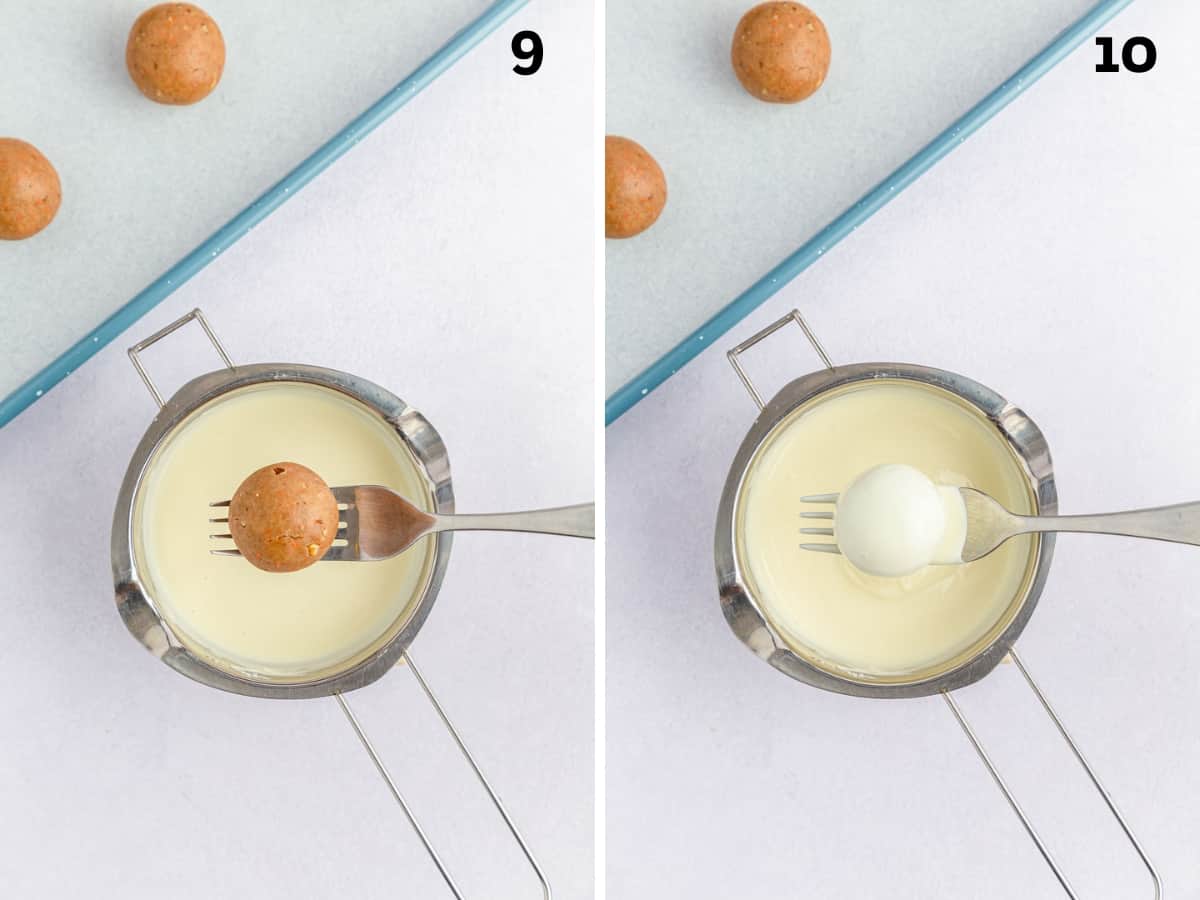
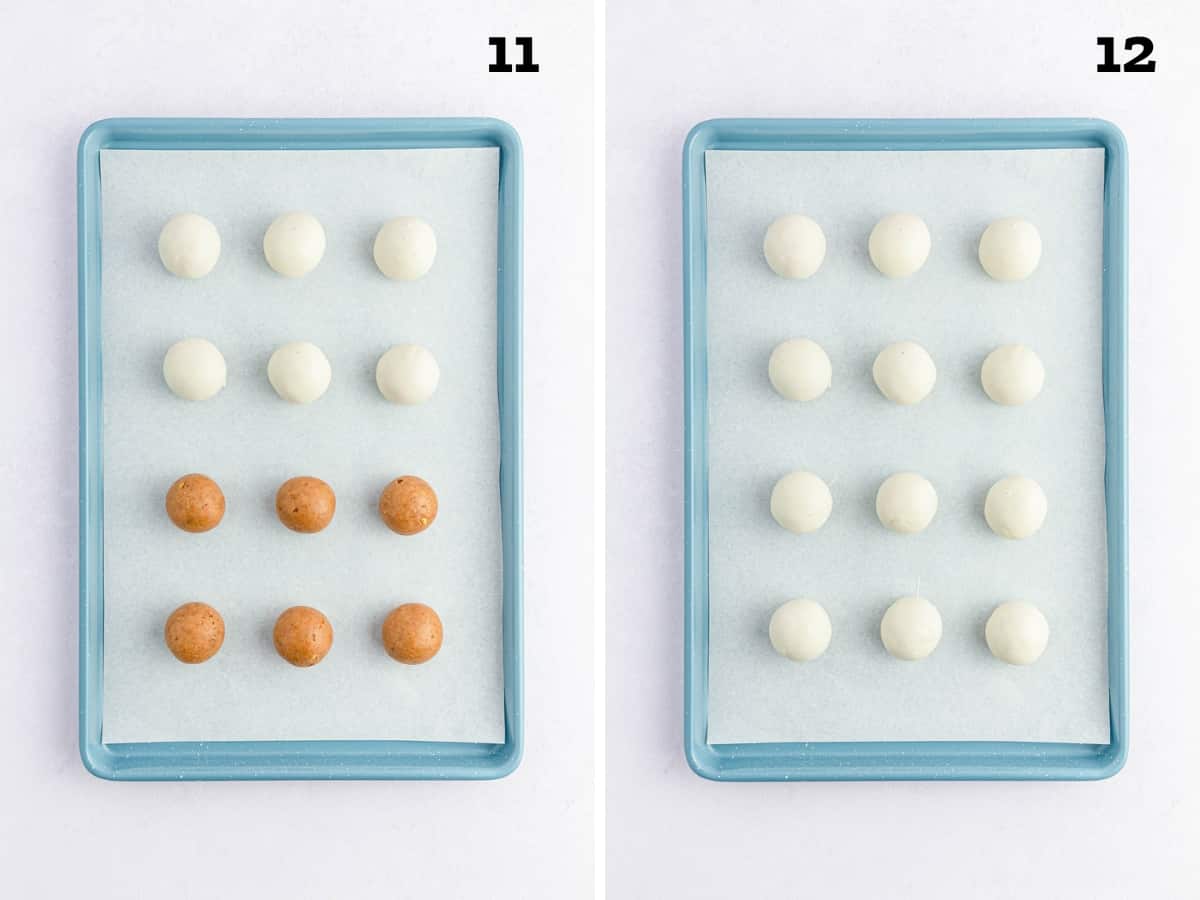
Then, pierce a cake ball with a fork, dunk it into the melted candy coating, remove it, and let the excess drip off. Set the covered ball onto a baking sheet and continue with the remaining cake balls.
Step 8 | Melt the candies
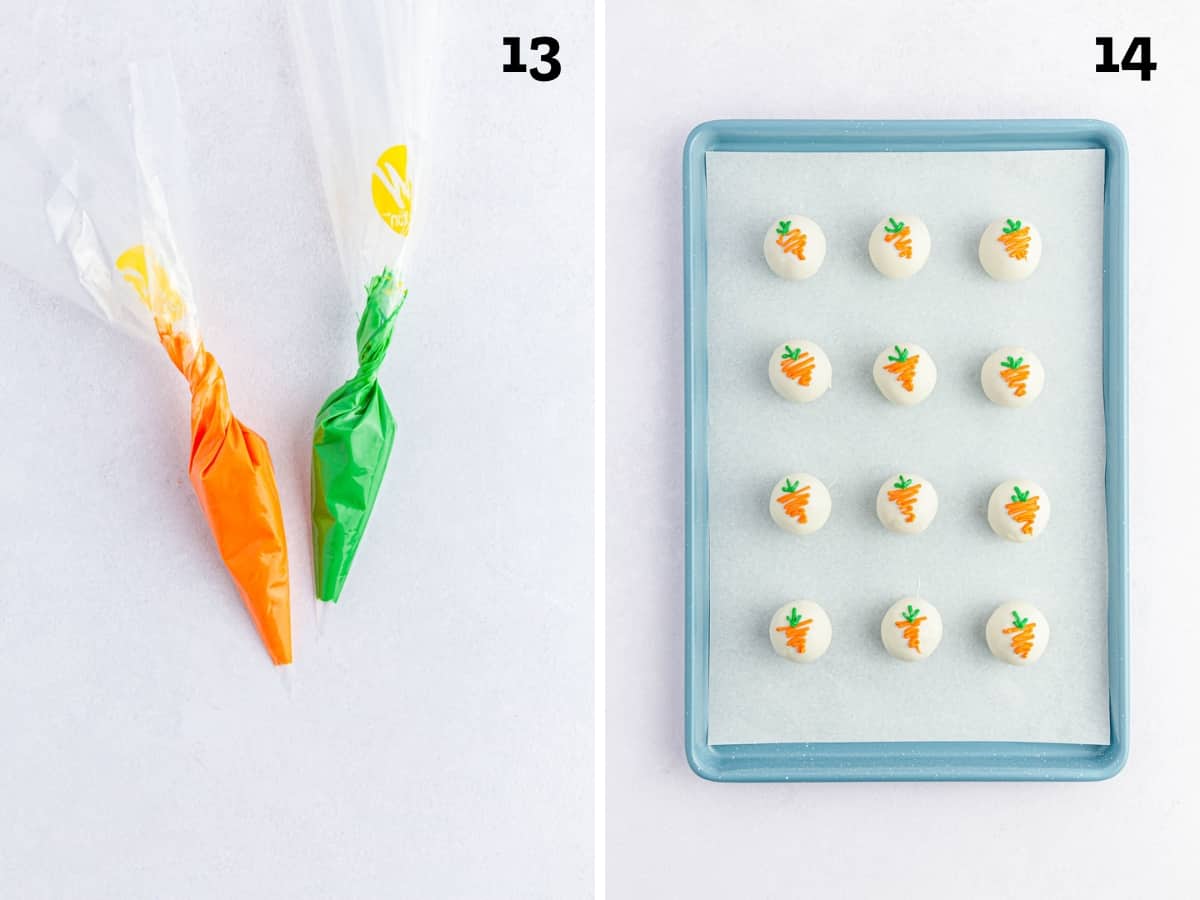
Now, on to the candy melts– the best part! But first, we need to melt them down. Set the orange and green candies in two separate microwave-safe piping bags, twisting to seal them. Microwave in 30-second periods and massage the bag between intervals to help it melt thoroughly and evenly.
Step 9 | Decorate with green and orange
Hot out of the microwave, cut a small hole at the tip of the piping bag, and get to decorating! Try piping on a carrot design or drizzle the two colors over the cake balls.
Step 10 | Set and serve!
The last step is to allow the cake balls plenty of time to cool and harden. Place them in the refrigerator to make the process run quicker, or leave them out on the counter to set.
Then, serve and enjoy, y’all!
Tips
- Chilling the Cake Mixture– If you rush the process by skipping cooling the cake mixture, the balls will likely fall apart when forming them and dipping them into the melted chocolate.
- Work Quickly– Once the cake balls are formed and the vanilla wafers are fully melted, move quickly with the dipping steps. The chocolate will harden the longer it sits out, making it more challenging to coat the balls.
- Heat on Low– Whether you melt them in the microwave or a double broiler, always use a low temperature to avoid clumpy chocolate.
Want to Save this Recipe?
By submitting this form, you consent to receive emails from Soulfully Made.
Recipe FAQ’s
You can also bake the cake as directed and then let it cool completely. Add ½ block of cream cheese and combine, adding up to the full block until the cake mixture is combined and forms a nice ball or dough. Form cake balls and then chill or freeze. Proceed with recipes as directed for dipping and decorating.
If you don’t have piping bags, you can still add the pretty orange and green drizzles to your no-bake carrot cake balls. All you need are a couple of microwaveable dishes and plastic food storage bags. Melt the candies in short intervals until they are entirely melted.
Then, scoop the melted candy into the bag, twist the top to seal it, and cut one of the bottom corners to act as the tip of the piping bag. EASY!
There is no actual difference between cake pops and cake balls. They are the same sweet treat sharing basic ingredients to satisfy your sweet tooth. The only difference is that cake pops are cake balls pierced with a lollipop stick for more convenient handling and a cute appearance.
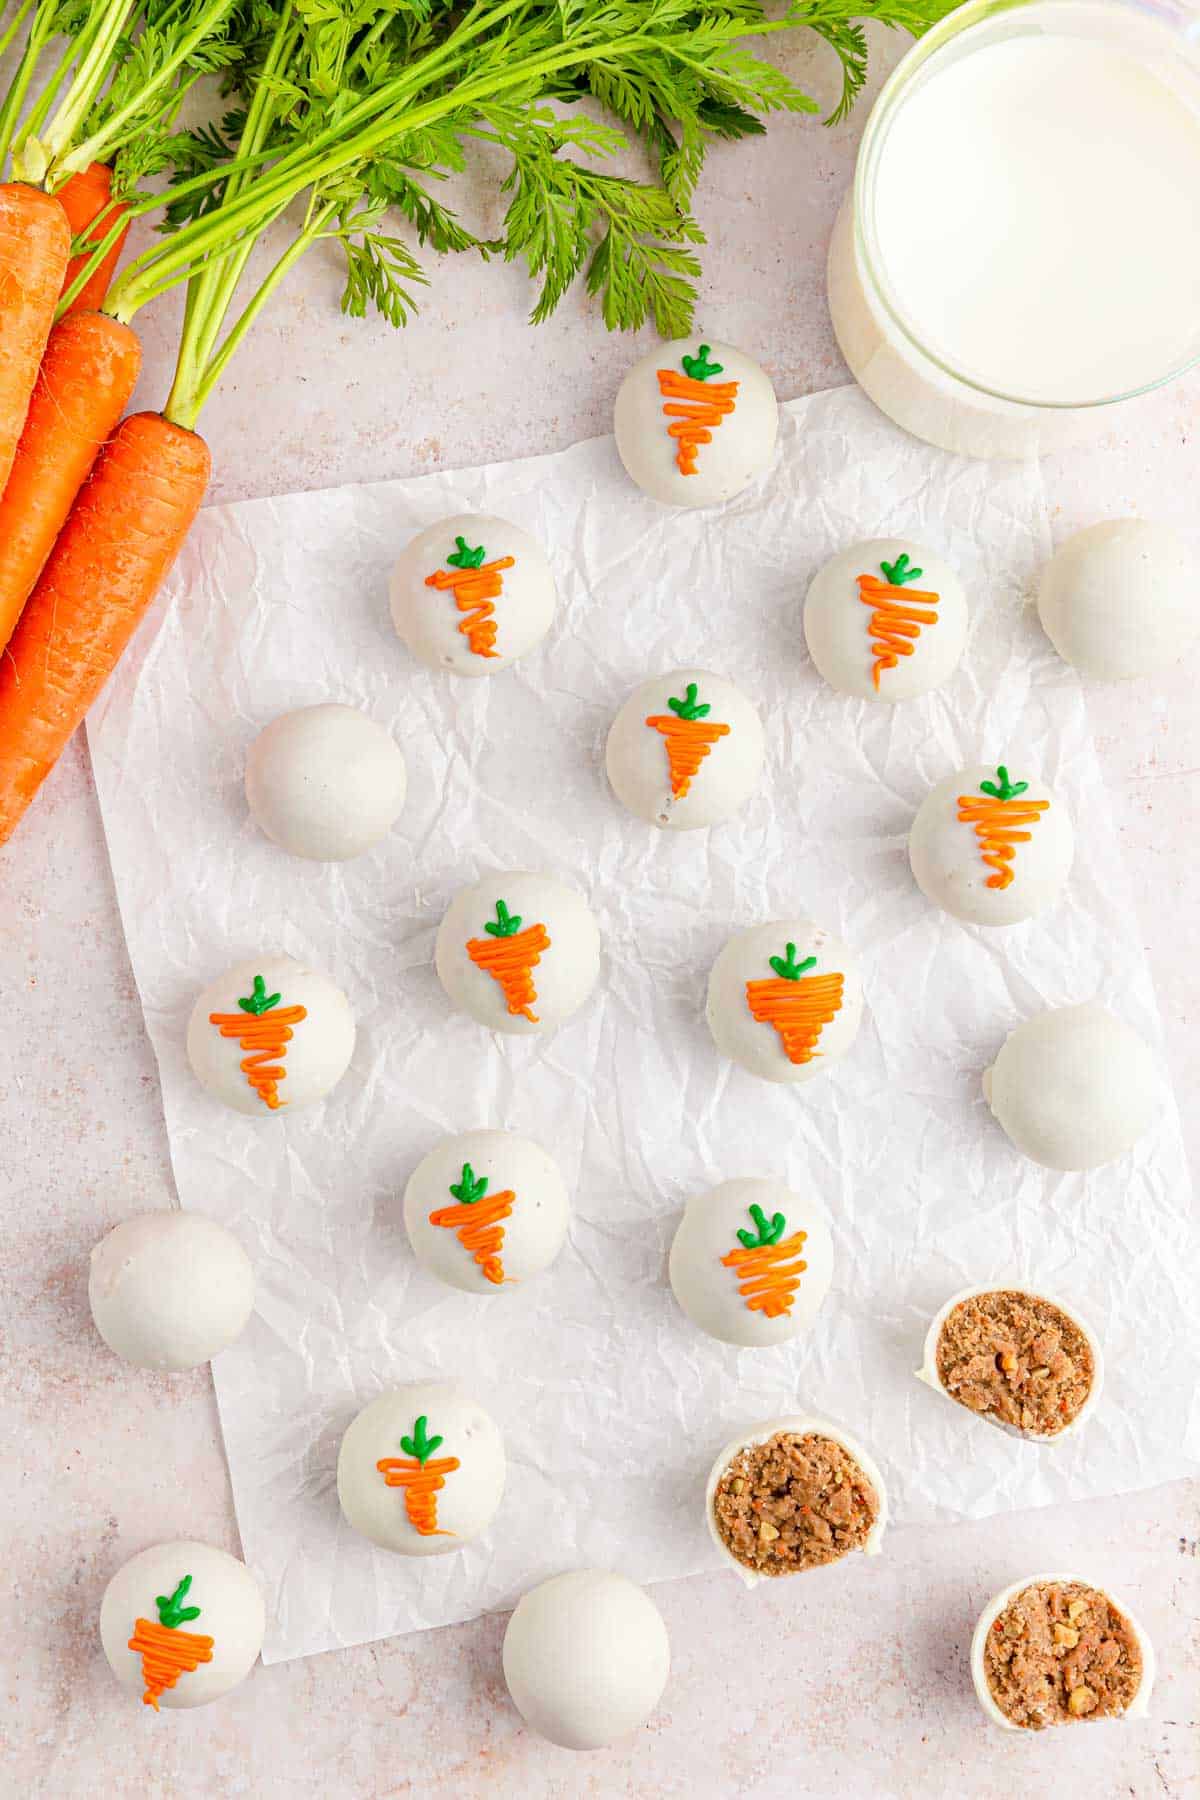
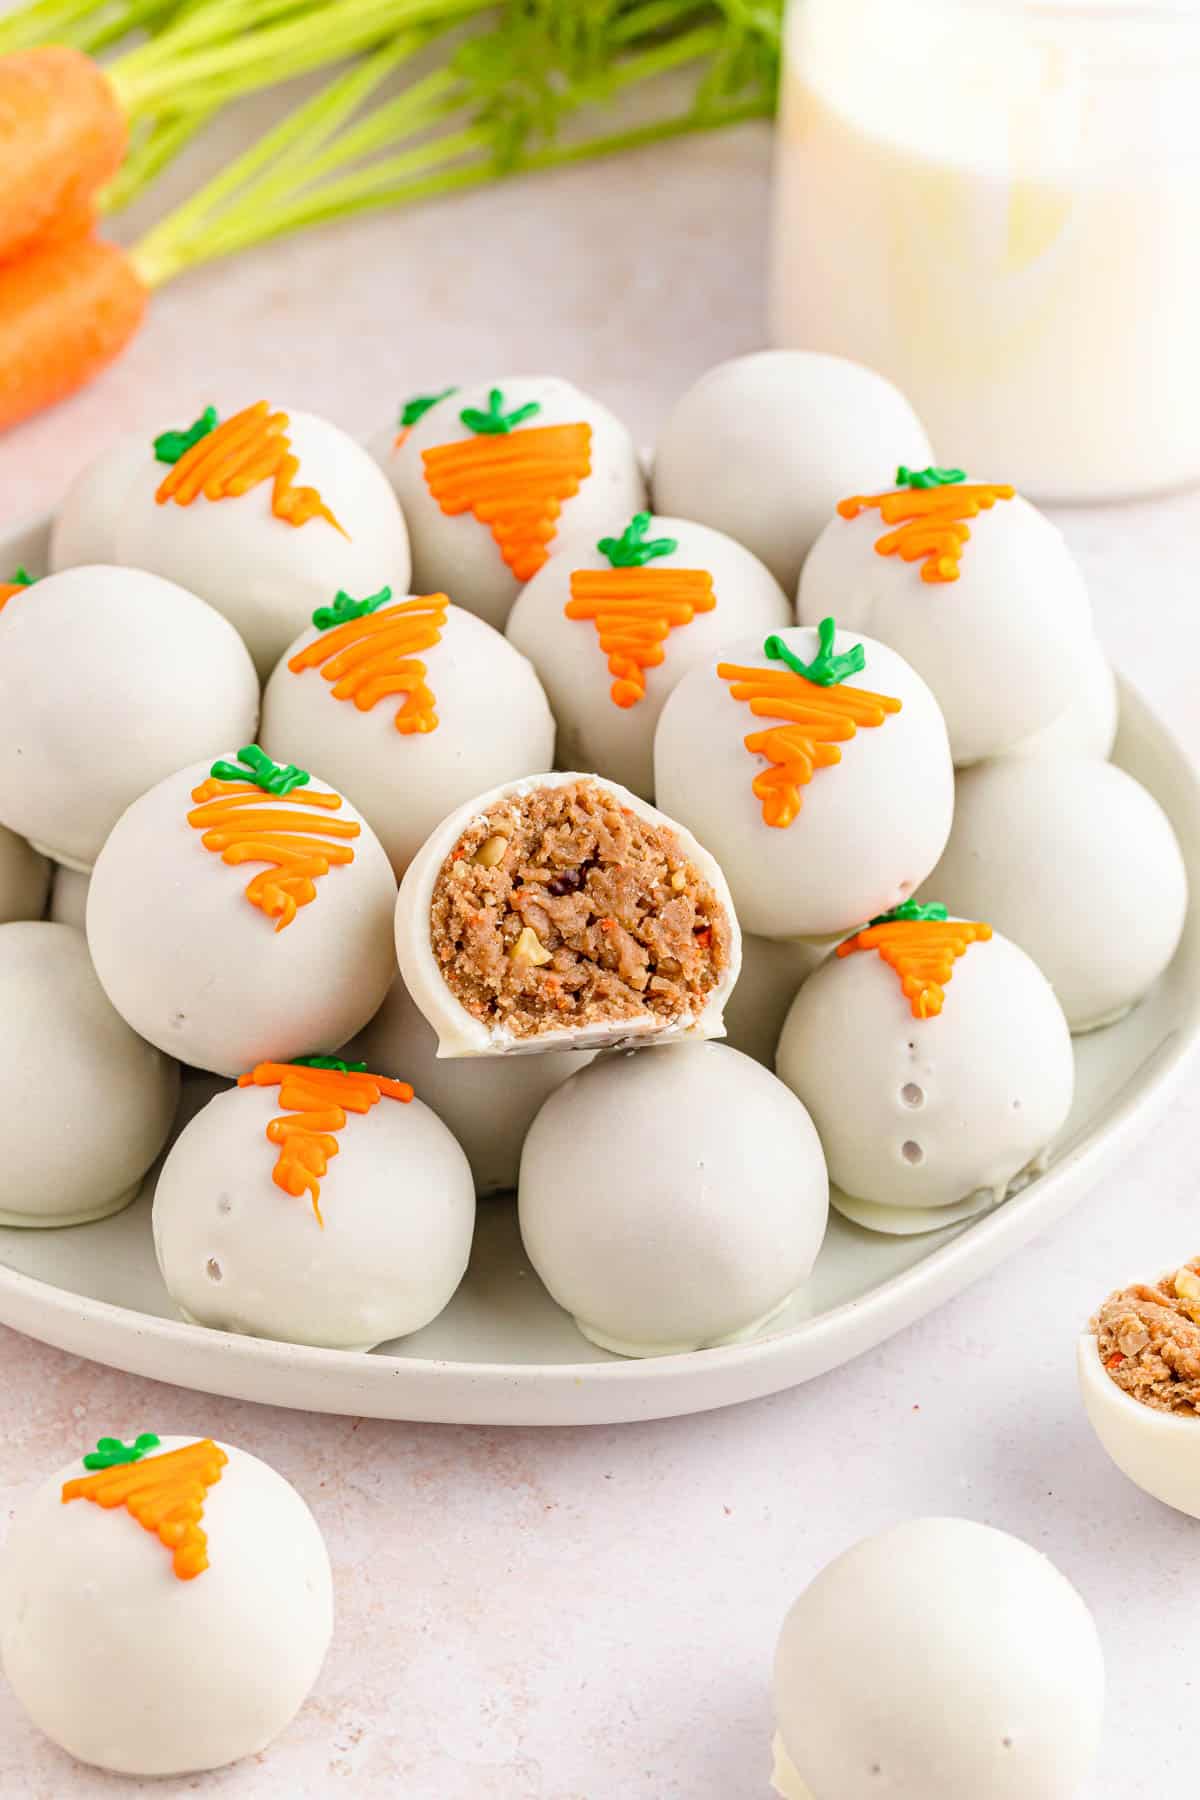
For this recipe, I recommend coating the balls in vanilla chocolate and drizzling them with green and orange or creating a cute mini carrot design. But you can also cover the bites with powdered sugar, vanilla icing, unsweetened shredded coconut, white almond bark, or caramel glaze– YUM!
What to Serve with Carrot Cake Balls Recipe
Complete your Easter feast with this delicious and easy Coke and Jelly Ham and sides like Southern Style Green Beans and Au Gratin Potatoes. Then, end your holiday with sweet bites of these irresistible, chocolate-dipped, and moist carrot cake balls or a lavender cake that is perfect for spring!
Storage
Storage: Cover with foil or plastic wrap or place in an airtight container and store in the refrigerator for 3 days.
Freeze:
Freeze for Long-term Storage: Keep these delicious treats for even longer by storing them in the freezer in a freezer-safe bag or container for a whole month! Double the recipe, serve the first batch, and save the second as the perfect treat for a rainy day.
More Easter-Worthy Desserts
- Raspberry Fluff Cake Recipe
- Easy Carrot Cake with Whipped Cream Icing
- Red Velvet Cupcakes
- Lemon Pudding Poke Cake
- Magnolia Bakery Banana Pudding
Hungry for more easy, home-cooked, delicious recipes?
Sign up for my free recipe club to get family-friendly recipes in your inbox each week! Find me sharing daily meal-time inspiration on Pinterest, Facebook, and Instagram.
Carrot Cake Balls
Equipment
- Double Boiler
Ingredients
- 15.25 oz Carrot Cake Mix, I like Betty Crocker.
- 8 oz Block of Cream Cheese
- ½ cup Chopped Walnuts
- 10 oz Ghiradelli Vanilla Melting Wafers
- ½ cup Wilton's Orange Candy Melts
- ¼ cup Wilton's Green Candy Melts
Instructions
- Heat-treating the dry cake mix: Preheat the oven to 350°F and line a baking sheet with parchment paper or a silicon mat. Sprinkle the cake mix on top of the baking sheet.Once the oven is heated, bake the dry cake mix for 5 minutes. Remove it from the oven and allow it to cool for 5-10 minutes. Alternatively, you may heat treat the dry cake mix in a microwave-safe bowl and microwave it in 30-second increments for 2-3 minutes. Make sure to stir it at every interval. Then set aside to allow the cake mix to cool for 5-10 minutes.
- In a medium mixing using a hand mixer or stand mixer bowl, beat the cream cheese on medium-high speed until smooth and creamy.
- Add the cooled cake mix to the bowl and beat it on medium speed until you get a dough consistency. Then fold in the chopped walnuts until evenly distributed.
- Cover the cake ball mixture with plastic wrap and place in the refrigerator to chill for 2 hours.
- Once chilled, line two baking sheets with parchment paper and scoop out 1 tablespoon-sized scoop and roll each into balls using the palms of your hands. Repeat with all of the mixture. Place each ball on the baking sheet about 2 inches apart.
- Heat a double boiler over low heat and melt the vanilla melting wafers, stirring occasionally until smooth. Alternatively, you may use a microwave by placing the melts in a microwave-safe bowl and microwaving on a low setting in 30-second intervals, stirring at each interval until melted and smooth.
- Place one cake ball on a fork and dip it into the vanilla melting wafers, completely covering the cake ball. Remove it and gently tap the fork to remove any excess coating and to help smooth it out. Then place it onto the lined baking sheet. Repeat until all cake balls are coated.
- As the white chocolate coating is setting up, place the orange and green candy melts in separate microwaveable piping bags and twist them shut. Then microwave it in 30-second increments, massaging the bag at each interval until fully melted.
- Snip off a small piece of the tip and then decorate the cake balls by making a carrot design ( a zig-zag pattern for the carrot and three lines coming up from the top of the carrot to make the stem) or by drizzling the colors on top of the cake balls.
- Let it set completely before serving. You can place it in the refrigerator for 10 minutes to speed up the process. Enjoy!
Want to Save this Recipe?
By submitting this form, you consent to receive emails from Soulfully Made.
Video
Notes
Nutrition Information
Nutritional Disclaimer
Soulfully Made is not a dietician or nutritionist, and any nutritional information shared is only an estimate. We recommend running the ingredients through an online nutritional calculator if you need to verify any information.
©️Soulfully Made




So easy and yummy! A perfect springtime treat.
So glad I found this recipe just in time for Easter! These cake balls are adorable, that carrot decoration really sold me. Can’t wait to try them!
These cake balls are the perfect treat for Easter. Thanks for sharing.
Okay these are SO cute! Delicious too! They’re the sweetest Easter treat for kids of all ages.
This is such a cute idea! I love the thought of having a big plate of these out for everyone to enjoy for Easter. Time to hit the store!
These carrot cake balls are so adorable, I tried it last weekend and was sooo easy to make.