This post may contain affiliate links. Please read our disclosure policy.
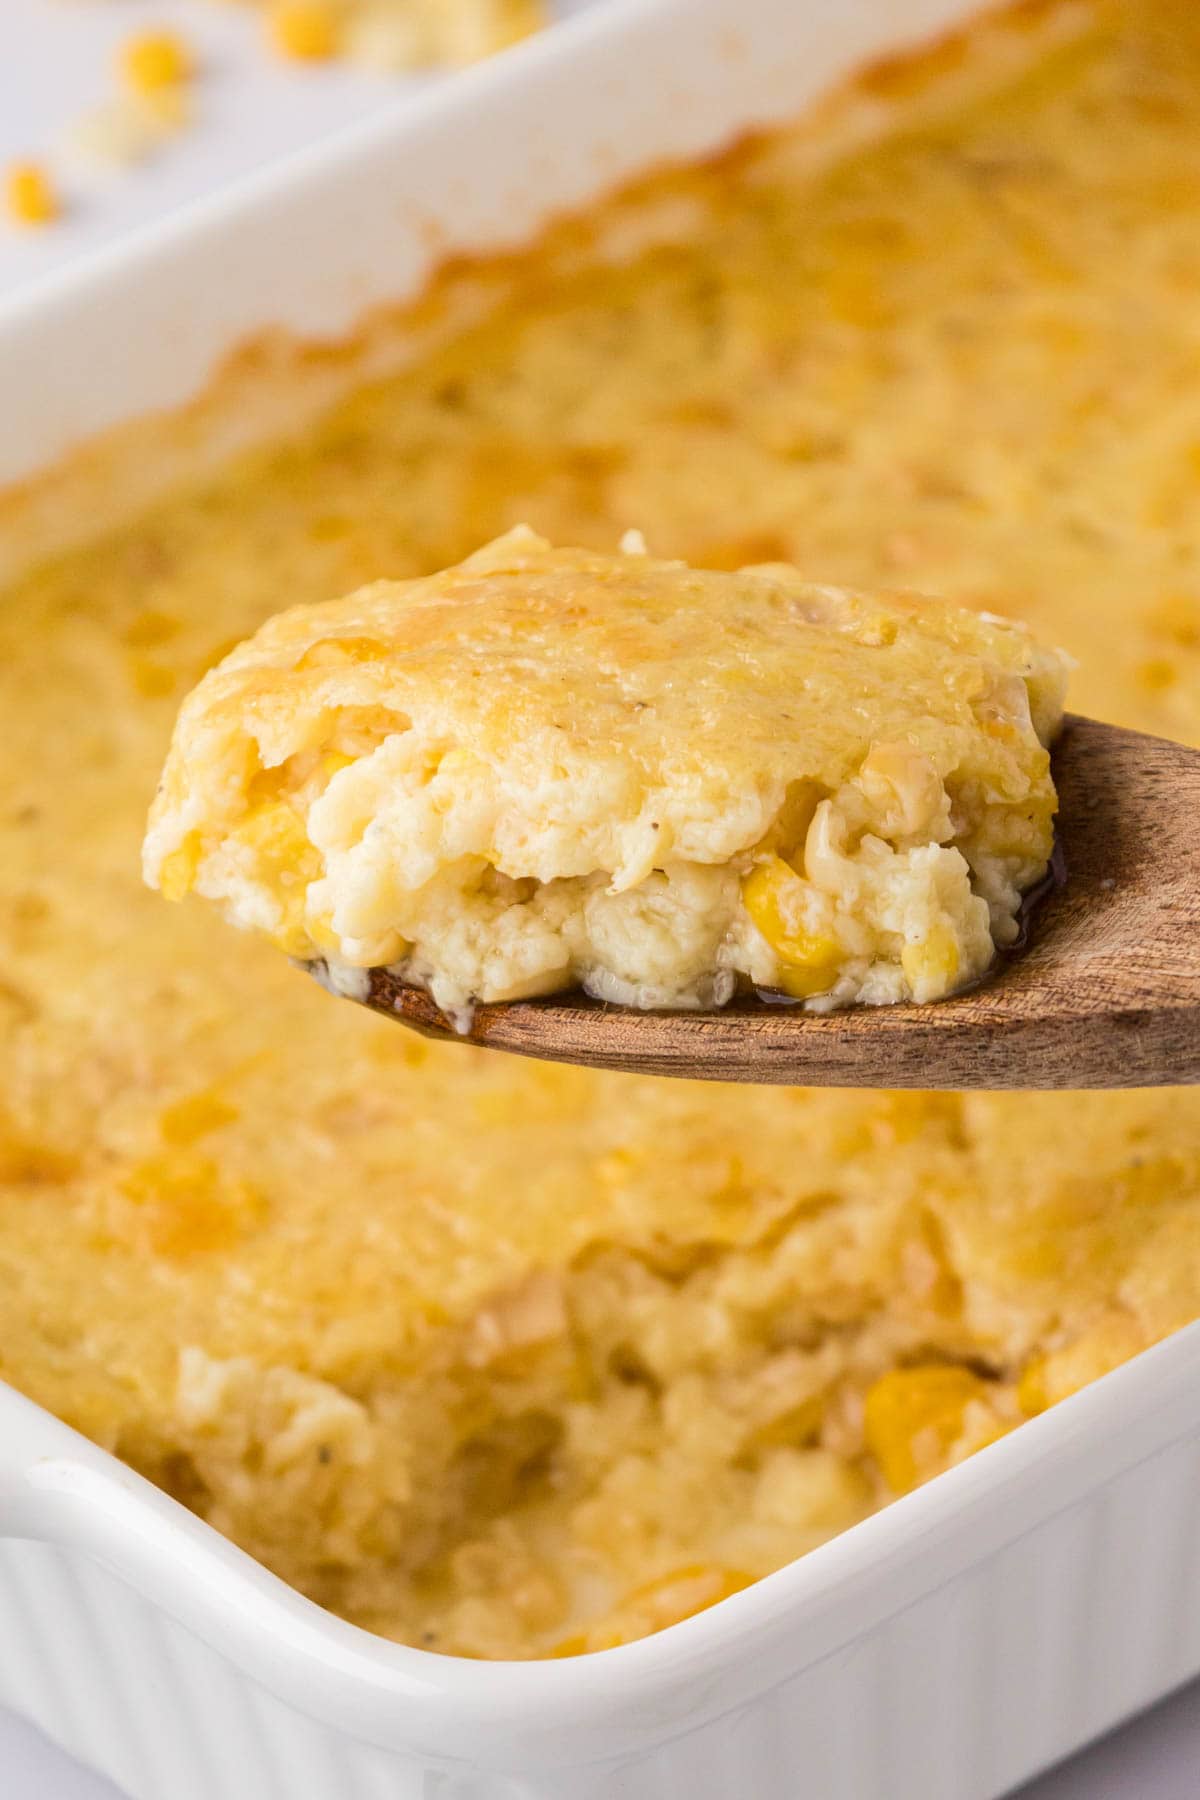
Creamed Corn Casserole, just like Grandma made, with simple ingredients and smooth, buttery flavor. This irresistible side dish will have everyone coming back for seconds! A perfect holiday dish that’s also quick and delicious enough for busy weeknights.

What is Corn Casserole?
Corn pudding is a classic, creamy side dish made primarily from corn, eggs, milk, sugar, and flour or cornstarch as a thickening agent. It has a custard-like texture with a perfect balance of sweet and savory flavors. Often served at holiday meals or family gatherings, especially in Southern and Midwestern cuisine, corn pudding is rich, comforting, and a favorite at potlucks and special occasions.
As for my version, it’s just like the one my grandmother made years ago. Back in my corporate work days, we always had a Thanksgiving potluck, and my dear friend Kim shared her mother-in-law’s recipe for this dish with me. Boy, did it take me right back to my childhood! This must have been about 30 years ago, and who knows how long her mother-in-law had been making it. (Shh, y’all don’t tell!)
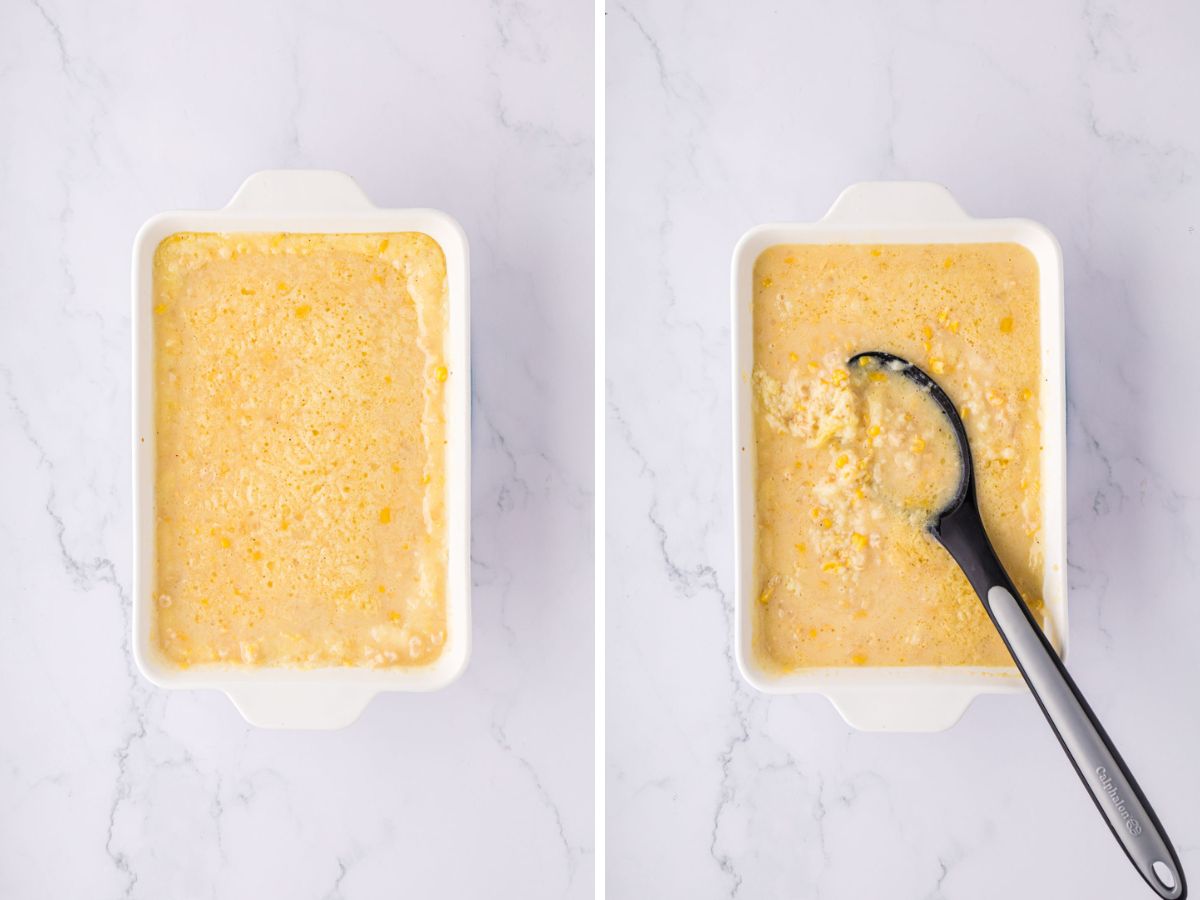
So to say this one is tried, true, and perfected is an understatement. The one tweak I made to the original recipe, I added stirring it halfway through the cooking time. This trick works wonders and makes for even cooking and keeps it from sticking to the bottom of the dish. Trust me, I made it for years before discovering this little trick!
This side dish is a staple at our holiday table every year. Whether it’s Easter or Thanksgiving dinner, there’s always corn casserole—comforting, familiar, and absolutely delicious. I hope your family loves it as much as we do and makes it a tradition too!
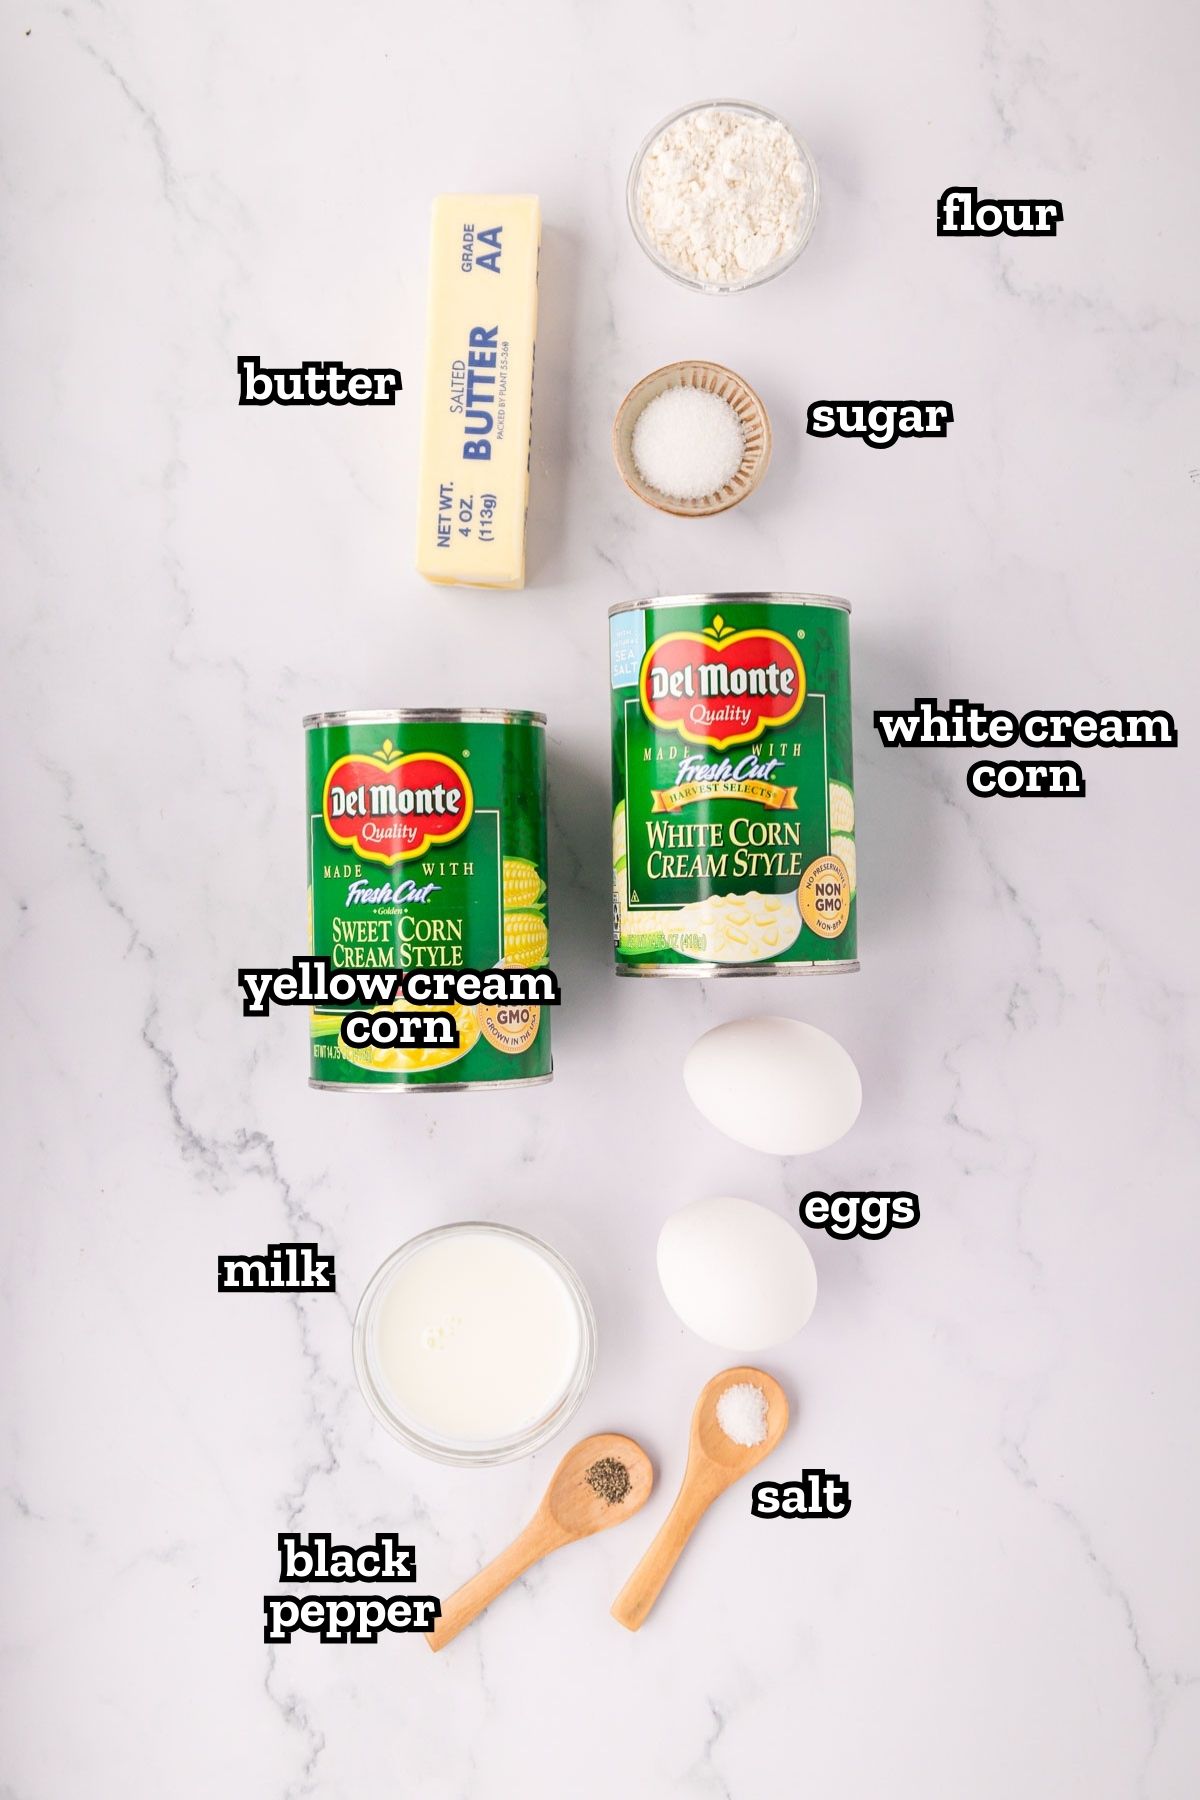
Creamed Corn Casserole Recipe Ingredients
How to Make Corn Casserole
It couldn’t be easier to make this homemade corn casserole: Simply mix the ingredients until they’re well-combined, transfer to a baking dish, and bake until a toothpick inserted into the center comes out clean. Below is a step by step with images to guide you through.
✱ Be sure to see the recipe card below for exact ingredients and full recipe instructions!
Step 1 | Preheat the Oven and Prep the Baking Dish
Start by preheating your oven to 350℉, and while it’s heating up, go ahead and spray a 9×9-inch baking pan with cooking spray. I
f you’d like a slightly thicker casserole, you can opt for an 8×8 pan, but just remember to give it an extra 5 to 10 minutes of baking time.
Step 2 | Beat Eggs and Add Flour & Spices
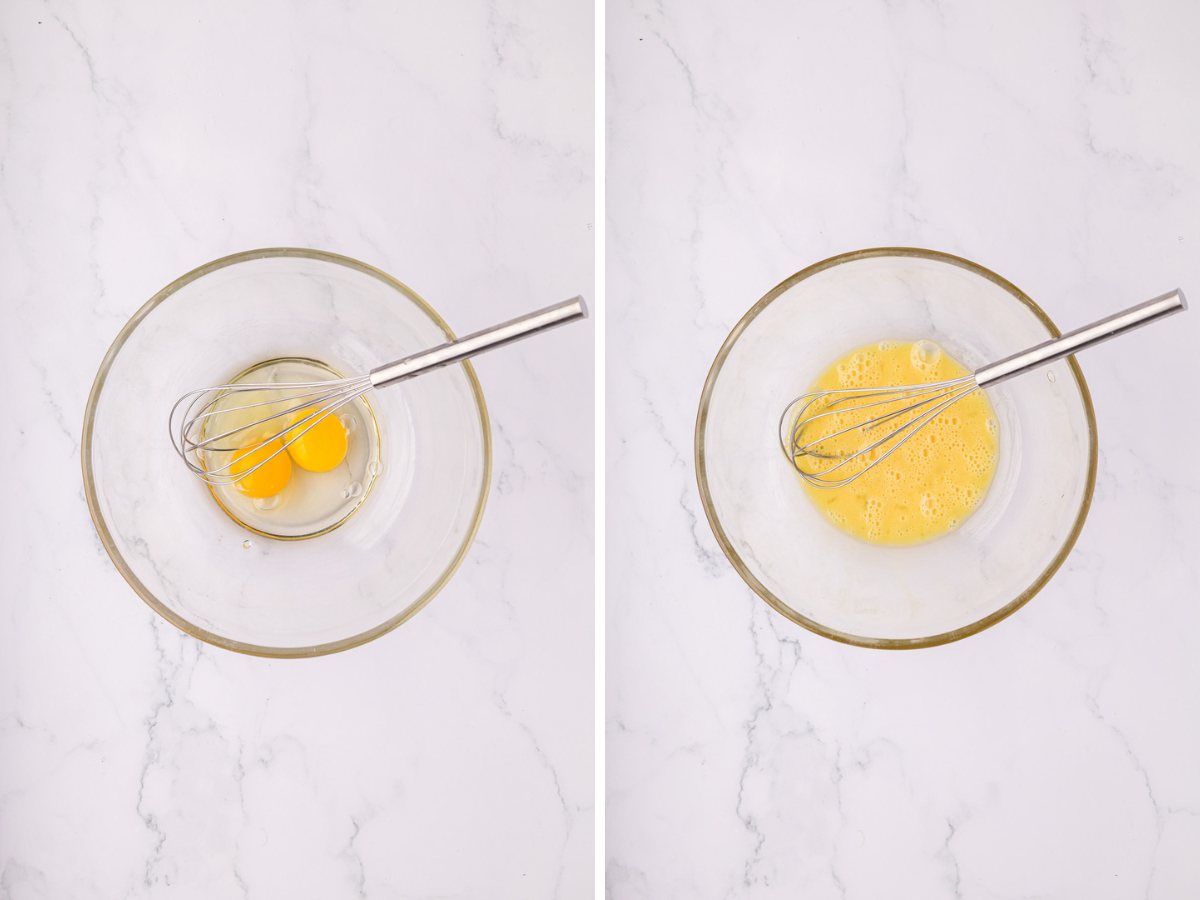
In a large bowl, whisk together two eggs until they’re nicely beaten.
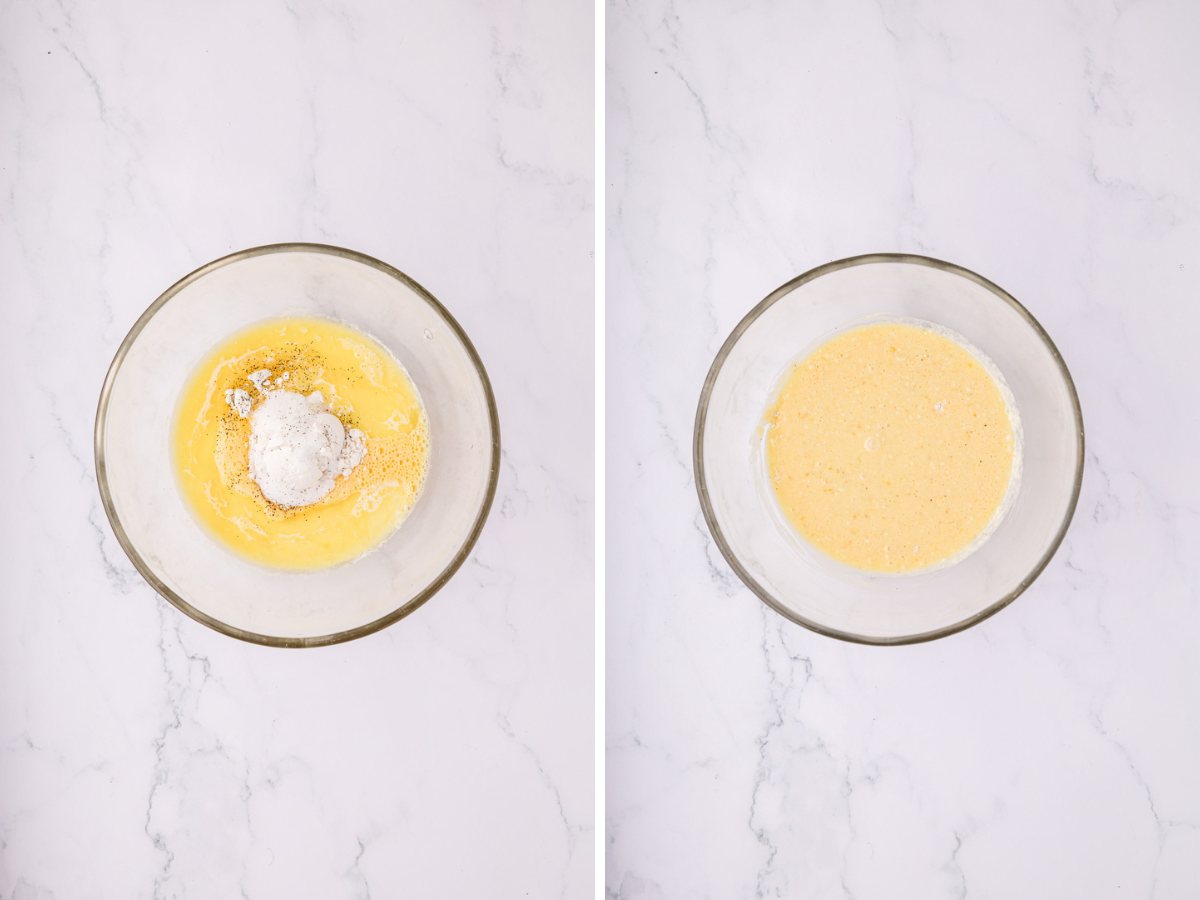
Then, add the flour, melted butter, salt, pepper, sugar, and whole milk. Mix everything until it’s smooth and well combined.
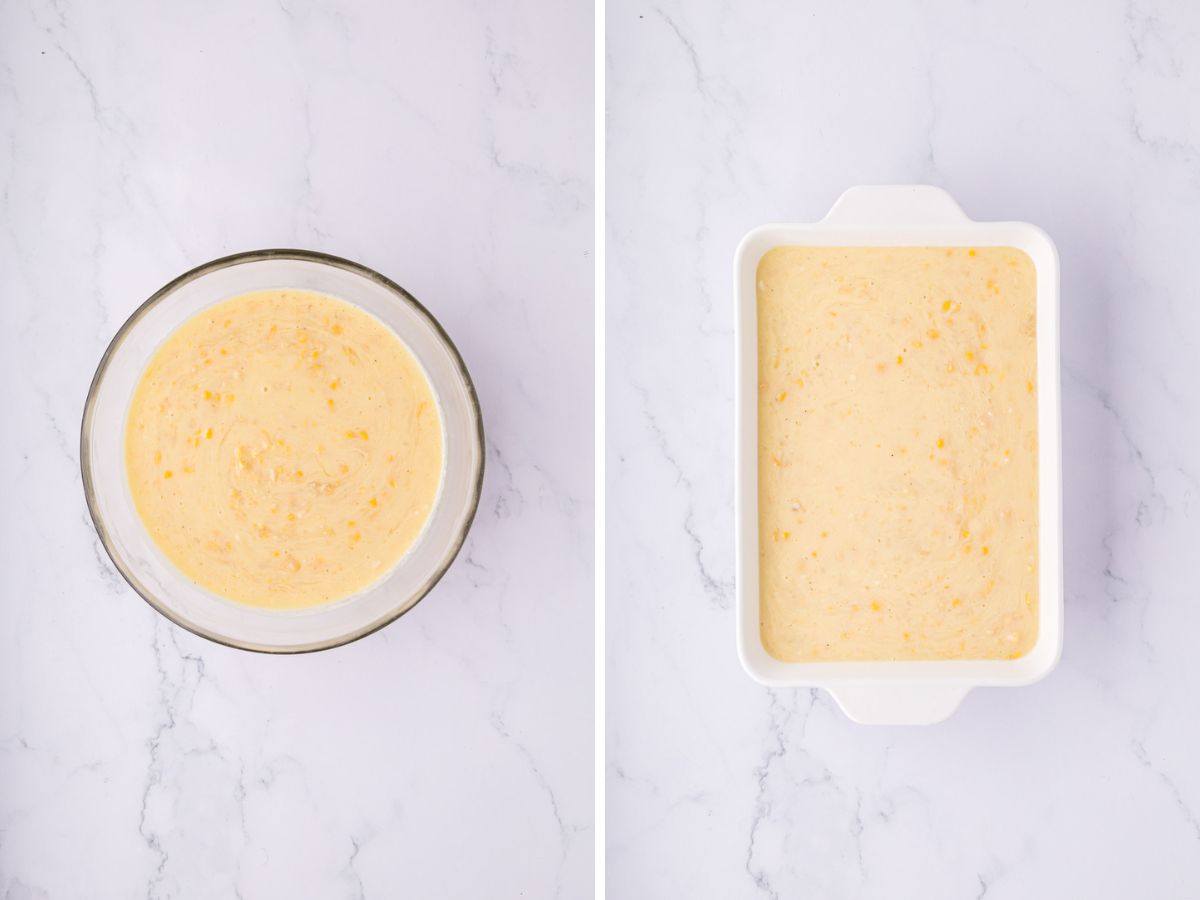
Next, stir in the creamed corn, making sure it’s fully incorporated.
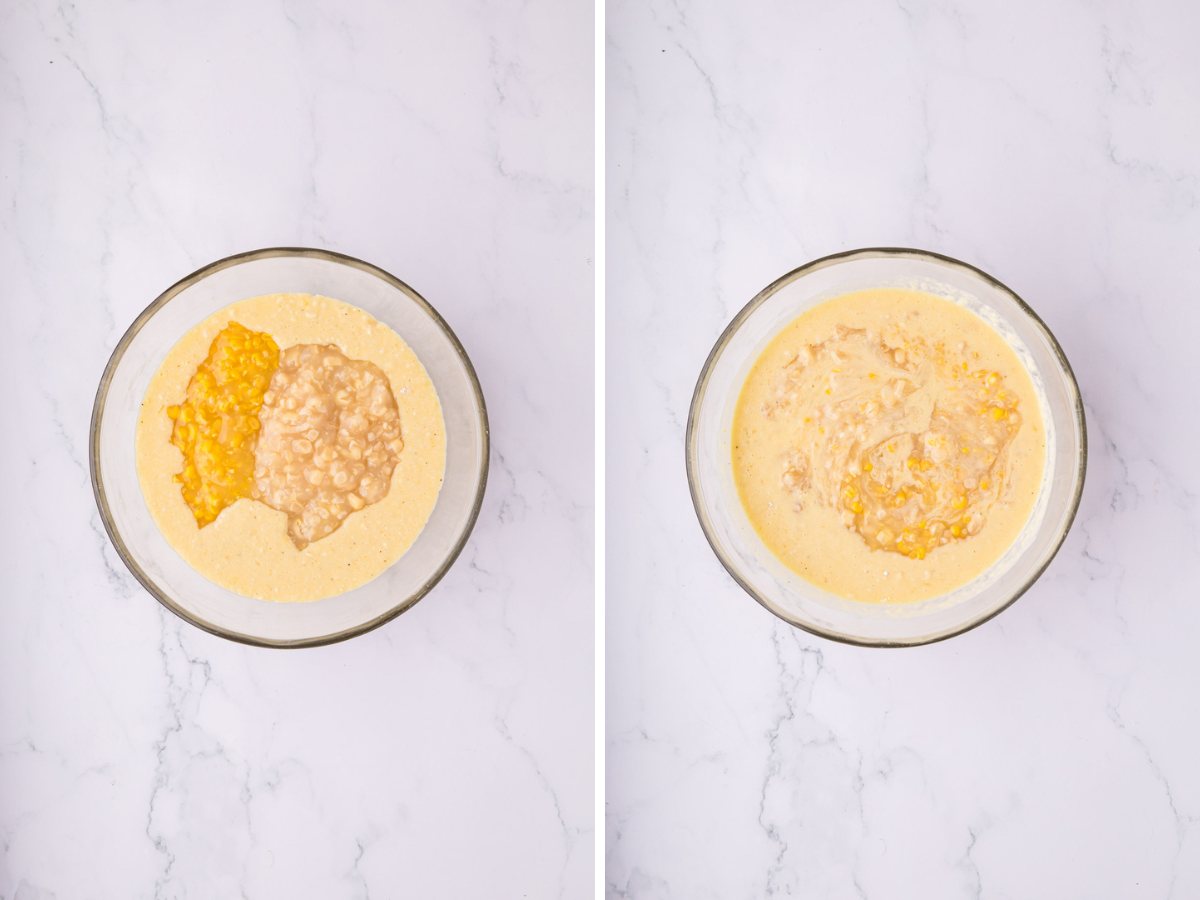
Step 3 | Add Cream Corn & Mix
Pour the mixture into your prepared baking dish, and pop it in the oven to bake for about 40 to 45 minutes.
Step 4 | Pour Corn Mixture Into Baking Dish
Step 5 | Bake Stirring Half Way Through Cooking Time
About halfway through the baking time (around 20 minutes), give it a stir to ensure even cooking.
Step 6 | Remove & Serve
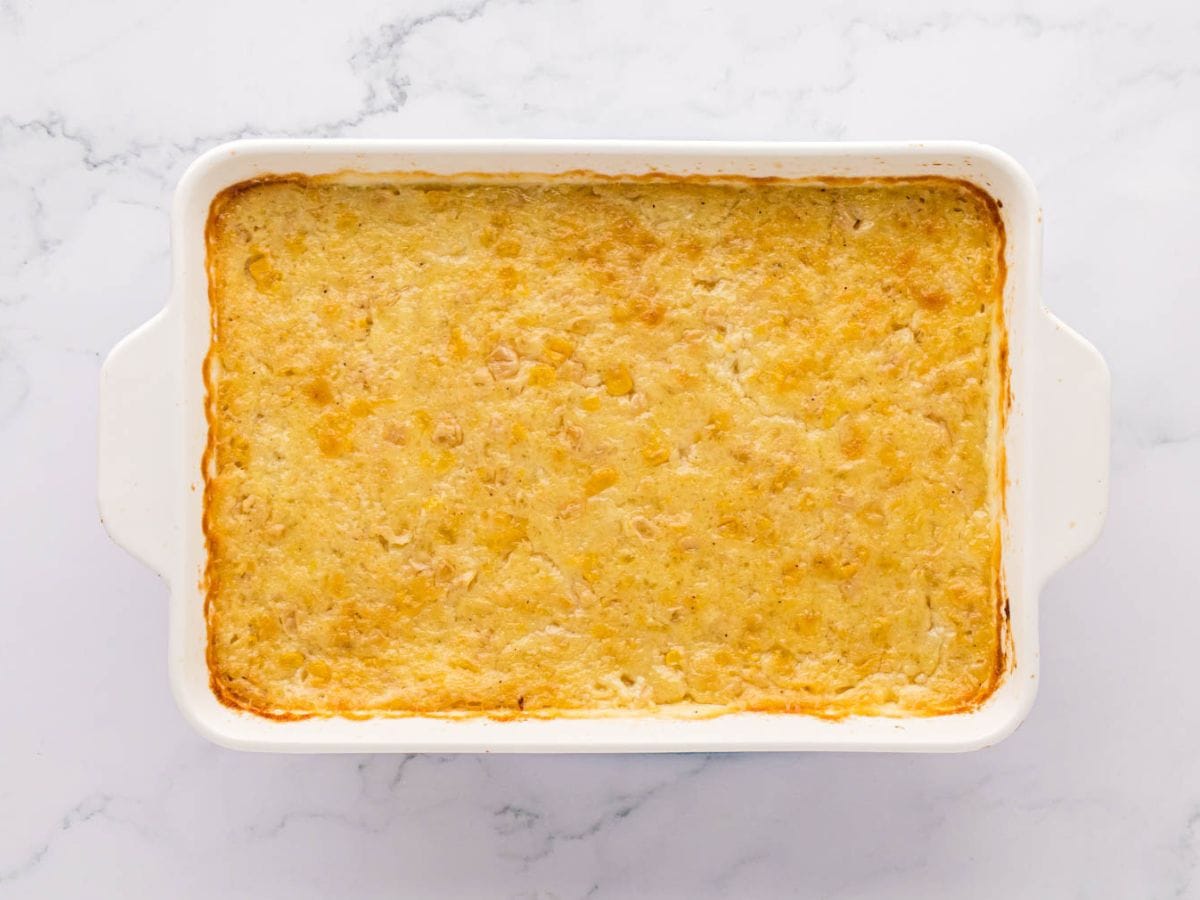
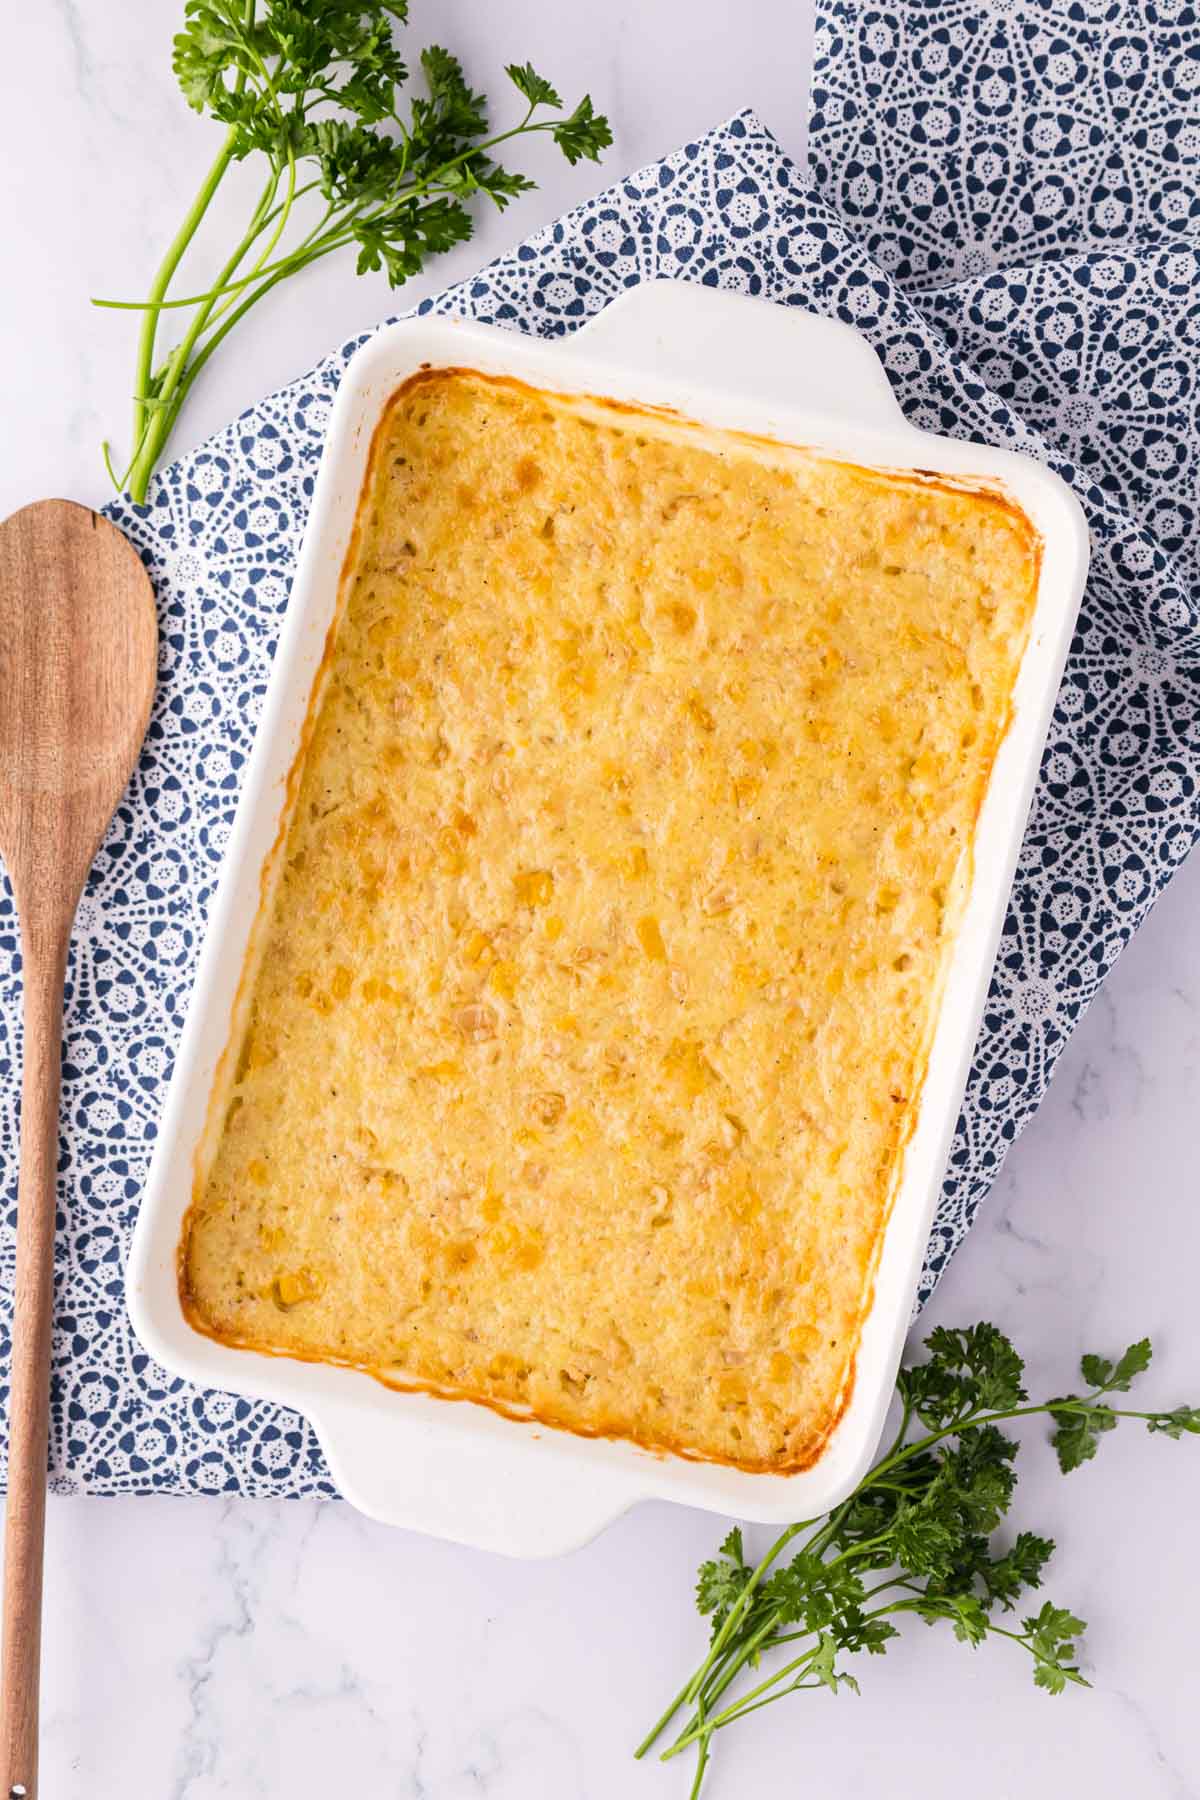
Once it’s done and golden, remove the casserole from the oven and let it rest for a few minutes. To finish, garnish with some fresh parsley, and it’s ready to serve!
How to Make this Recipe For Creamed Corn Casserole in Advance
- Prepare and Assemble: Mix and assemble the casserole as you normally would, but don’t bake it.
- Store in the Fridge: Cover the unbaked dish tightly with plastic wrap or foil and refrigerate for up to 24 hours.
- Bake Before Serving: When ready, remove the casserole from the fridge and let it come to room temperature for about 30 minutes. Bake as directed, adding a few extra minutes if needed, since it’s starting cold.
- Reheat if Baked Early: If you bake it earlier in the day, cover and reheat it in a 350℉ oven for 10-15 minutes until warmed through.
Tips For Making Cream Corn Casserole
- Stir halfway through: Stirring the casserole about halfway through baking ensures even cooking and prevents it from sticking to the bottom. This is really my biggest tip for this recipe.
- Don’t Over Bake: Check the casserole at about 30-35 minutes, as all ovens vary. I usually find between 40-45 minute is perfect. This isn’t the same as a cornbread based corn casserole. It will still have a slight jiggle to it but will be set.
- Let it rest: Allow the casserole to rest for a few minutes after baking to help it set and make serving easier.
Want to Save this Recipe?
By submitting this form, you consent to receive emails from Soulfully Made.
Creamed Corn Casserole Recipe Variations
- Cheesy Corn Casserole: Add 1 to 1 ½ cups of shredded cheddar or Monterey Jack cheese to the batter for a rich, cheesy twist.
- Bacon Lover’s: Stir in cooked, crumbled bacon to give the dish a smoky, savory flavor.
- Spicy Kick: Add diced jalapeños or a pinch of cayenne pepper for a spicy variation.
- Herbed Corn Casserole: Stir in fresh herbs like thyme, chives, or parsley to give it a fragrant, savory touch.
What to Serve With Corn Casserole
- Roast turkey or chicken: The creamy texture of corn pudding complements roasted meats, especially during holiday meals. We also love it with my southern oven fried chicken or air fryer chicken.
- Ham: The sweet and savory flavors of corn pudding balance perfectly with the saltiness of baked ham. My Thanksgiving staple is Mimi’s Electric Skillet Ham & Potatoes or my Cola & Pepper Jelly Ham.
- Barbecue: Corn pudding is a great side for grilled or smoked meats like bbq chicken, ribs, pulled pork, or brisket.
- Beans: A simple, fresh vegetable side like, green beans, lima beans, or even black eye peas adds a nice contrast to the richness.
- Salad: Serve it alongside a crisp garden salad or a tangy coleslaw to lighten up the meal.
- Potatoes: For an extra comforting meal, pair corn pudding with creamy mashed potatoes, roasted potatoes or Au Gratin Potatoes.
Storing this Recipe For Creamed Corn Casserole
Storage: Let the corn pudding casserole cool and the cover or transfer the leftovers to an airtight container. Store it in the refrigerator for up to five days. To reheat, warm it in the oven or microwave until heated through.
Can I freeze corn casserole?
Yes, you can freeze corn pudding for up to three months, though the texture may slightly change due to the dairy. This usually happens when it thaws.
After baking, let it cool completely, then wrap it securely in plastic wrap and aluminum foil. For easier freezing, consider baking it in a foil pan. Once thawed in the refrigerator overnight, reheat it in the oven at 350℉ or in the microwave until fully warmed through.
How to Make Corn Casserole in Advance
Yes! You can prepare the casserole a day in advance. Mix all the ingredients, pour them into your baking dish, cover tightly, and refrigerate until you’re ready to bake. I set my out on the counter while the over preheats. Just remember to add a few extra minutes to the baking time since it will be starting cold and use a dish that can go from cold to the oven without breaking.
Recipe FAQs
If you don’t have canned creamed corn, you can make a quick version by pureeing half of a can of regular corn with a little milk or cream.
Yes! If you need a larger batch, simply double the ingredients and use a 9×13-inch pan. You may need to increase the baking time by 10-15 minutes.
The casserole is done when the edges are golden brown, and the center is set but still slightly soft. A toothpick inserted into the center should come out mostly clean.
Hungry for more easy, home-cooked, delicious recipes?
Sign up for my free recipe club to get family-friendly recipes in your inbox each week! Find me sharing daily meal-time inspiration on Pinterest, Facebook, and Instagram.

Creamed Corn Casserole Recipe
Ingredients
- 2 cans cream corn, 14.75 ounce each (I like to use 1 white & 1 yellow)
- 2 large eggs
- 4 tablespoons all-purpose flour
- 4 tablespoons salted butter, melted
- 1 teaspoon kosher salt, (or to taste)
- ¼ teaspoon black pepper
- 1 teaspoon white granulated sugar
- ½ cup whole milk
Instructions
- Preheat the oven to 350℉. Spray a 9 X 9-inch pan with cooking spray. If you want a slightly thicker casserole, you can use an 8X8 pan; you may need to increase the cook time by 5 or 10 minutes.
- To a large bowl, add 2 eggs and whisk together until beaten. Add in flour, melted butter, salt, pepper, sugar, and whole milk. Combine until smooth.
- Add in cream corn and stir until incorporated.
- Pour into prepared baking dish and bake for 40 – 45 minutes. Stirring the mixture about 20 minutes (halfway) into the baking time.
- Remove from the oven and let sit for a few minutes. Garnish with fresh parsley and serve.
Want to Save this Recipe?
By submitting this form, you consent to receive emails from Soulfully Made.
Notes
- Stir halfway through: Stirring the casserole about halfway through baking ensures even cooking and prevents it from sticking to the bottom. This is really my biggest tip for this recipe.
- Don’t Over Bake: Check the casserole at about 30-35 minutes- especially the first time baking, as all ovens vary. I usually find between 40-45 minute is perfect. This isn’t the same as a cornbread based corn casserole. It will still have a slight jiggle to it but will be set.
- Let it rest: Allow the casserole to rest for a few minutes after baking to help it set and make serving easier.
Nutrition Information
Nutritional Disclaimer
Soulfully Made is not a dietician or nutritionist, and any nutritional information shared is only an estimate. We recommend running the ingredients through an online nutritional calculator if you need to verify any information.
©️Soulfully Made
This post was originally published on November 22, 2016, it has been updated with new pictures and better step by step instruction and republished on September 9, 2024.


Love it especially during the Holidays 😊👍
Thank you, Jim! I agree a holiday must!
I love corn pudding for thanksgiving and christmas 😊
Thank you, Jim! I agree a holiday must!
What size dish did you use for this recipe? Thanks Judy
I use a smaller casserole dish like a 2 quart, but I often double it and use a 3 quart dish.