This post may contain affiliate links. Please read our disclosure policy.
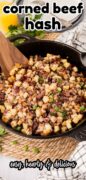


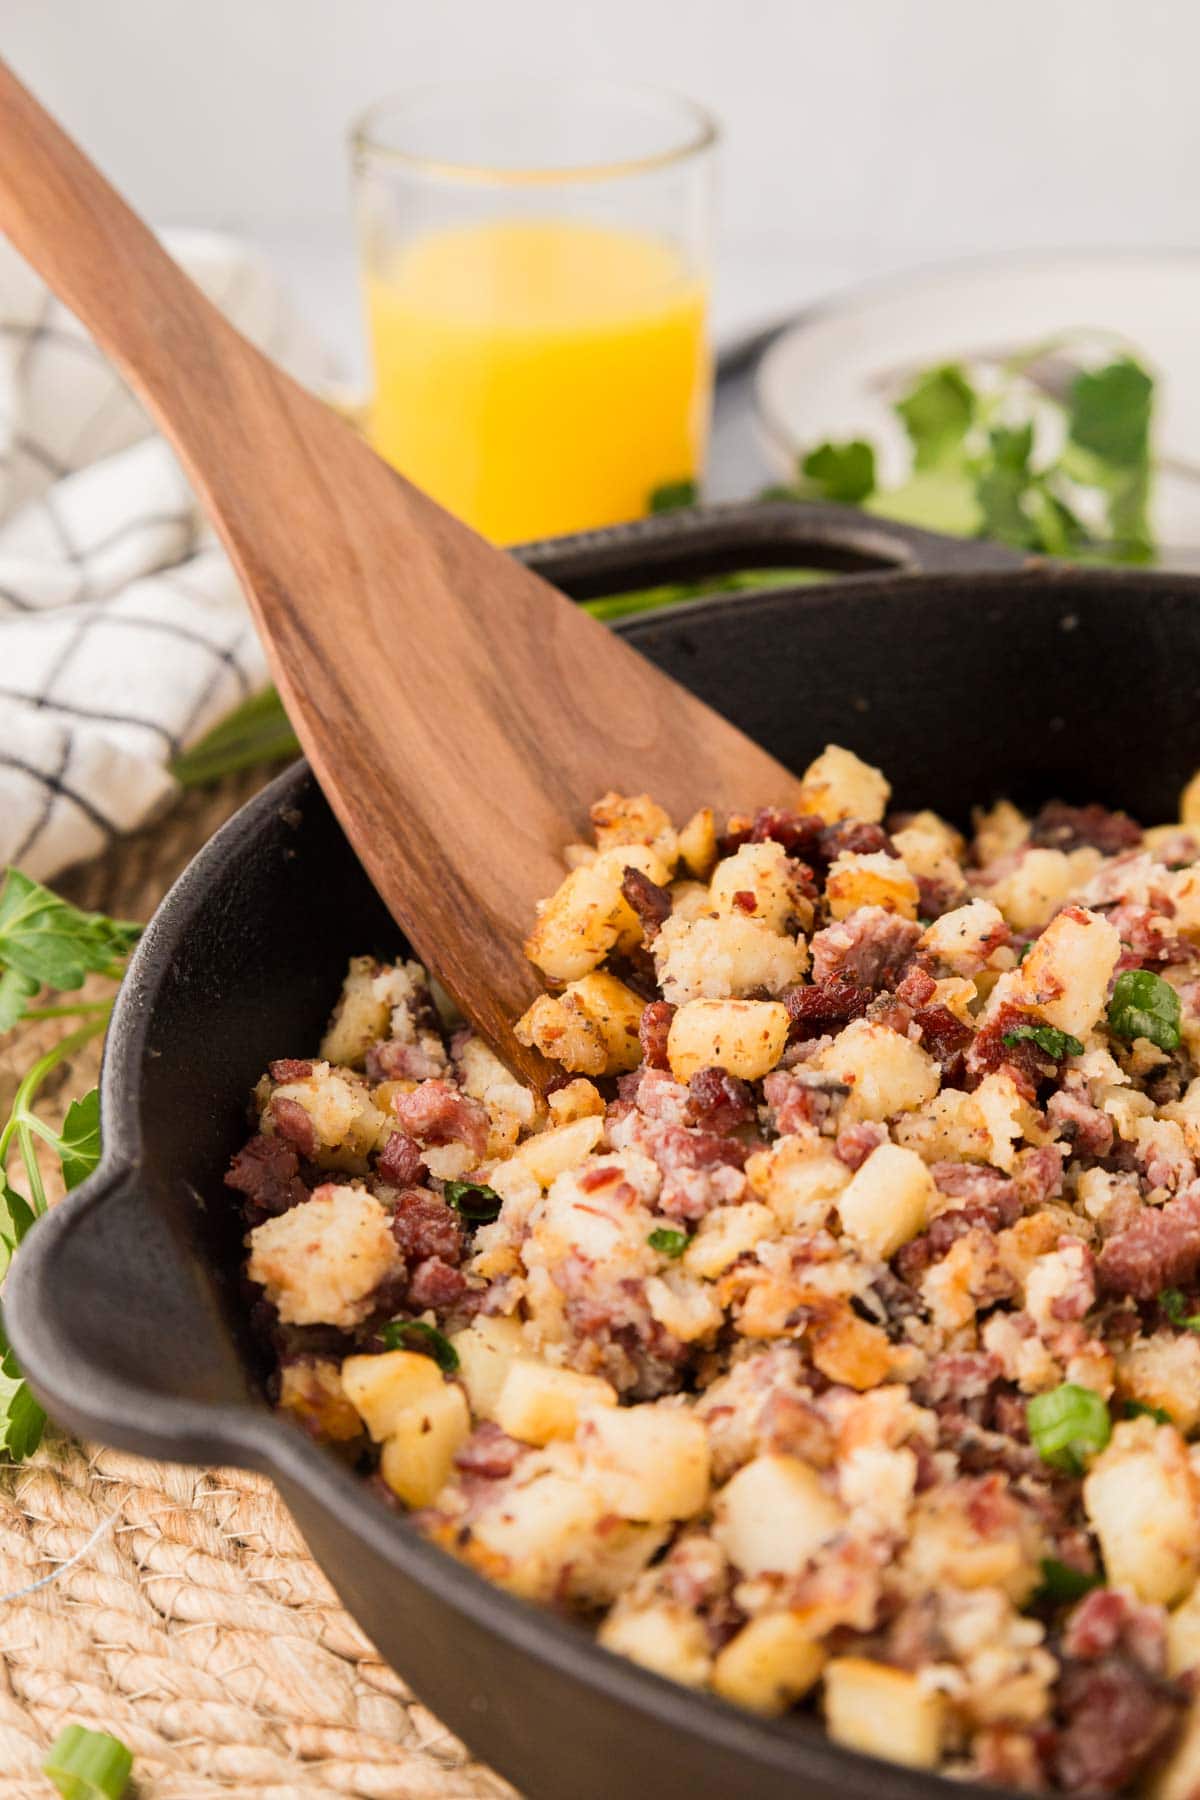
Corned Beef Hash is the perfect go-to dish when you want something hearty, crispy, and packed with flavor in every bite! This classic combines chunks of savory corned beef with golden potatoes and sweet onions for a satisfying meal that works any time of day.

Corned beef hash is the ultimate stick-to-your-ribs comfort food! It’s rich, savory, and extra satisfying on those winter mornings when you need something to warm you from the inside out.
Like most hash recipes, this one is versatile and can be adjusted to whatever you have on hand. Leftover corned beef from St. Patrick’s Day? Perfect! Only have canned corned beef or some deli pastrami? That works, too! The real secret is in the technique of pressing and flipping to create those amazing crispy bits throughout.
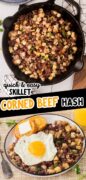
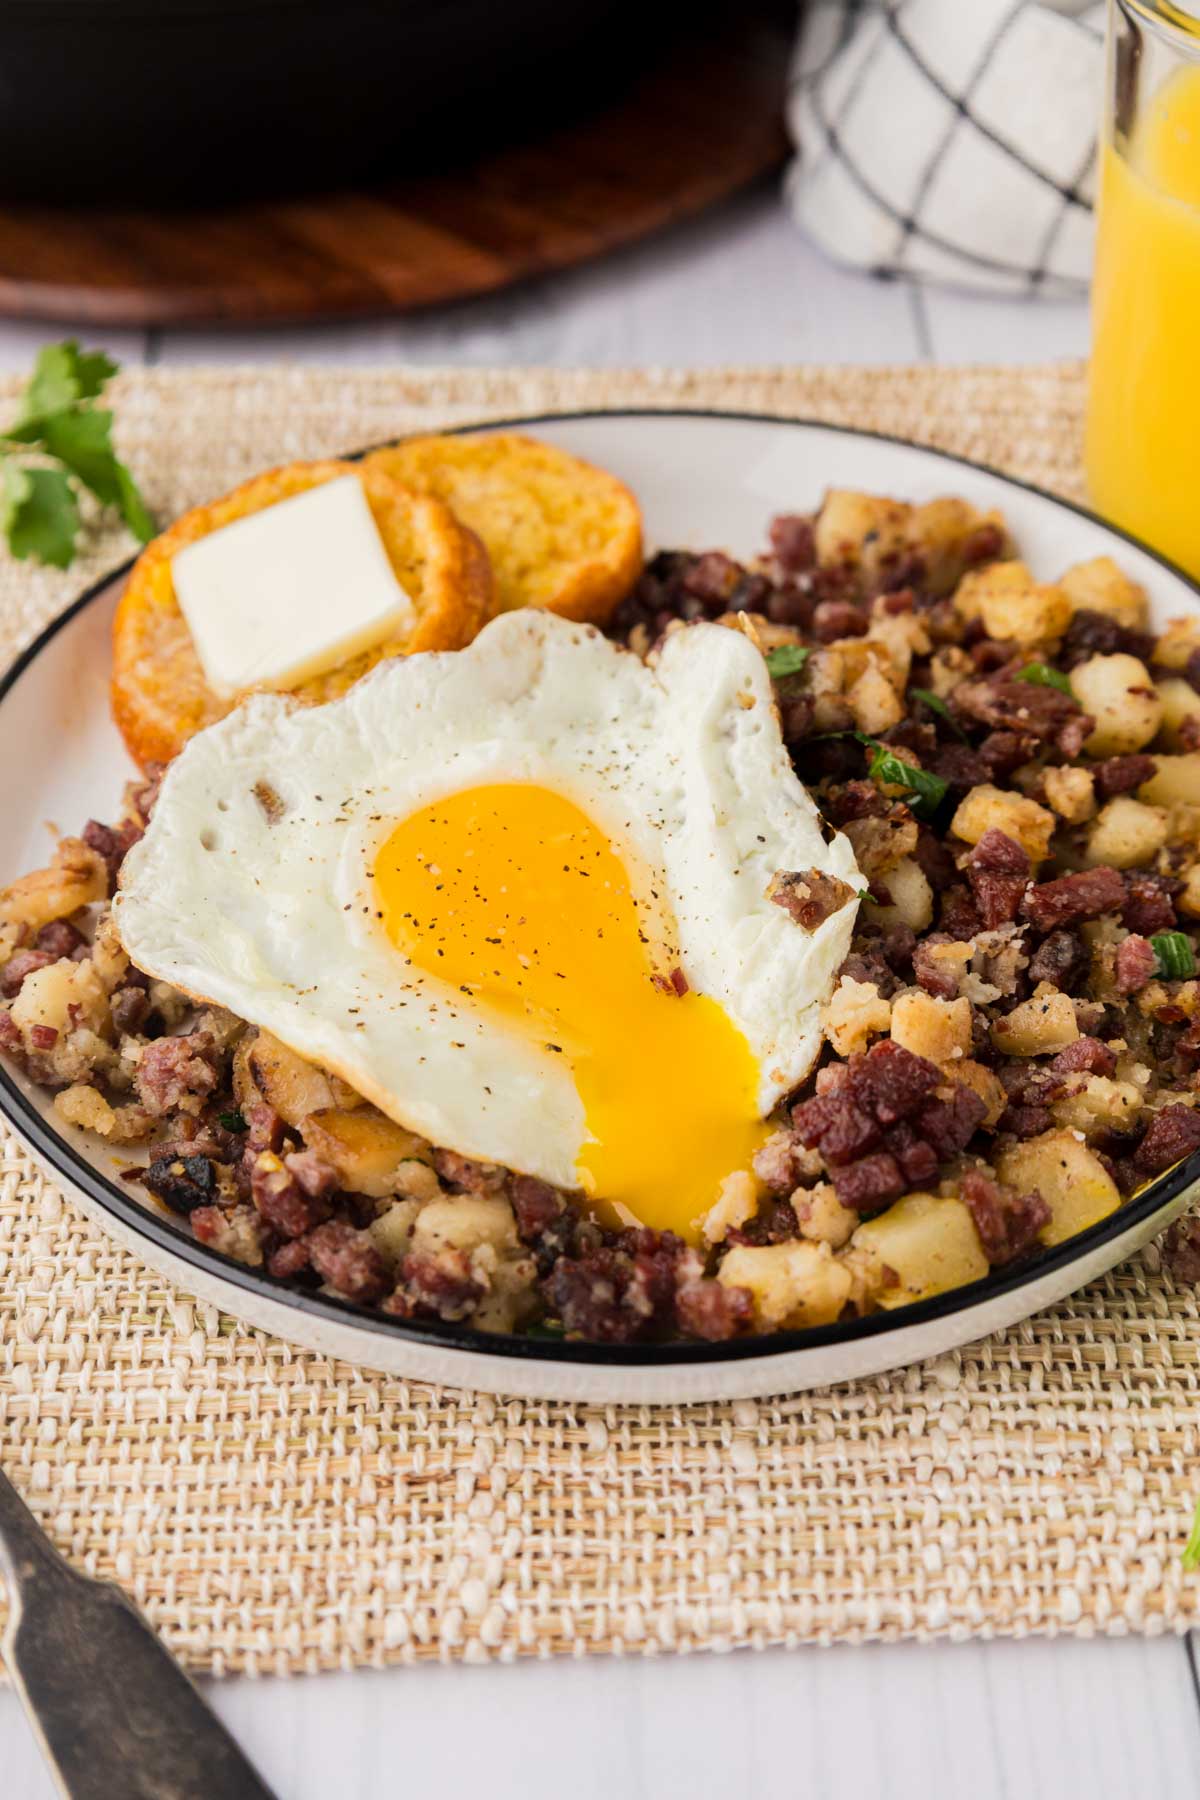
Plus, it works for literally any meal of the day! Top it with a runny egg for breakfast, serve it alongside a salad for lunch, or pair it with some crusty bread for dinner.
Nikki’s Recipe Rundown
- Taste: Salty corned beef and buttery potatoes create that perfect breakfast flavor combo.
- Texture: Crispy edges, tender potatoes, and slightly chewy bits of corned beef in every bite!
- Ease: One-pan cooking that’s mostly hands-off—just dice, cook, and flip!
- Pros: Corned beef hash is quick to make, great for using up leftovers, budget-friendly, and totally satisfying.
- Considerations: You need a hot pan and a little patience to ensure it gets nice and crispy!
Ingredients Needed for Corned Beef Hash

- Avocado Oil & Butter: Use a combination of oil and butter to crisp up the potatoes and leftover corned beef!
- Russet Potatoes: Russet potatoes are a good option here, but you can also opt for Yukon gold potatoes if you prefer.
- Onion: Diced onion adds a depth of savory flavor and gets perfectly caramelized in the skillet.
- Corned Beef: Use leftover corned beef from St. Patrick’s Day, or use pastrami!
- Spices: You will just need ground black pepper, kosher salt, garlic powder, and onion powder to season up your corned beef hash!
How To Make the Best Corned Beef Hash
✱ Be sure to see the recipe card below for exact ingredients and full recipe instructions!
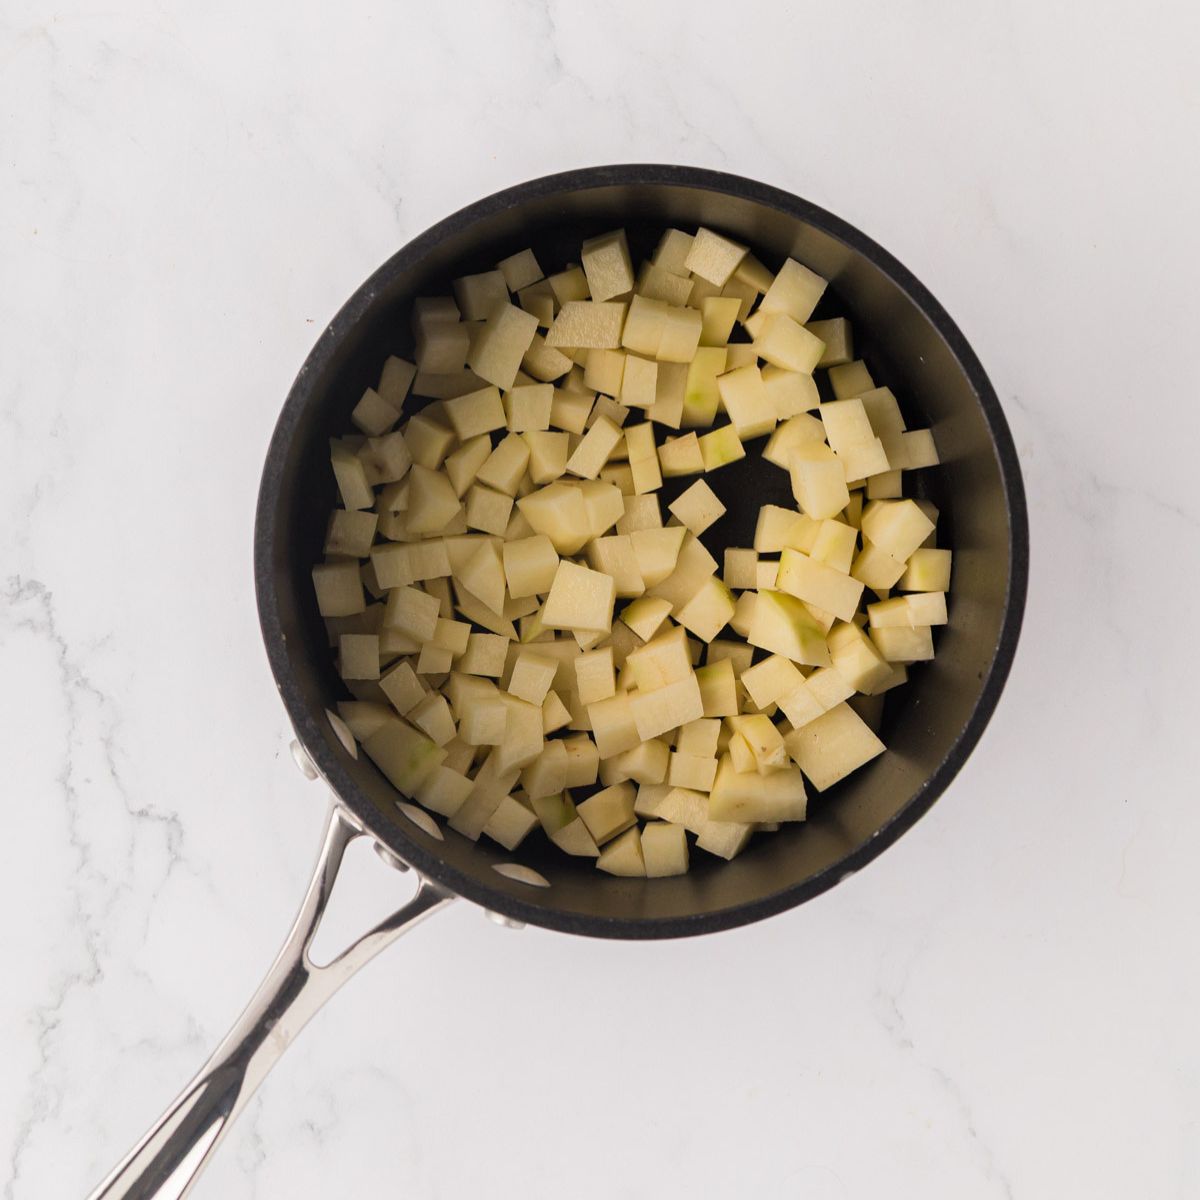
Step 1 | Prep the Potatoes
Boil diced russet potatoes just until fork tender, 5-10 minutes. Drain well.
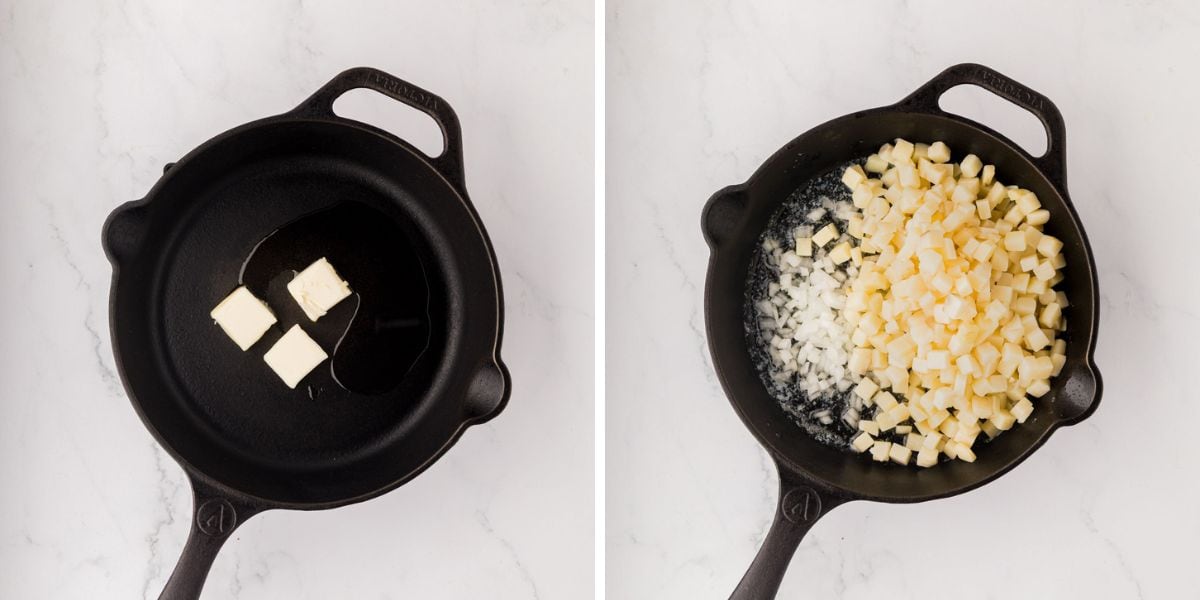
Step 2 | Combine the Hash Ingredients
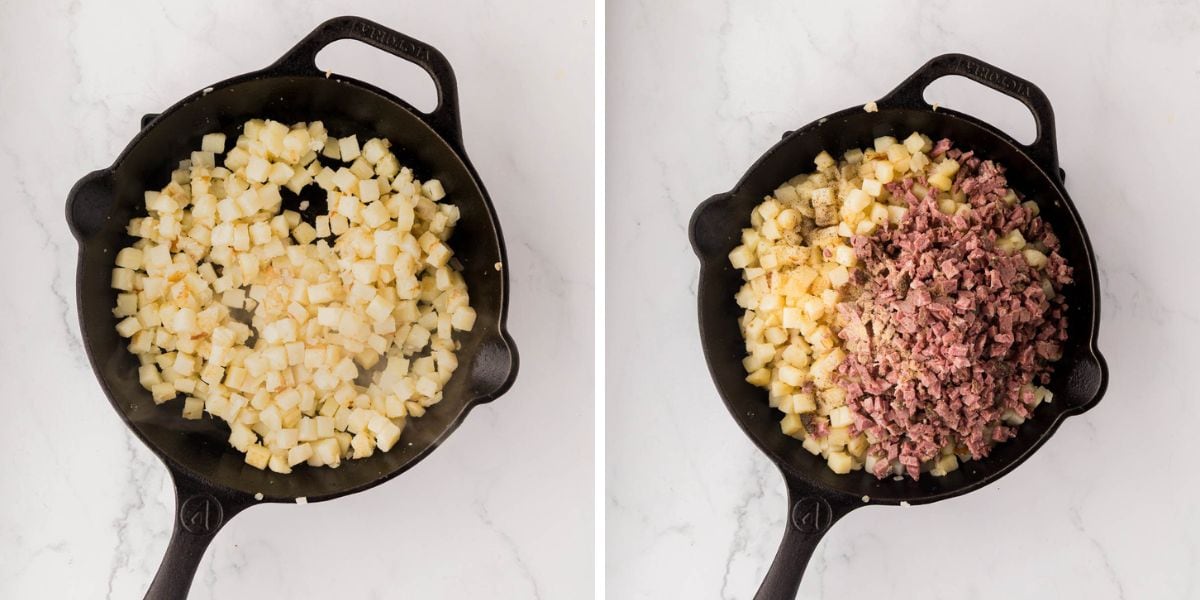
In a large skillet over medium heat, add avocado oil and butter. Once melted, add the cooked potatoes and diced onion. Cook, occasionally stirring, until the onions are softened and the potatoes and onion start to brown, about 8-10 minutes.
Add the chopped cooked corned beef, black pepper, garlic powder, and onion powder. Stir to combine.
Step 3 | Cook Until Crispy
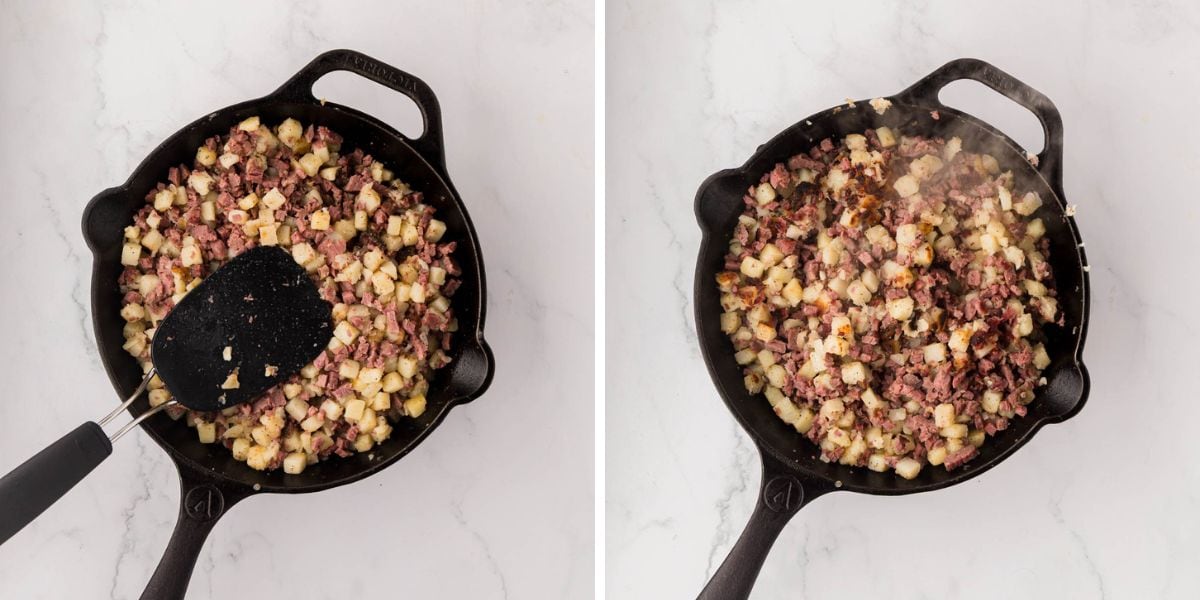
Using a spatula, press the mixture down to an even layer in the skillet. Cook for 3 to 5 minutes or until golden and crispy on the bottom.
Place a spatula under the mixture and flip the hash over (the crispy part will be on top)
Add in the remaining butter and stir. This will help prevent the hash from drying out and sticking to the bottom.
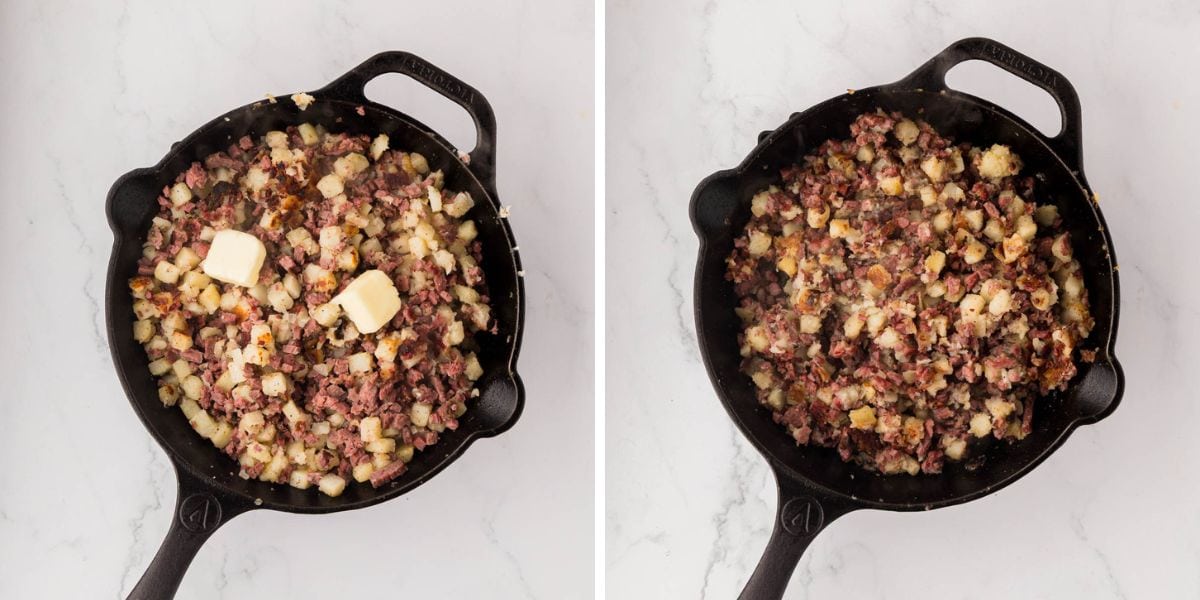
Using the spatula, press the hash mixture down to an even layer.
Cook for 3-5 minutes on this side to crisp the bottom until golden.
Repeat until desired crispness and browning (usually 2 to 3 times). Serve and enjoy!
Recipe Tips
- After boiling, thoroughly drain the potatoes and blot with a paper towel if needed. Any excess moisture will prevent proper crisping.
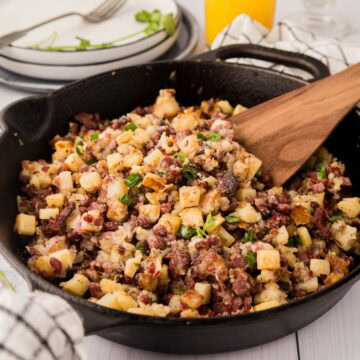
- Using a cast iron skillet is the best option since it retains heat well and creates perfectly crispy edges. If you don’t have a cast iron skillet, use a stainless steel skillet or other heavy-bottomed pan. I really love my hex-clad pan. It’s a bit of a splurge, but it really cooks amazingly, and things crisp up so nicely!
- Don’t crowd the pan! If doubling the recipe, cook in batches or use two pans. Overcrowding will prevent the potatoes from crisping up.
- The press-and-flip technique is crucial for developing those coveted crispy bits throughout the hash. Be patient during this process and resist the urge to stir constantly. It’s worth it!
Want to Save this Recipe?
By submitting this form, you consent to receive emails from Soulfully Made.
Variations and Substitutions
- Add Veggies: Add ½ cup diced green bell pepper along with the onions for added freshness and color. Red or yellow peppers work beautifully too if you prefer a sweet pepper flavor.
- Sweet Potatoes: Replace half the russet potatoes with sweet potatoes for a nutritional boost and different flavor profile.
- Spice: For a bit of spice, you can add diced jalapeños or a dash of cayenne pepper to the mix.
- As a Shortcut: Use pre-diced cooked potatoes from the refrigerated section of your grocery store to save time. If using frozen potatoes, thaw completely first and pat dry to remove excess moisture.
Recipe FAQs
Corned beef is salt-cured beef brisket that’s been treated with salt and spices, giving it a distinctive pink color and tangy, salty flavor. It’s especially popular in Irish-American cuisine and is commonly served with cabbage and potatoes on St. Patty’s Day!
Absolutely! While leftover home-cooked corned beef provides the best flavor, quality canned corned beef is a convenient and delicious alternative.
Corned beef hash is pink simply because of the salt-curing process, not because it’s raw. The curing gives the meat its characteristic color that stays even after it’s fully cooked.
Storage
Storage: Leftover hash can be refrigerated in an airtight container for up to 3 days. To reheat, use a skillet over medium heat with a touch of butter to restore crispiness.
Freeze: Freezing is possible but will affect the texture of the potatoes, so it’s best enjoyed fresh or refrigerated only. If your only option is freezing or throwing it out, definitely freeze it in a freezer-safe container. Allow to thaw in the fridge overnight before reheating in a skillet.
What to Serve with Corned Beef Hash
Corned beef hash can be served on its own or topped with a fried egg with a runny yolk to add some richness and moisture. Alternatively, you can mix scrambled eggs into the hash!
On the side, I recommend serving it with a slice of buttery beer bread or Irish soda bread. While hash is typically served for breakfast, it can be served for any meal that you’d like!
Other Recipes to Try
- The Best Reuben Sandwich
- Homemade Pastrami
- Banger and Mash Recipe
- Lucky Charms Cookies
- Baked Reuben Sandwich Sliders
Hungry for more easy, home-cooked, delicious recipes?
Sign up for my free recipe club to get family-friendly recipes in your inbox each week! Find me sharing daily meal-time inspiration on Pinterest, Facebook, and Instagram.
Corned Beef Hash
Ingredients
- 1 tablespoon avocado oil, or use all butter
- 3 tablespoons unsalted butter
- 4 cups diced russet potatoes, (½ inch thick) about 2 pounds
- ½ cup diced yellow or sweet onion
- 4 cups chopped cooked corned beef or pastrami, leftover or canned
- ½ teaspoon black pepper
- ½ teaspoon garlic powder
- ½ teaspoon onion powder
- 2 tablespoons butter
- Kosher salt, to taste
Instructions
- Boil diced russet potatoes just until fork tender, 5-10 minutes. Drain well.
- In a large skillet over medium heat, add avocado oil and butter. Once melted, add the cooked potatoes and diced onion. Cook, occasionally stirring, until the onions are softened and the potatoes and onion start to brown, about 8-10 minutes.
- Add the chopped cooked corned beef, black pepper, garlic powder and onion powder . Stir to combine.
- Using a spatula press the mixture down to an even layer in the skillet. Cook for 3 to 5 minutes or until golden and crispy on the bottom.
- Place spatula under the mixture and flip the hash over (the crispy part will be on top)
- Add in remaining butter and stir. This will help the hash from drying out and sticking to the bottom.
- Using the spatula press the hash mixture down to an even layer. Cook for 3-5 minutes on this side to crisp the bottom until golden. Repeat until desired crispness and browning (usually 2 to 3 times)
- Serve and enjoy!
Want to Save this Recipe?
By submitting this form, you consent to receive emails from Soulfully Made.
Notes
Nutrition Information
Nutritional Disclaimer
Soulfully Made is not a dietician or nutritionist, and any nutritional information shared is only an estimate. We recommend running the ingredients through an online nutritional calculator if you need to verify any information.
©️Soulfully Made