This post may contain affiliate links. Please read our disclosure policy.
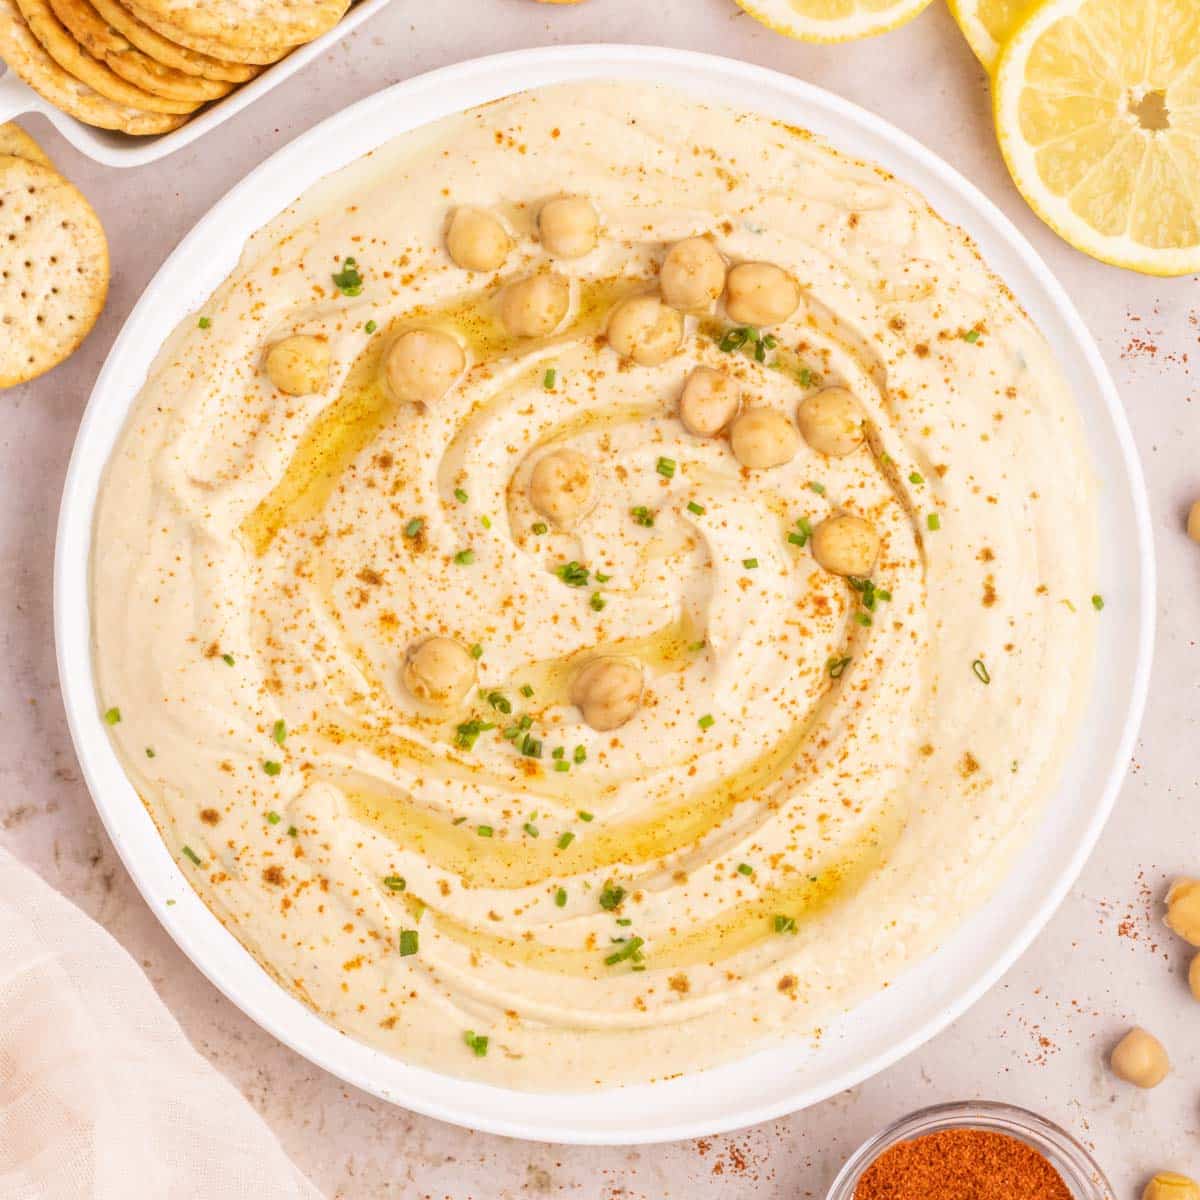
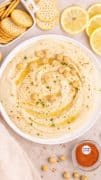
Enjoy this easy, better-than-store-bought Creamy Garlic Hummus recipe made with fresh tart lemon juice, a can of chickpeas, extra virgin olive oil, flavorful garlic cloves, and just four simple seasonings.
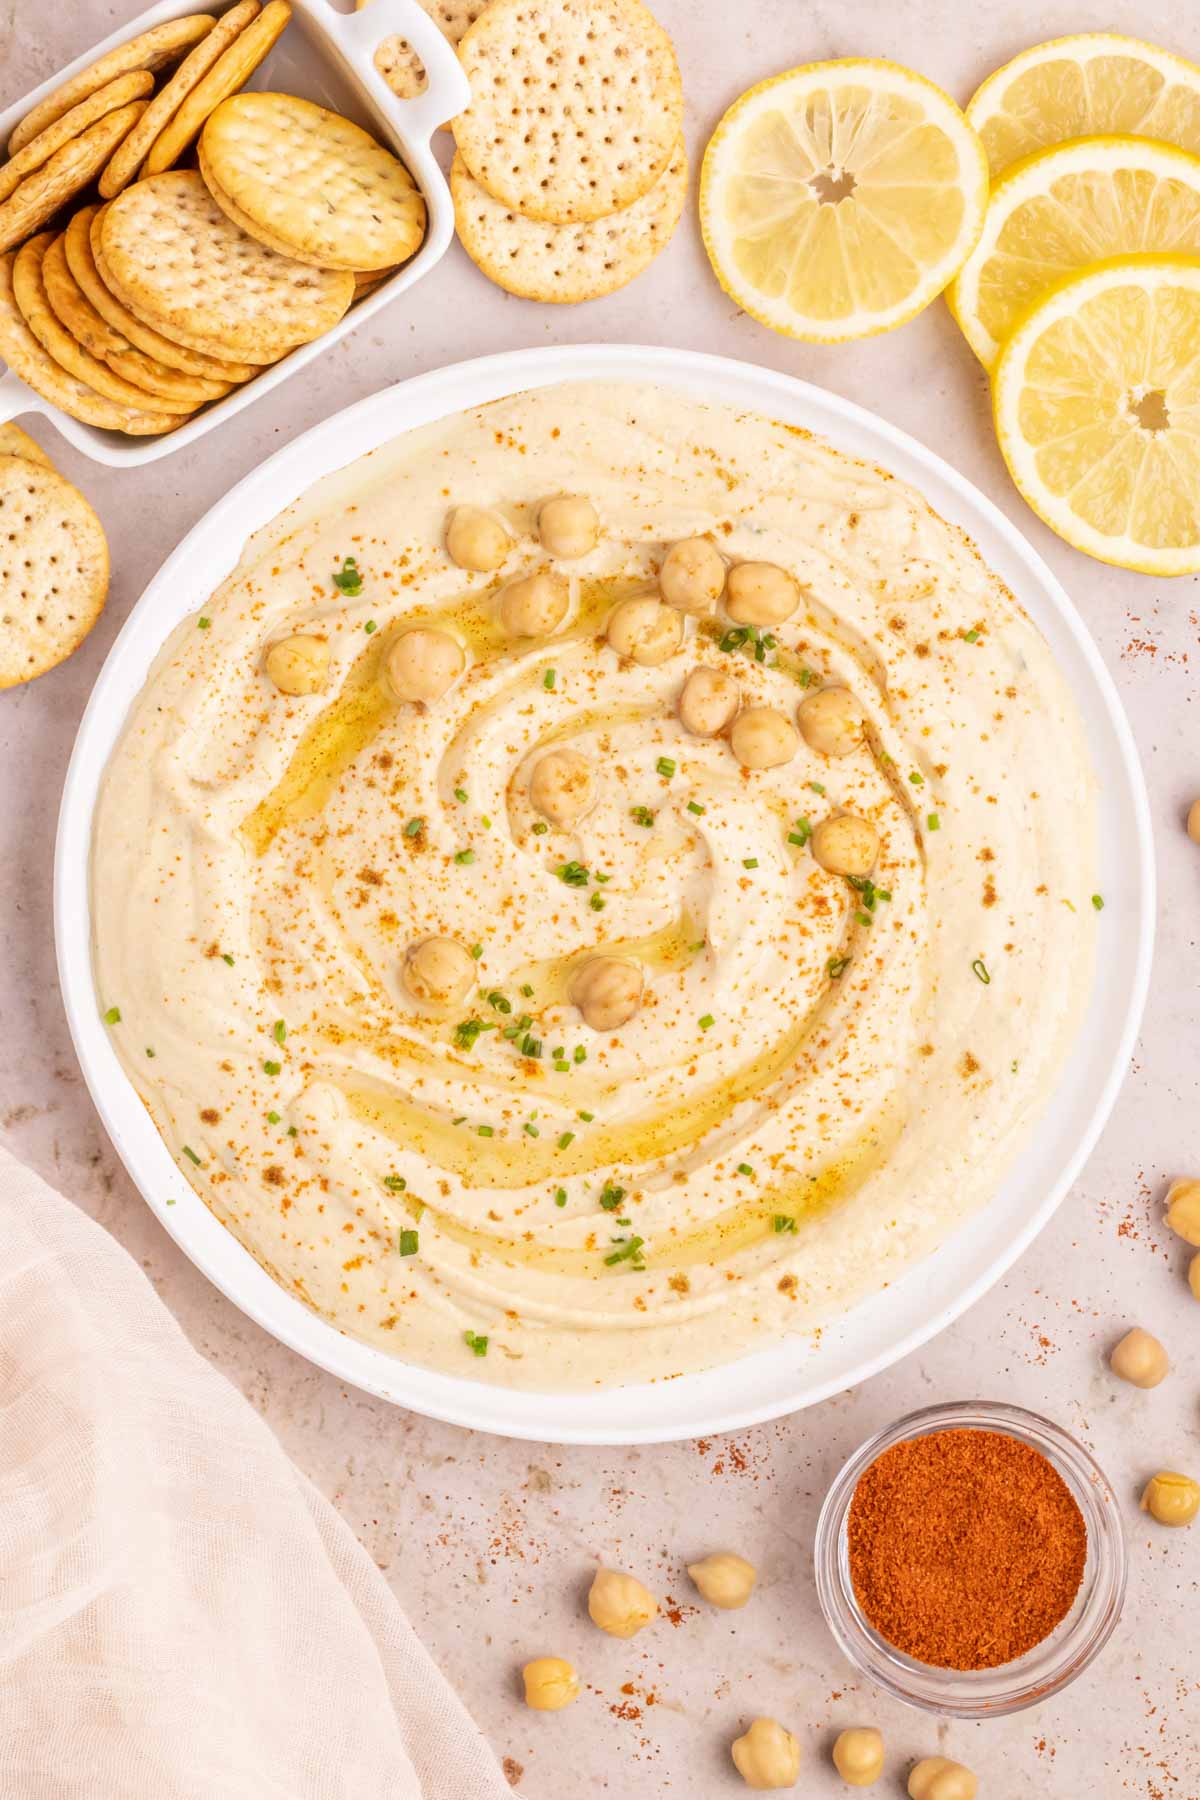
Why We Love This Recipe!
- Versatile: Smear fresh hummus on pita bread, add it to a veggie sandwich, make it a delicious dip for chips and raw vegetables, and more! It’s an excellent recipe for casual gatherings and special occasions.
- Save Cash: Store-bought hummus can be a little pricey. But did you know you can make it for a fraction of the price at home? Oh, believe it!
- Easy to Make: The best part of this recipe is that you toss all the fresh ingredients into a blender or food processor, and that’s it! It doesn’t get any easier.
I can’t believe summer is already here, y’all! That means it’s time to make delicious summer recipes perfect for a day at the pool, backyard cookouts, family movie nights, and more seasonal fun!
After adding this homemade garlic hummus to the menu, try more tasty and versatile dips for your next get-together. This Sweet Lime Yogurt Dip is great for fresh and juicy fruit platters, or this creamy Whipped Feta Dip with Figs, nuts, and rich honey is a show-stopper. And excellent for the upcoming summer holidays, like the 4th of July or Labor Day, is this festive layered American Flag Dip for chips and raw veggies.
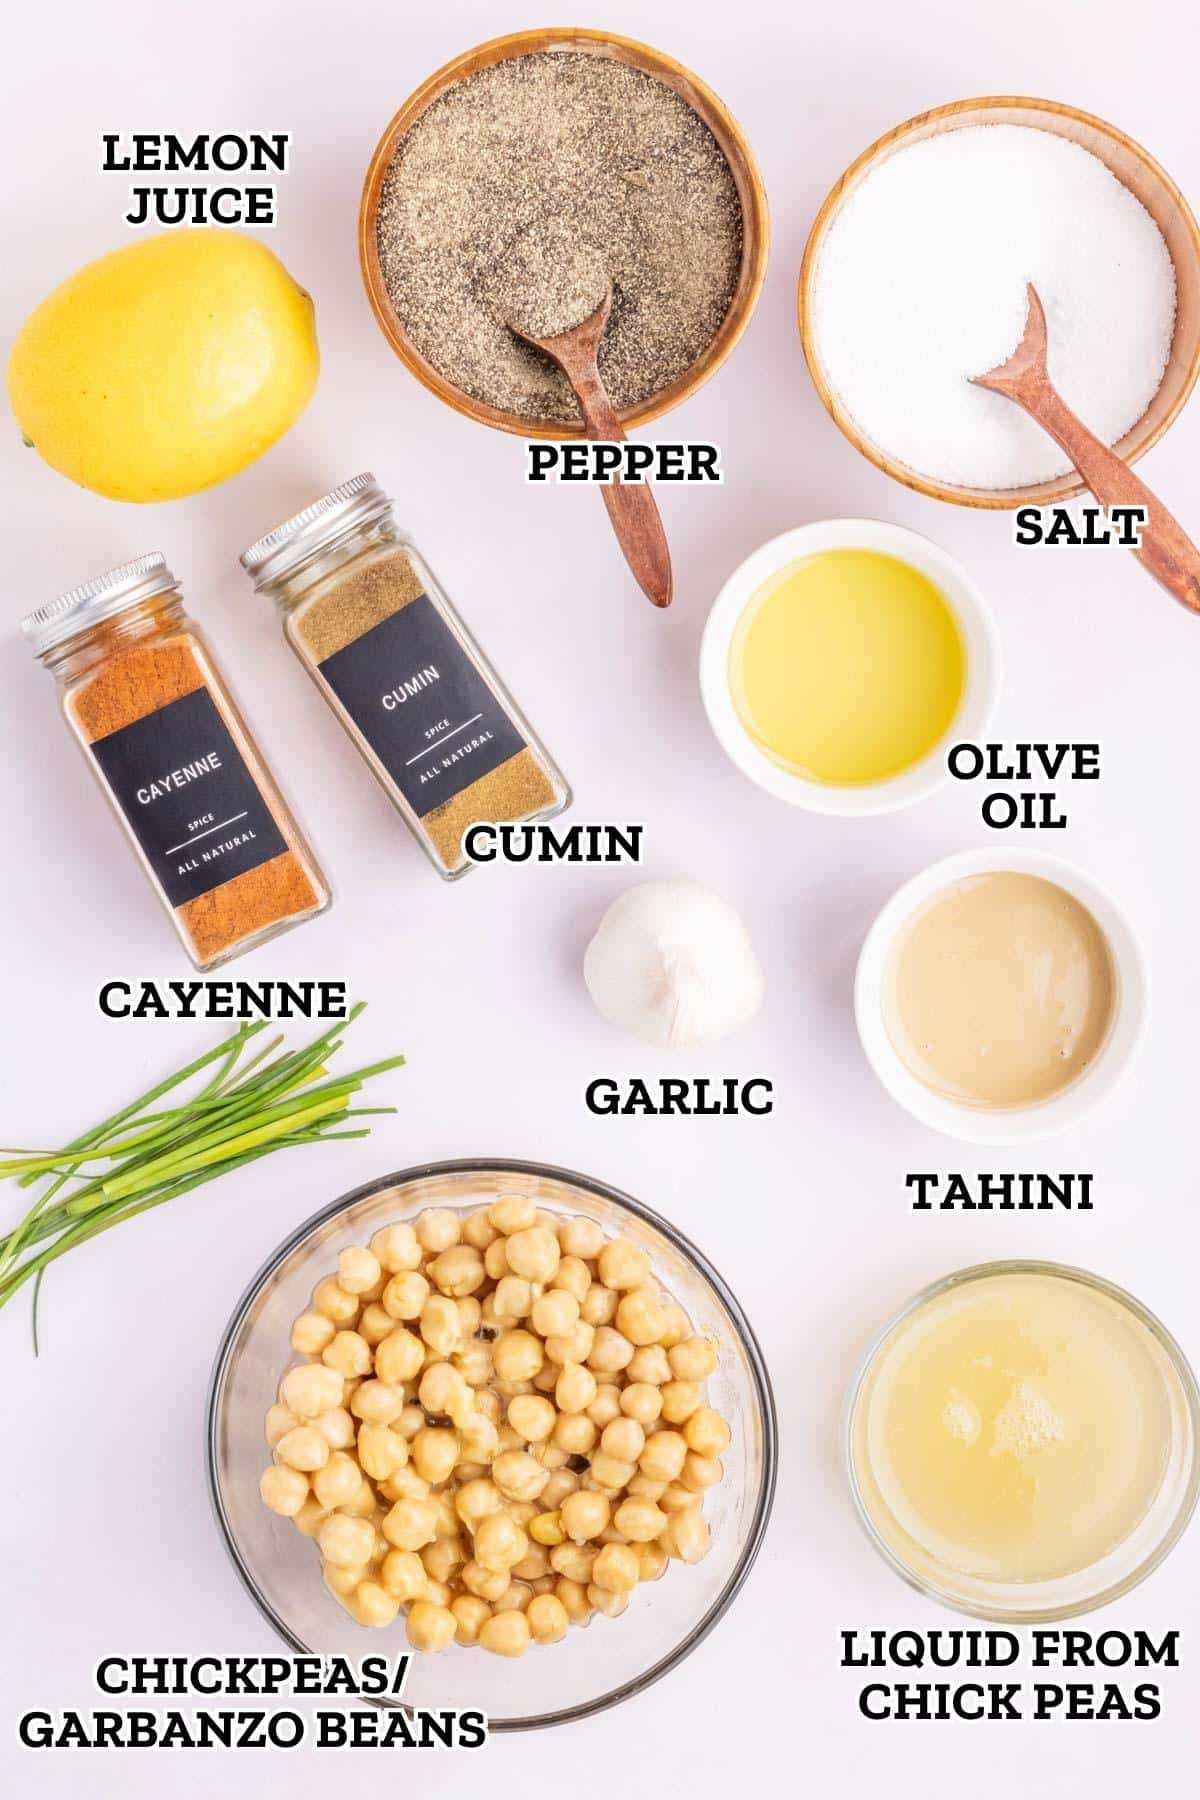
Ingredient Notes
Variations and Substitutions
How To Make the Best Garlic Hummus Dip
✱ Be sure to see the recipe card below for exact ingredients and full recipe instructions!
Step 1 | Add the ingredients
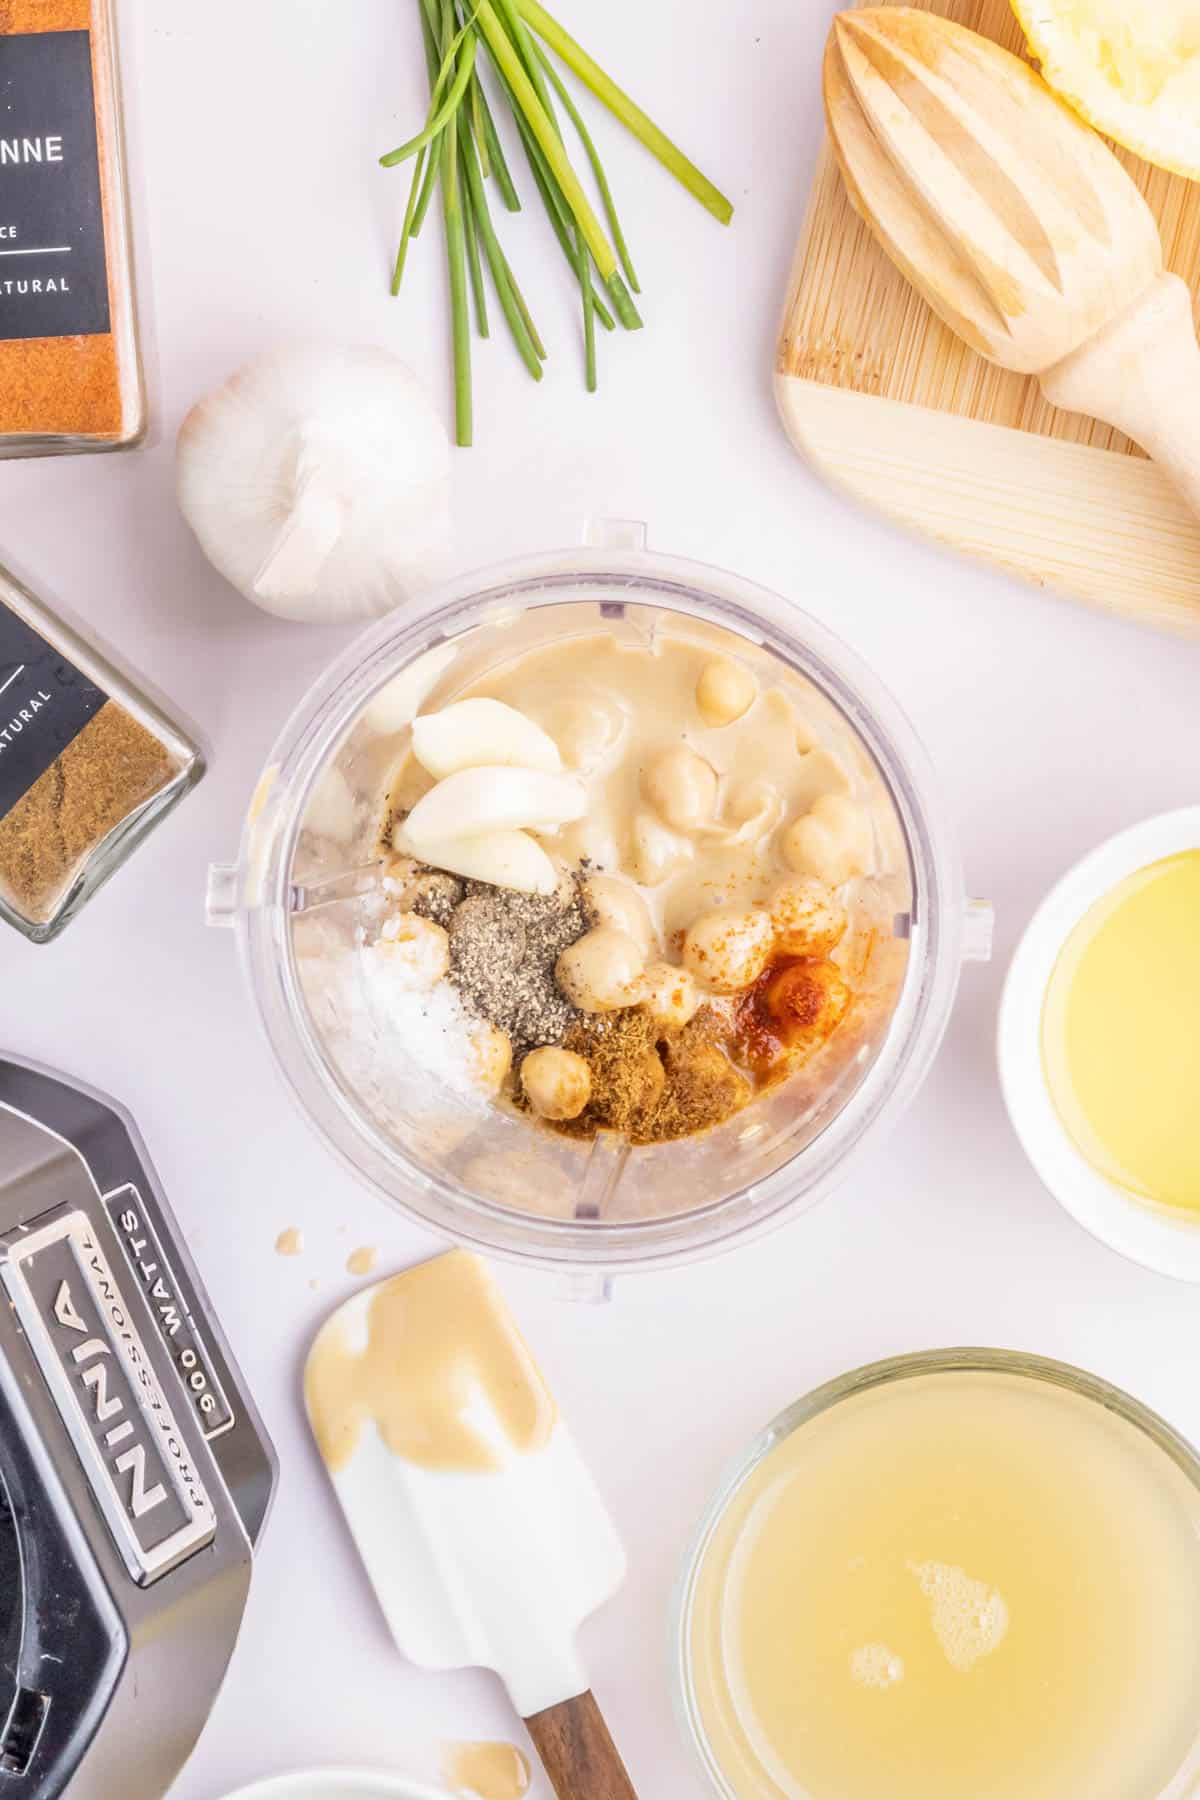
Start this easy recipe by adding all the hummus ingredients to a high-speed blender or the bowl of a food processor. Pour in just a ¼ cup of the aquafaba juice (juice from canned garbanzo beans) for now, and add more later if necessary.
Step 2 | Blend to desired thickness
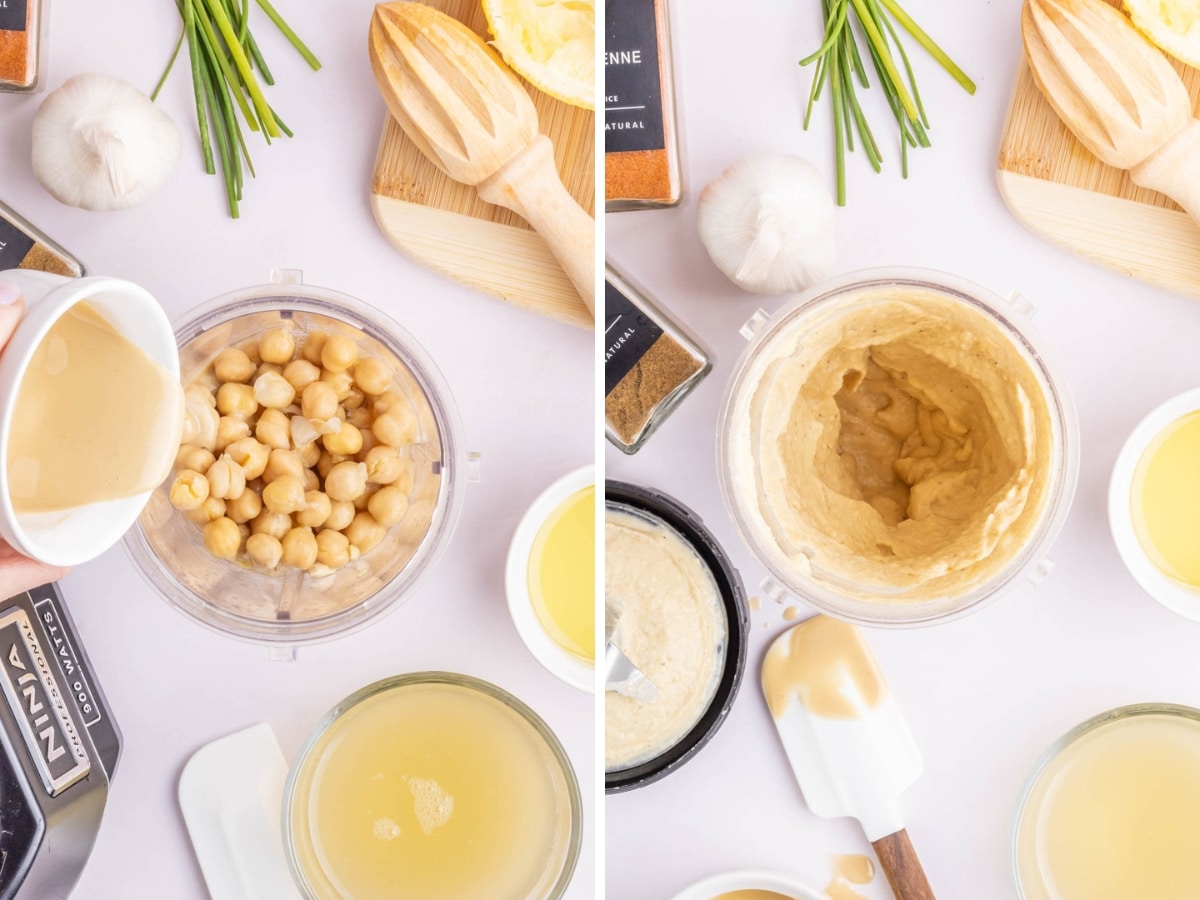
Next, puree the hummus ingredients for 2–3 minutes or until they are thoroughly blended, and the texture is creamy and smooth. Then, use a spatula to clean off the sides of the blender, if needed. And check the consistency– If it is too thick, add more aquafaba liquid.
Step 3 | Chill or serve right away
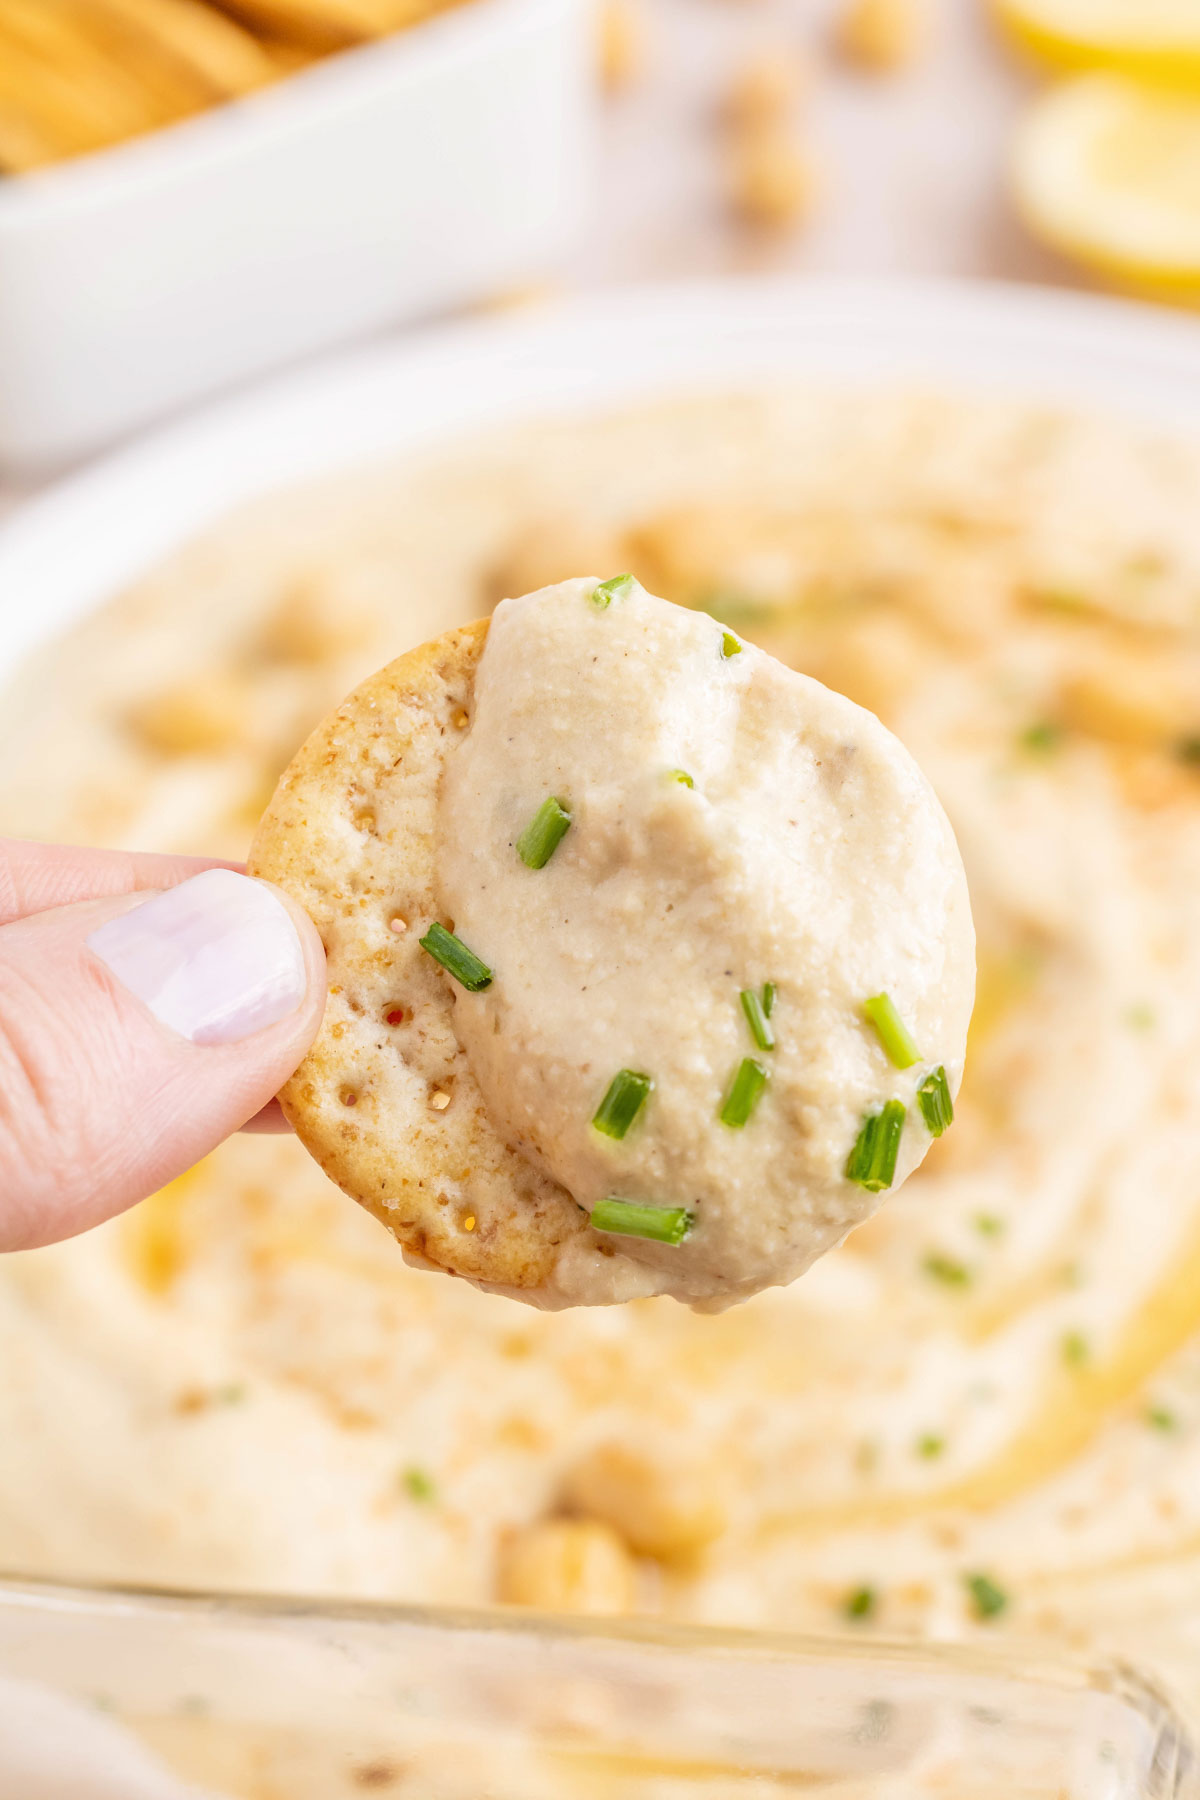
And that’s all it takes to make homemade hummus! Serve it fresh immediately after blending, or chill the hummus for 2 hours or longer to enjoy refreshingly cold hummus. Either way is delicious!
Tips
- The Right Consistency– Add just a bit of the chickpea juices at a time to avoid making your hummus too runny but ensure it’s not overly thick. If you add a bit more than you need to, thicken the hummus by adding more chickpeas and seasonings.
- Blend by Hand– Without a blender or food processor, making hummus at home may be a challenge. However, you can try mashing the chickpeas by hand, adding the remaining ingredients, and mixing the recipe with a spatula or wooden spoon.
- Homemade Roasted Garlic Hummus– As an extra step, roast the garlic cloves before adding them to the mixture.
Step 4 | Garnish and enjoy!
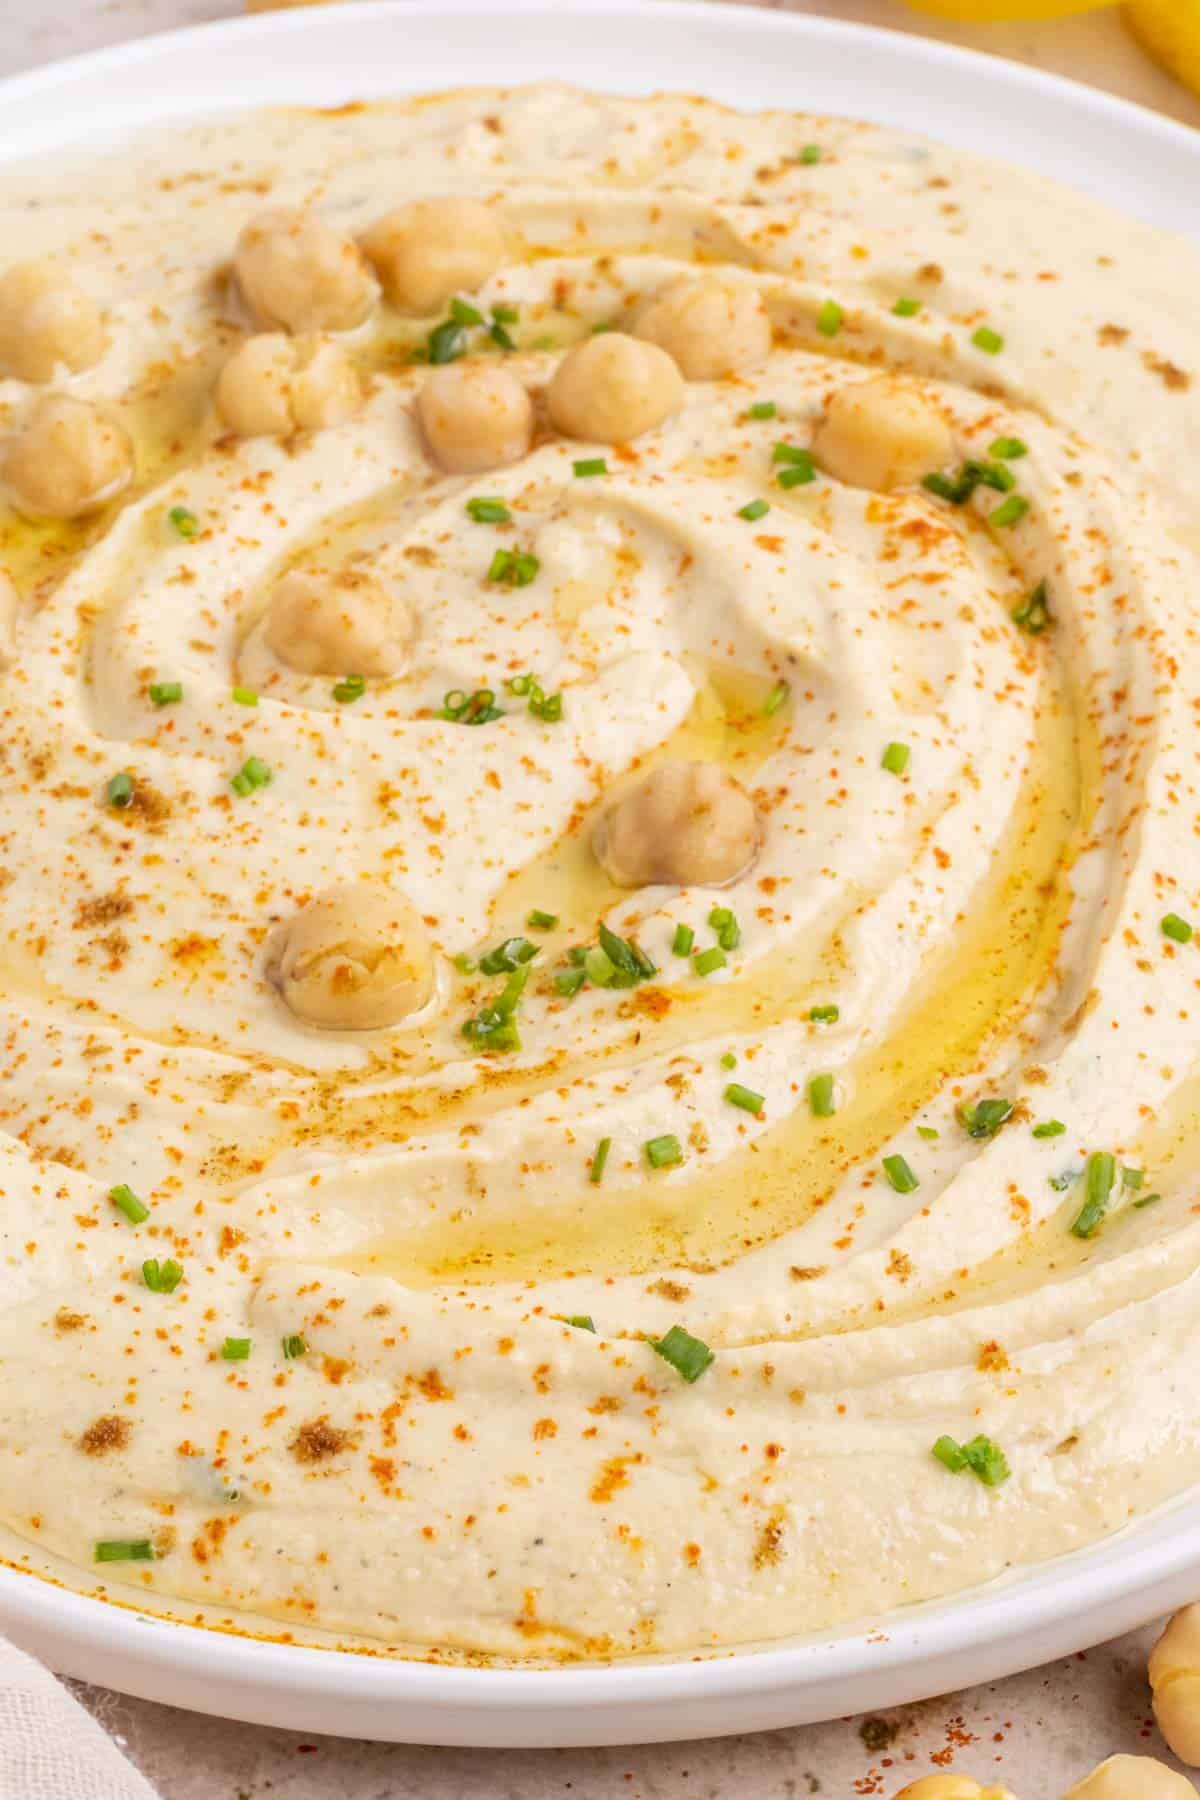
Don’t forget to garnish your masterpiece with chives, extra virgin olive oil, chickpeas, cumin, or cayenne pepper, if desired.
Want to Save this Recipe?
By submitting this form, you consent to receive emails from Soulfully Made.
Recipe FAQ’s
If your hummus comes out less creamy than desired, it can affect the entire texture of the recipe. Try adding more chickpea water, lemon juice, or tahini for extra smooth hummus, depending on the consistency or taste.
Tahini will give you that classic hummus flavor. However, if you’re having difficulty finding it at the grocery store or forgot to add it to the list, replace it with an equal amount of sunflower seed butter, Greek yogurt, cashew butter, steamed sweet potato, or even peanut butter.
Before making hummus from scratch, you likely have never heard of this unusual ingredient, tahini. It is a sesame paste with a creamy, nutty flavor often used for salad dressings, baba ghanoush, or even as a replacement for butter. However, if you’re not from or familiar with diverse middle eastern cuisine, you likely know it as one of the main ingredients in hummus.
Storage
Refrigerate: Keep your creamy hummus fresh by transferring the leftovers to an airtight container and storing it in the fridge for up to four days.
Freeze for Long-term Storage: You can also freeze hummus for longer storage. However, the texture and taste may differ after a couple of months in the freezer. Once thawed in the fridge overnight, try adding a little olive oil or lemon juice to bring the desired consistency and flavor back.
What to Serve with Easy Homemade Garlic Hummus
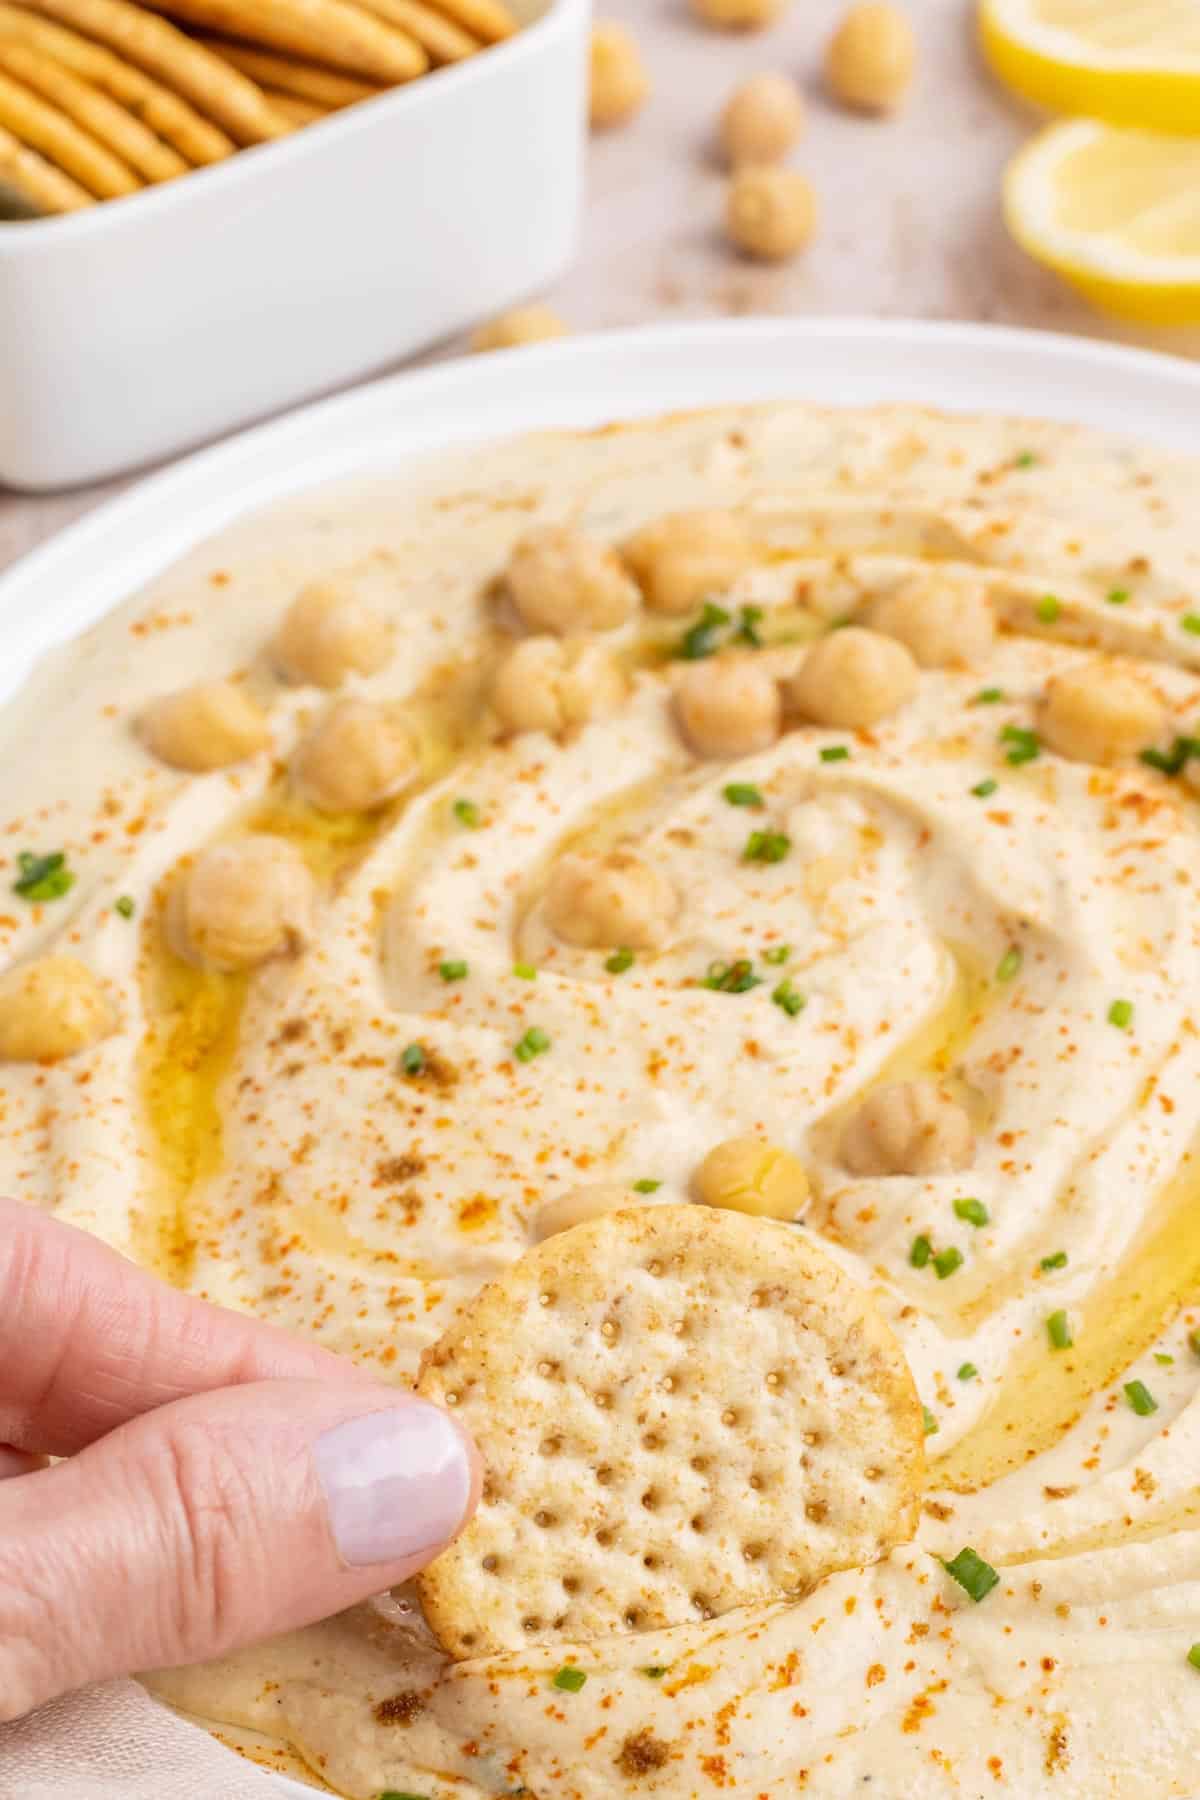
The traditional way to serve garlic hummus is either with toasted pita chips, fresh pita bread, or smeared in a shawarma wrap of some kind. However, it’s a great addition to all types of snacks or meals.
Try serving a small bowl of freshly made hummus on a veggie tray with these fun Salami-Babs or spread a generous amount on pita bread and top with Grilled Summer Vegetable Pasta Salad– Delish!
And if you are a big garbanzo bean fan, give my Spanish Bean Soup a try! It has rave reviews and is a family favorite!
Tasty Dip Recipes to Try
Hungry for more easy, home-cooked, delicious recipes?
Sign up for my free recipe club to get family-friendly recipes in your inbox each week! Find me sharing daily meal-time inspiration on Pinterest, Facebook, and Instagram.
Creamy Garlic Hummus Recipe
Click Stars To Rate
Ingredients
- 15 ounces canned chickpeas, garbanzo beans - (reserve the liquid and 10-15 chickpeas)
- ¼ cup tahini
- ¼ cup fresh lemon juice - (1 large lemon)
- aquafaba liquid from the can of chickpeas
- 3 garlic cloves
- 3 tablespoons extra virgin olive oil
- 1 teaspoon ground cumin
- 1 teaspoon salt - (or to taste)
- ½ teaspoon black pepper
- ⅛ teaspoon cayenne pepper - (or to taste)
- 1 tablespoon chives
- 1 tablespoon extra virgin olive oil
- 10 – 15 chickpeas
- ¼ teaspoon cumin or cayenne
Instructions
- Add all the hummus ingredients to a blender or food processor. Start with a ¼ cup of the aquafaba juice (juice from canned beans) to start with.
- Puree for 2–3 minutes or until fully blended and it is creamy and smooth. Use a spatula if you need to clean off the sides of the blender. If it is too thick you can add more aquafaba liquid.
- The hummus can be served immediately (delicious just after blending). Can be chilled for 2 hours or longer if you would like it cold before serving.
- Garnish with chives, extra virgin olive oil, chickpeas, cumin, or cayenne pepper.
Notes
- The Right Consistency– Add just a bit of the chickpea juices at a time to avoid making your hummus too runny but ensure it’s not overly thick. If you add a bit more than you need to, thicken the hummus by adding more chickpeas and seasonings.
- Blend by Hand– Without a blender or food processor, making hummus at home may be a challenge. However, you can try mashing the chickpeas by hand, adding the remaining ingredients, and mixing the recipe with a spatula or wooden spoon.
- Homemade Roasted Garlic Hummus– As an extra step, roast the garlic cloves before adding them to the mixture.
Want to Save this Recipe?
By submitting this form, you consent to receive emails from Soulfully Made.





Love this. Very flavorful.
Thank you, Suzie!
Thank you for this easy to make recipe. My goodness… This was so much better than the store bought stuff. I added some extra garlic because I LOVE garlic. The consistency was perfect and the taste was amazing!!
Thank you, Toni! I am so glad you enjoyed it. It really has a wonderful texture and I agree better than store bought!
I’m curious. I know this makes 6 servings but do you know the measurement for that? It’s great I have made it many times.
This makes about 2 1/2 cups or about a ½ cup serving.
This hummus is so creamy and rich, and tastes way better than store bought! And I love how easy it is to make too!
Thank you so much! I love easy dips for entertaining or just enjoying at home!
Enjoyed this for an afternoon snack and it did not disappoint! Easy, creamy and flavorful; definitely, a new favorite recipe!
Thank you, Sara! It is on of my favorite snacks too!
Never buying store-bought again!
I love your suggestion to add roasted red peppers into this — so much better than the store bought version I normally buy!
Thank you, Ali. I like to change up the add-ins from time to time. Roasted peppers are a favorite.
I love making homemade versions of foods I typically buy from the store because I can source healthier ingredients. I’m a big hummus fan, so I can’t wait to try making this homemade version! Definitely going to use the chives as a garnish to add extra flavor!
I am with you. I love to make fresh when possible!