This post may contain affiliate links. Please read our disclosure policy.
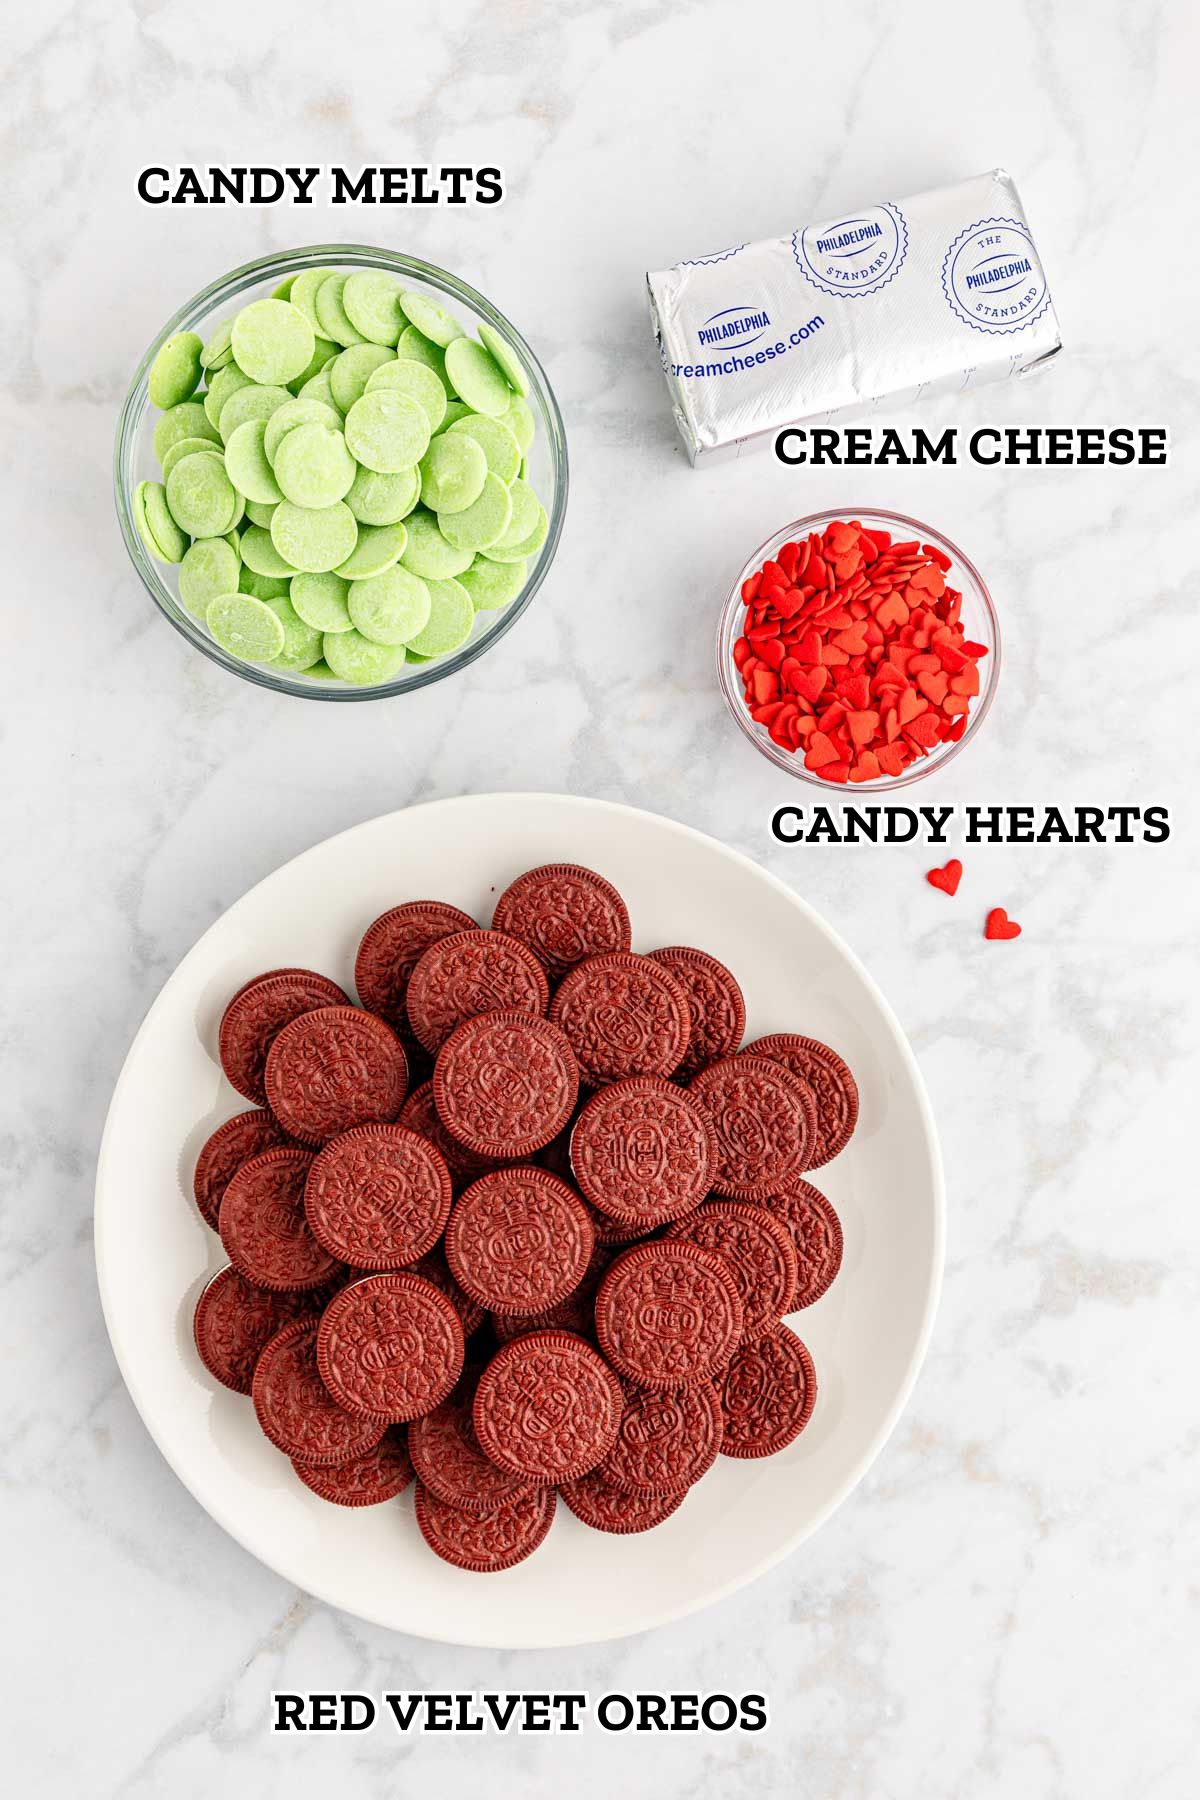
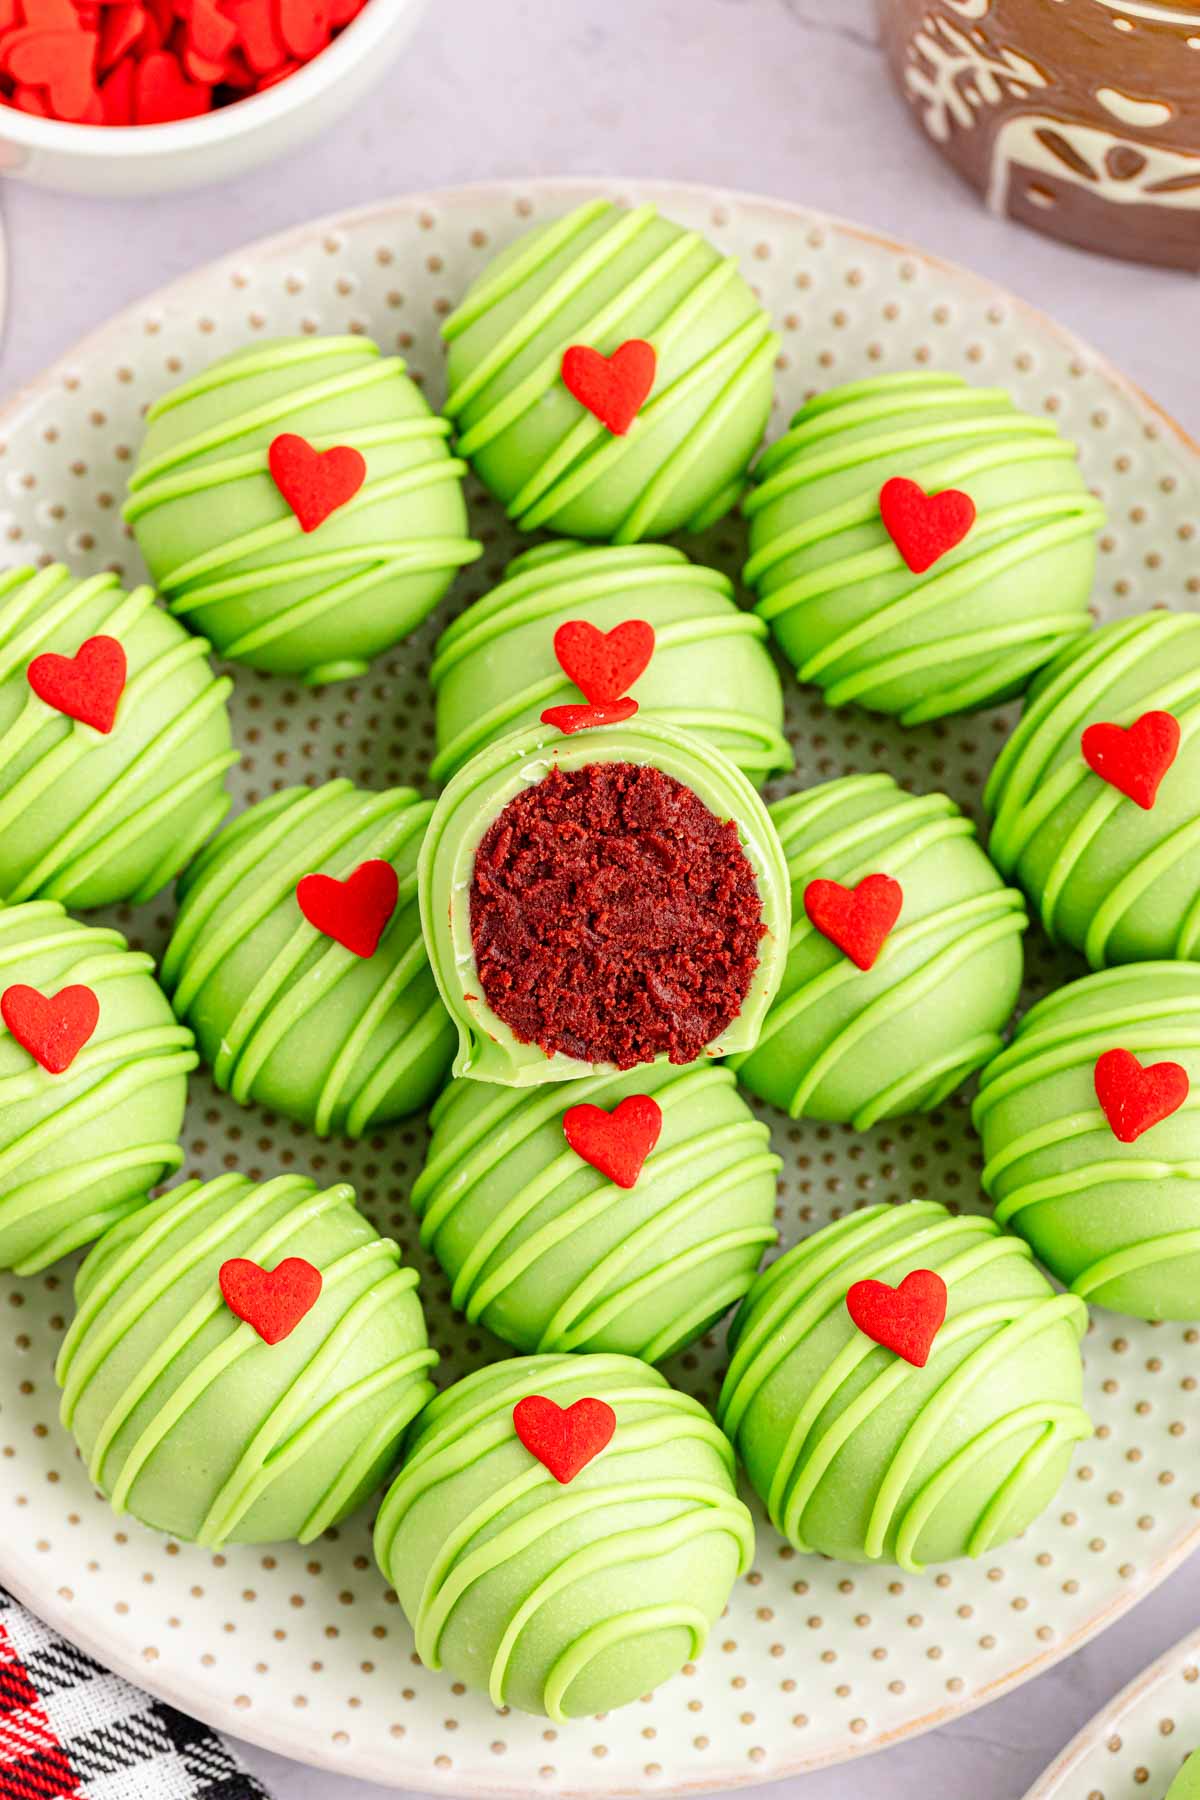
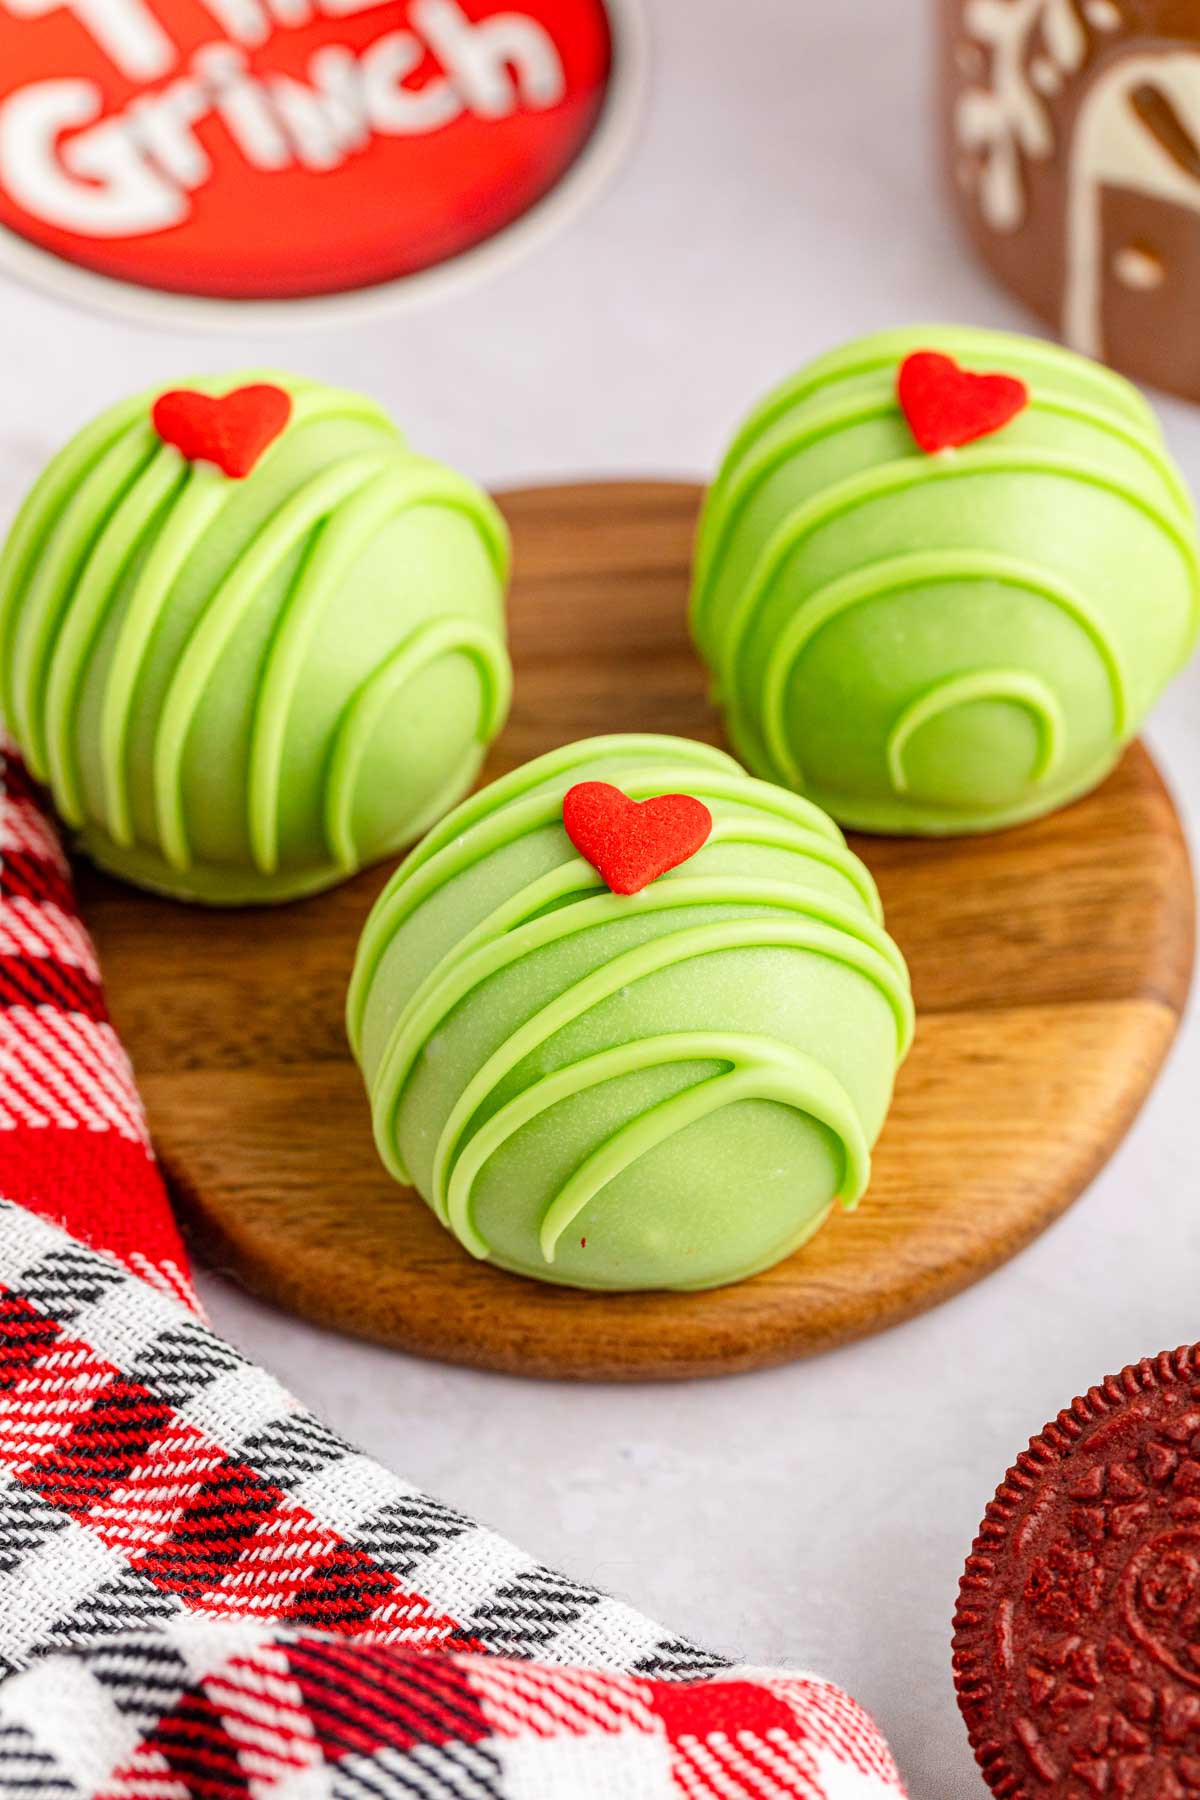
We’ve got the recipe for the Best Grinch Red Velvet Oreo Balls Ever for children and adults alike. This no-bake recipe has just four simple ingredients – red velvet Oreos, cream cheese, green candy melts, and a tiny red heart candy atop each delectable cake ball. You’ll surely be Christmas party-ready this holiday season!
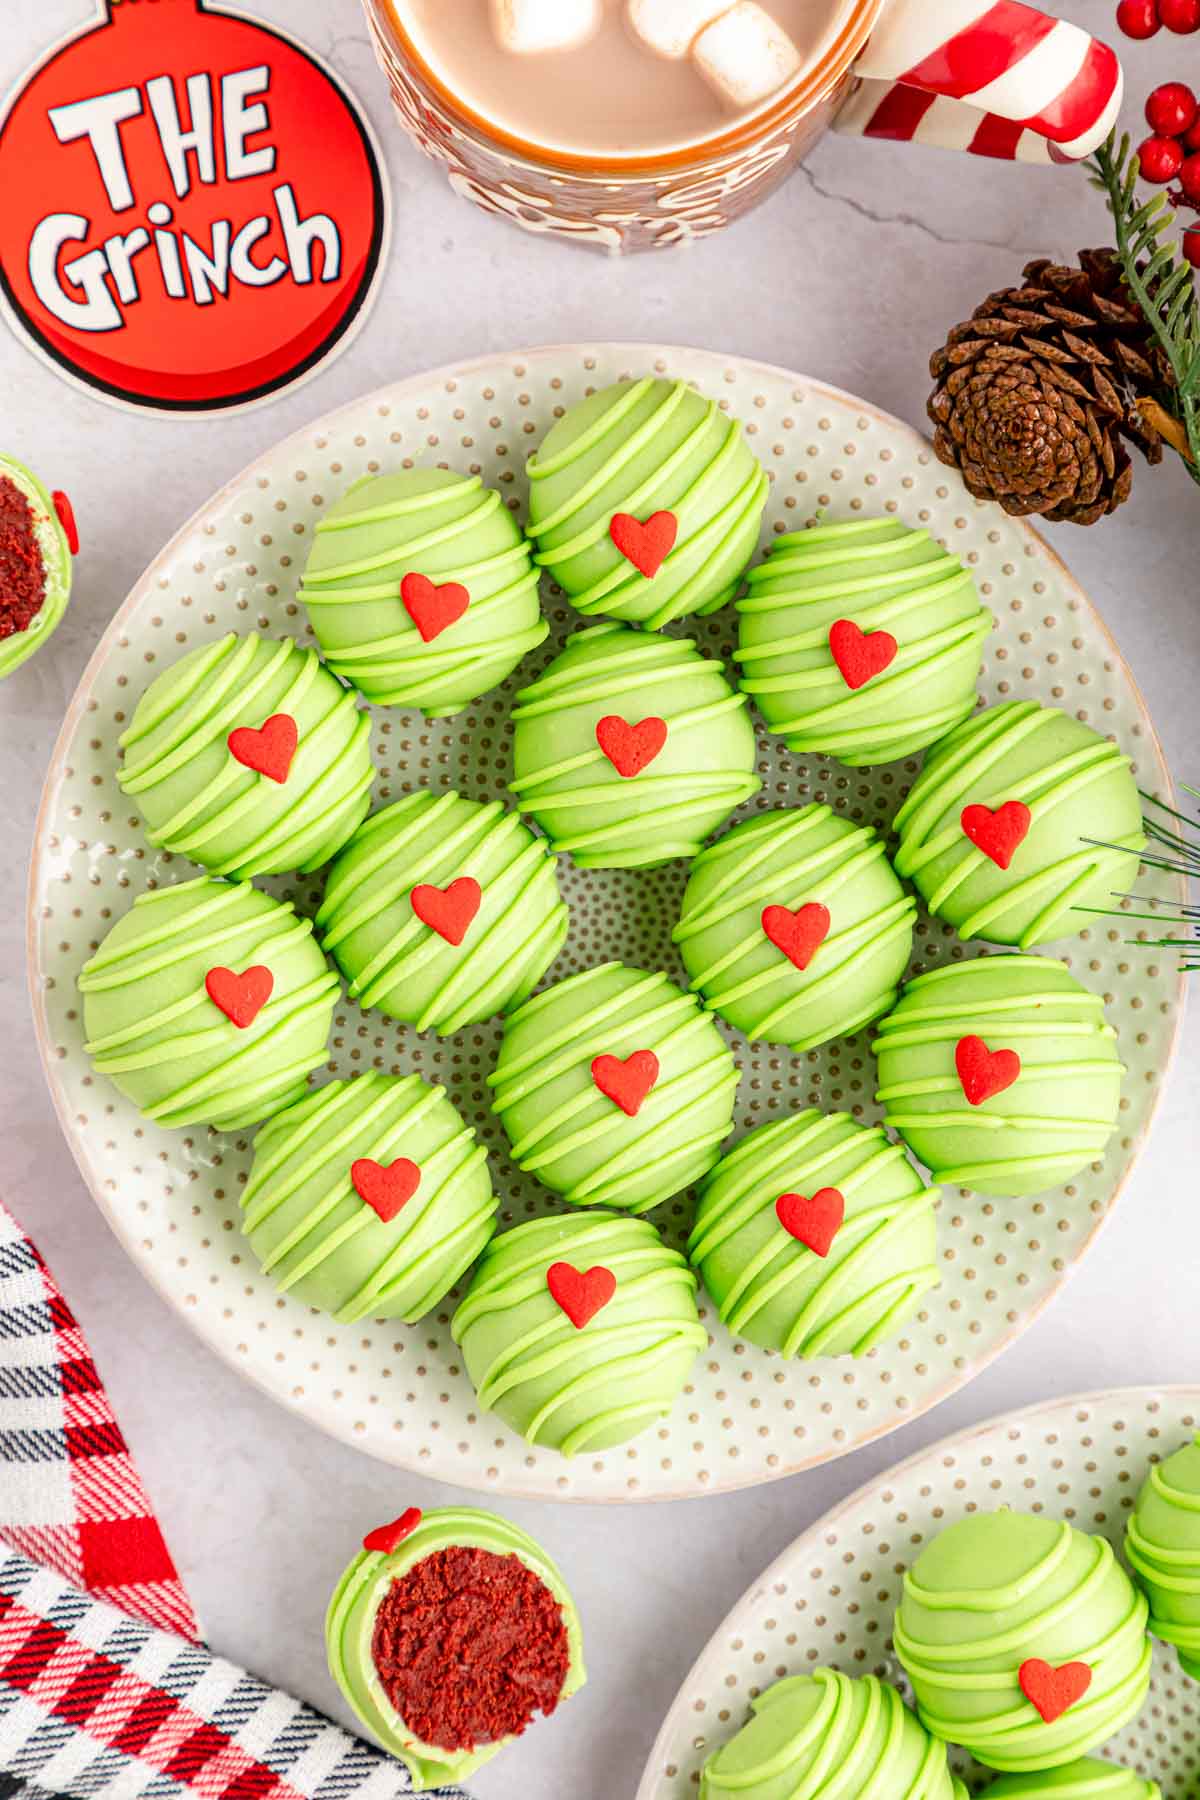
These sweet, bite-sized Grinch Christmas Balls will have them saying, “Maybe Christmas doesn’t come from a store. Maybe Christmas, perhaps, means a little bit more!” -compliments of the Grinch. Well, of course, it doesn’t! If you ask me, it comes from your kitchen!
The best festive treats are always homemade, and these Grinchy treats are no exception. Try Making some homemade Grinch Punch with a bowl of Grinch Pretzel Bites and a platter of Grinch Cookies. Perhaps the Grinch stole Christmas for the town of Whoville, but not at your holiday parties!
Why We Love This Recipe!
- Grinch-Themed Cuteness: I mean, could they get any cuter?
- No-Bake Recipe: No baking means no making room in the oven when you have so much other baking to do during the Christmas Season.
- Versatility: Serve these sweet treats at your next holiday party, take them to the cookie swap, add them to a Christmas charcuterie board or dessert tray, or make them with the kids for a fun activity and dessert in one. They are great homemade edible gifts, too!
Not to mention, I don’t know anyone who doesn’t like the flavor of red velvet cake. Do you? Oreo cookie balls are an easy way to make the perfect treat.
Ingredient Notes
Variations and Substitutions
How To Make Grinch Christmas Truffles
✱ Be sure to see the recipe card below for exact ingredients and full recipe instructions!
Step 1 | Prepare Pan, Oreo Crumbs & Cream Cheese Mixture
I like to get everything out and set up when making a recipe involving several steps. Start by lining a baking tray with parchment paper and set it aside.
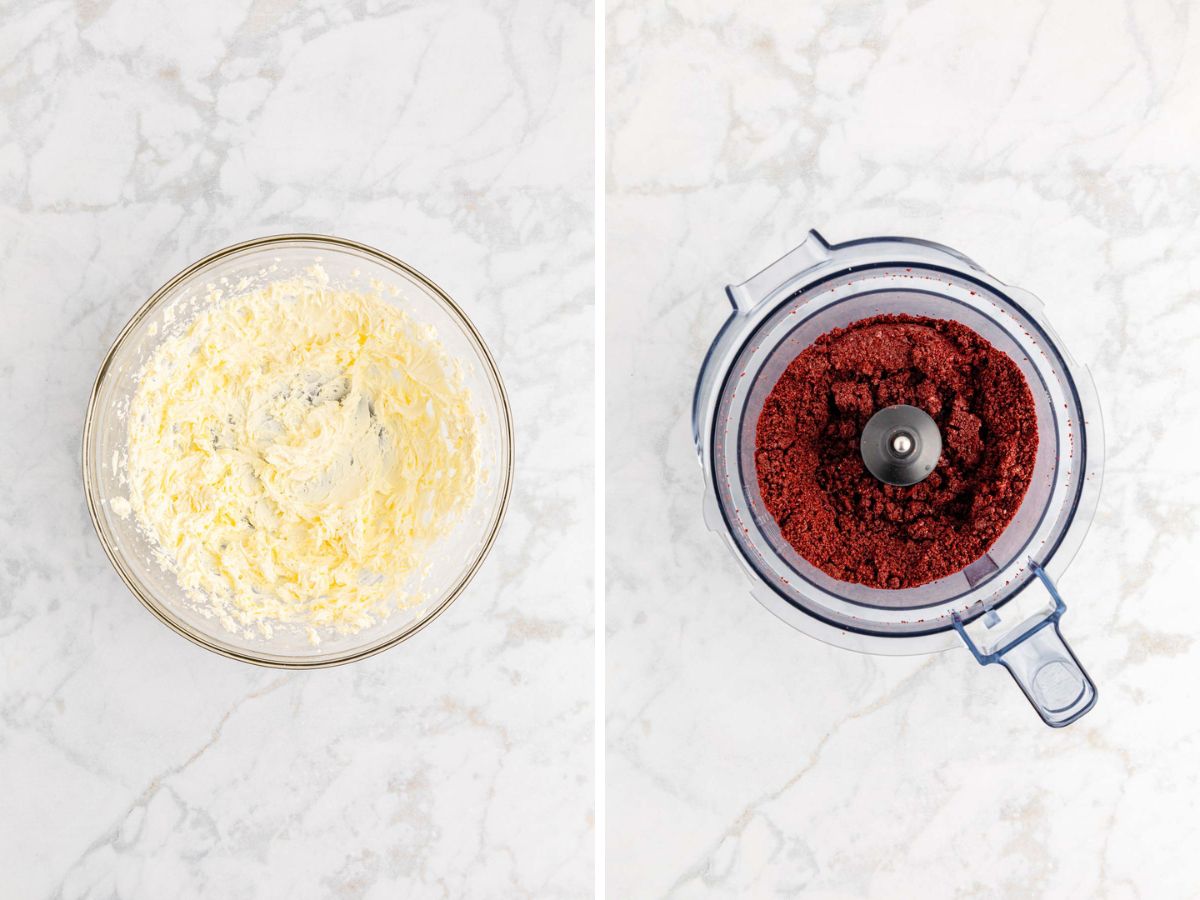
Then, take out a large mixing bowl and, with an electric stand mixer or a hand mixer on high speed, beat the softened cream cheese until smooth.
Next, pulse the Oreo cookies into fine crumbs in a food processor or blender. I usually break them up a bit as I toss them in.
Step 2 | Combine the Cream Cheese & Oreo Crumbs
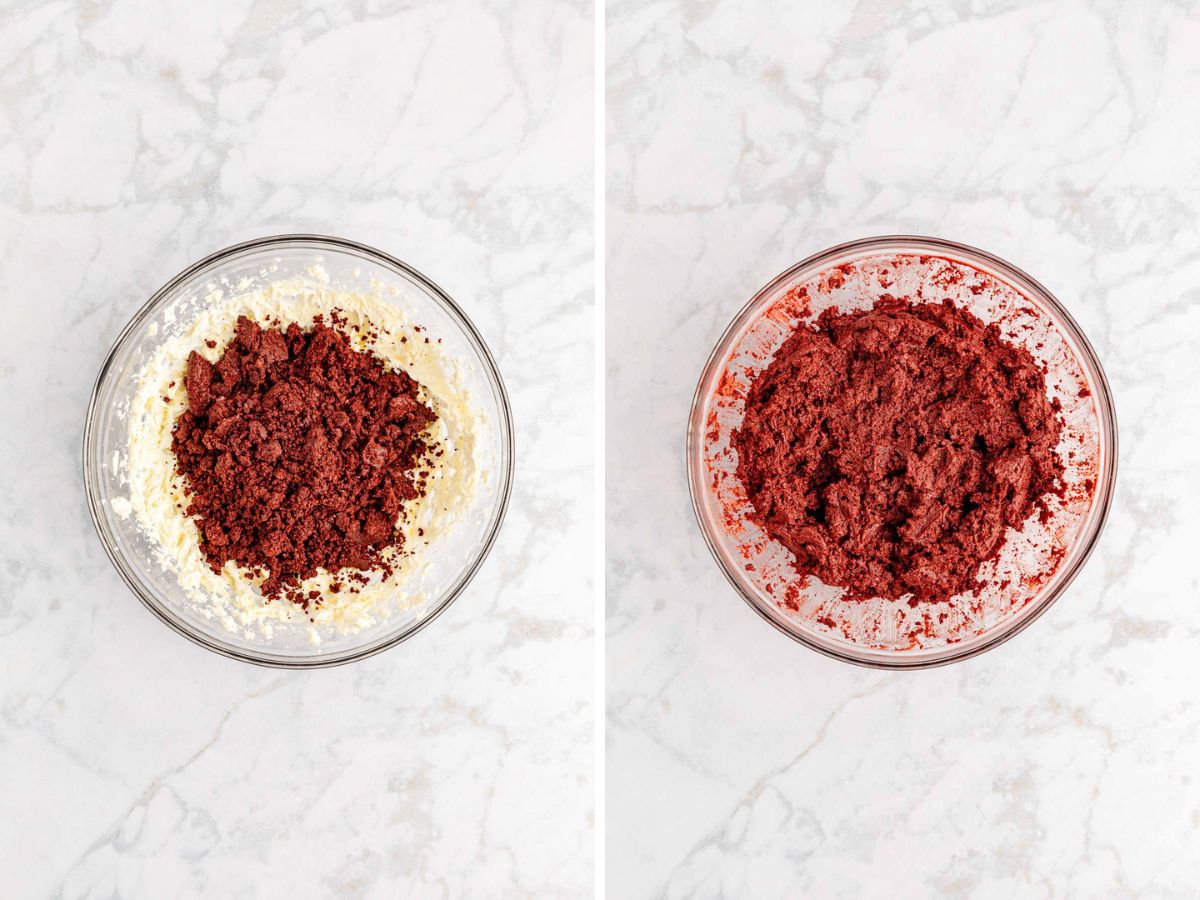
Carefully pour the bowl of Oreo crumbs into the soft and fluffy cream cheese and mix until well combined.
Step 3 | Form the Truffle Balls & Chill
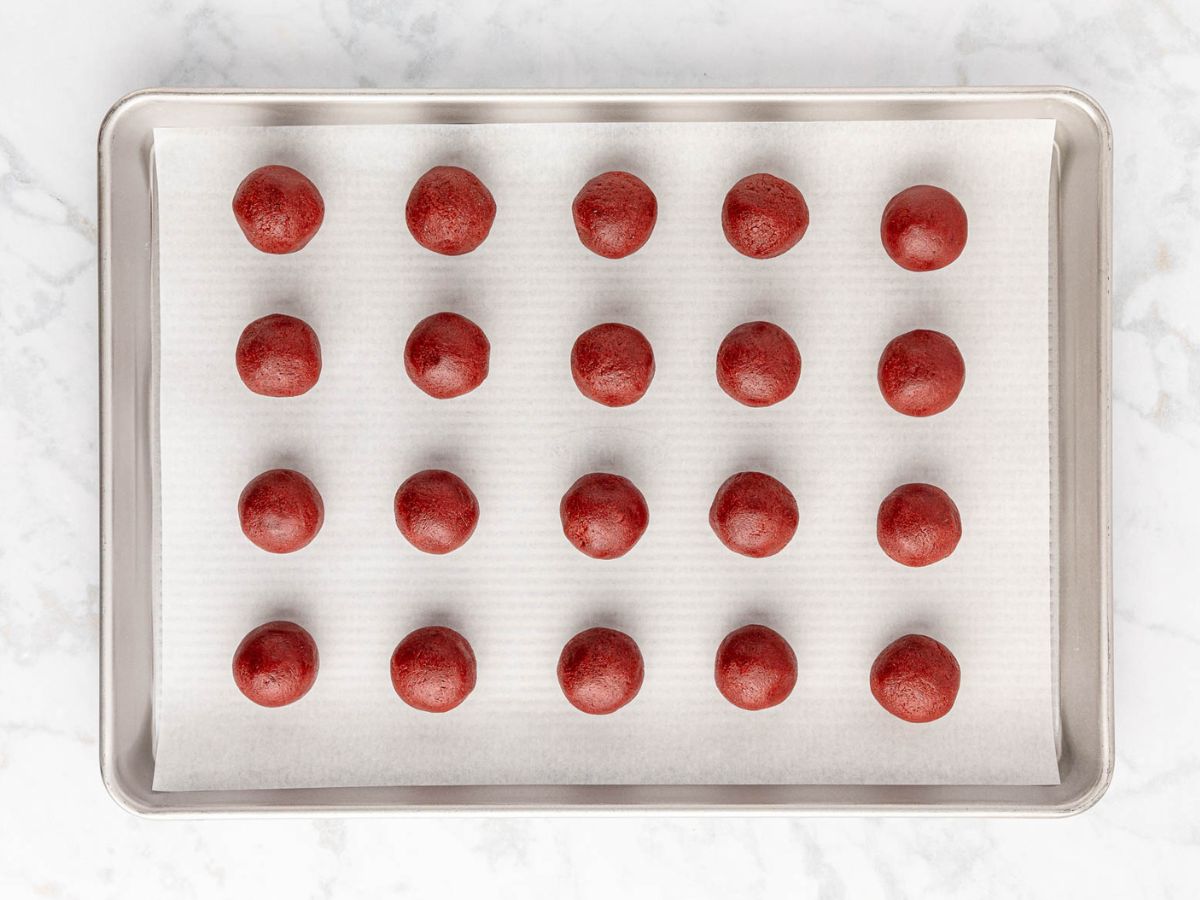
Now, it is time to get your hands dirty! Scoop the mixture using a 1.5″ cookie scoop, then roll each out in the palms of your hands until perfectly smooth.
Place each truffle onto the lined baking tray and refrigerate for 2 hours. Chilling the balls will help them keep their shape when dipping them into the warmed melts.
Step 4 | Ready the Candy Melt Coating
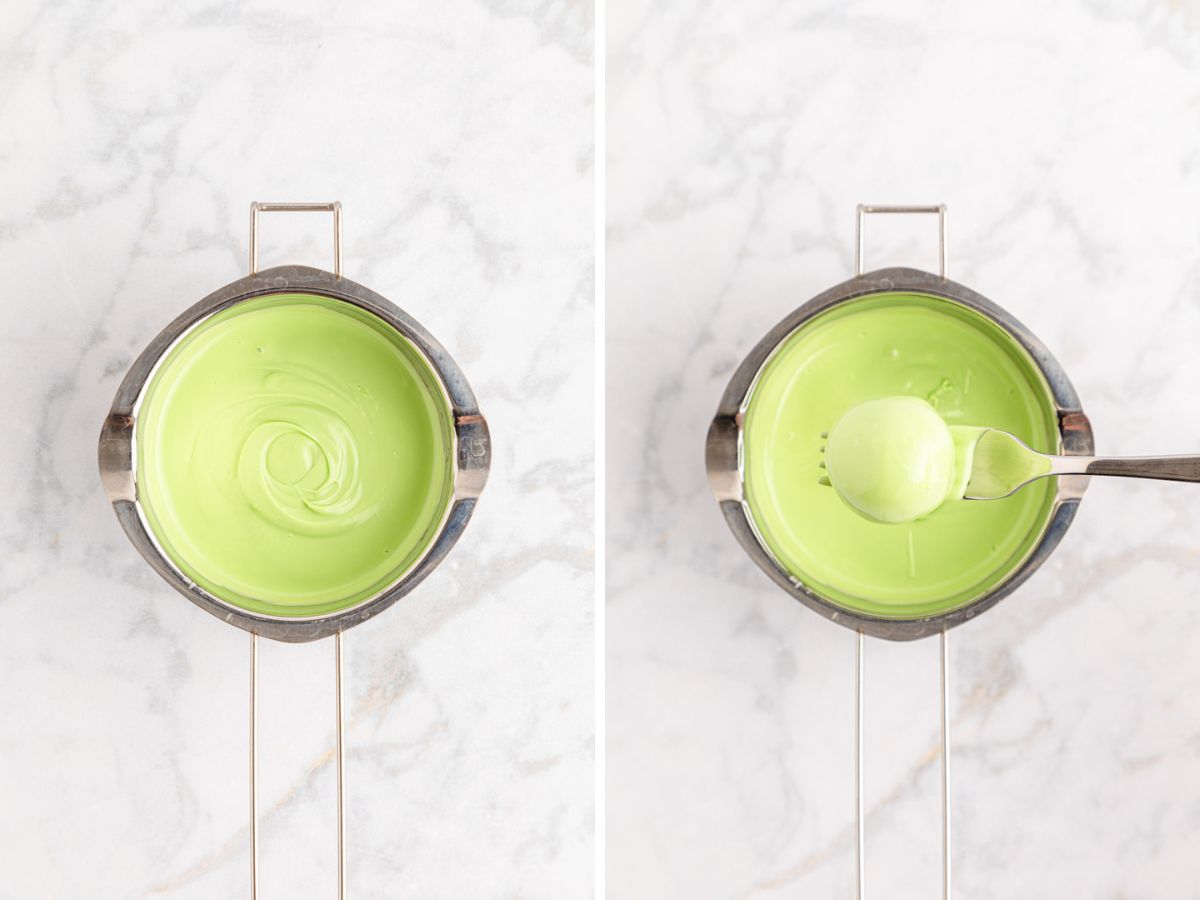
While they are chilling in the fridge, divide the bag of melts. Put aside ½ to ¾ cup of the light green candy melt pieces to use later for drizzle. Then, take out a double boiler and bring it to temperature over low heat.
If you do not have a double boiler, use a candy melting pot or even melt in the microwave- and melt the remaining light green wafers until creamy smooth. Stir every minute to ensure it is heating evenly.
Step 5 | Dunk the Cake Balls
Dip each ball one at a time into the melts and remove it with a fork. Tap the fork on the edge of the double boiler or pot to remove any excess coating.
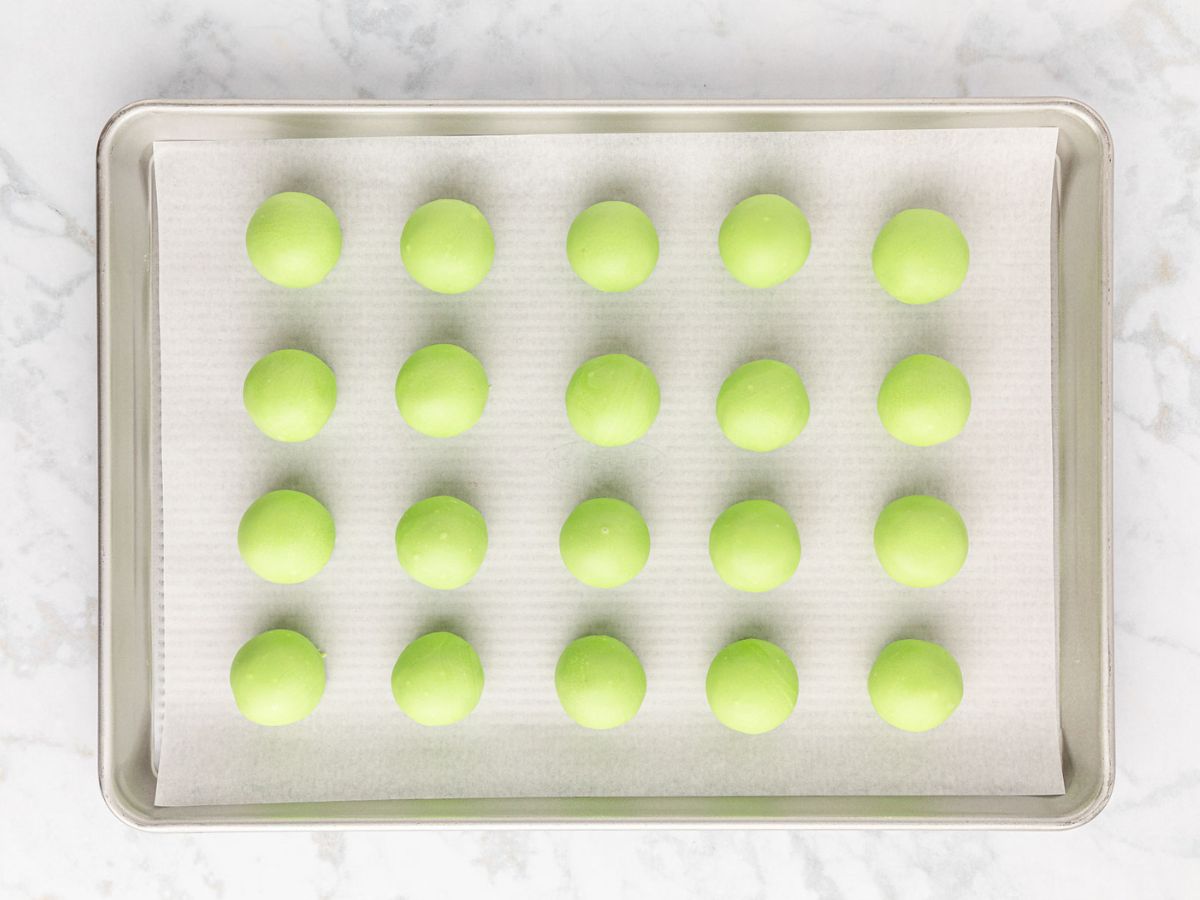
Then, place each onto the parchment-lined baking tray, repeat for all the balls, and allow the chocolate to harden.
Step 6 | Decorate the Cake Truffles
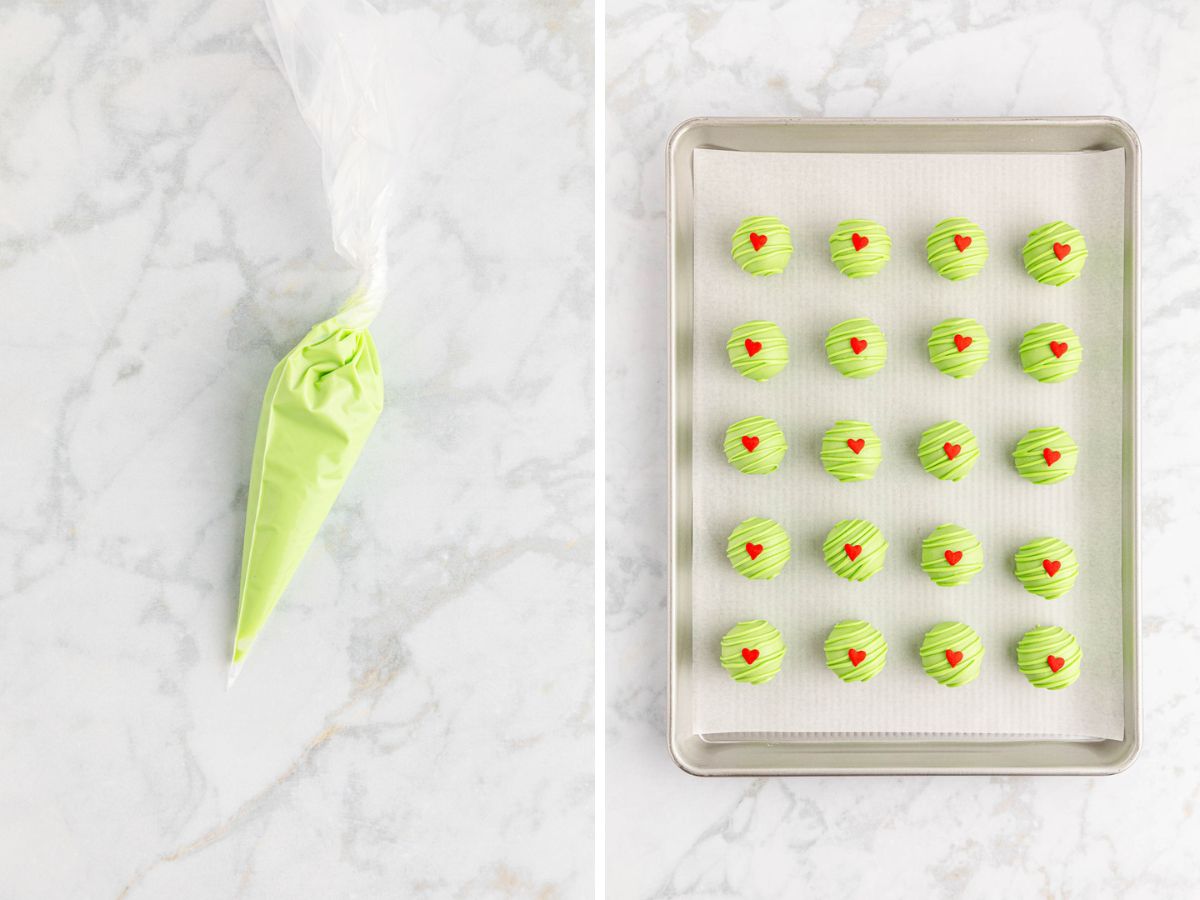
Place ½ cup of the set-aside candy melts into a microwave-safe piping bag, twist it shut, and melt it in the microwave on a low or defrost setting until thoroughly melted and smooth.
Massage the bag every 30 to 60 seconds to ensure it is melting evenly.
Once creamy and melted, snip a small corner of the tip of the piping bag off and drizzle over the coated balls, four at a time.
Immediately top each with a red heart sprinkle before the drizzle sets completely. (The drizzle is optional. You can place the hearts directly onto the green coating immediately after they have been dipped.)
Allow the coating to be fully set before serving. You can place them in the refrigerator to help them set up faster. Enjoy!
Tips
- Use a cookie scoop to keep the balls all the same size. It is about a tablespoon of the Oreo mixture.
- The extra filling may yield a wetter mixture when using Double Stuf or Mega Stuf Oreos. So, reduce the amount of cream cheese in the recipe. I recommend sticking with the standard Oreo filling.
- Always shake off the excess dip before you place it on the parchment to avoid a big green puddle.
- Order your heart sprinkles online before the holiday season to ensure the stores do not run out!
Want to Save this Recipe?
By submitting this form, you consent to receive emails from Soulfully Made.
Recipe FAQs
You sure can. There are a couple of ways to go about it. You can fully make them a day or two before a party and store them in the refrigerator. Or you can make the filling into balls and freeze them. Then, when closer to the time to serve, pull them out, dip those easy treats into the melted chocolate wafers, and decorate.
A great way to remove the extra coating is to run a toothpick along the bottom of the fork before placing the ball on the parchment.
Microwaving your candy coating can cause the chocolate to seize and thicken. For best results, go slowly in 30-second increments, stirring between each. Then, if it is already seized, add a few drops of coconut oil or canola oil to the mix and stir until it releases and becomes creamy smooth again.
Storage
Storage: With cream cheese in the recipe, storing these Grinch bites in the refrigerator is best to prevent them from spoiling and avoid leaving them at room temperature for more than 2 hours. Use an airtight container to store them in the fridge for up to 5 days.
Freeze: These are a great make-ahead treat, or if you find yourself with extras and want to save them for another holiday party, freezing is an option. Simply place them in a freezer bag or a freezer-safe container, and they will be safe for 3-4 months.
What to Serve with Grinch Oreo Truffle Recipe
Here is a great idea! Make it a holiday Charcuterie board party and serve all sorts of bite-sized goodies! Here are a few of my favorites that would work well.
- Red Velvet Brownie Cups
- Christmas White Trash Popcorn
- Crockpot Chocolate Turtle Candy
- Chocolate Oreo Peppermint Cake Mix Cookies
- Santa’s Chocolate Chip Cookies
More Cute Christmas Recipes
Hungry for more easy, home-cooked, delicious recipes?
Sign up for my free recipe club to get family-friendly recipes in your inbox each week! Find me sharing daily meal-time inspiration on Pinterest, Facebook, and Instagram.
Grinch Red Velvet Oreo Balls
Ingredients
- 2 packages (12.2 ounce) Red Velvet Oreos, 44 cookies
- 8 ounce block cream cheese, softened to room temperature
- 15 ounces light green candy melts, divided
- red heart sprinkles
Instructions
- Line a baking tray with parchment and set it aside.
- In a large mixing bowl with a hand mixer on high speed, beat the softened cream cheese until smooth.
- In a food processor or blender, pulse Oreo cookies into fine crumbs. Add the Oreo crumbs to the cream cheese and mix together until well combined.
- Scoop out even-sized balls using a 1.5” cookie scoop, then roll them out in the palms of your hands until smooth.
- Place onto the prepared baking tray and refrigerate for 2 hours. Chilling the balls will help them keep their shape when dipping into the melts.
- Set aside ½ to ¾ cup of the light green candy melt pieces to use later for drizzle if desired. Prepare a double boiler over low heat, or use a candy melting pot and melt the remaining light green wafers until smooth. Stir every minute to ensure it is heating evenly.
- Dip each ball one at a time into the melts and remove it with a fork. Tap the fork on the edge of the double boiler or pot to remove any excess coating. Then place onto the parchment-lined baking tray and repeat with the rest of the balls.
- Place ½ cup of the set aside candy melts into a microwave-safe piping bag, twist it shut, and melt it in the microwave on a low or defrost setting until fully melted and smooth. Massage the bag every 30 – 60 seconds to ensure it is melting evenly.
- Once melted, snip a small corner of the tip of the piping bag off and drizzle over the coated balls, four at a time. Immediately top with a red heart sprinkle before the drizzle sets completely.
- Allow the coating to fully set before serving. You can place them in the refrigerator to help them set up faster. Enjoy!
Want to Save this Recipe?
By submitting this form, you consent to receive emails from Soulfully Made.
Notes
-
- Use a cookie scoop to keep the balls all the same size. It is about a tablespoon of the Oreo mixture.
- The extra filling may yield a wetter mixture when using Double Stuf or Mega Stuf Oreos. So, reduce the amount of cream cheese in the recipe. I recommend sticking with the standard Oreo filling.
- Always shake off the excess dip before you place it on the parchment to avoid a big green puddle.
- Order your heart sprinkles online before the holiday season to ensure the stores do not run out!
Nutrition Information
Nutritional Disclaimer
Soulfully Made is not a dietician or nutritionist, and any nutritional information shared is only an estimate. We recommend running the ingredients through an online nutritional calculator if you need to verify any information.
©️Soulfully Made




These are so adorable especially with the red hearts. I can enjoy these anytime of year. Thanks!
Thank you, Ann. Yes they can be enjoyed anytime. I change the green melts to white or pink and make them for Valentine’s day too!
These are absolutely adorable, and such a fun twist on Oreo balls. I’m excited to try these and see how they compare to the classic recipe, thanks so much for sharing!
Thank you, Nathan! They red velvet has a nice flavor. You could also use regular Oreos if you prefer!
I made these with the kids over the weekend and we had so much fun! And they tasted great too!
Thank you, Tayler! They are so fun to make with the kiddos!
These are just as delicious as they are pretty. They were a huge hit with my kids!
Thank you, Bobby! I am so glad the kids enjoyed them! I love this Christmas season and the fun activities with the kids.
What a beautiful recipe! I had my niece over for an afternoon and we had great fun making these balls. They turned out almost as pretty as yours, and it’s just so fun to decorate them. Great activity with a very tasty reward at the end 🙂
Thank you, Leva! I am so glad you had fun with these! I love getting the kids into the kitchen!