This post may contain affiliate links. Please read our disclosure policy.
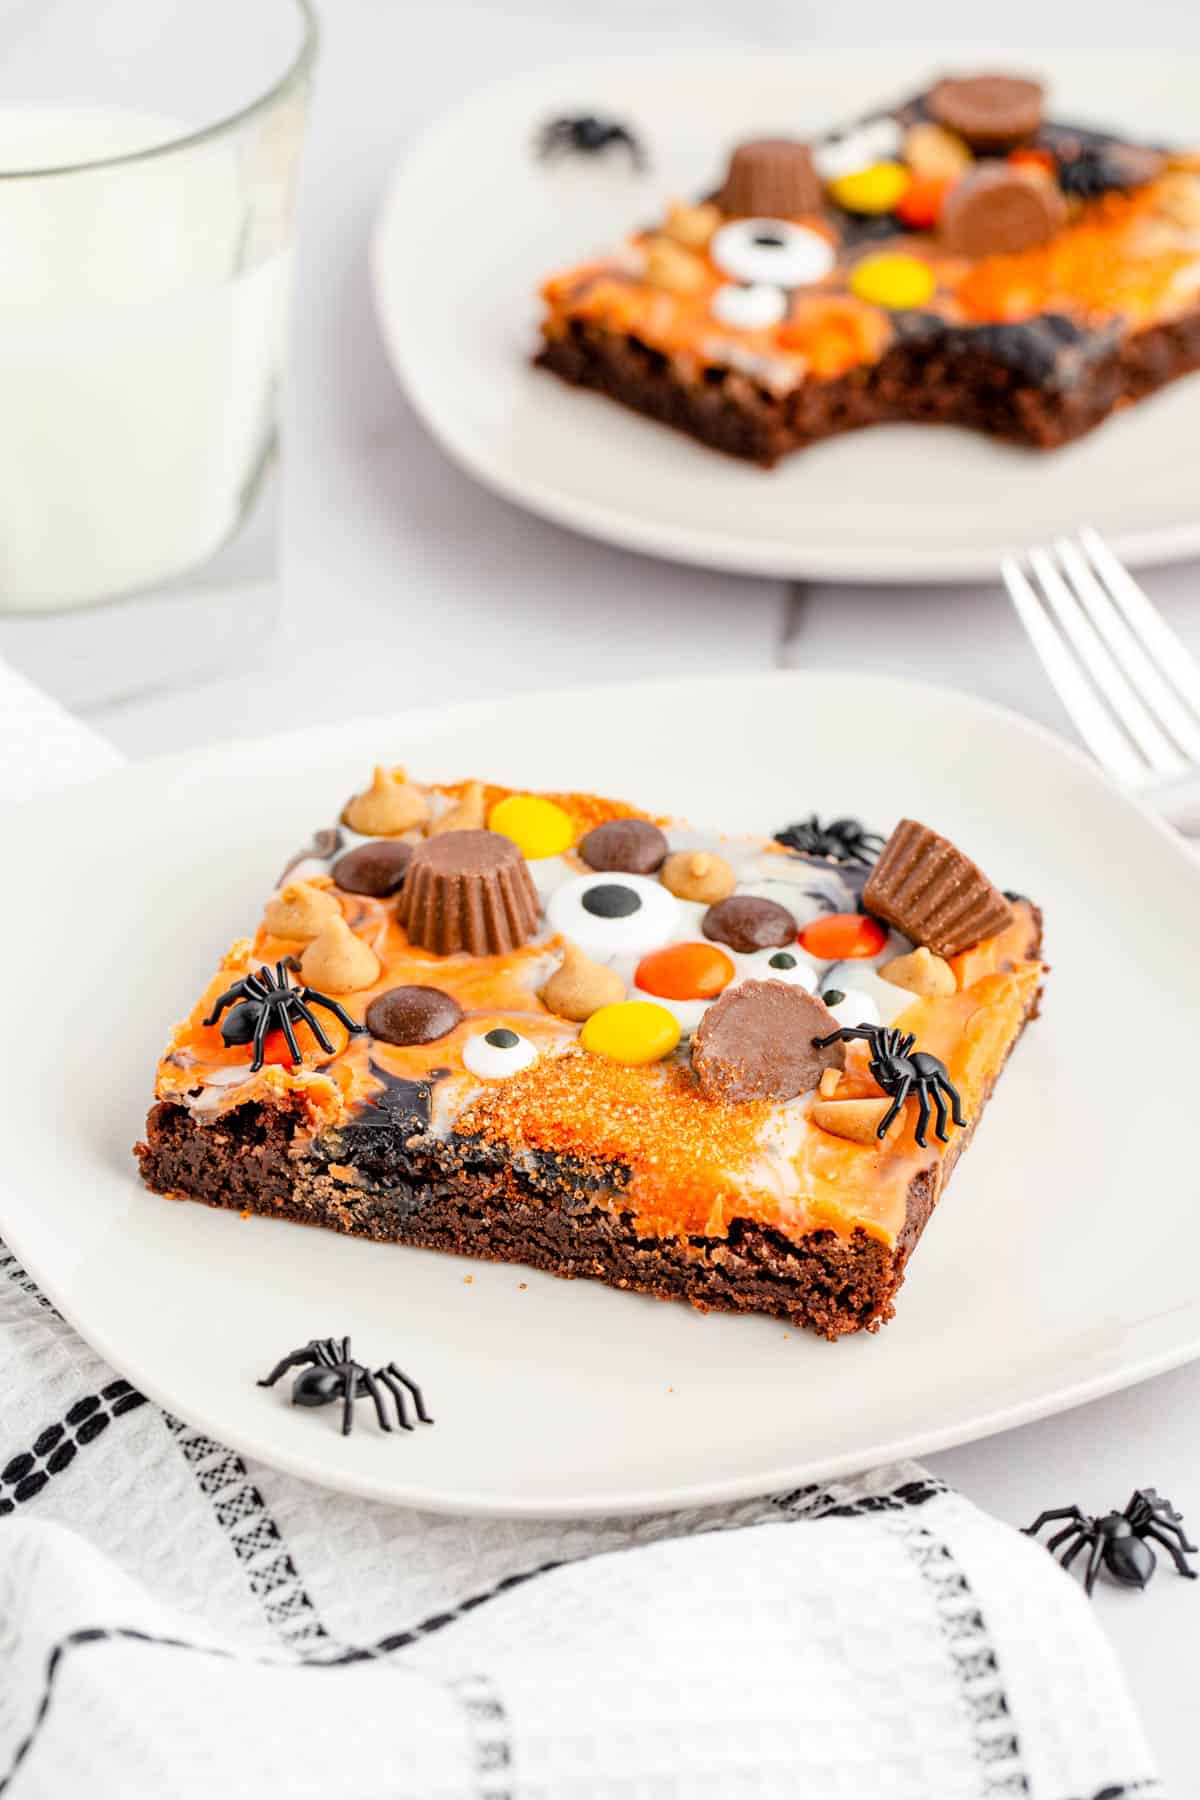
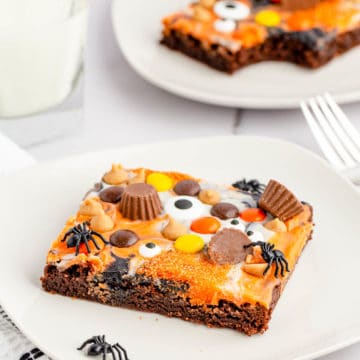
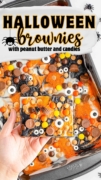
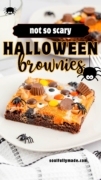
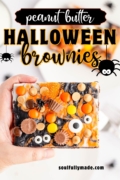
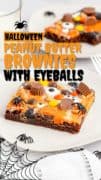
No tricks with these treats- These Halloween Peanut Butter Brownies with Eyeballs are spooky fun and so yummy with Reese’s cups and candies, your favorite brownie mix, and eyeballs– as you can clearly see!
Just wait until the kids see these Reese’s Peanut Butter Eyeball Brownies! (Or maybe the candy brownies will see the kids first!) They will squeal with excitement as they sink their teeth into this delicious brownie recipe with eyeball candies, peanut butter, and their favorite Halloween colors.
I just love the silliness of Halloween time and all the fun treats my family, and I can make together. On my list of favorite spooky treats would have to be Oreo Mummy Cookies and Gummy Worm Dirt Cupcakes are a Halloween favorite for the kiddos. And try my Monster Much Halloween Popcorn using the same eyeball candies.
Why you’ll love this recipe!
- Super Easy- This recipe uses a box mix for the chewy brownies, and you can even use store-bought frosting instead of the ganache recipe here.
- Halloween Fun- These eyeball brownies are not only tasty but so much fun to create and serve!
- Loaded Peanut Butter Brownies- Need I say more? Scrumptious!
To get in the Halloween spirit, I went looking through all my recipes. There, I was reminded there of all the easy recipes that can be made whimsical for any holiday- like this Chocolate Chip Cookie Candy Cream Pie. Just change the patriotic sprinkles for Halloween sprinkles, and you have a whole new Cream Pie recipe!
Biscoff Cookie Butter Cheesecake Bars and Red Velvet Brownies can be made into Halloween Cheesecake Bars and Devilishly Decadent Red Velvet Brownies. Simply drizzle melted dark chocolate in a spider web pattern over them, and you have a new treat.
Whatever frightful confection you choose this year—enjoy family and a bit of silliness. It does the soul good!
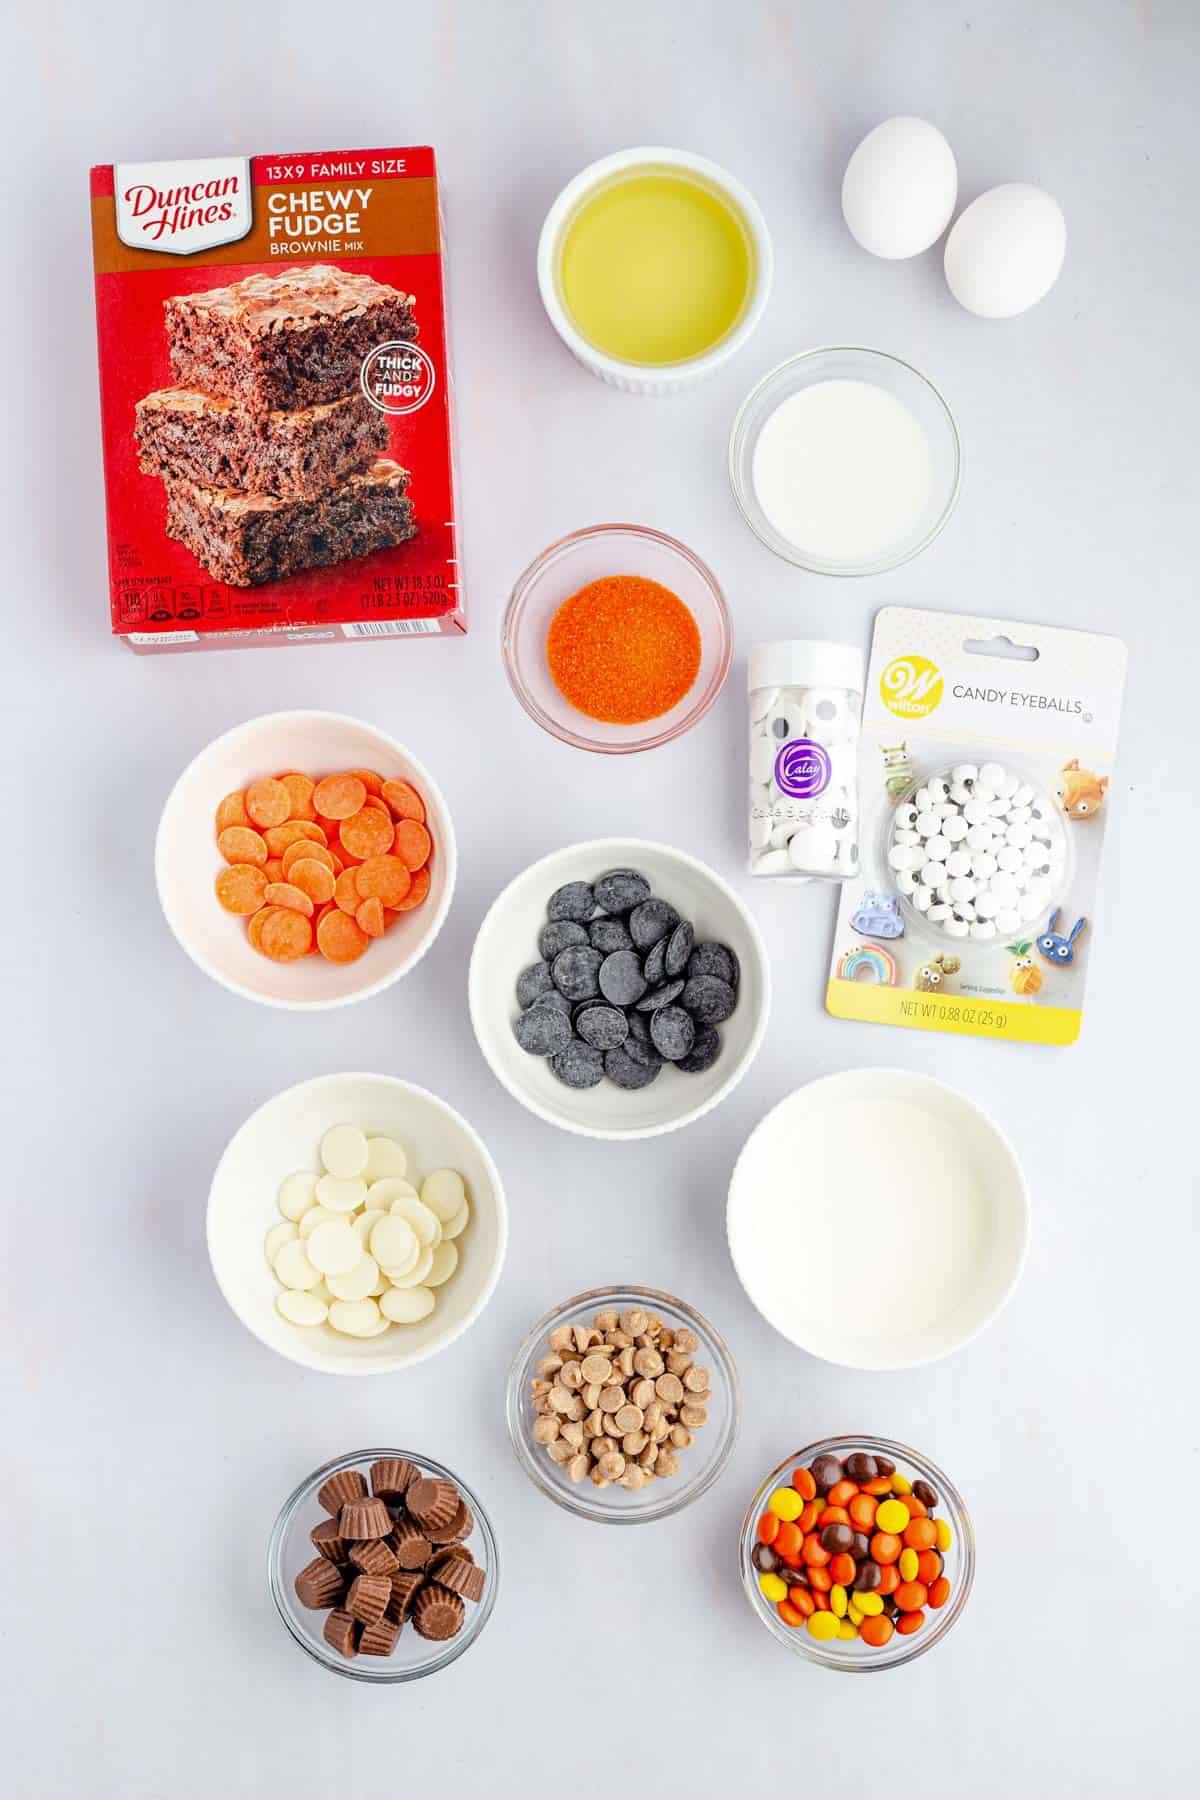
Ingredients
Brownies
Ganache
Candy Toppings
How to Make Spooky Peanut Butter Cup Brownies
✱ Be sure to see the recipe card below for exact ingredients and full recipe instructions!
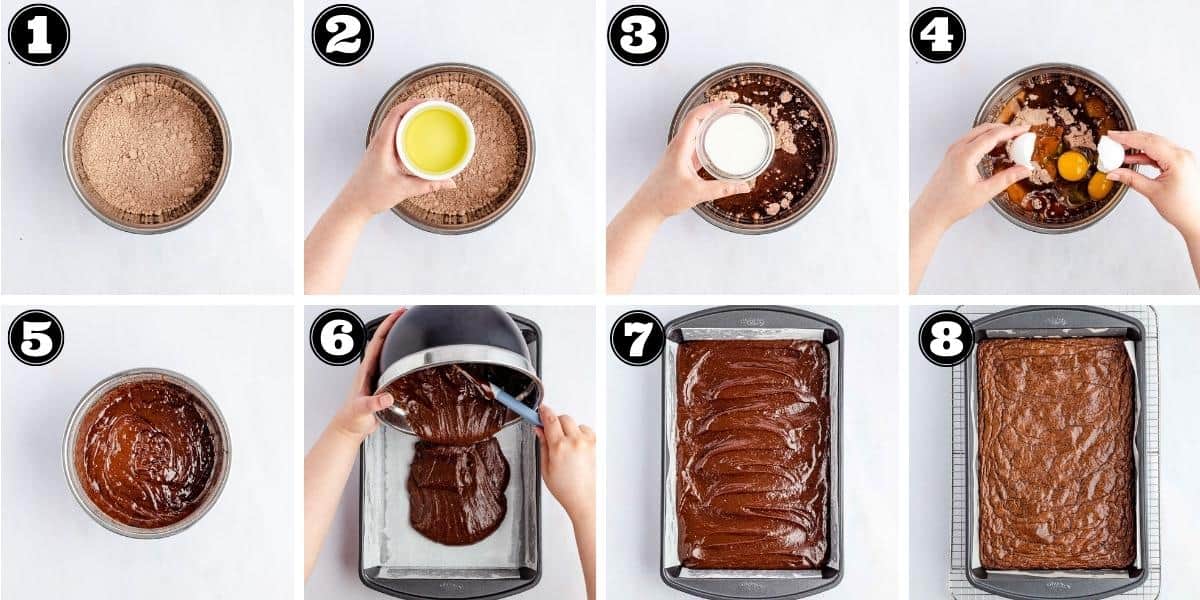
I am sure you have made boxed brownies before—so this should be pretty simple. Start with a preheated oven. Then get your 9×13 baking pan out and line it with parchment paper. Then, when the brownies are cooled, you can pull them out of the pan easily.
Step 1 | Mix the Chewy Brownie Batter
Pour your favorite brownie recipe box mix into a large bowl or stand mixer bowl and follow the instructions.
Add in the ingredients called for, like the oil, milk, and eggs, then mix by hand with a rubber spatula or with a mixer. Just be careful not to overmix the fudgy batter, or it will become dense.
The batter will be a bit clumpy, and that is a good thing, y’all!
If you want thick brownies, you can choose a 9×9 or an 8×8 pan or double the recipe. Just check the baking times on the box for your pan size.
Now, let’s get to baking.
Step 2 | Pour, Spread, and Bake
I just love the taste and smell of fresh brownies in the oven!
Pour the batter from the mixing bowl into the prepared pan and smooth it all the way to the edges.
Now you can place the pan into the oven and set your timer. To test for doneness, use a toothpick inserted about an inch from the edge of the pan full. If it comes out clean, they are just right and ready to cool.
Place the pan on a wire rack and allow it to cool.
Step 3| Ganache Time
When making ganache, the consistency changes from a pourable medium consistency to a firm and smooth texture when cool.
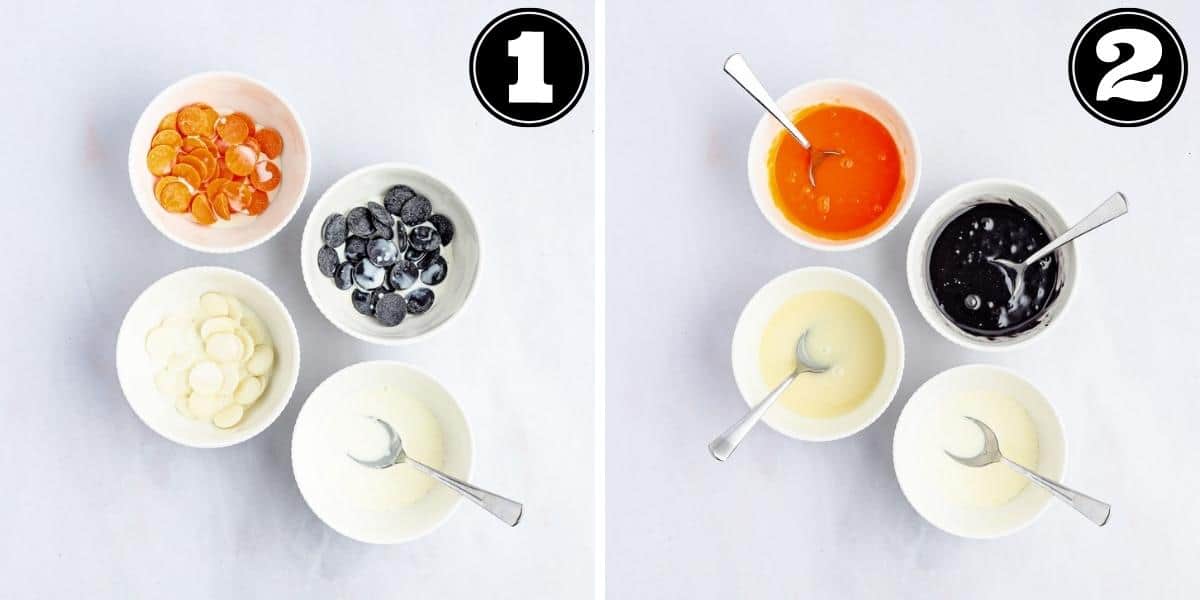
Start with the candy chocolate wafers. Divide the colors into bowls. Here I have 3 bowls, one with orange, one with black, and one with white.
Next, begin heating the heavy cream on the stovetop or in the microwave until it begins to bubble. Then you are ready to pour the warmed cream over the melting chocolates evenly and allow that to sit for a minute.
Now you can stir those waters until each one is fully melted and silky smooth.
If you want a thinner ganache, simply add a splash more cream until it is perfect. Need it thicker? Add a few more melting chocolates and stir.
Step 4 | Create Your Halloween Peanut Butter Treat
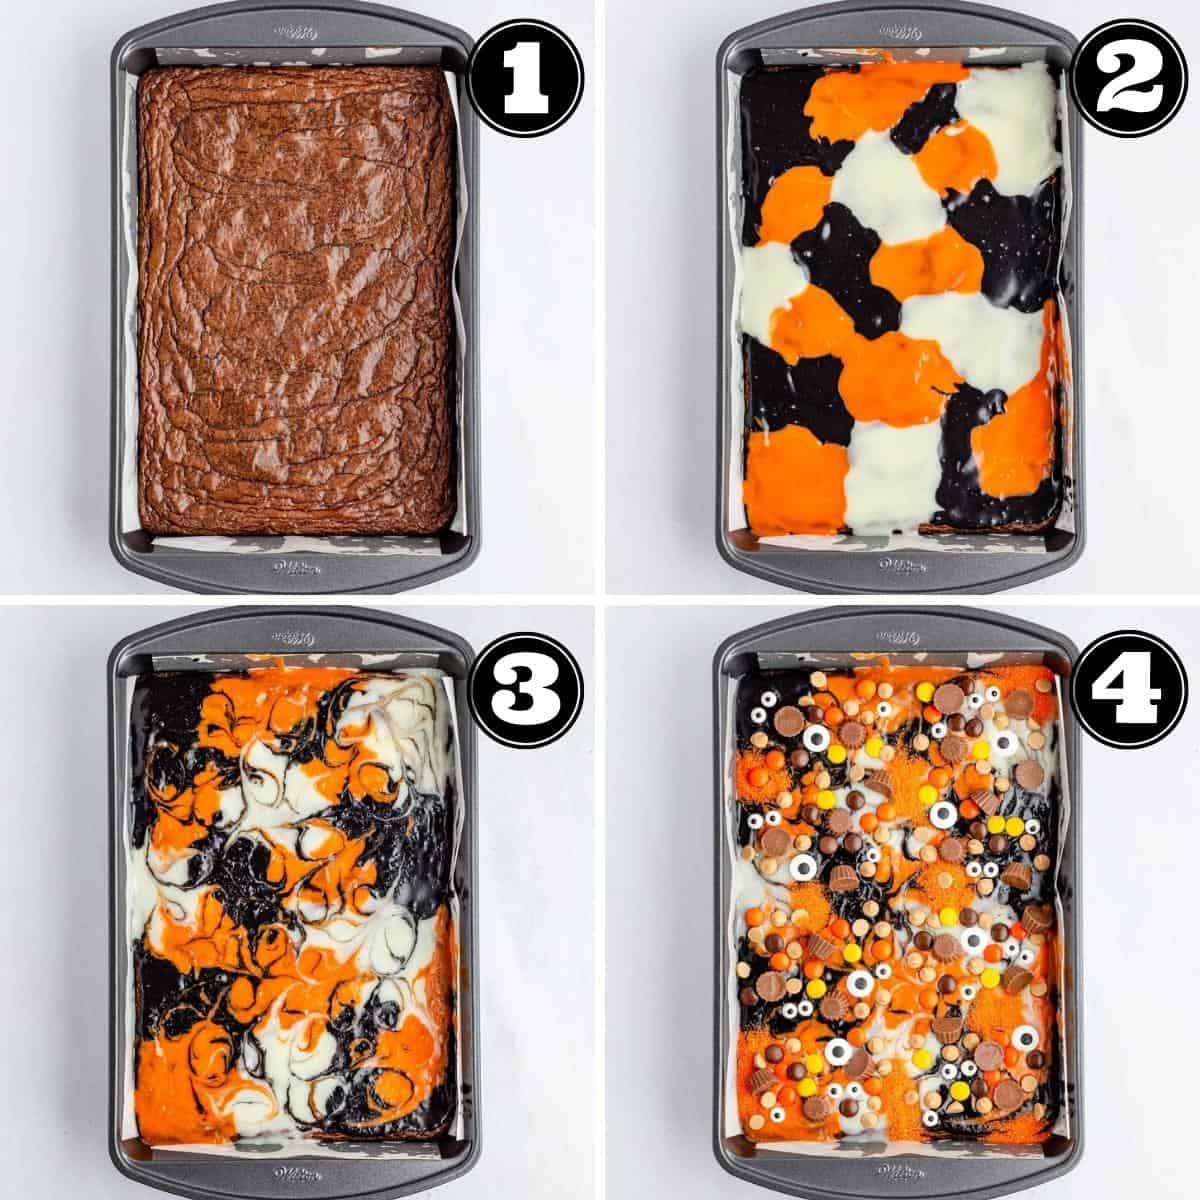
Now that the ganache is ready and the brownies are cooled, the fun begins. This is where you can call in the little ones, wash their little hands, and let them help you create a masterpiece on top of the brownies and ganache.
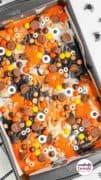
Add an alternating spoonful of the melted chocolate ganache colors to make a cool pattern like the one in image 2 shown here. Then take a butter knife or a toothpick and create the swirl pattern.
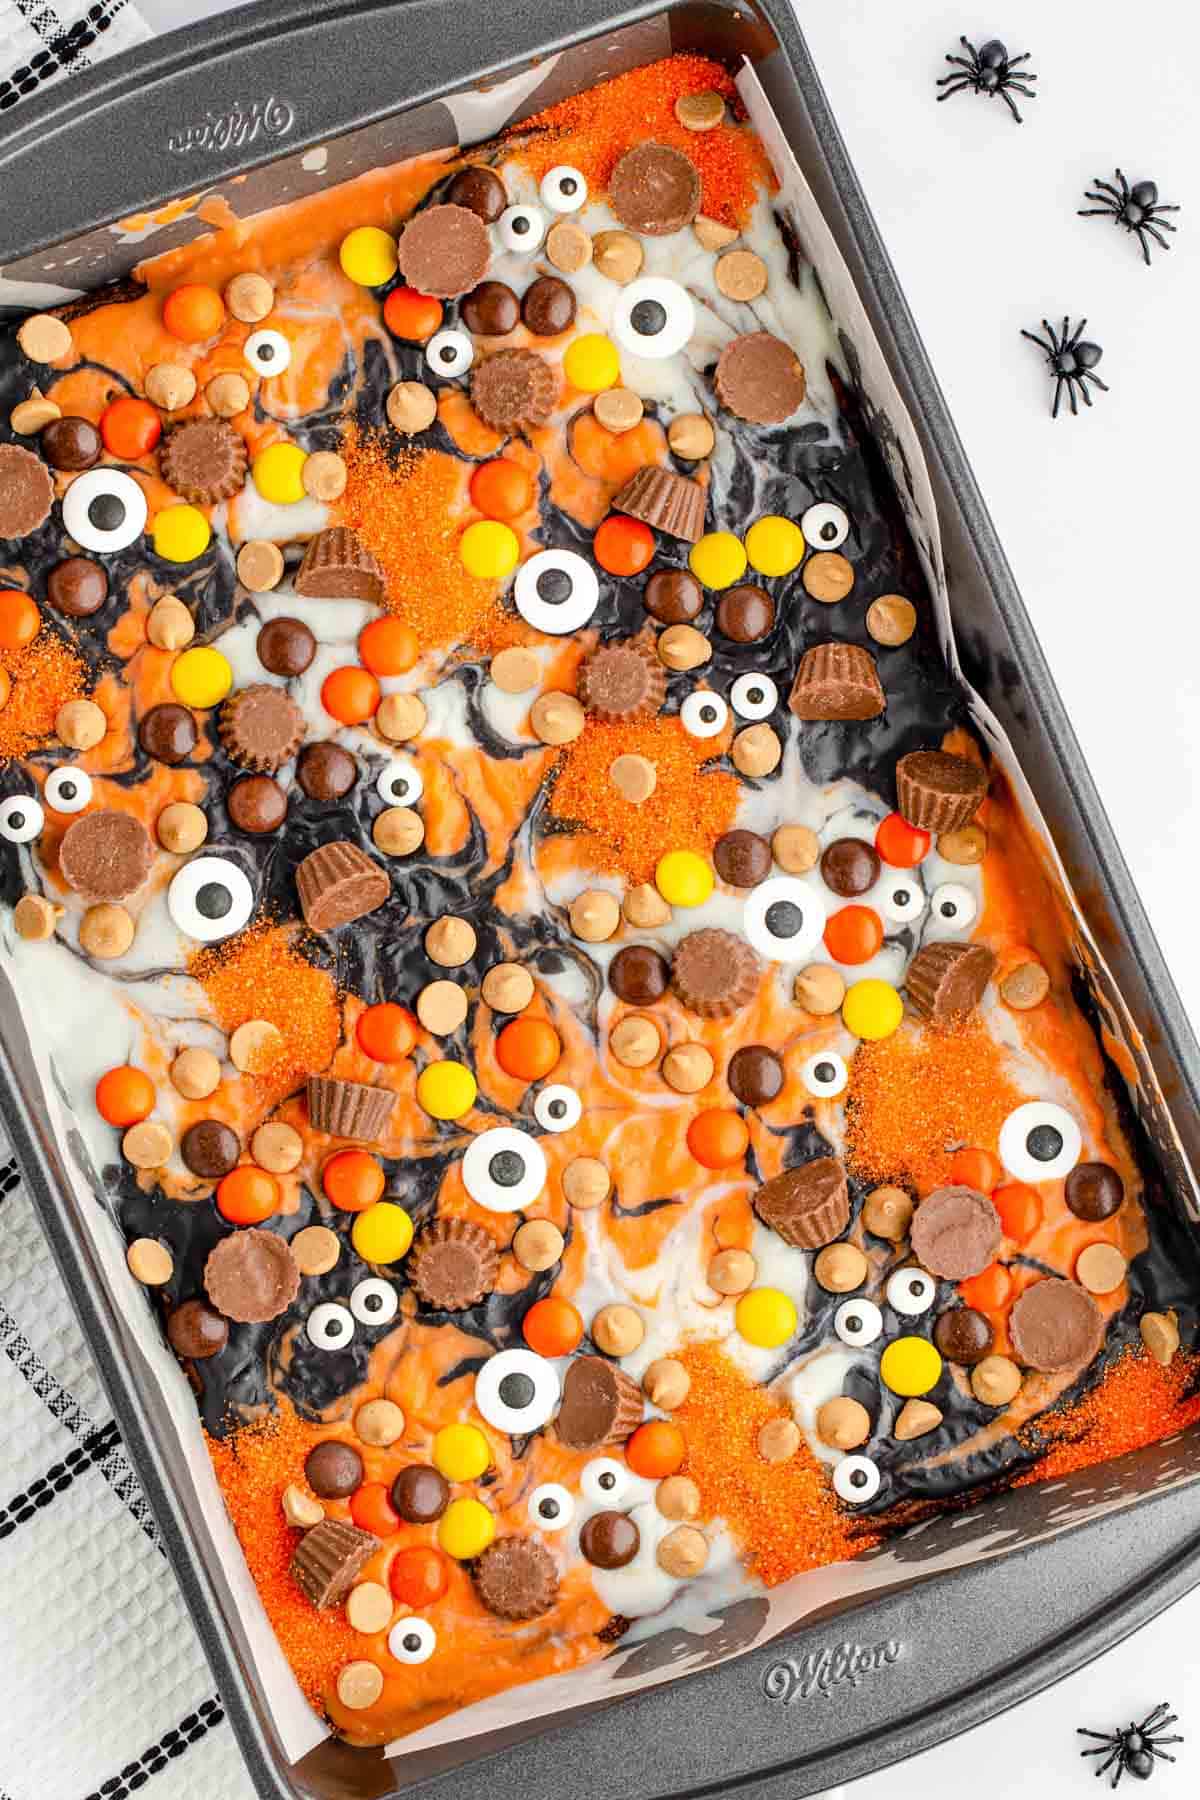
Time to decorate- put all those candies and the peanut butter layer on in a creative design and sprinkle on areas of colored sugar too. They will set in the colored chocolate mixture nicely once it is completely cooled.
Got Halloween? EYE do! ?️(I Just had to.)
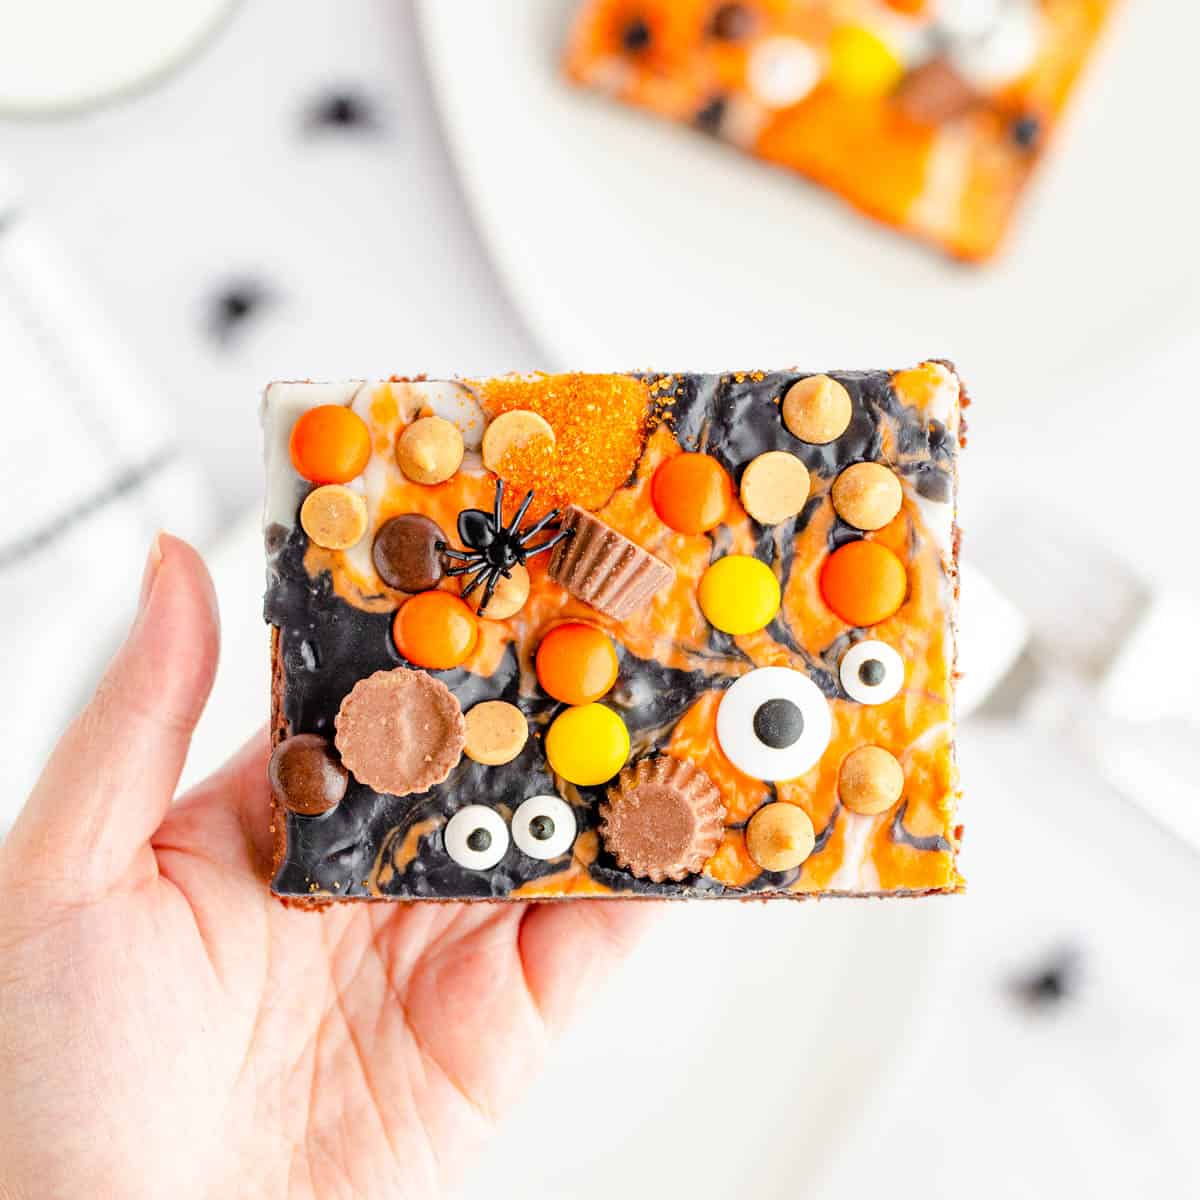
Slice, display, and enjoy!
Tips
- Spooky Eyeballs- Use more than one size for that super freaky Halloween look.
- Clean Hands- The black of the candy eyes will smear if your hands are not clean and dry!
- Clumpy Chocolate- If your melting chocolate gets clumpy, simply add a few drops of vegetable oil or coconut oil and warm it up. Then it should be pourable again.
- Doneness- Don’t trust yourself with the toothpick method? Use a cake tester!
Want to Save this Recipe?
By submitting this form, you consent to receive emails from Soulfully Made.
Frequently Asked Questions
Cutting the brownies on a cutting board is much easier than cutting them in the pan. For beautifully clean-edged cuts, use a sharp knife dipped in warm water. Dry it and allow the warm knife to make the clean cuts. Be sure to wipe off the knife between slices.
No minis? That’s alright– use a whole Reese’s Peanut Butter Cup or candy bar and cut it to the size you need.
Sure, you can. Omit any candies and chips that have peanuts in them and swap for dark chocolate chips, white chocolate chips, Oreos, and holiday sprinkles.
This recipe will easily convert to a GF recipe. Just use a gluten-free brownie box mix, and the rest should be naturally GF. Always check labels!
Variations and Substitutions:
There are so many ways you can switch up this recipe to meet the taste and holiday décor needs of your household. So, feel free to get creative and make these chewy brownies your favorite spooky dessert!
Serving Suggestions
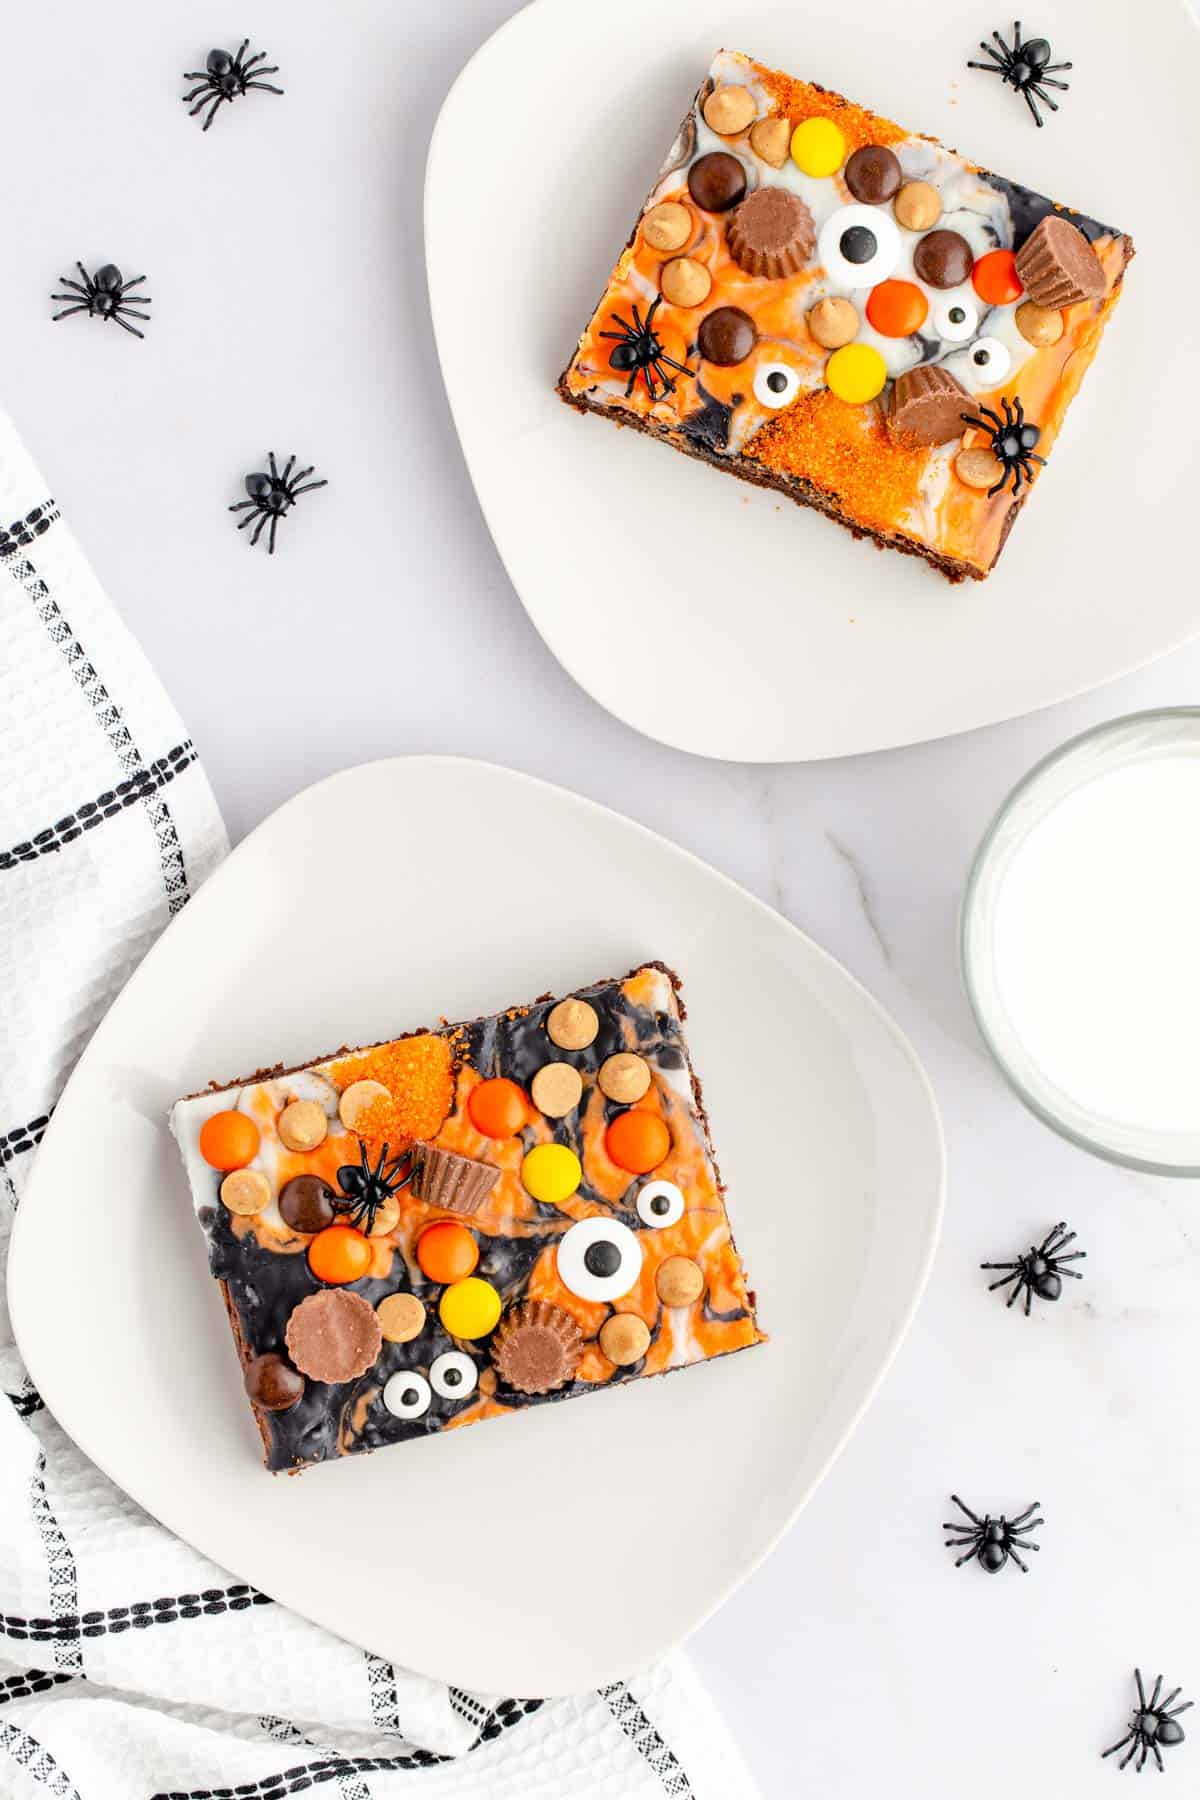
Chocolate peanut butter brownies with a scoop of vanilla ice cream? Sounds good to me. You can also add a dollop of homemade whipped cream to the plate with this chocolatey peanut butter dessert.
Storage and Reheating
Storage:
I love to display my confections at room temperature and under a glass cake dome.
If you are not serving them right away, go ahead and cover with foil, plastic wrap, or place them in an airtight container with sheets of parchment between the layers of brownies. Then keep them in the refrigerator for 3 days or so.
If you are taking these beauties to an outdoor celebration, be sure to keep them in a cooler until ready to share. You do not want the chocolates out in the sun, especially if you are in Florida, like me!
More Fudgy Brownie Recipes
Dying to make more brownie recipes you can turn into festive Halloween treats? Try any of these, then decorate them to match the season!
Hungry for more easy, home-cooked, delicious recipes?
Sign up for my free recipe club to get family-friendly recipes in your inbox each week! Find me sharing daily meal-time inspiration on Pinterest, Facebook, and Instagram.
Peanut Butter Halloween Eyeball Brownies
Ingredients
Brownie Ingredients
- 1 box (18.3 ounce) Duncan Hines Chewy Fudge Brownies, (plus ingredients to make on package: 2 eggs, ¼cup water OR milk, ½ cup vegetable oil)
Ganache Ingredients
- ¼ cup black melting wafers
- ¼ cup orange melting wafers
- ¼ cup white melting wafers
- ⅓ cup heavy whipping cream, divided (1 tbsp + 1-1/4 tsp per color)
Topping Ingredients
- ¼ cup Reese's Pieces
- ¼ cup Reese’s Peanut Butter Cups Minis
- ¼ cup Reese’s Peanut Butter Chips
- orange sanding sugar
- Candy Eyeballs, (get two different sizes)
Instructions
Brownie Instructions
- Preheat the oven to 350° F and line a baking pan with parchment paper. This will make removing the brownies from the pan much easier.I used a 9×13 baking pan but you can also use an 8×8, 9×9, or 11×7 if you want a thicker brownie. Make sure to adjust the cooking time per box instructions.
- In a large mixing bowl, prepare the brownie mix as per box instructions, being sure not to overmix. Replacing the water with milk or chocolate milk will make the brownies more flavorful.
- Pour the brownie batter into the parchment-lined baking pan and spread evenly, being sure to fill the corners. Then place in the oven and bake as per box instructions, about 20-25 minutes, or until a wooden pick inserted into the center comes out mostly clean (with just a few crumbs). Transfer the pan to a wire rack and let it completely cool before frosting and decorating.
Ganache Instructions
- Heat the heavy whipping cream in the microwave or stovetop just until it starts to bubble. Spooning divided amount into each bowl (color) of melting wafers. Let it sit for about 1 minute and then stir each one until the wafers are fully melted. If you would like a thinner ganache, add more heavy whipping cream. To thicken it, add more melting wafers. Set aside.
- Once the brownies have cooled, add drops of the different colored ganache on top and alternate the colors. You can leave it as is or create swirls and designs to mix the colors up.
Topping Instructions
- Scatter Reese’s chocolates and peanut butter chips on top. Then add eyeballs and orange sanding sugar. Get creative and have fun with your toppings. Enjoy!
Want to Save this Recipe?
By submitting this form, you consent to receive emails from Soulfully Made.
Video
Nutrition Information
Nutritional Disclaimer
Soulfully Made is not a dietician or nutritionist, and any nutritional information shared is only an estimate. We recommend running the ingredients through an online nutritional calculator if you need to verify any information.
©️Soulfully Made

These are adorable! Can’t wait to make for Halloween.
How fun! These Halloween brownies were so easy and so delicious, and I love how colorful they are!
Such a fun and delicious family-friendly treat for Halloween! My kids will love this so much. It comes together so easily too.
This is going to be my halloween homemade treat for the kiddos!! I’m all about using that brownie mix !! haha 😀
I am so glad you will be enjoying this for Halloween. I think having semi-homemade recipes simplifies the process while you have something cute and fun to serve.
What a fun and clever recipe!! I am pinning all of the fun Halloween treats I want to make this year – this is on the TOP of the list!
Such a cool Halloween recipe! I love all the little details you added to them!
These look so delicious, and such a festive Halloween treat! I bet they’d be a huge hit at Halloween parties.
Such a fun treat we are all still kids at heart!
These Brownies with Eyeballs was the funniest thing to make with my kid. She loved it.
Okay, these are so adorable!! Definitely going to keep them in mind for Halloween.
Delicious yet simple recipe that the whole family loved. Can’t wait to make it again!
Outside of Easter, Halloween is my favorite holiday! I have already bought so many spooky sprinkles that I needed to make room in my pantry. Thank goodness for this recipe, which I have already made two batches, so I can use up all my sprinkles! They are go fudgy and delicious!
These are so fun! What a great way to celebrate Halloween.
These brownies are so darned cute and I loved your tips for making clean cuts!
Our kids love anything with eyeballs, haha. These were a huge hit!
These loaded brownies are Halloween perfection! I will be making these for our annual Halloween party!
My kids went WILD for these! I cannot wait to serve them again closer to Halloween!
These turned out so cute! I love the way the eyes look amid all the colors. So fun for Halloween!
These look super cute. I think I’ll make them for Halloween.
Such a fun treat! Little Dude and I are going to have to make some for Halloween!
Thank you, Carlee! Your cutie will love them!