This post may contain affiliate links. Please read our disclosure policy.
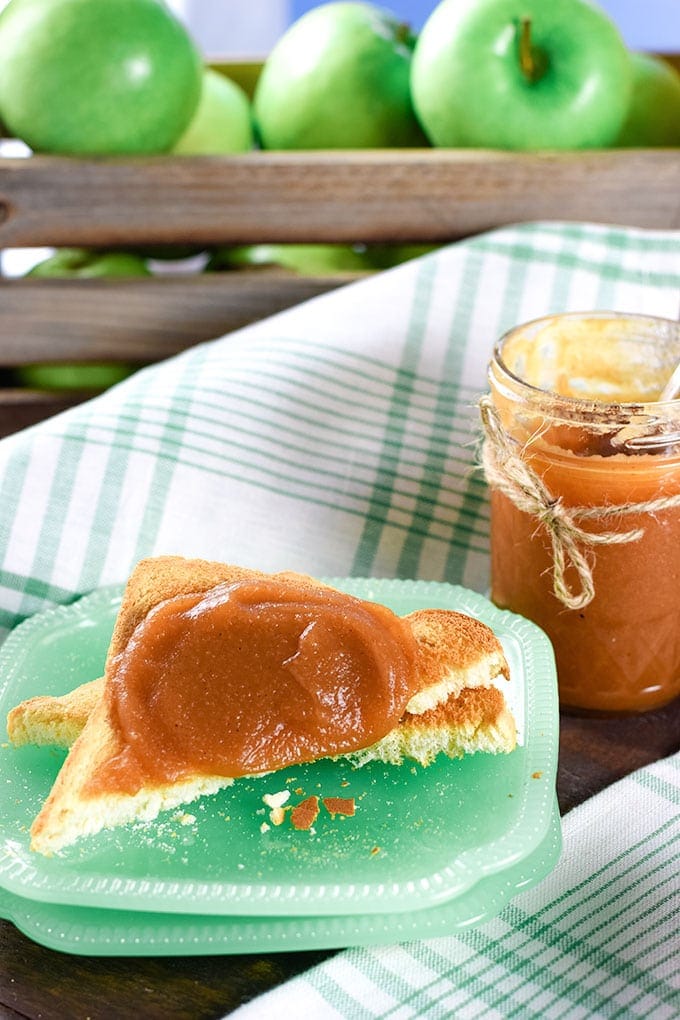
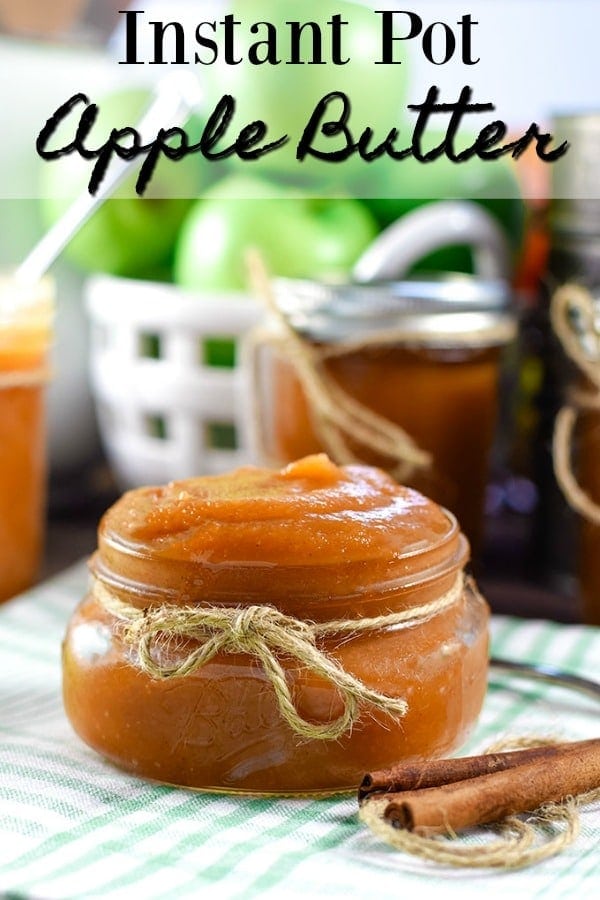
Apples are sliced and mixed with fall spices, brown sugar, a hint of vanilla then pressure cooked until buttery tender and blended until silky smooth. This quick and easy Instant Pot Apple Butter is so delicious you will think it has been cooking all day just like grandma made it.
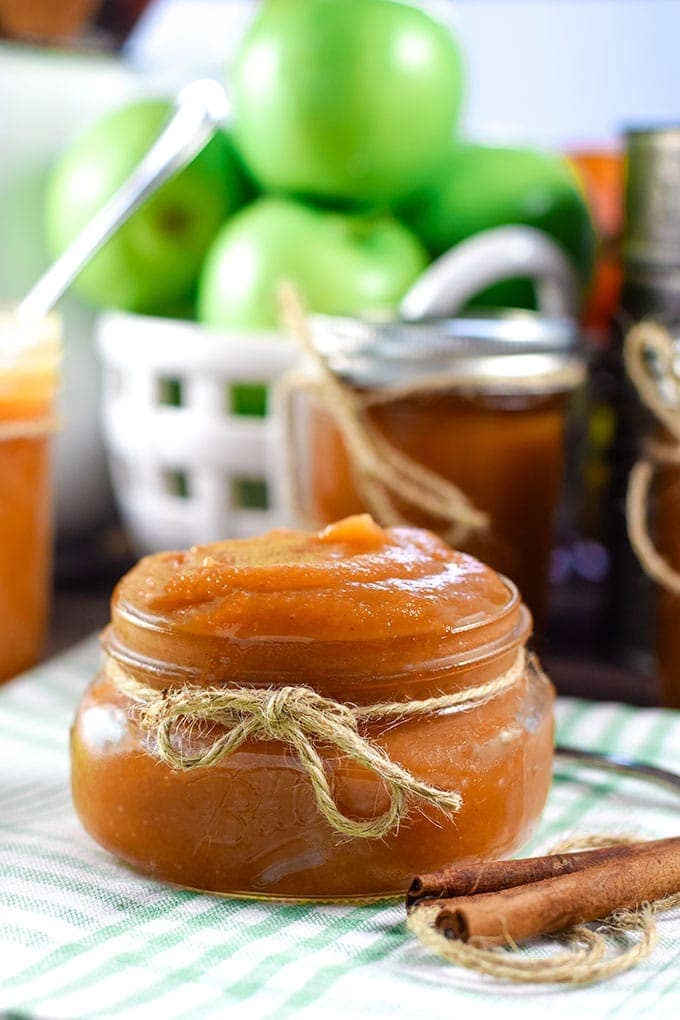
This time of year I love being at home and in the kitchen baking, slow cooking a pot of chili or soup, and waking up to a breakfast of Apple Butter smeared on warm toast and starting the day off at a little slower pace.
There is something about how the air changes a bit, your senses awaken and you feel renewed. You move a little slower and enjoy the weather, being outdoors, and football season, and begin preparing for hayrides and bonfires. I find myself grinning as I write about it. What about you? Do you love this time of year too?
Just being at home and with the ones you love is to be appreciated year-round, but fall has us gathering together around the TV rooting on our favorite teams, and starting to plan holiday festivities. I start pulling out family recipes and buying new food magazines and comparing recipes with friends over a cup of coffee. This delightful time of year is such a blessing.
Being in the kitchen baking just settles my soul. It’s relaxing to be at home and making things for the people we love. A time to be savored.
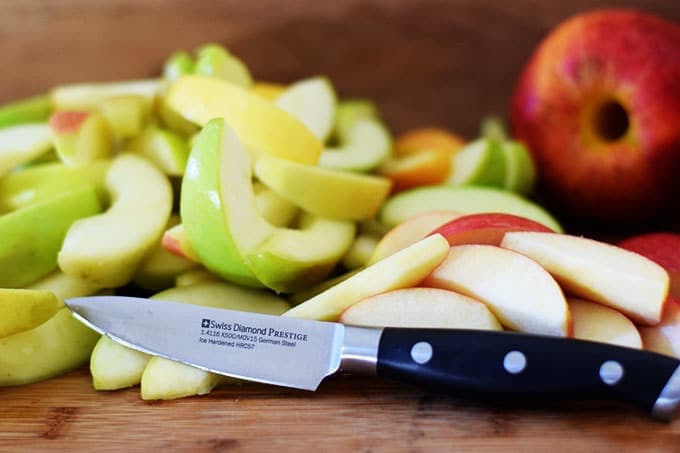
Like slicing apples for all my fall recipes, this certainly feels therapeutic. Just a pleasure to be doing these simple things in life. And what a joy to be using this beautiful paring knife Swiss Diamond so graciously sent me to try for this special week of all things APPLE! I love it. It’s nice and sharp and slices so easily! No wonder I find joy (especially when the task is easy)! You just have to have one too 😉 !
I hope you take time to slow down and take in all things this season brings. And I hope you also try making this Pressure Cooked Apple Butter! It’s so easy I don’t think I will be buying many jars of it anymore! Homemade in this case really is better!
How to make Instant Pot Apple Butter (Pressure Cooked Apple Butter)
Step 1. Core and slice each apple into about 8 slices.
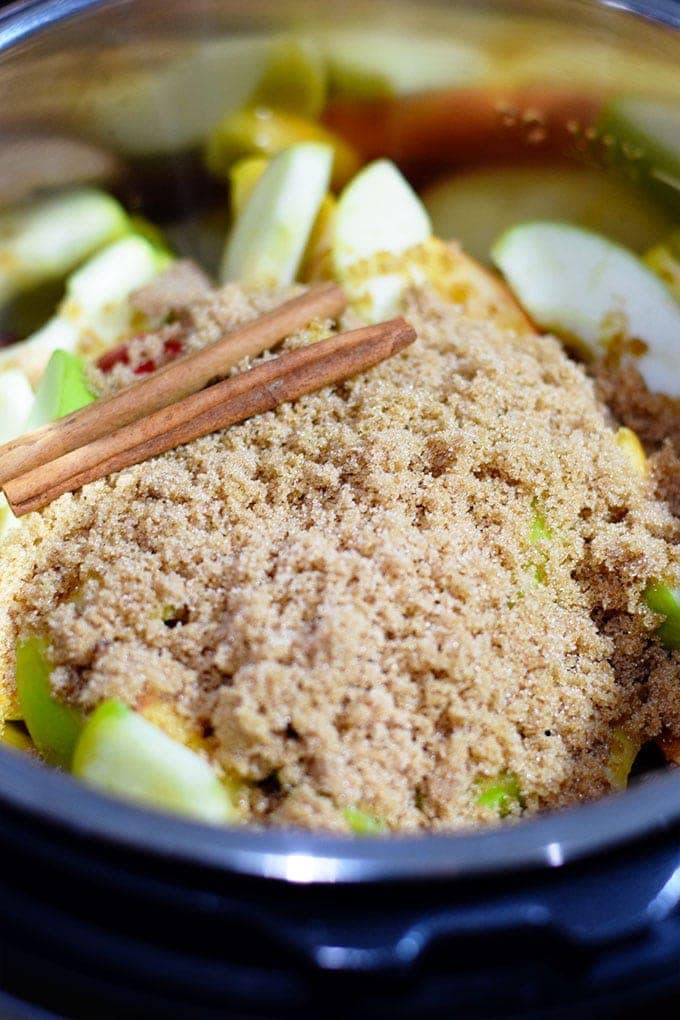
Step 2. Place all the ingredients into the Instant Pot and stir to coat the apples.
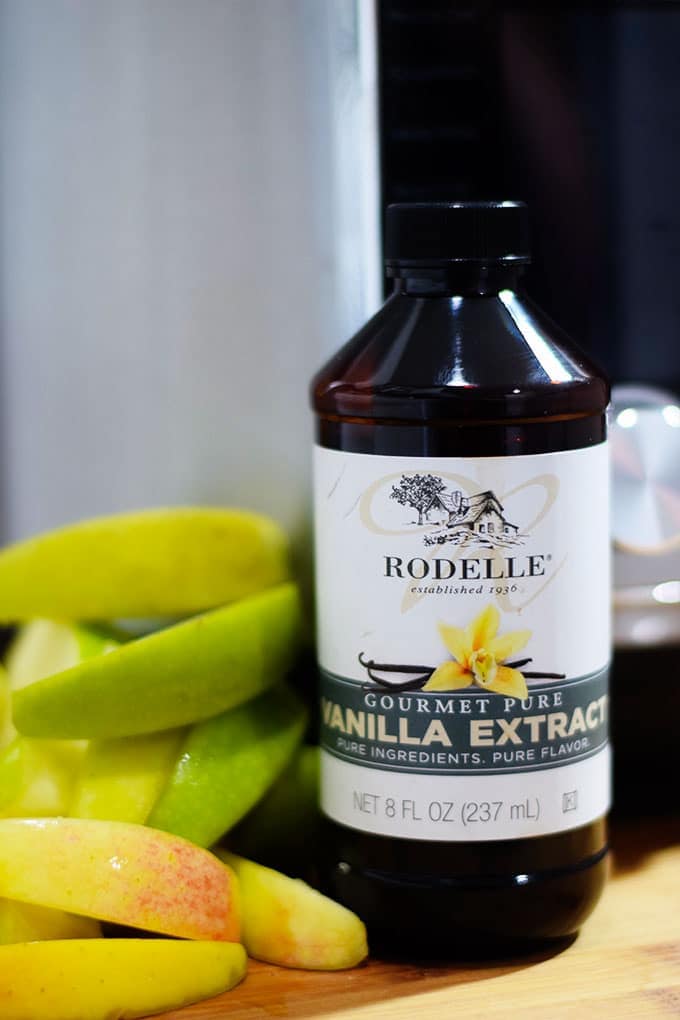
I love adding vanilla to my apple butter. Not everyone does, but I think it gives it a smooth flavor! Rodelle Vanilla has been so kind as to sponsor Apple Week and gave me this gorgeous bottle of vanilla! It is smooth and perfectly compliments this apple butter and so many of my Fall baking Recipes. Make sure you stop by to see them or pick some up while you are out shopping!
Step 3. Using the manual setting set at high pressure for 8 minutes with the valve sealed. When cooking time is complete, turn off and allow for natural pressure release. This will take about 10 minutes.
Step 4. Take off the lid and remove the cinnamon sticks.
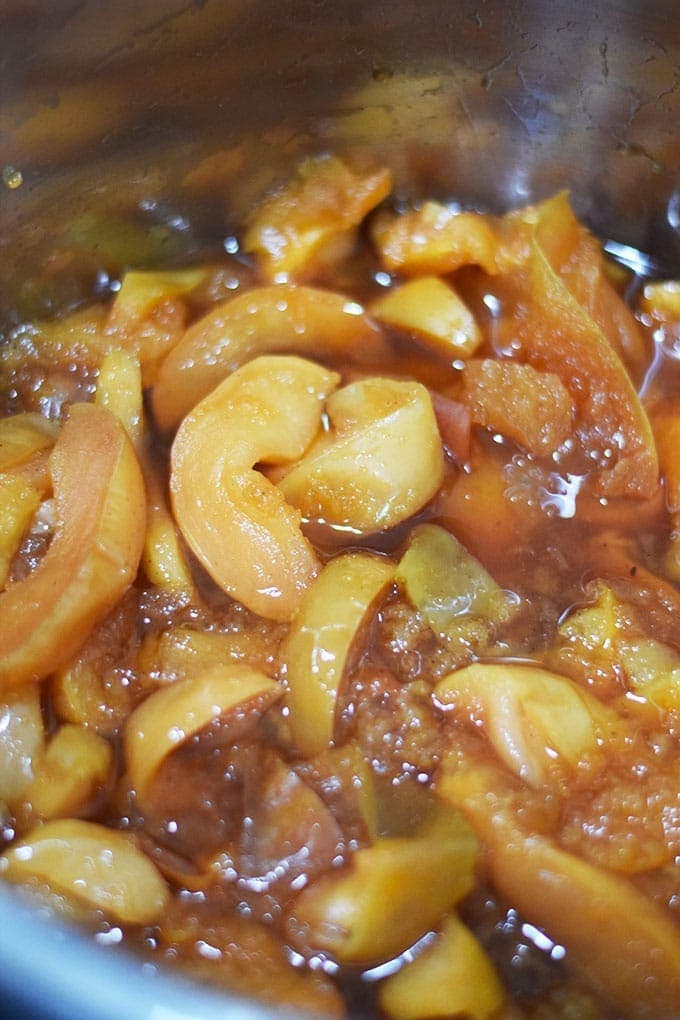
Step 5. Use an immersion blender until the mixture becomes smooth. You can also use a food processor or a blender. Be sure not to fill the blender more than half full.
Below is more of an applesauce consistency. Keep going. (Unless you want applesauce)
Want to Save this Recipe?
By submitting this form, you consent to receive emails from Soulfully Made.
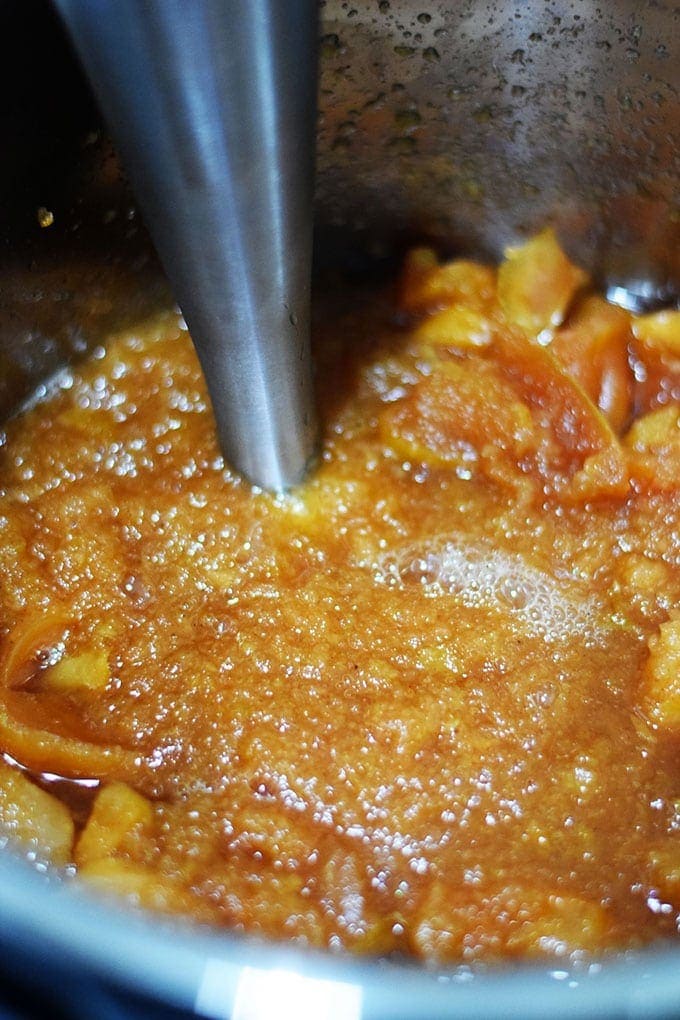
The below picture is where you want to be!! It’s getting really pretty and smooth.
Step 6. If you want it to be a little thicker you can do this a couple of ways. The quickest is to turn the Instant Pot to sauté and push the adjust button to LESS. Simmer until thickened to desired consistency – up to approximately 15 minutes. But – you have to keep stirring or this will start to pop a little.
You can also set it to slow cook, cover, and let it cook for an hour or until it gets to your favorite thickness.
I sauteed mine for about 3 minutes (and stirred while I did it) and it was perfect. Whether it needs to be thickened more will depend on the water content of the apples and your preference. So you may just skip this altogether.
Also, keep in mind that it will thicken a bit in the refrigerator.
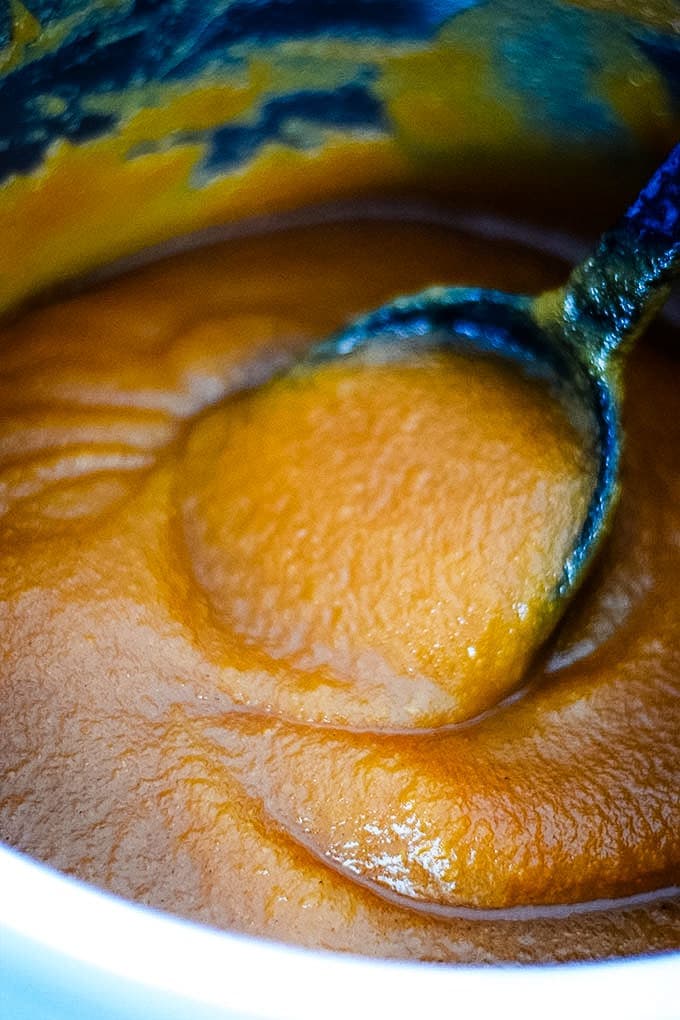
Step 7. Turn off and let the apple butter cool completely.
Step 8. Store in an airtight container and refrigerate for up to 3 weeks or freeze for up to 6 months.
If you love to preserve or can things, this certainly can be canned in a water bath and stored at room temperature as well. – How many times did I say can y’all -I won’t be saying that too fast -lol!
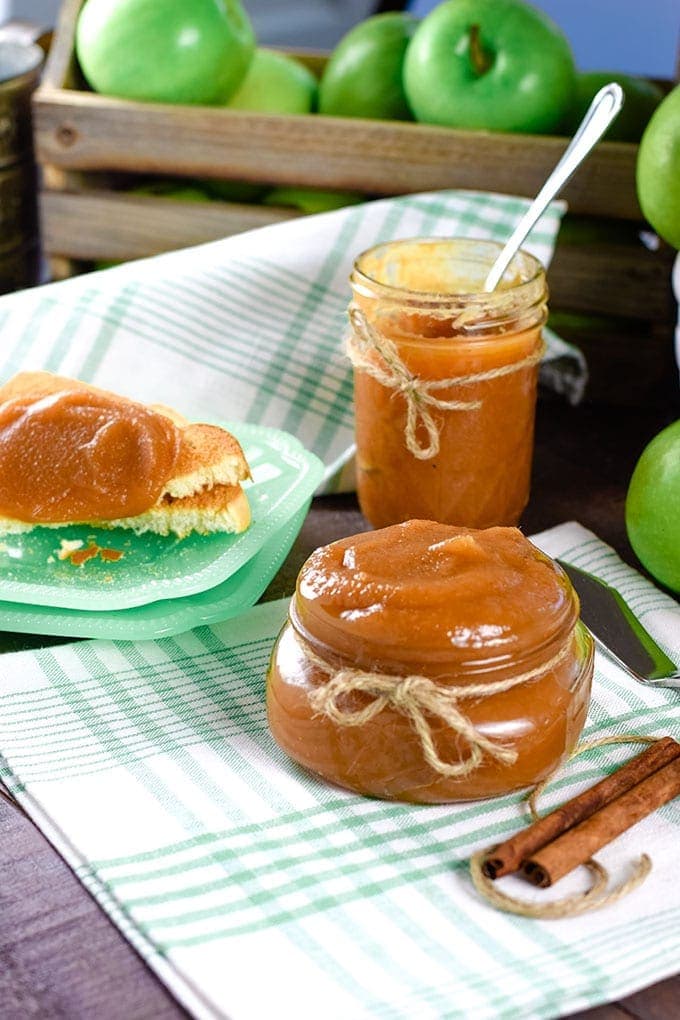
Now grab a cup of coffee or cup of tea (or a glass of milk like my hubby) and just enjoy the fruits of your labor! Shhhhh – I won’t tell a soul how easy this was for you! One more reason I so LOVE my INSTANT POT!
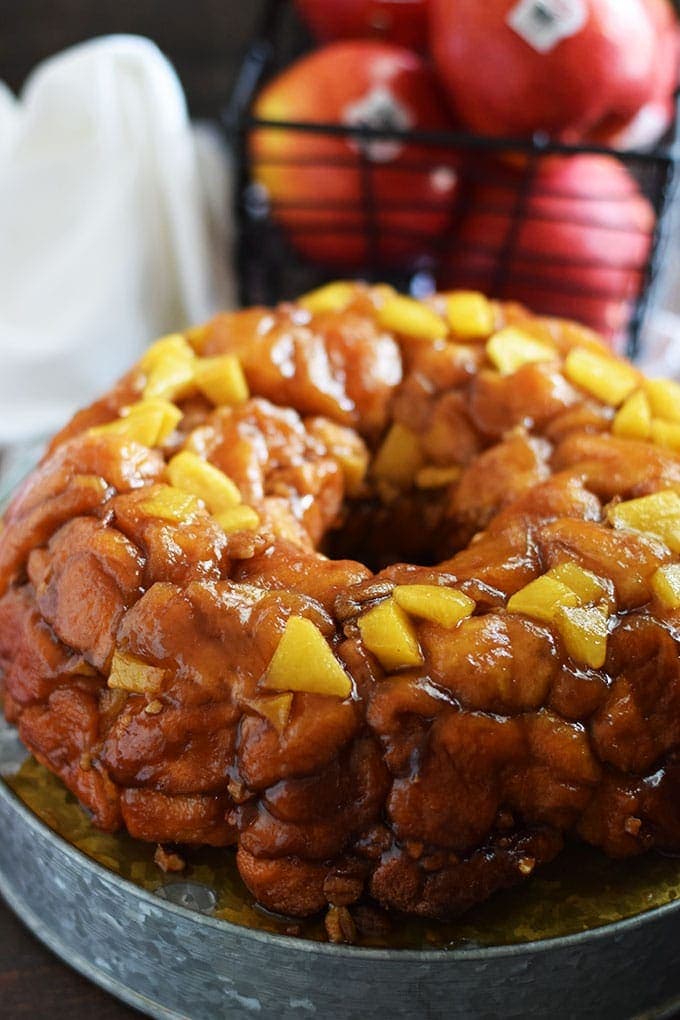

More Delicious Fall Recipes to Try
Hungry for more easy, home-cooked, delicious recipes?
Sign up for my free recipe club to get family-friendly recipes in your inbox each week! Find me sharing daily meal-time inspiration on Pinterest, Facebook, and Instagram.
Instant Pot Apple Butter
Ingredients
- 5 pounds apples
- ¼ cup apple cider
- ½ cup brown sugar
- ½ tsp all spice
- ½ tsp salt
- ½ tsp nutmeg
- 2 sticks cinnamon
- 1 tsp vanilla
Instructions
- Core and slice each apple into about 8 slices.
- Place all the ingredients into the Instant Pot and stir to coat apples.
- Using the manual setting set at high pressure for 8 minutes with the valve sealed. When cooking time is complete, turn off and allow for natural pressure release. This will take about 10 to 15 minutes.
- Take off the lid and remove cinnamon sticks.
- Use an immersion blender until mixture becomes smooth. You can also use a food processor or a blender. Be sure not to fill the blender more than half full.
- Turn Instant Pot to sauté and push the adjust button to LESS. While Stirring simmer until thickened to desired consistency – up to 15 minutes.
- Turn off and let apple butter cool completely.
- Store in an airtight container and refrigerate for up to 3 weeks or freeze up to 6 months.
Want to Save this Recipe?
By submitting this form, you consent to receive emails from Soulfully Made.
Nutrition Information
Nutritional Disclaimer
Soulfully Made is not a dietician or nutritionist, and any nutritional information shared is only an estimate. We recommend running the ingredients through an online nutritional calculator if you need to verify any information.
©️Soulfully Made

Just made this as written only added a little more sugar as my apples from the orchard were a bit tart. It was delicious!
I am so glad you made it! There’s nothing like fresh apples from the orchard. Thank you so much!
Does it have to be refrigerated?
Yes, it needs to be kept in the refrigerator. Once the recipe cools completely, store it in an airtight container in the fridge for two to three weeks.