This post may contain affiliate links. Please read our disclosure policy.


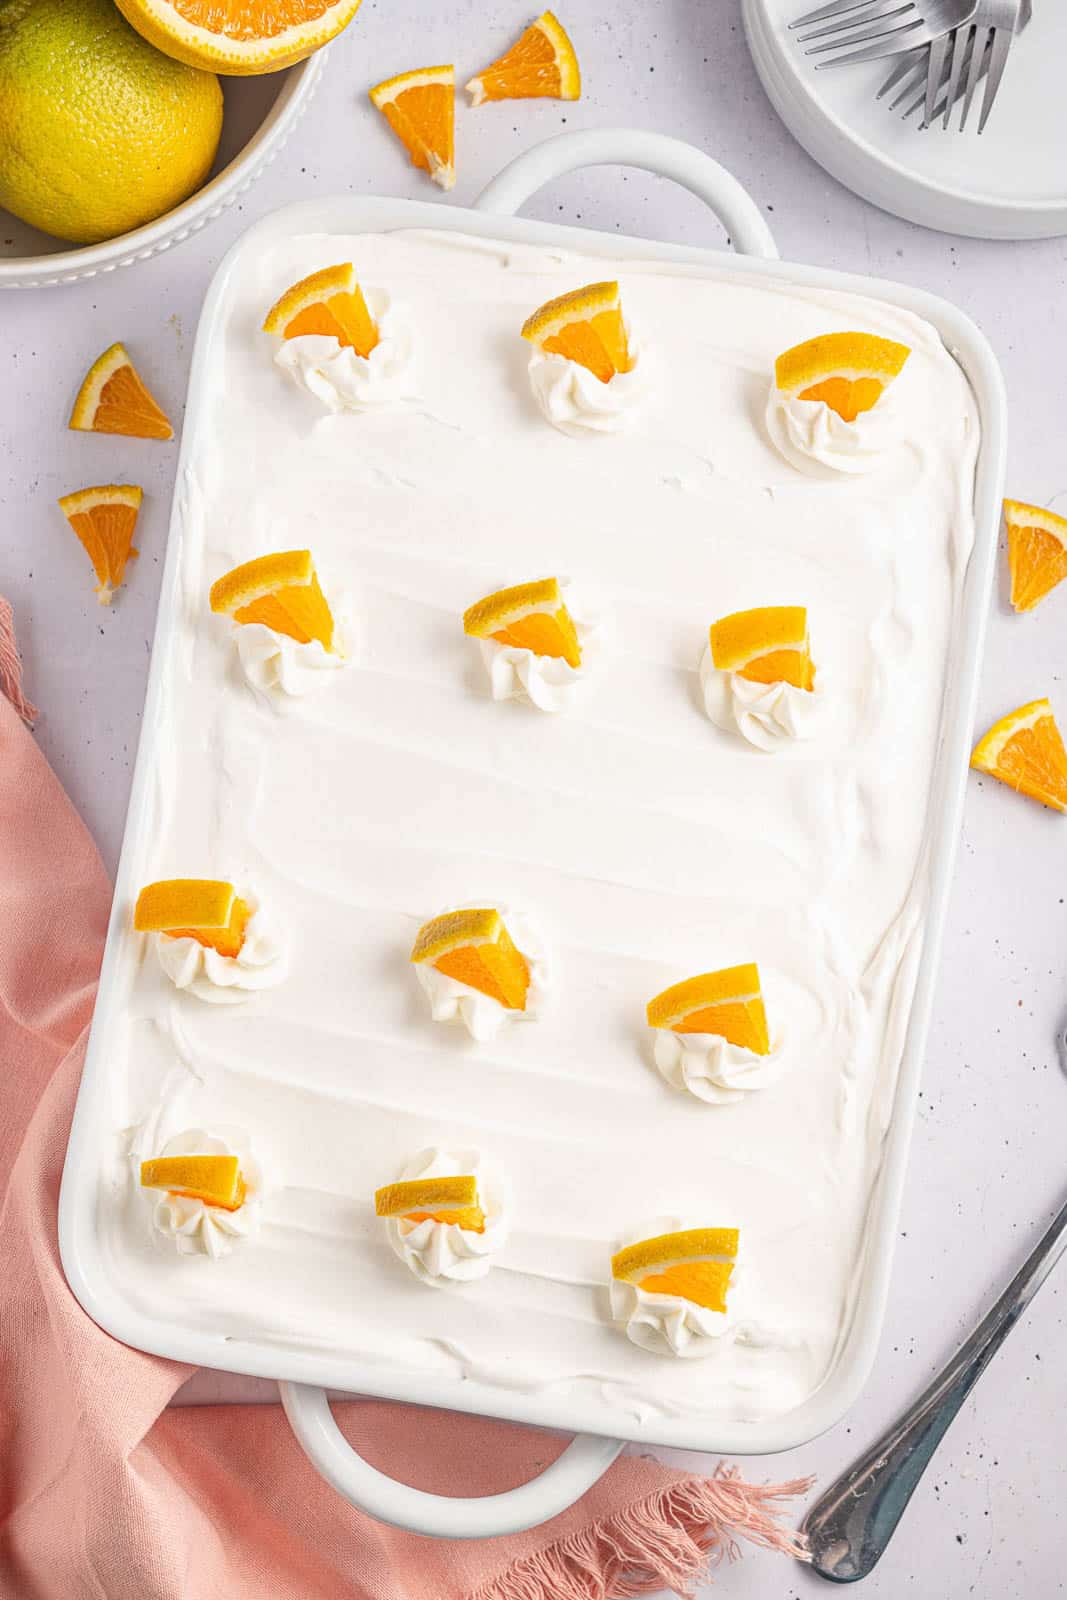
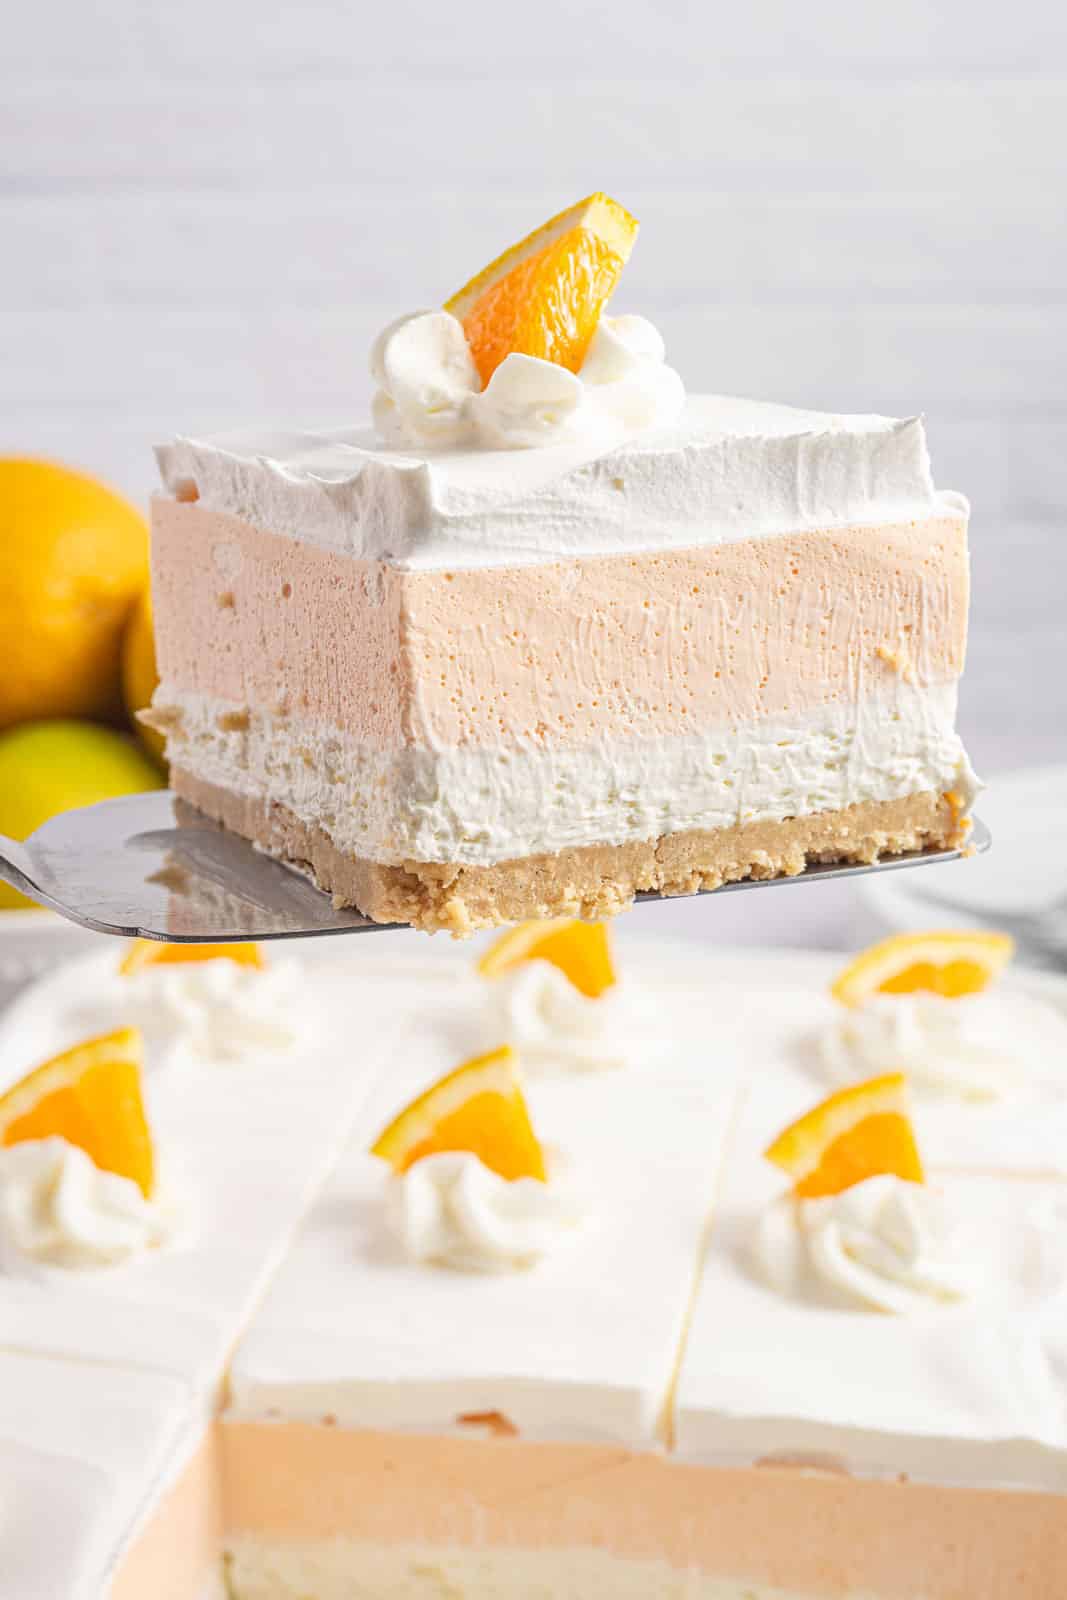
These no-bake Orange Creamsicle Bars are an easy and delightful dessert. With a buttery Oreo crust, creamy orange filling, and fluffy whipped topping, each bite will be loved by the whole family. Whip them up with just a few simple steps for a refreshing treat that’s perfect for any occasion but especially delicious for summer!
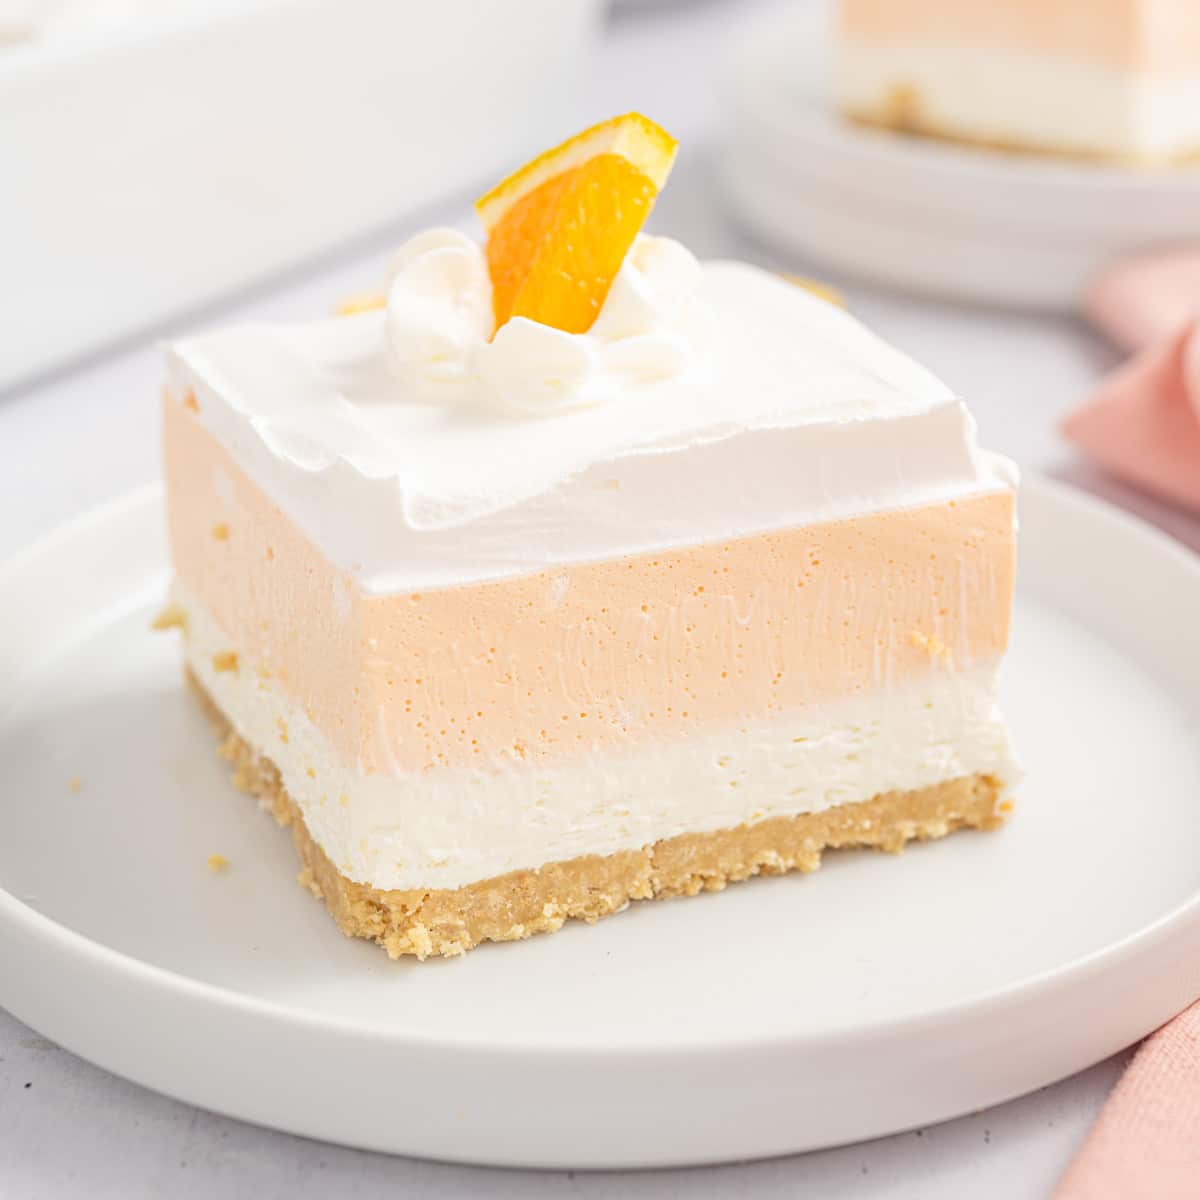
Easy orange creamsicle bars scream summer! From the bright orange color combined with the creamy white layer to the zesty citrus flavor and iconic creamy notes, it’s the ultimate refreshing and sweet treat for a hot day. And let me tell you, the kiddos love this dreamy treat.
Add more fruity and delicious desserts to your summer menu, like these sweet Mini Strawberry Tartlets, super-easy Lemon Pudding Poke Cake, and impressive yet simple-as-can-be Lemon Blueberry Trifle.
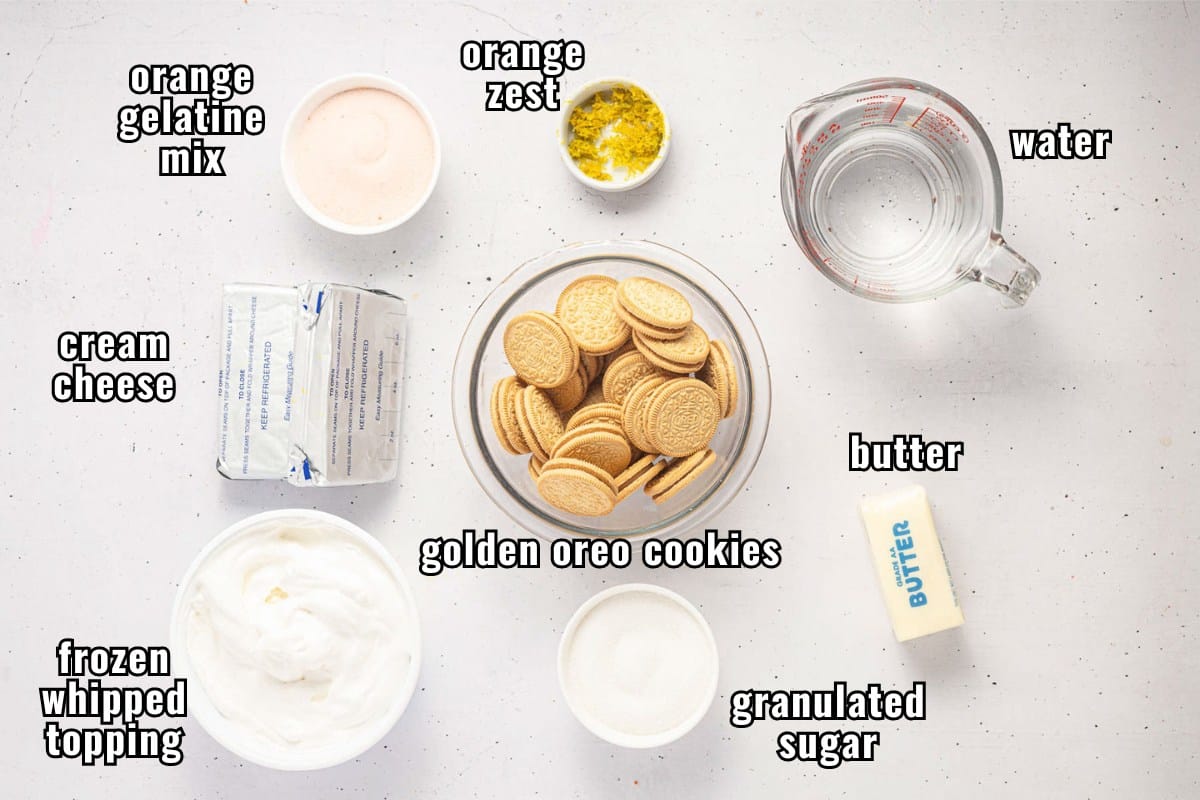
Ingredient Notes
Variations and Substitutions
- Try Another Crust: I like a golden Oreo crust, but just about any sweet and crunchy cookie or cracker works. Try a nilla wafer crust, graham cracker crust with graham cracker crumbs, or add a chocolate flavor with classic Oreos.
- Lemon and Cream Bars: Simply swap the orange gelatin with lemon gelatin and use lemon zest instead of orange zest to make the lemon version of these creamy dessert bars. You can even use lemon Oreos for the crust.
- Topping Variations: Melt chocolate and drizzle it over the whipped topping for a chocolate-orange contrast. Or sprinkle toasted coconut flakes on top for added texture and flavor.
- Low-Sugar: Use sugar-free gelatin and whipped topping for a lower-sugar option.
- Dairy-Free: Substitute dairy-free cream cheese and whipped topping for a dairy-free version. I haven’t personally tested this, but a friend of mine makes hers with this and loves it.
How to Make Easy Orange Creamsicle Bars Recipe
✱ Be sure to see the recipe card below for exact ingredients and full recipe instructions!
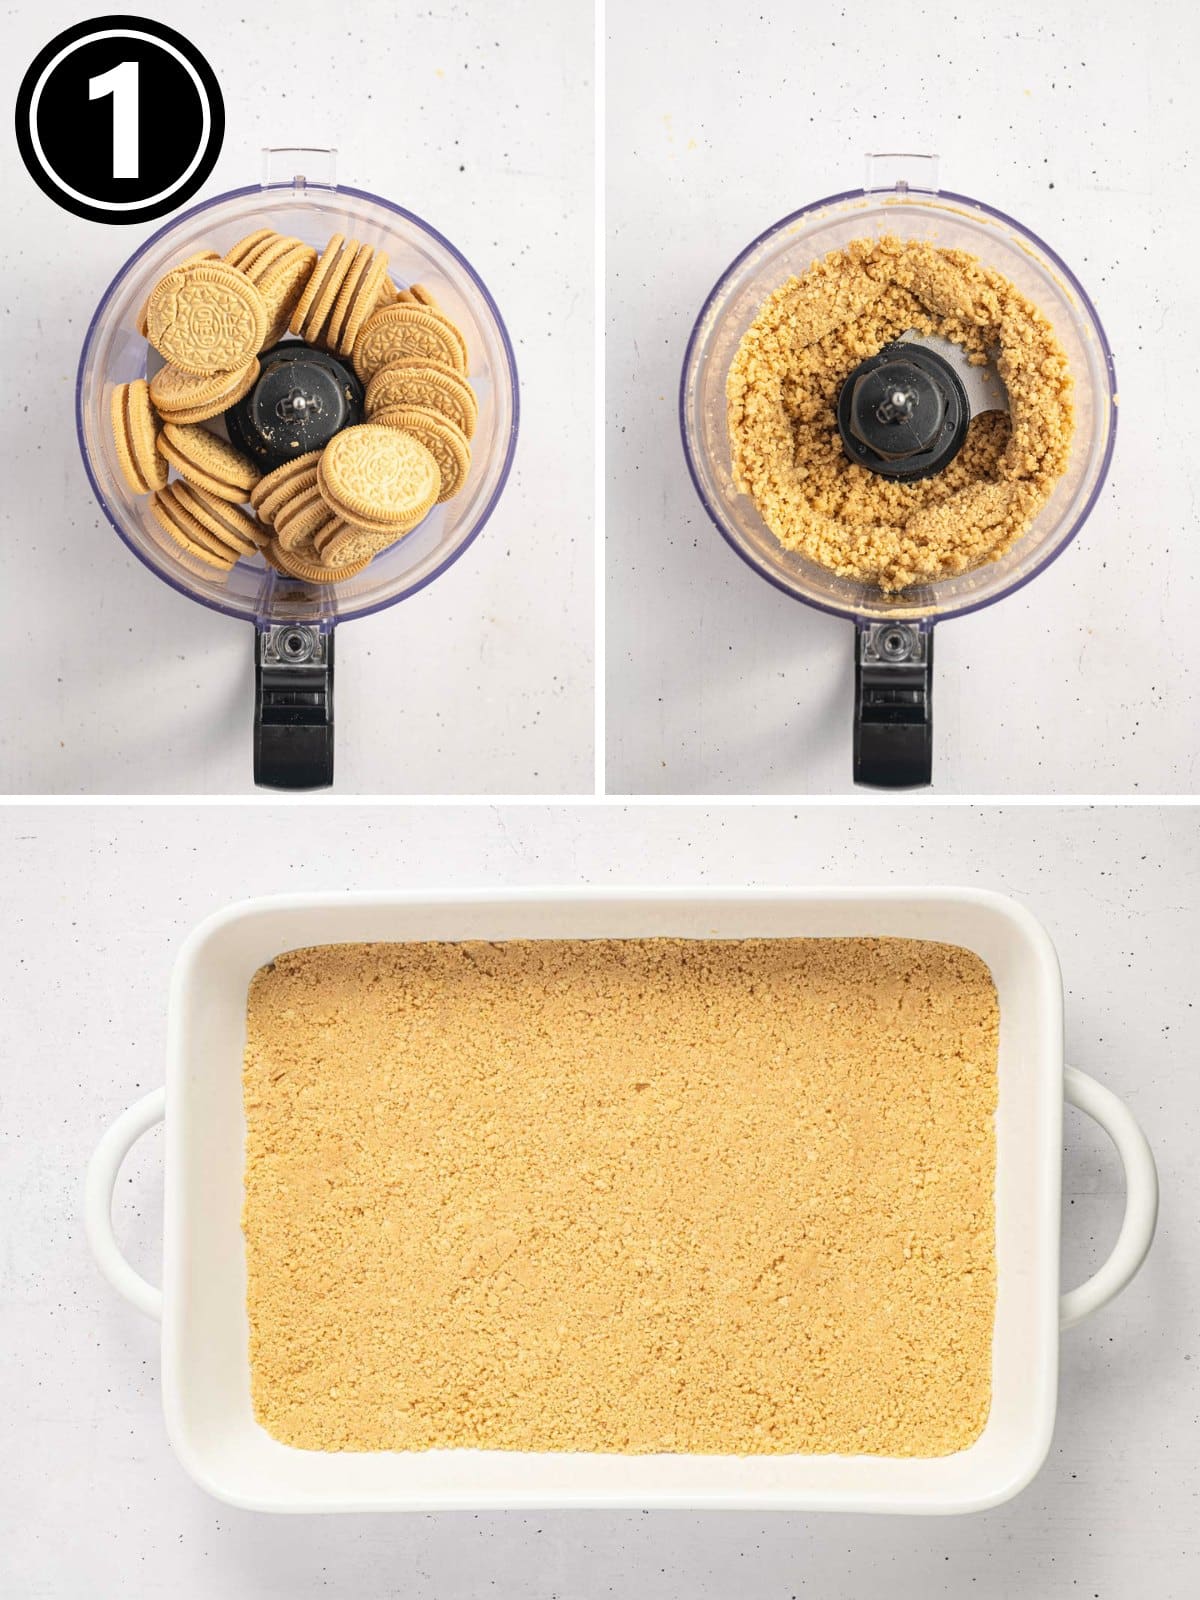
Step 1 | Golden Oreo Crust
First off, let’s crush up those Oreos to make our base. Pop them into a food processor until they’re fine crumbs.
Then, slowly pour in some melted butter while it’s running on low. Mix it until all those crumbs are coated in buttery goodness and press it firmly into the bottom of a 9 x 13 inch baking dish in an even layer.
Stick it in the freezer for about 15 to 20 minutes until it’s nice and firm.
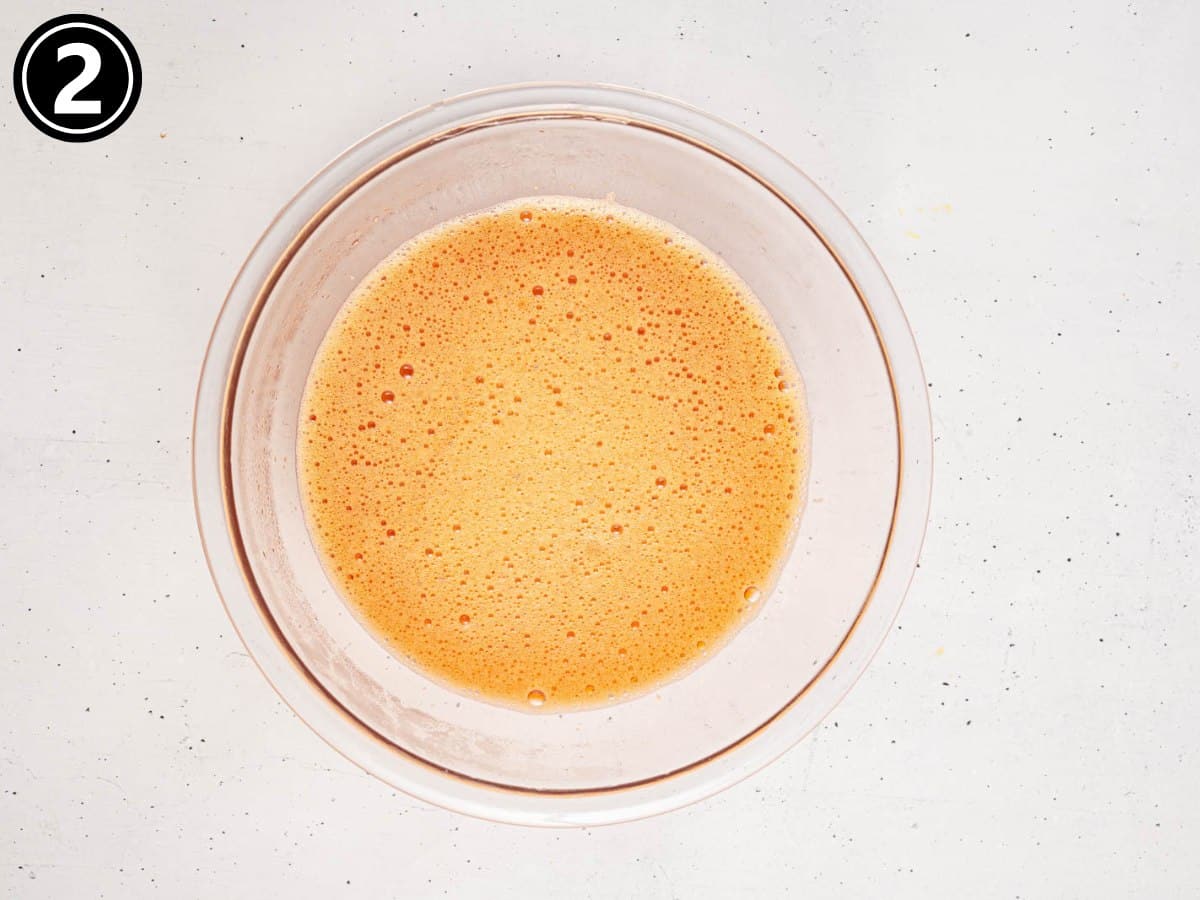
Step 2 | Make Orange Gelatin
Now, let’s work on the orange layer. Grab a medium bowl and pour in your orange gelatin mix. Add some boiling water and whisk it all together until the gelatin dissolves.
Let it cool on the counter for about 10 minutes, then pop it in the fridge for a quick chill, no longer than 15 minutes.
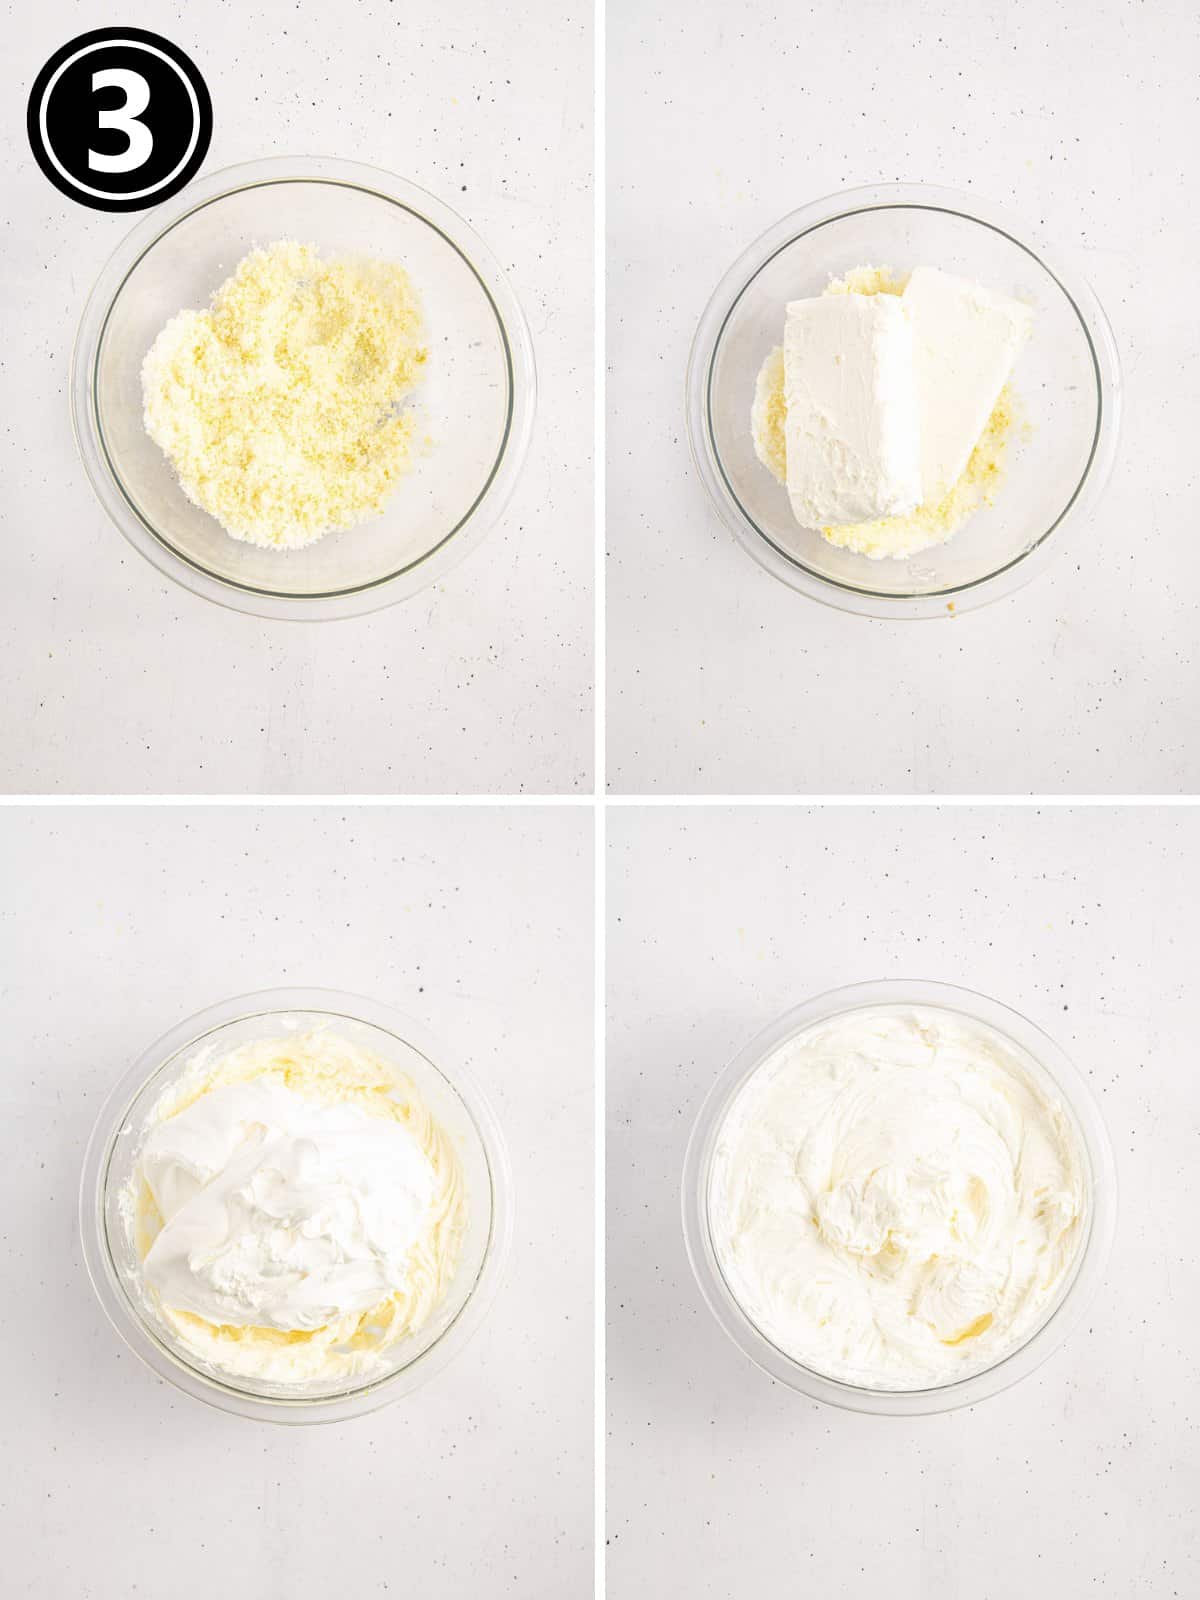
Step 3 | Cheesecake Mixture
While that’s cooling, get a large bowl and mix together your sugar and some orange zest until it smells amazing. Add in the cream cheese and use an electric mixer to make it nice and smooth.
Now, fold in one of those tubs of thawed whipped topping—it’s going to make everything creamy and dreamy. Set this creamy orange cheesecake mixture aside for now.
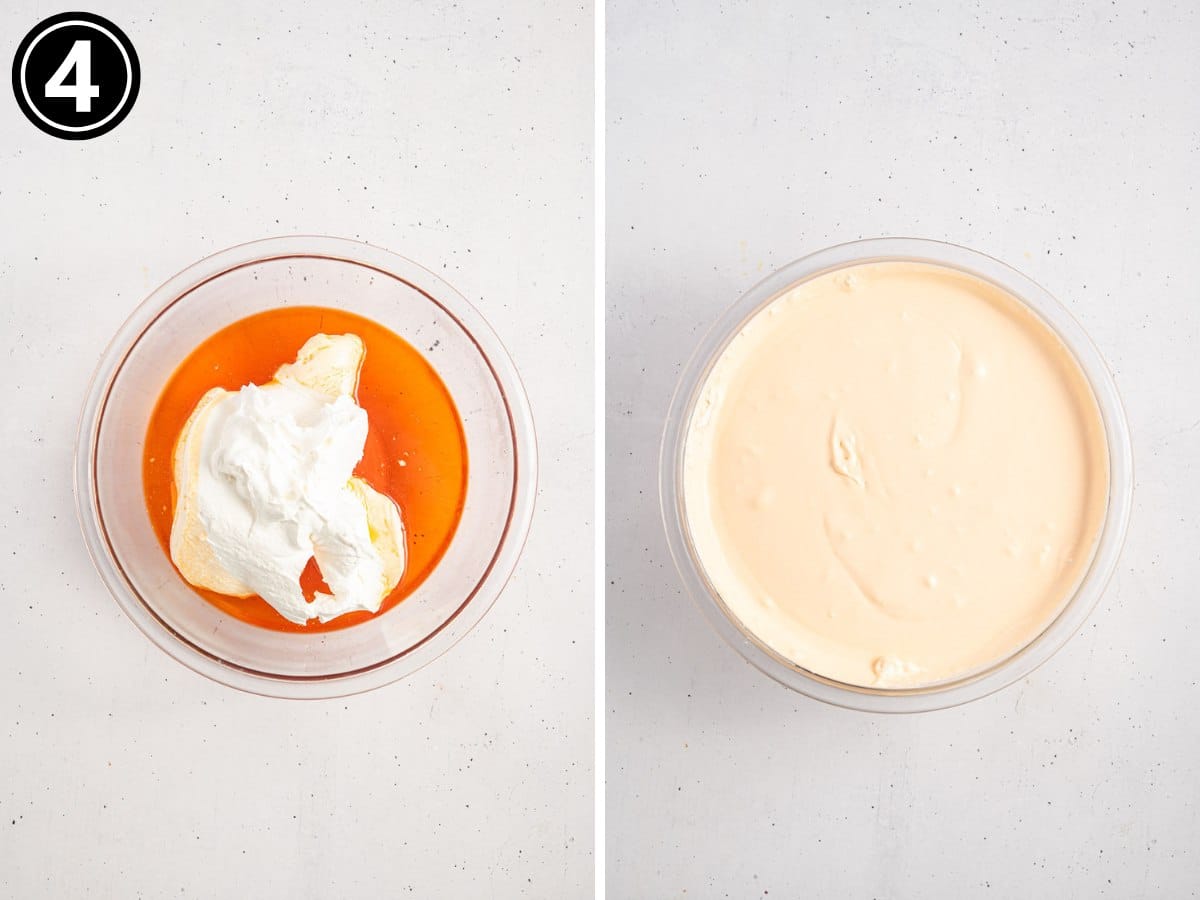
Step 4 | Orange Creamsicle Mixture
Alright, take out your cooled gelatin mix from the fridge. It should be at room temperature now. Fold in two tubs of whipped topping until it’s all mixed together beautifully.
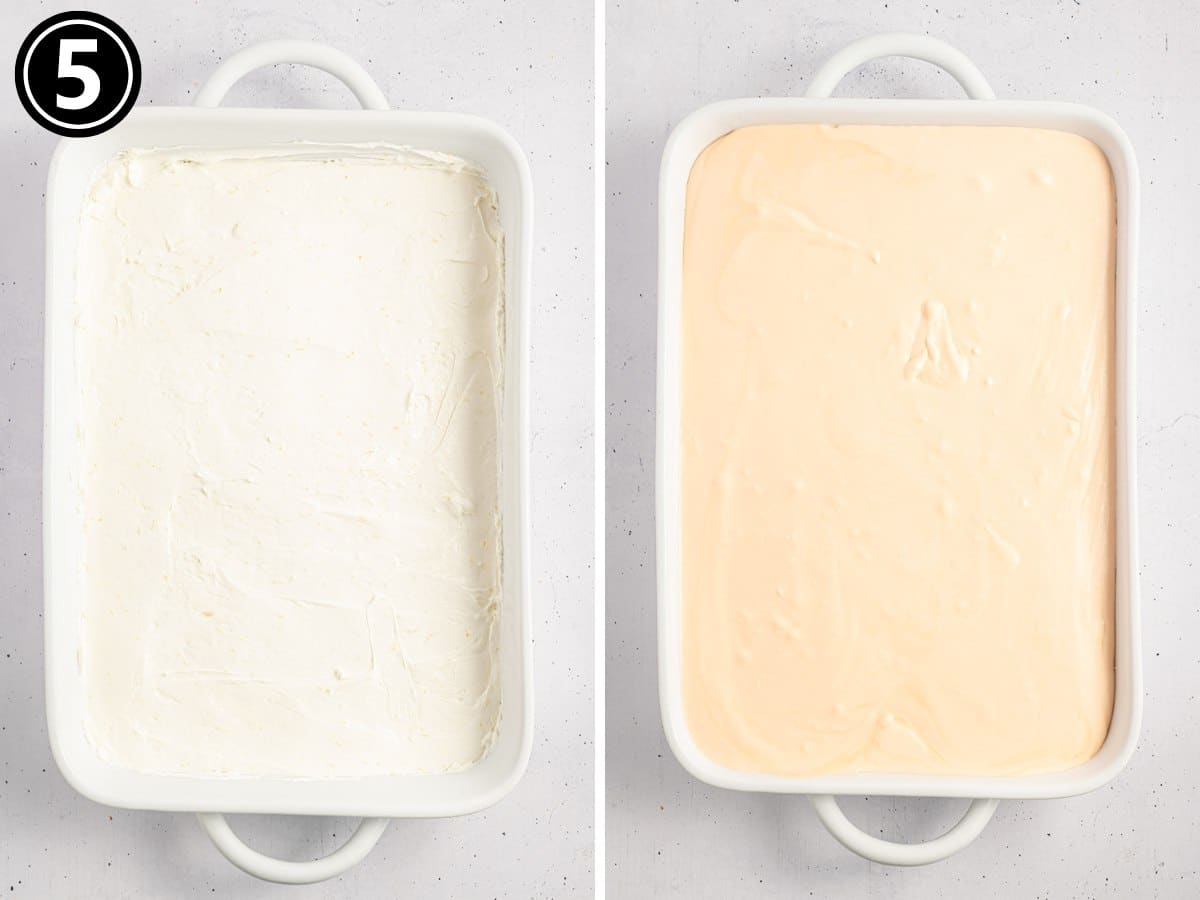
Step 5 | Assemble the bars and chill
Time to layer it up! Spread that cream cheese mixture over your chilled cookie crust. Smooth it out so it looks pretty. Then, gently pour over the gelatin and whipped topping mixture.
Cover it up with some plastic wrap, and into the fridge it goes. Let it chill for at least 6 hours until that top layer is set and ready to wow your taste buds.
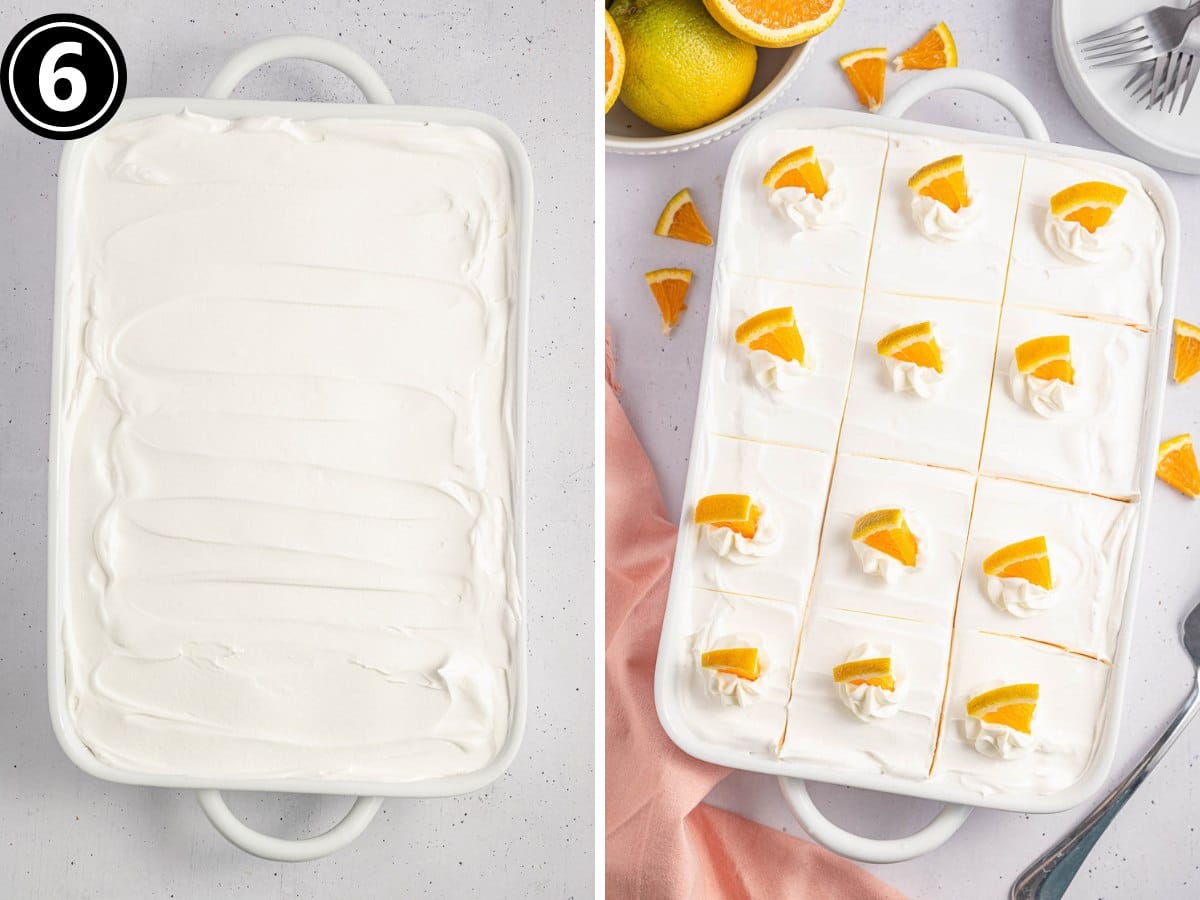
Step 6 | Top with Whipped Topping, & Serve
Right before you’re ready to serve, take your last tub of whipped topping and spread it all over the top. If you’re feeling fancy, toss on some extra whipped cream and maybe some orange pieces for garnish.
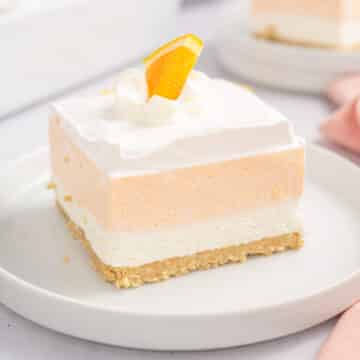
Then, cut it up into bars, and enjoy these orange creamsicle delights straight from your fridge!
There you have it—easy-peasy orange creamsicle desserts, perfect for any sweet tooth craving.
Recipe TIPS FOr Creamsicle Bars
- The cream cheese should be smooth after blending it with the sugar. You don’t want a lumpy cream cheese layer. It’s very important for it to be at room temperature before you start whipping it.
- Keep an eye on the gelatin as it cools in the fridge, and take it out after no longer than 15 minutes. You don’t want it to solidify before adding the whipped topping.
- Folding the whipped topping into the gelatin may take a few minutes, but you’ll want to make sure it is well mixed to prevent it from splitting.
- Easy Slicing: Line the pan with parchment paper to lift the bars out and cut them easily.
See Variations & Substitutions and Recipe FAQs for more great recipe tips!
Want to Save this Recipe?
By submitting this form, you consent to receive emails from Soulfully Made.
Recipe FAQs
For the best results, keep the bars chilled until you’re ready to serve them. They tend to soften at room temperature, which can make cutting and serving more challenging. Use a sharp, non-serrated knife for clean cuts. Dip the knife in hot water and wipe it dry before each cut. The warm blade will glide through the bars more smoothly. Wipe the blade clean between cuts to prevent sticking and ensure clean slices.
Good question! A creamsicle is a popular ice pop with vanilla ice cream under a layer of frozen fruit juice—like orange juice! It’ll always have a nostalgic taste, along with the rest of our ice cream truck favorites.
I wouldn’t suggest using low-fat cream cheese or whipped cream cheese for this recipe. Stick with full-fat brick-style cream cheese for the best results. If you want to try something different, mascarpone cheese is a good substitute that will also work nicely.
Storage Instructions
- TO STORE: Refrigerate: Trust me. You’ll want to save any leftovers of this dream bar recipe. Store them in an airtight container and refrigerate them for up to four days.
- MAKE-AHEAD: Since this recipe is good for 4 days in the refrigerator, feel free to make it ahead and store it in an airtight container or cover it with plastic wrap.
- FREEZER: Cover the dessert with both plastic wrap and foil, and freeze for up to 2 months. Thaw overnight in the refrigerator. Please note that the whipped topping may break down in the thawing process.
What to Serve with Orange Creamsicle Cheesecake Bars
Want some more light and fruity desserts? Of course there are more you could add to the dessert buffet this summer. Try Easy Lemon Blueberry Trifle Recipe, Mini Lemon Cheesecakes, or maybe a chilly batch of Frosted Lemonade.
More No-Bake Desserts
- No-Bake Oreo Cheesecake
- No Bake Peanut Butter Cup Pie
- No-Bake Cookie Dough Cheesecake
- No Bake Key Lime Pie In A Jar
Hungry for more easy, home-cooked, delicious recipes?
Sign up for my free recipe club to get family-friendly recipes in your inbox each week! Find me sharing daily meal-time inspiration on Pinterest, Facebook, and Instagram.
Orange Creamsicle Bars Recipe
Ingredients
- 25 Golden Oreos
- 6 tablespoons unsalted butter, melted
- 6 ounce box orange gelatin mix
- 2 cups boiling water
- ½ cup granulated sugar
- 2 teaspoons orange zest
- 16 ounces block cream cheese, room temperature
- 32 ounces frozen whipped topping, thawed, divided
- Whipped cream and orange pieces, optional garnish
Instructions
Cookie Crust Layer
- Crush the Golden Oreo cookies in a food processor until they become crumbs. While the processor runs at low speed, slowly add the melted butter and mix until the crumbs are coated.
- Firmly press the cookie crumbs into the bottom of a 9×13 baking dish or pan, and place the crust in the freezer for 15-20 minutes or until it has hardened.
Cheesecake Layer
- Pour the orange gelatin and boiling water into a medium bowl and whisk until the gelatin dissolves. Let the mixture cool on the counter for 10 minutes, then place it in the refrigerator for no longer than 15 minutes
- In a large bowl, use your fingers to rub the sugar and orange zest together until fragrant. Add the cream cheese and use an electric mixer to mix until smooth. Fold in one of the tubs (8 ounces) of thawed whipped topping until everything is combined. Set aside.
Orange Dreamsicle Layer
- Once the gelatin mixture is at room temperature, fold in 2 tubs (16 ounces) of whipped topping until it is well mixed.
- Assembly: Spread the cheesecake layer over the cookie crumb crust until it is smooth and even. Then, pour the gelatin and whipped topping mixture over the cheesecake layer, cover it with plastic wrap, and refrigerate for 6 hours, or until the gelatin layer is completely set.
Whipped Topping Layer
- Before serving, spread the remaining tub (8 ounces) of whipped topping on top of the dessert, garnish with extra whipped cream and orange pieces, optional, and serve chilled.
Want to Save this Recipe?
By submitting this form, you consent to receive emails from Soulfully Made.
Notes
-
- The cream cheese should be smooth after blending it with the sugar. You don’t want a lumpy cream cheese layer. It’s very important for it to be at room temperature before you start whipping it.
- Keep an eye on the gelatin as it cools in the fridge, and take it out after no longer than 15 minutes. You don’t want it to solidify before adding the whipped topping.
- Folding the whipped topping into the gelatin may take a few minutes, but you’ll want to make sure it is well mixed to prevent it from splitting.
- Easy Slicing: Line the pan with parchment paper to lift the bars out and cut them easily. (for more slicing tips see Recipe FAQ’s)
- TO STORE: Refrigerate: Store them in an airtight container or tightly covered with plastic wrap or foil, and refrigerate them for up to four days.
- MAKE-AHEAD: Since this recipe is good for 4 days in the refrigerator, feel free to make it ahead and store it in an airtight container or cover it with plastic wrap.
- FREEZER: Cover the dessert with both plastic wrap and foil, and freeze for up to 2 months. Thaw overnight in the refrigerator. Please note that the whipped topping may break down in the thawing process.
Nutrition Information
Nutritional Disclaimer
Soulfully Made is not a dietician or nutritionist, and any nutritional information shared is only an estimate. We recommend running the ingredients through an online nutritional calculator if you need to verify any information.
©️Soulfully Made