This post may contain affiliate links. Please read our disclosure policy.
Summertime is the perfect time for creamy, deliciously sweet, and a little tart No-Churn Blueberry Ice Cream. With no ice cream maker needed, this recipe couldn’t be any easier and is ready for the freezer in only 30 minutes!
The warm summer months come with all sorts of celebrations and vacations. Not only do we have the Fourth of July, but summer parties, graduations, and, of course, back-to-school gatherings. (But let’s not dwell on that!)
Serve this Homemade Blueberry Ice Cream Recipe to your friends and family at the next party or picnic, and you’ll have them screaming for more ice cream!
Give them a reason to celebrate with tasty Grilled Chicken Marinade placed on the grill and charred to perfection. Add in a side of Blue Cheese Cole Slaw, and a dish full of that Cheesy Loaded Mashed Potato Recipe– and now you have a summer party worth going viral!
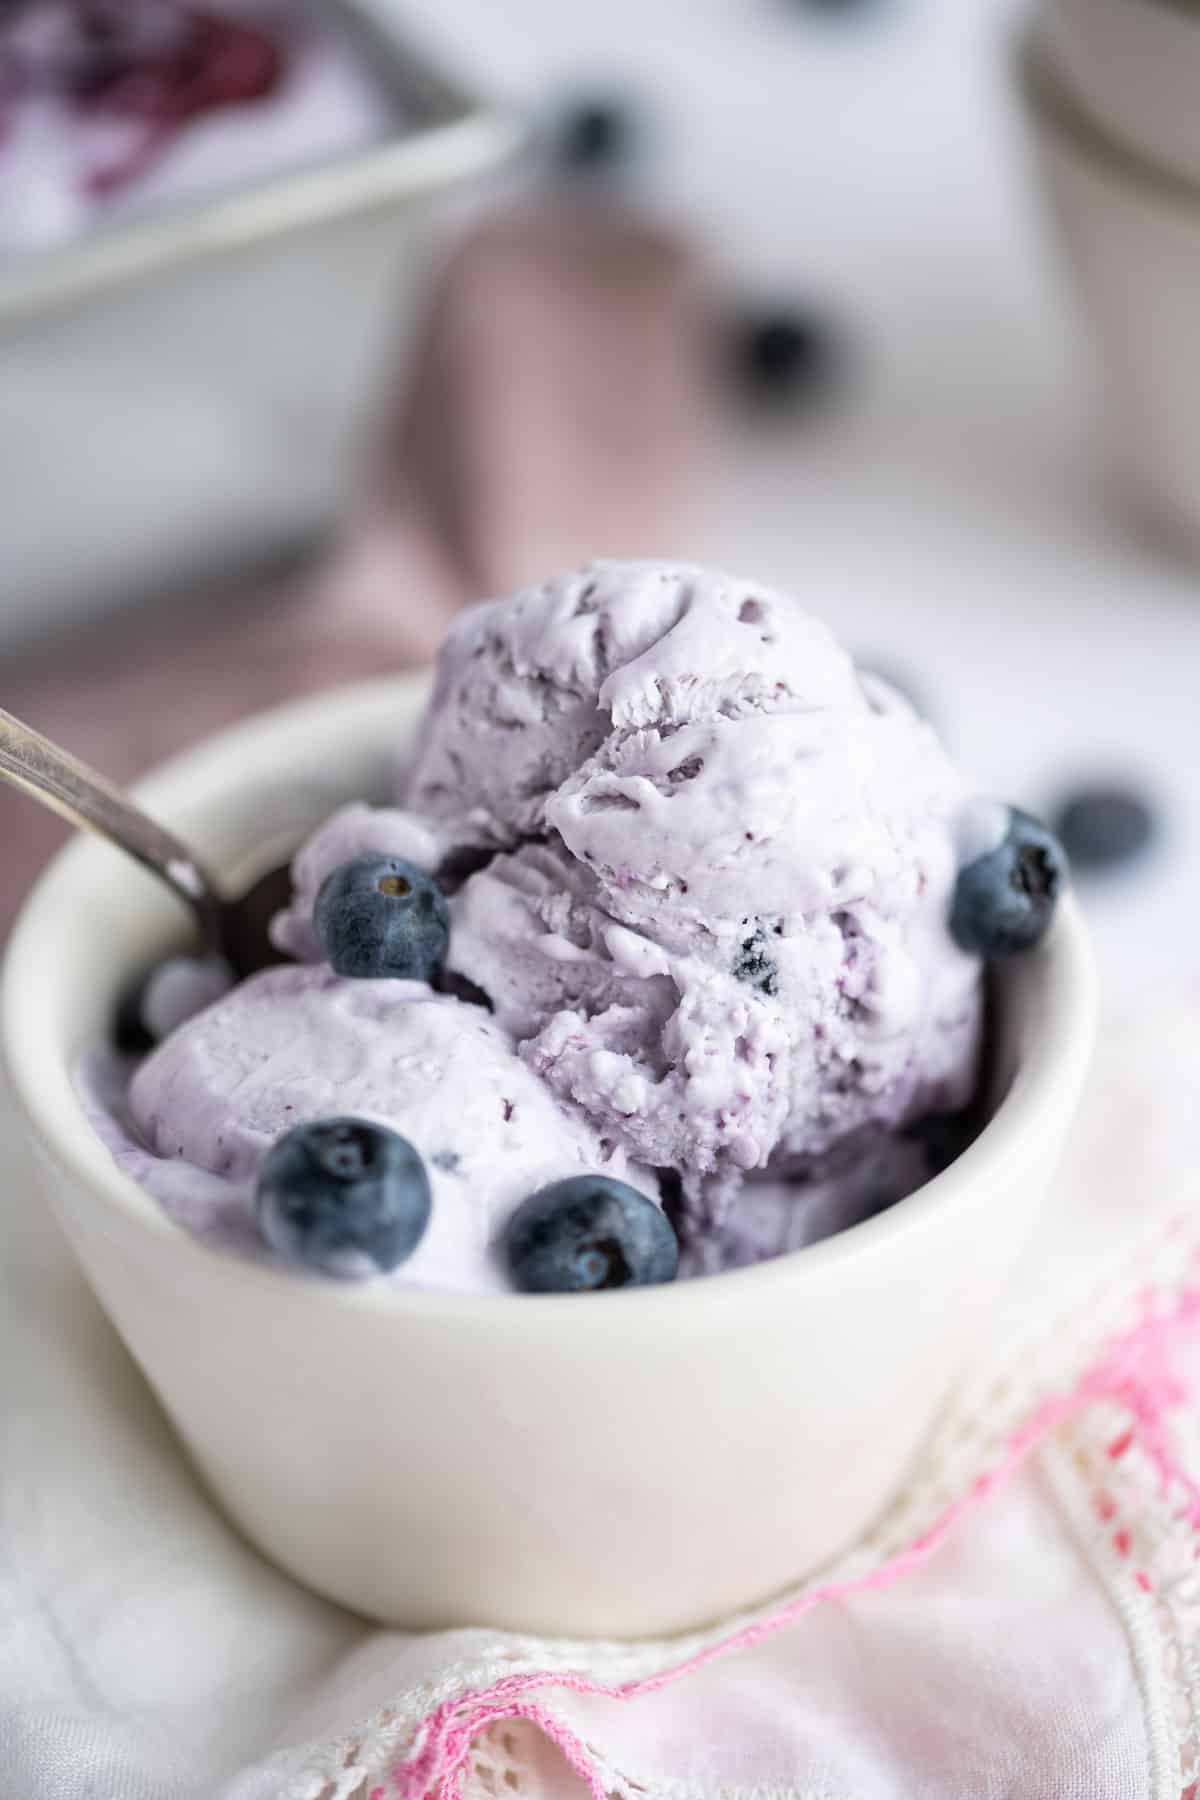
Why You’ll Love This Blueberry Ice Cream Recipe!
As if I haven’t said enough, here are more reasons to love this blueberry ice cream recipe.
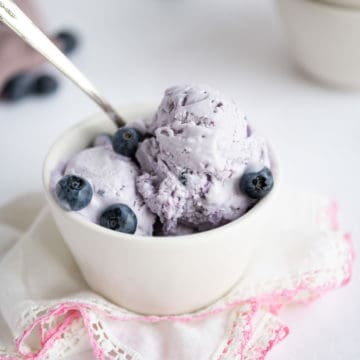
- Gorgeous to Serve: That is right! This Ice Cream Recipe with swirls and folds of blueberry sauce makes for a stunning presentation!
- So Easy: With no ice cream churn needed, it can be made in no time at all!
- Balanced Flavors: This recipe is carefully created so as not to be too sweet or tart. I think it is the perfect balance for a summer dessert!
Need the perfect Patriotic Ice Cream Treat? Here you have it! Scoop this frozen treat into a white bowl, top with dreamy, whipped cream, fresh blueberries, and a bright red cherry, and you have a red, white, and blue taste explosion!
Then snap some pictures of your family and friends playing games, gobbling up their Homemade Ice Cream with Blueberries, and maybe even a Blueberry Cheesecake Cookie or two!
Can you tell I love the summertime?
Ingredient Notes
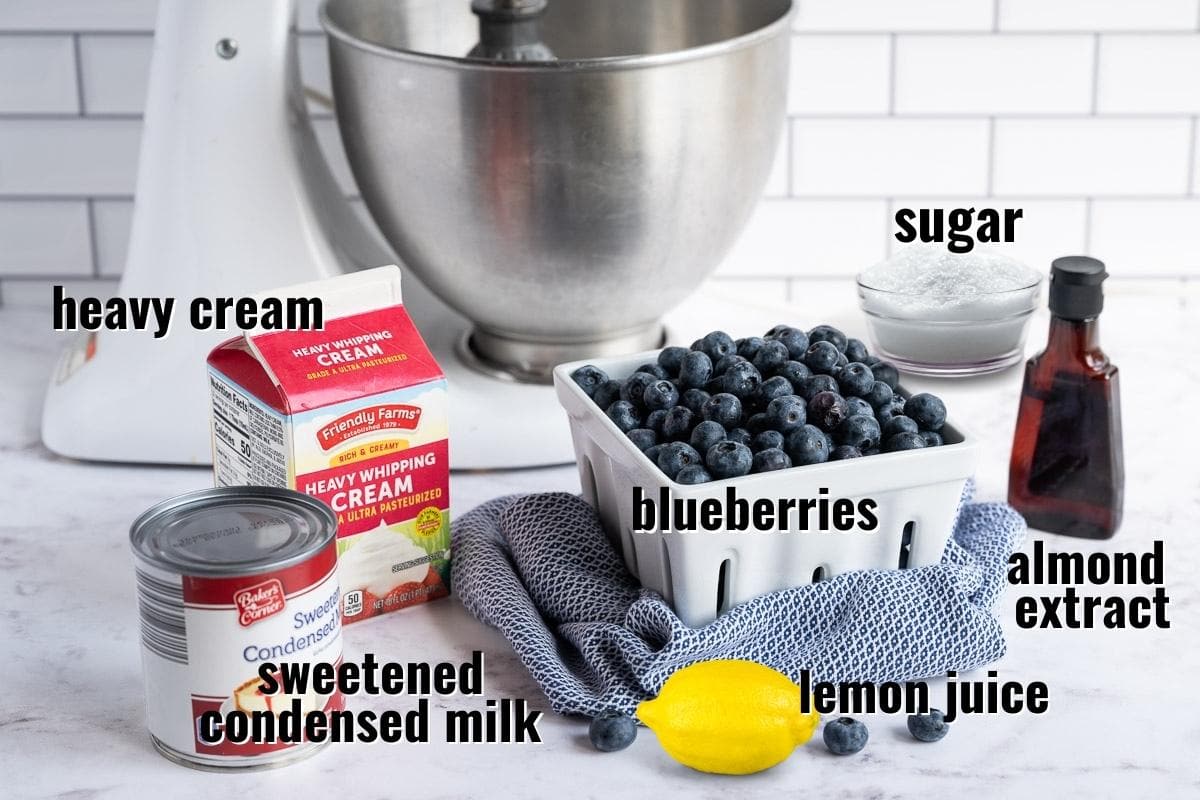
How to Make No-Churn Blueberry Ice Cream
✱ Be sure to see the recipe card below for exact ingredients and full recipe instructions!
It was amazing to me the first time I made no-churn ice cream without an ice cream machine, and it really turned out—creamy and as ice cream should. This recipe takes only 30 minutes and is crazy easy y’all!
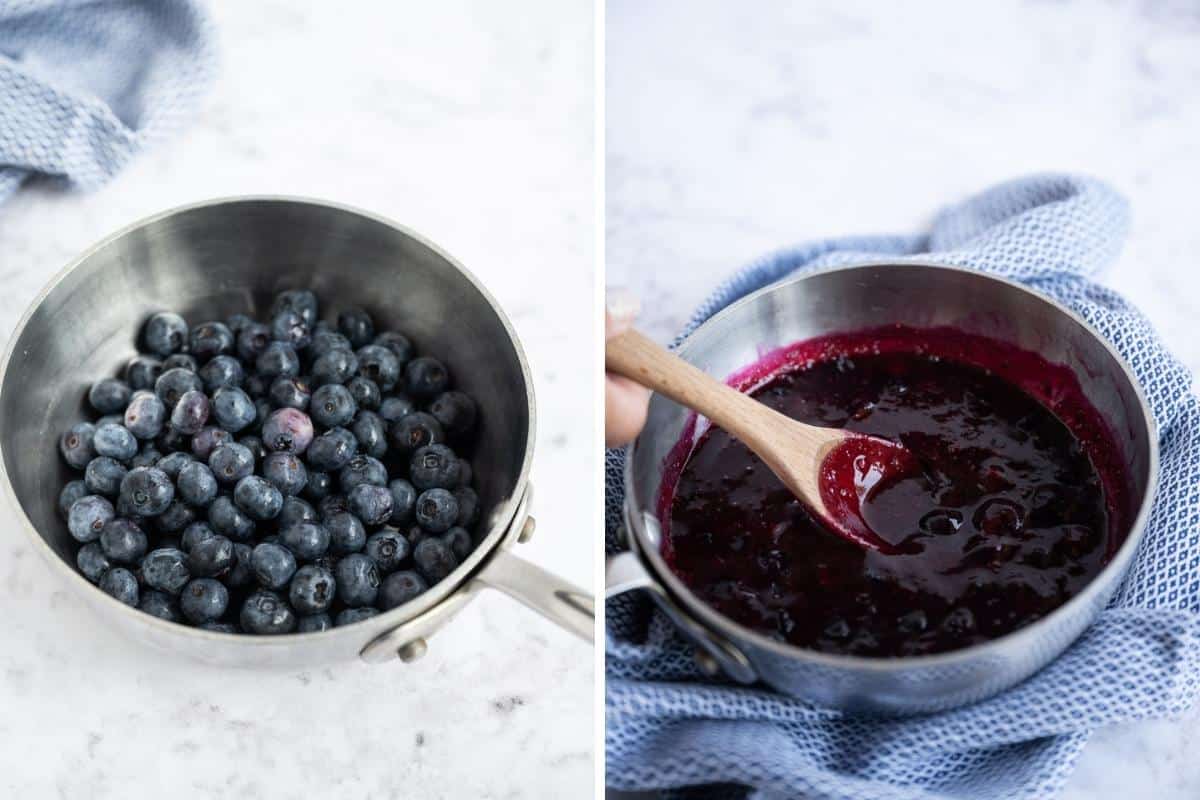
Step 1 | Make the Blueberry Sauce
Rinse your blueberries and take any of those pesky stems off. Then place them in your medium saucepan on medium heat and add the freshly squeezed lemon juice and sugar if needed.
Bring that mixture to a boil and simmer until they yield a saucy texture.
Then remove the saucepan from the heat and allow it to cool on the counter.
Step 2 | Whip the Ice Cream
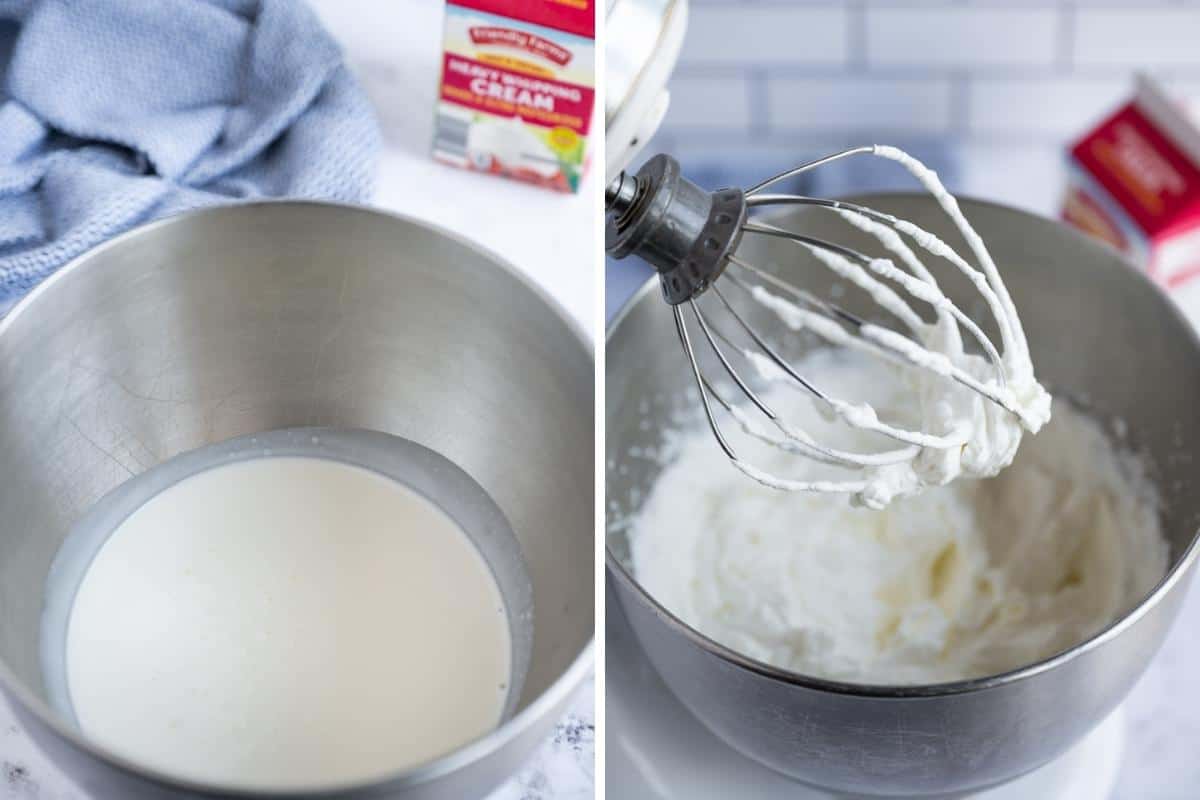
Making homemade ice cream is so simple. Start by using your mixer to whip the heavy cream into those beautiful stiff peaks.
Then add in your sweetened condensed milk and extract and fold in with a rubber spatula. This makes the most creamy custard base.
Want to Save this Recipe?
By submitting this form, you consent to receive emails from Soulfully Made.
Step 3 | Fold in the Blueberry Sauce
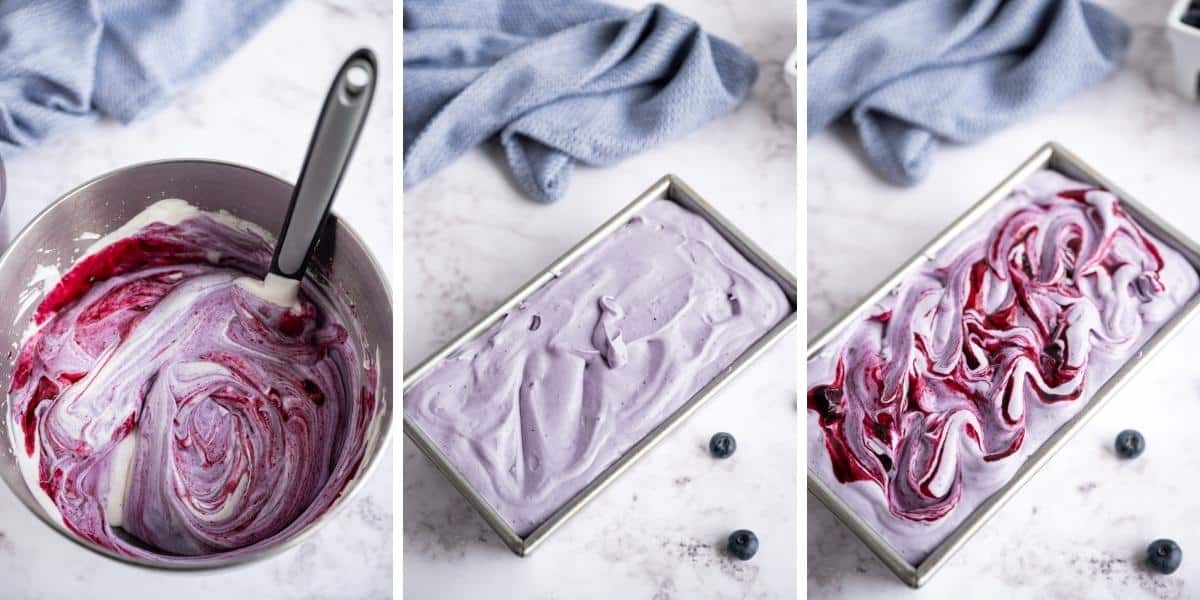
This is the best part, in my opinion. I like to gently fold in the cooled blueberry sauce to retain the ripples and swirls of the sauce and still see all the layers of beautiful color.
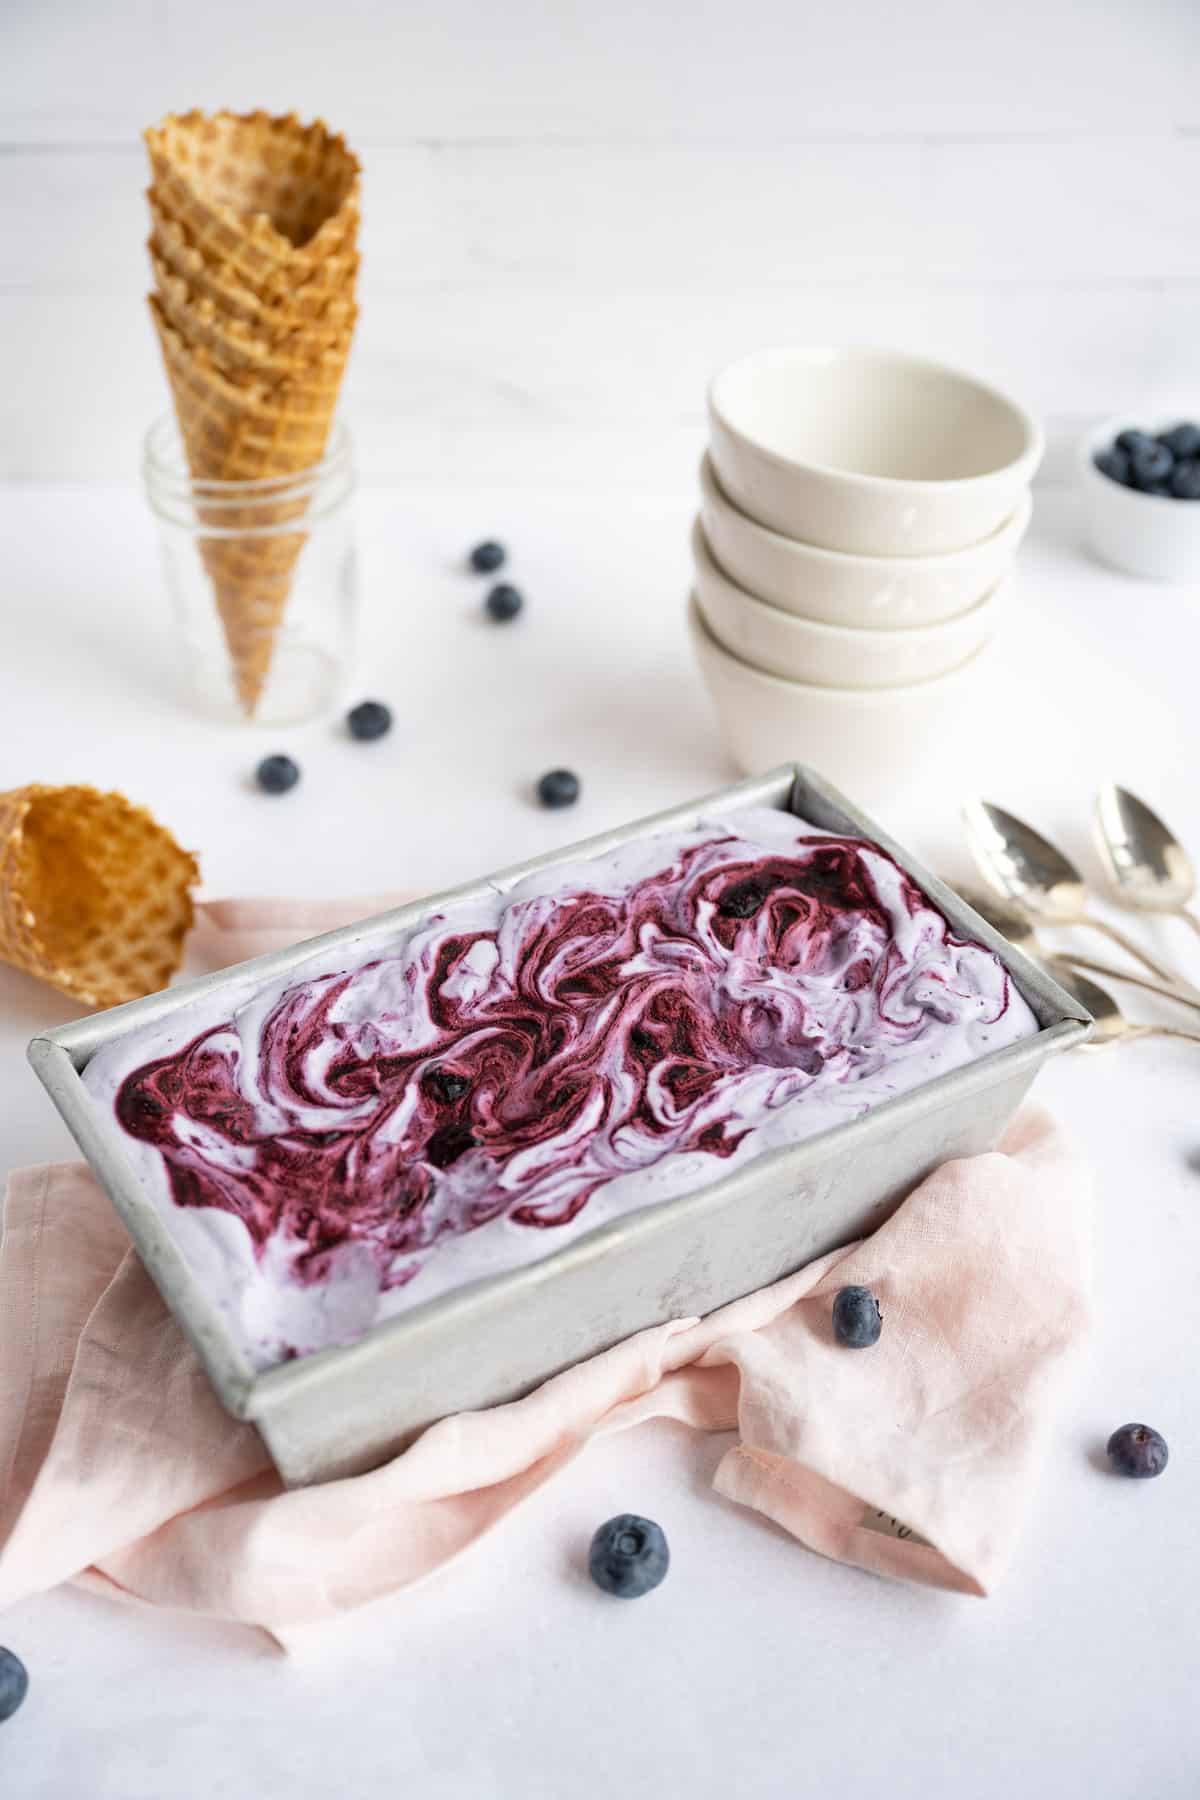
Be sure to reserve some of the sauce to swirl on top of the ice cream for a stunning presentation. Use a butter knife and swirl across the top of the creamy mixture in a figure 8 motion. Easy Peasy!
Gently pour the mixture into an airtight freezer container, an ice cream container, or a loaf pan. Cover the pan with plastic wrap and freeze the ice cream for six hours or more.
Tips
- Plan out when you want to make the creamy ice cream, as you will need to let the blueberry sauce cool before folding it into the ice cream base.
- You can even make the blueberry sauce the day before and place it in the fridge. Then when you are ready to make the ice cream, it will be cool and ready to be folded in.
- Place your mixing bowl in the freezer for 15 minutes before beginning the ice cream mixture. Then you will keep the ingredients cold and ready for the freezer.
Serve and Enjoy!
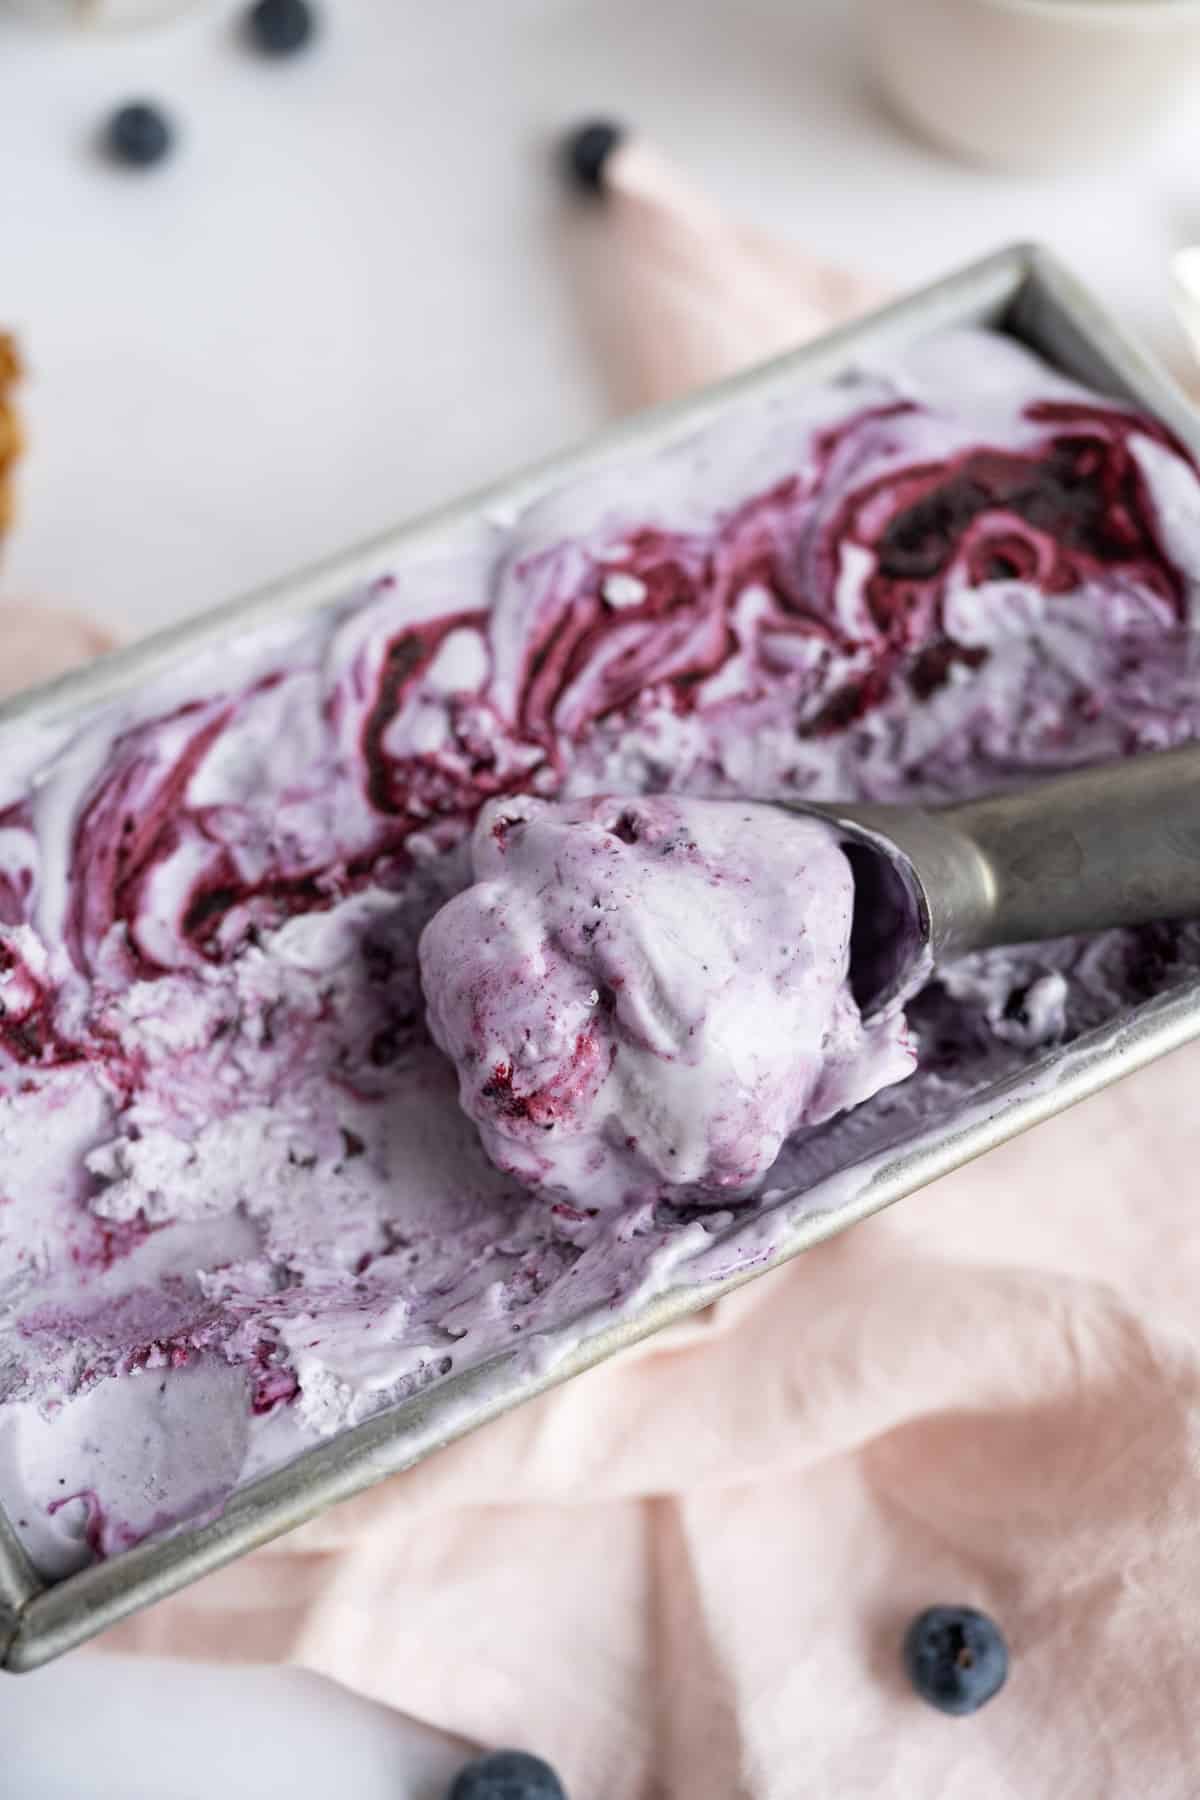
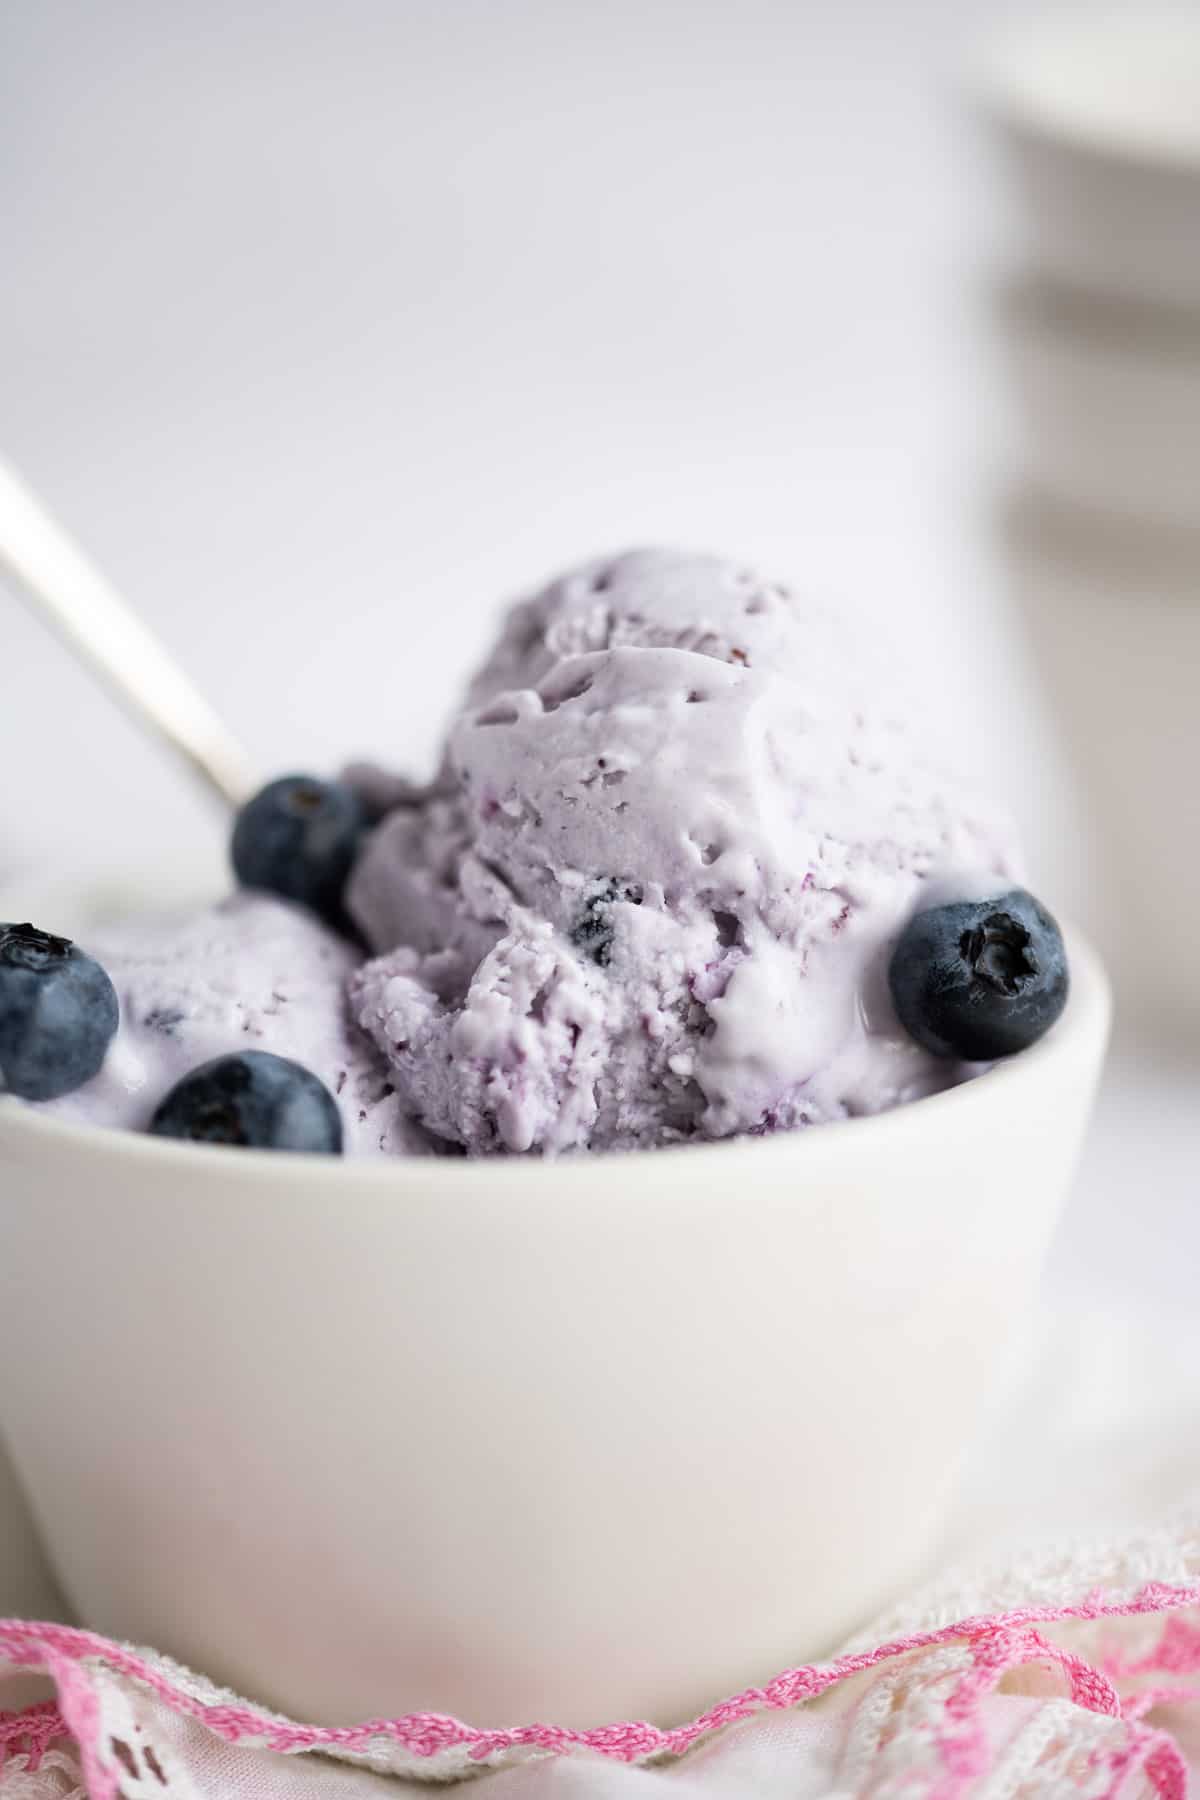
Okay, y’all– this recipe is so good, you don’t need toppings– then again, why not? Place your generous ice cream scoops in a bowl or in ice cream cones and garnish the top just how you would like. Below are a few suggestions for you.
Topping Suggestions:
- Whipped Cream: Homemade Whipped Cream is dreamy over this fresh blueberry ice cream.
- Graham Crackers: Try a sprinkling of graham cracker crumbles on top!
- Favorite Fruit: Place more fresh fruit on top of the creamy, dreamy dessert.
- Patriotic Blueberry Ice Cream: For your Fourth of July party, add some sprinkles and cherries or strawberries to the counter and let guests add what they would like!
- Dark Chocolate: Dark chocolate and blueberries are divine together. The intense flavor of each combine with perfection. I suggest shaving a bar over the top of your scoops of ice cream.
Frequently Asked Questions
Here are the most commonly asked questions about this recipe. If you don’t find the answer to yours leave a comment below, and I’ll get back to you with an answer.
The freshest flavor is obtained using fresh, plump berries. But who am I to deprive you of the creamy goodness if they are not in season? Yes—go ahead and use frozen berries!
It certainly can be! Just ensure the extract is gluten-free, and you can enjoy this ice cream worry-free!
Substitutions and Variations:
- Fresh Berries: What fresh berries are in season? You can use any seasonal berries with vibrant colors you like best in this recipe. Try fresh strawberries, blackberries, or raspberries for a change. Just be sure to check the sweetness and adjust. Taste-testing– I am a big fan!
- Lemon Extract: Like lemons with your blueberries? Make the ice cream base a lemon ice cream and there you have it!
Storage
Cover with foil or plastic wrap or place in an air-tight freezer-safe container and store in the freezer for up to 2 weeks. Be sure to press the plastic wrap onto the ice cream mixture so that ice crystals do not form on top.
You can also place it in a specialty ice cream container that is designed to lock in freshness and keep ice crystals away.
More Ice Cream Dessert Recipes
Hungry for more easy, home-cooked, delicious recipes?
Sign up for my free recipe club to get family-friendly recipes in your inbox each week! Find me sharing daily meal-time inspiration on Pinterest, Facebook, and Instagram.
No-Churn Blueberry Ice Cream
Ingredients
- 1 ½ cups fresh blueberries
- ¼ cup sugar, optional – depending on the sweetness of your blueberries
- 1 teaspoon almond or vanilla extract
- 1 teaspoon fresh lemon juice
- 2 cups heavy whipping cream, cold
- 14 ounce sweetened condensed milk
Instructions
- Place the blueberries, lemon juice, and sugar *(if berries are too tart – see note) into a medium saucepan. Bring to a boil over medium-high heat. Then reduce to medium-low heat and simmer until the blueberries are cooked down and you have the texture of a sauce (about 5 to 10 minutes). There will still be whole blueberries and you can gently smash some of the blueberries if desired. Remove from the heat and allow it to cool completely.
- Using an electric hand mixer or a stand mixer with a wire whisk attachment, whip the heavy cream until stiff peaks form.
- Add sweetened condensed milk and almond (or vanilla) extract and gently fold together until combined.
- Gently fold in cooled blueberry mixture until combined. RESERVE 2 to 3 tablespoons of the blueberry to swirl into the top of the ice cream mixture if desired (optional). To swirl use a butter knife and swirl across the top in a figure 8 motion.
- Transfer the ice cream into a loaf pan to a container or an ice cream holder. Then cover it with plastic wrap, and put it in the freezer for 6 hours, or until it has set to desired firmness.
- Serve blueberry ice cream in bowls or cones. Garnish with fresh blueberries if desired.
Want to Save this Recipe?
By submitting this form, you consent to receive emails from Soulfully Made.
Notes
- Plan out when you want to make the creamy ice cream, as you will need to let the blueberry sauce cool before folding it into the ice cream base.
- You can even make the blueberry sauce the day before and place it in the fridge. Then when you are ready to make the ice cream, it will be cool and ready to be folded in.
- Place your mixing bowl in the freezer for 15 minutes before beginning the ice cream mixture. Then you will keep the ingredients cold and ready for the freezer.
Nutrition Information
Nutritional Disclaimer
Soulfully Made is not a dietician or nutritionist, and any nutritional information shared is only an estimate. We recommend running the ingredients through an online nutritional calculator if you need to verify any information.
©️Soulfully Made





Absolutely delicious!!
Thank you Deirdre! I am so happy to hear you enjoyed the ice cream!
I made this today, added some lemon zest, delicious!
Thank you, Michael! I am so glad you enjoyed it. Thank you for the rating and for sending in the photo. It looks delicious.
It was my first time making Ice cream. We just went blueberry picking. So this was the perfect recipe for me. It was fantastic. I’m going to do a vanilla fudge swirl next.
This is perfect for blueberry season and freshly picked blueberries. Vanilla fudge swirl is only next level.
I love blueberry season and I can’t wait to make this homemade ice cream with my kids when the weather starts warming up soon!
This was so incredibly delicious! We love making our own ice cream. This was the first time we tackled blueberry and we are definitely making this one again.
So easy and simply beautiful! I love how quickly this comes together – great for the kids to make. Thanks for sharing!
Easy and delicious, this one is a keeper. I know I’m going to make it over and over again!