This post may contain affiliate links. Please read our disclosure policy.
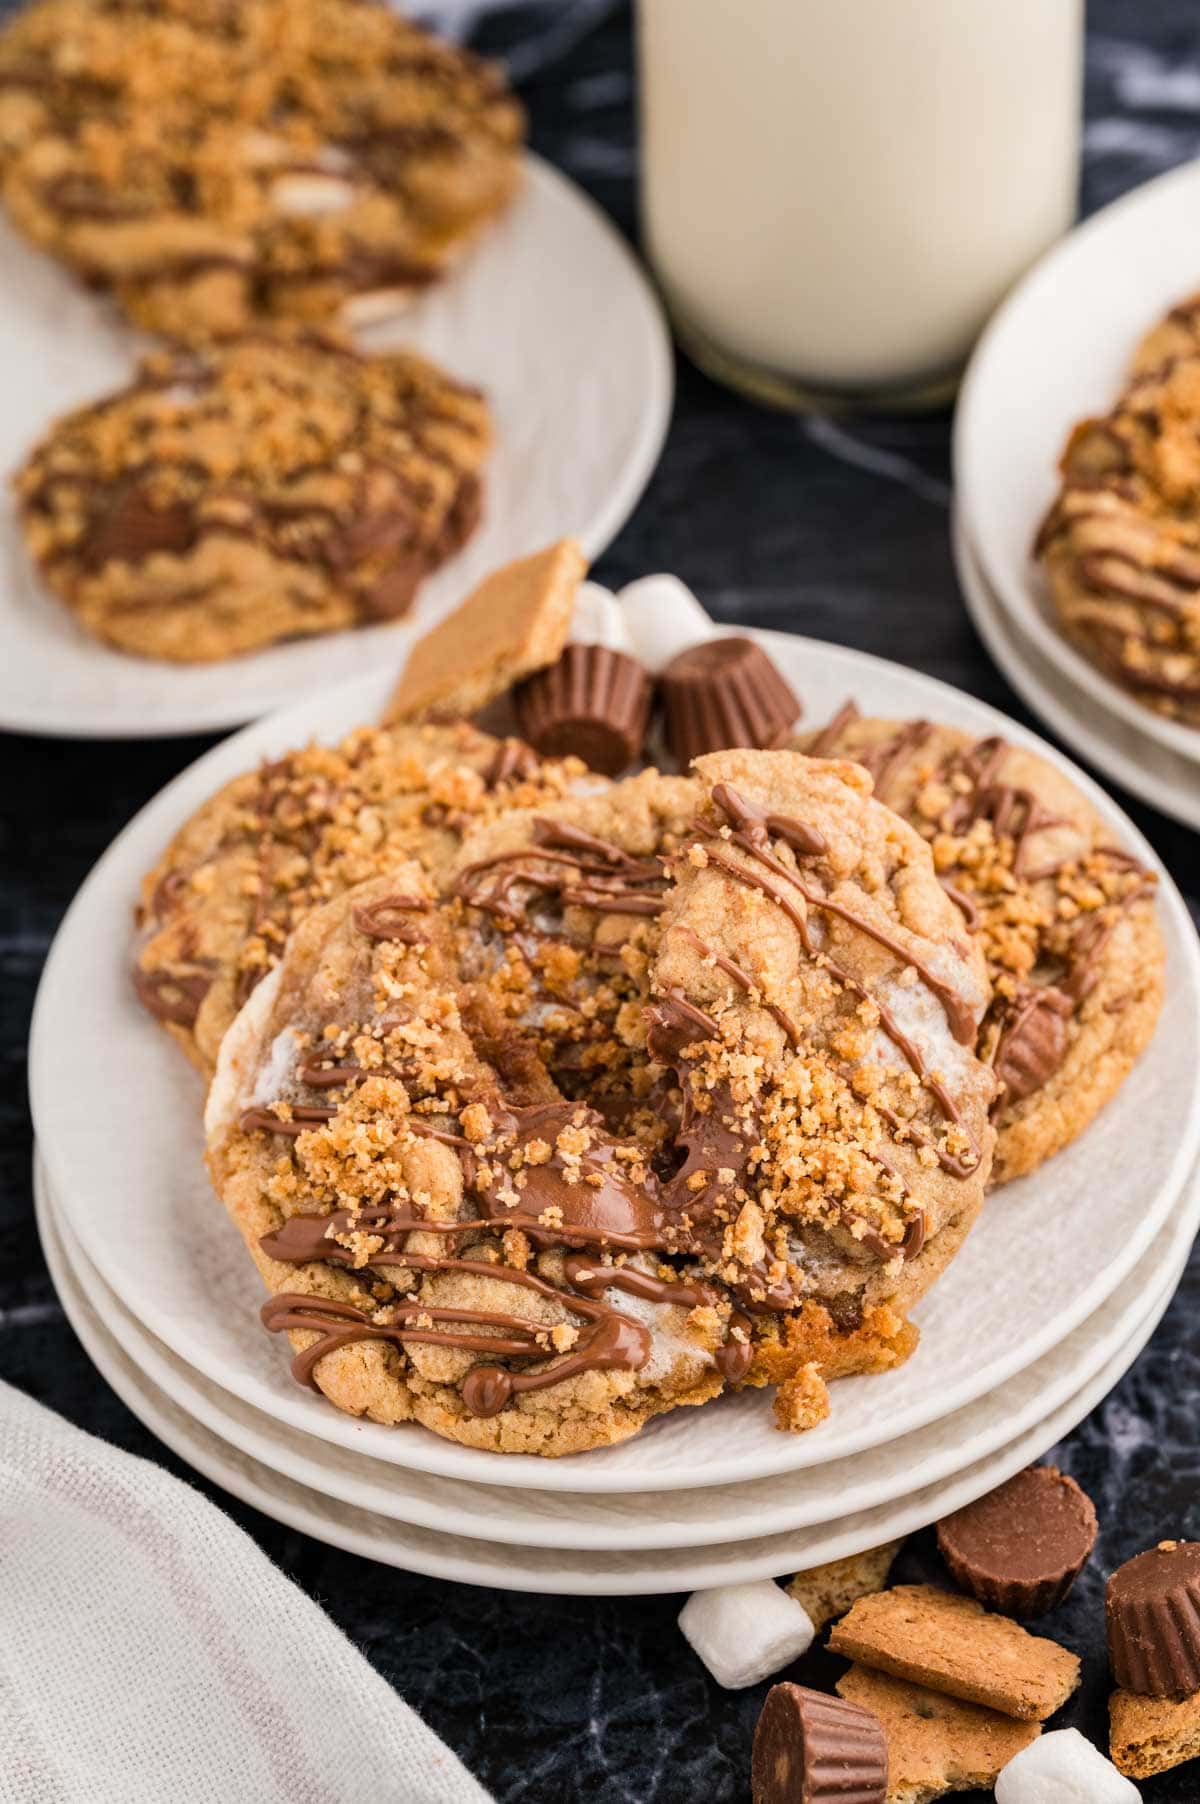
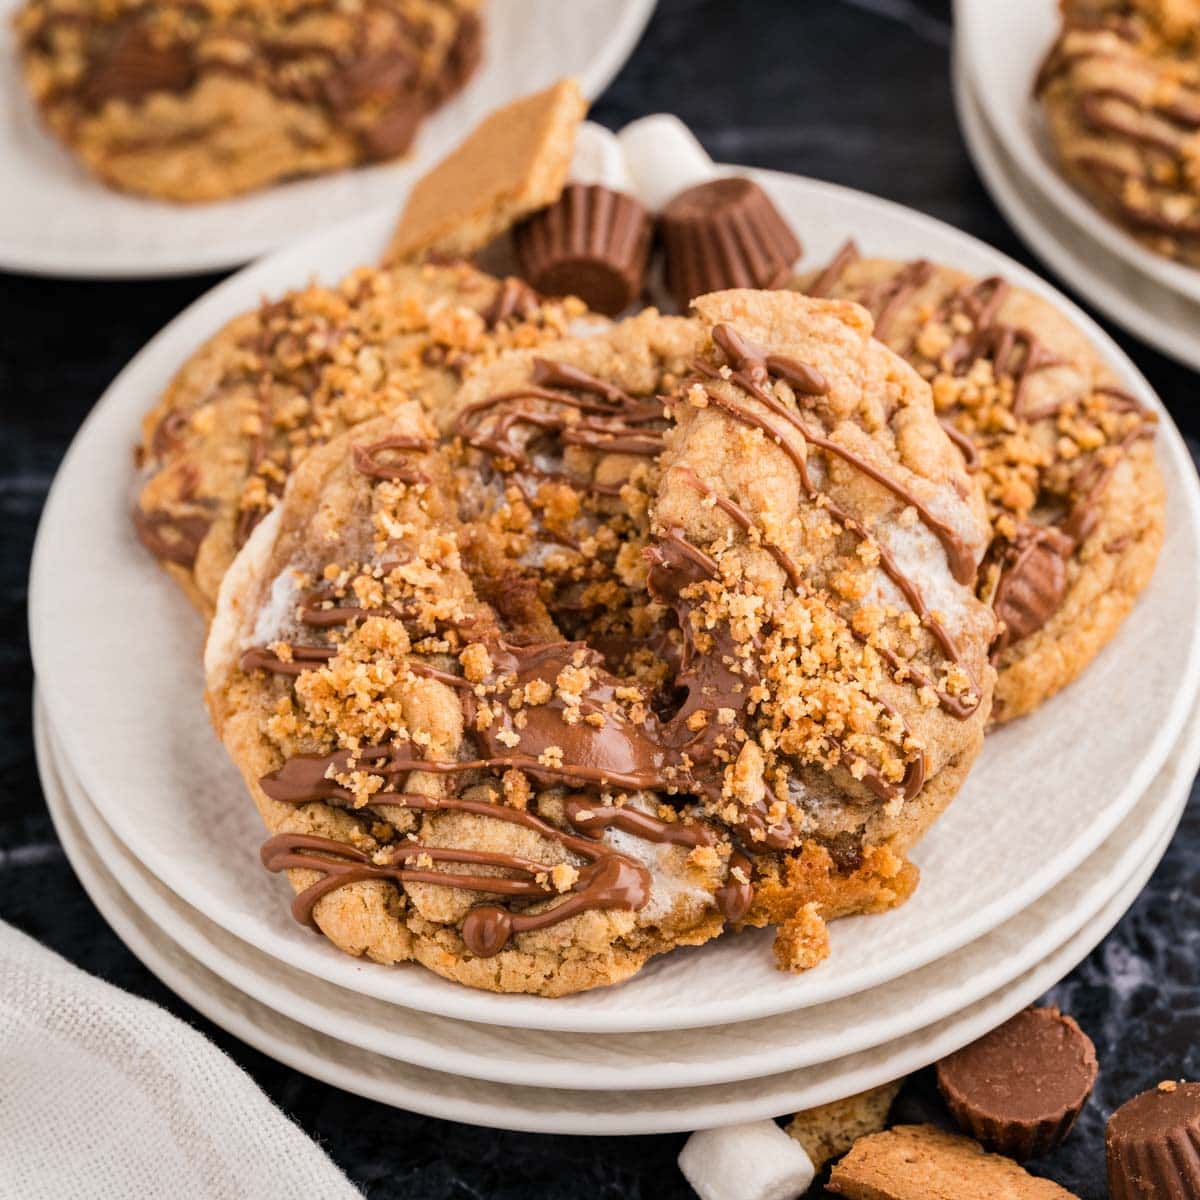
Peanut Butter S’mores Cookies capture the magic of a nostalgic, cozy campfire treat baked into a rich, peanut buttery bite. Filled with gooey marshmallows, Reese’s minis, and crunchy graham crackers, these cookies are easy to make and even easier to love.
Nikki’s Recipe Rundown
- Taste: Sweet peanut butter goodness, melty chocolate, gooey marshmallows, and a little graham cracker crunch—just the right mix of cozy flavors.
- Texture: Soft and chewy with pops of gooey marshmallow, crispy graham bits, and pockets of chocolate in every bite.
- Ease: Super simple to pull together, with a little extra love from browning the butter and chilling the dough—nothing too fussy.
- Pros: They hit all the right nostalgic notes and are always a crowd-pleaser for any get-together.
- Considerations: Be careful with those marshmallows—if too many land on the edges, they can make the cookies spread. A quick chill helps keep everything in place.
- Recipe Repeatability: These are definitely worth making again and again—simple enough for a weekday treat but special enough for gatherings and celebrations. They are great for a summer treat, Halloween or fall event, and bake sales.
Gooey S’mores Cookies
There’s something about these Peanut Butter S’mores Cookies that feels right, whether it’s a cozy night in or a last-minute bake for a school event. They’re my go-to for those times when you need a dessert that’s a little extra special. I first started making them for my kids’ bake sales and school events, and that little extra effort—like browning the butter—boosted the flavor and made them stand out (without adding much time at all).
Over the years, I’ve realized it’s these small steps that make all the difference, like chilling the dough to prevent the cookies from spreading too much. Even with these touches, they’re still simple enough to whip up. They’re also great to make ahead—just freeze the cookie dough balls, and you can pop them straight into the oven whenever an event (or craving) sneaks up on you.
And let’s be real—grabbing a few marshmallows or Reese’s minis from the bag along the way is the most fun part of the whole baking process! So make a batch of this cookie dough to enjoy now or freeze for later when you get a late-night sweet tooth!
How To Make Peanut Butter S’mores Cookies
✱ Be sure to see the recipe card below for exact ingredients and full recipe instructions!
Step 1 | Brown Butter
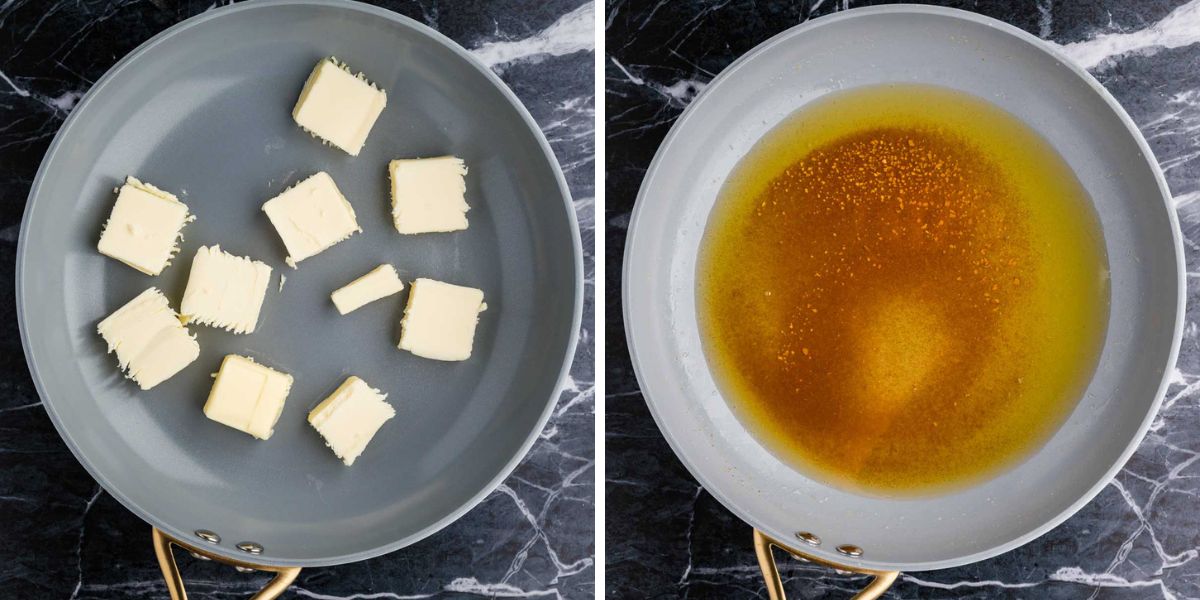
In a skillet, brown the butter over medium-low heat. The butter will melt, then after a few minutes, will start to bubble, followed by seeing the parts of the butter separate into clear yellow and white parts. After another few minutes, the white specks will turn brown. At this point, take the pan off the heat. Don’t keep the pan on the heat long after the specks become brown, or your butter will burn.
Let the butter sit till it cools and solidifies again. To speed up this process, you can pour the butter into a dish and set it in the fridge, stirring every 5 minutes till it’s a soft and creamy consistency.
Step 2 | Combine Wet Ingredients
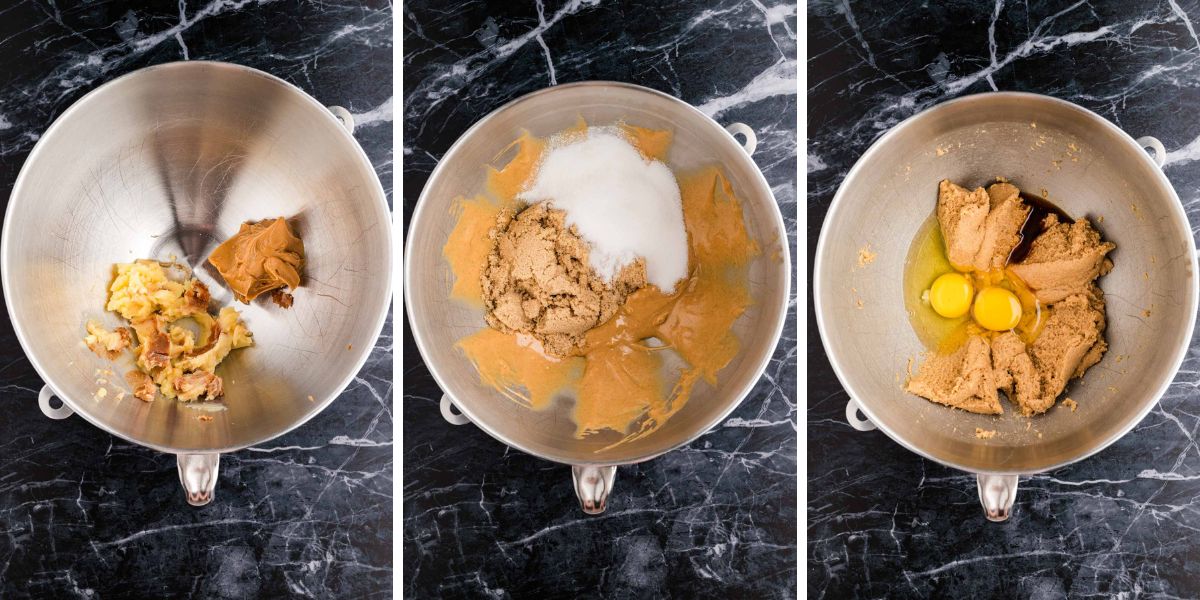
Add the soft butter and peanut butter to the bowl of a stand mixer fitted with a paddle attachment and mix for a few minutes until smooth and fluffy. Add the brown sugar and white sugar and beat again until creamed. Add the eggs and vanilla and mix again.
Step 3 | Chop Graham Crackers
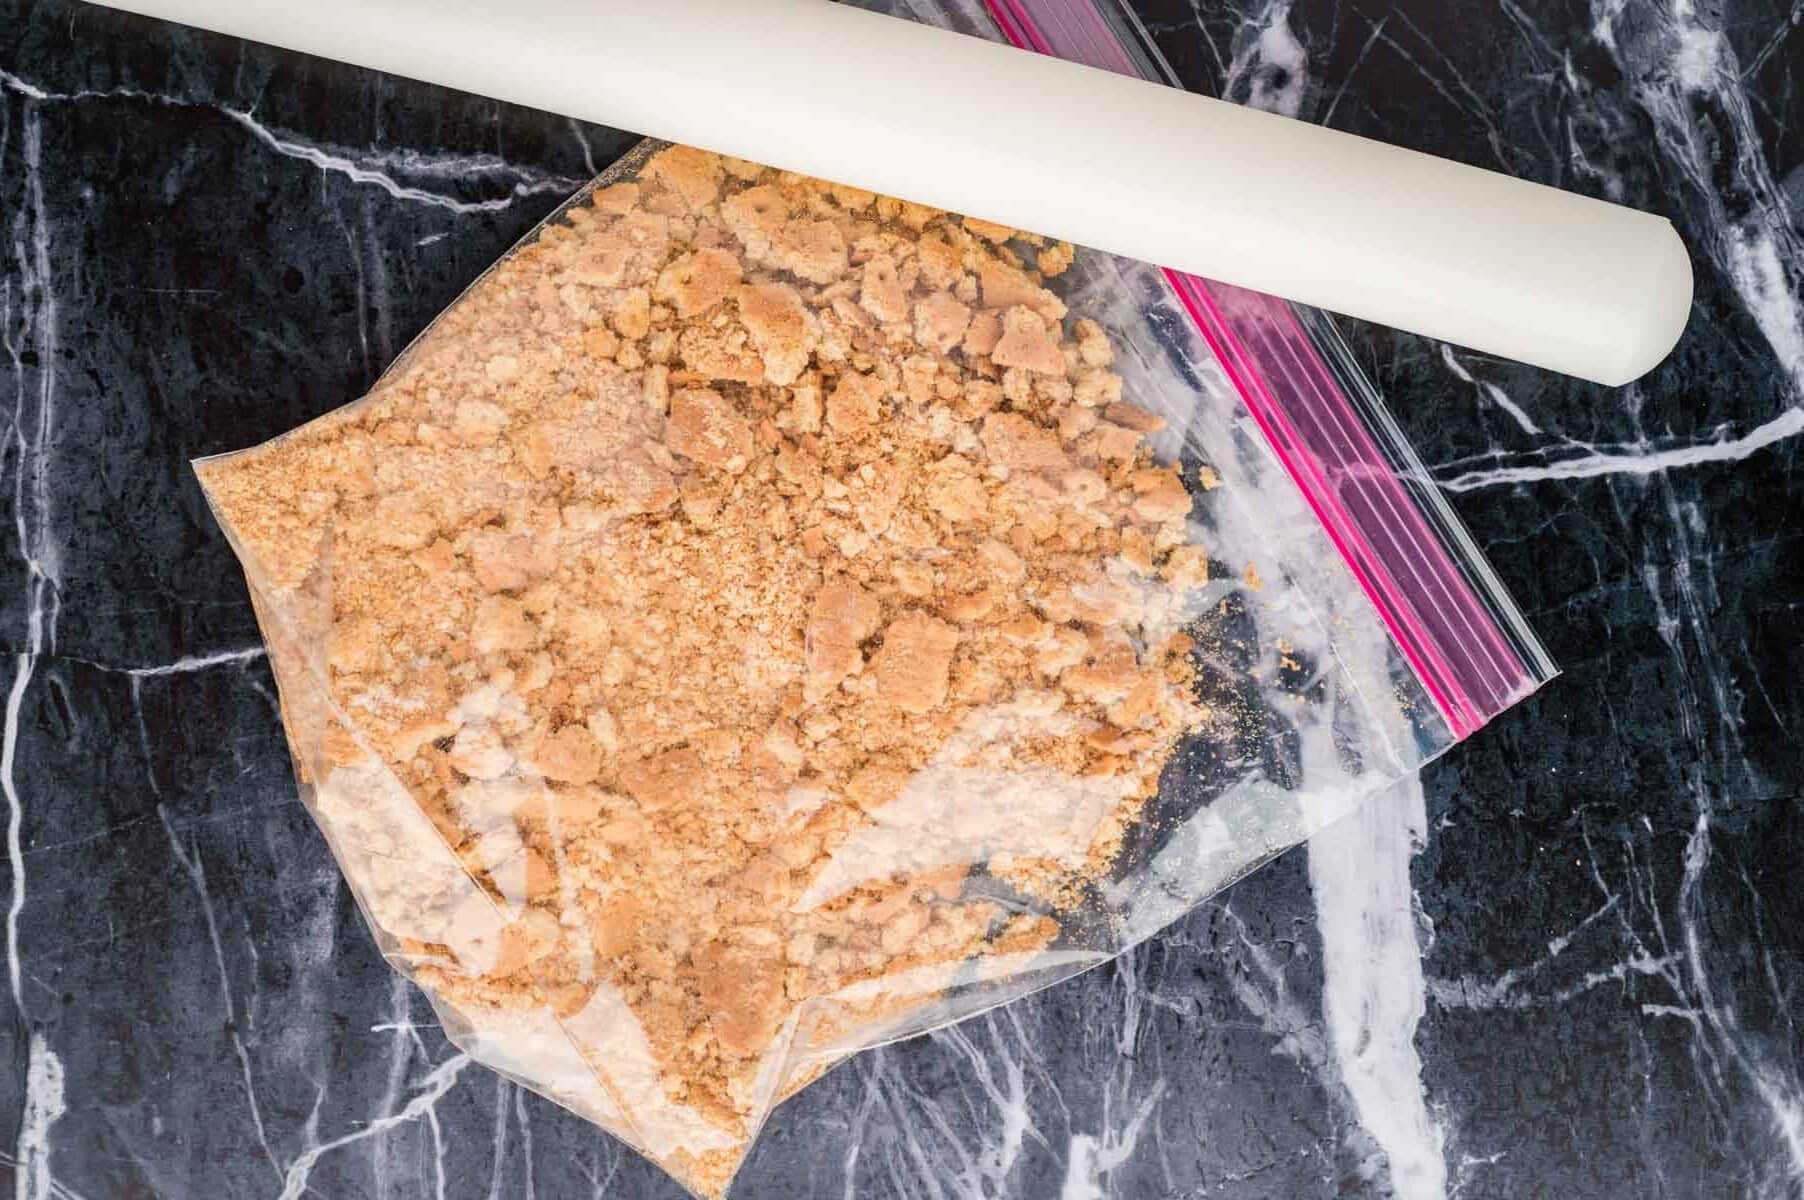
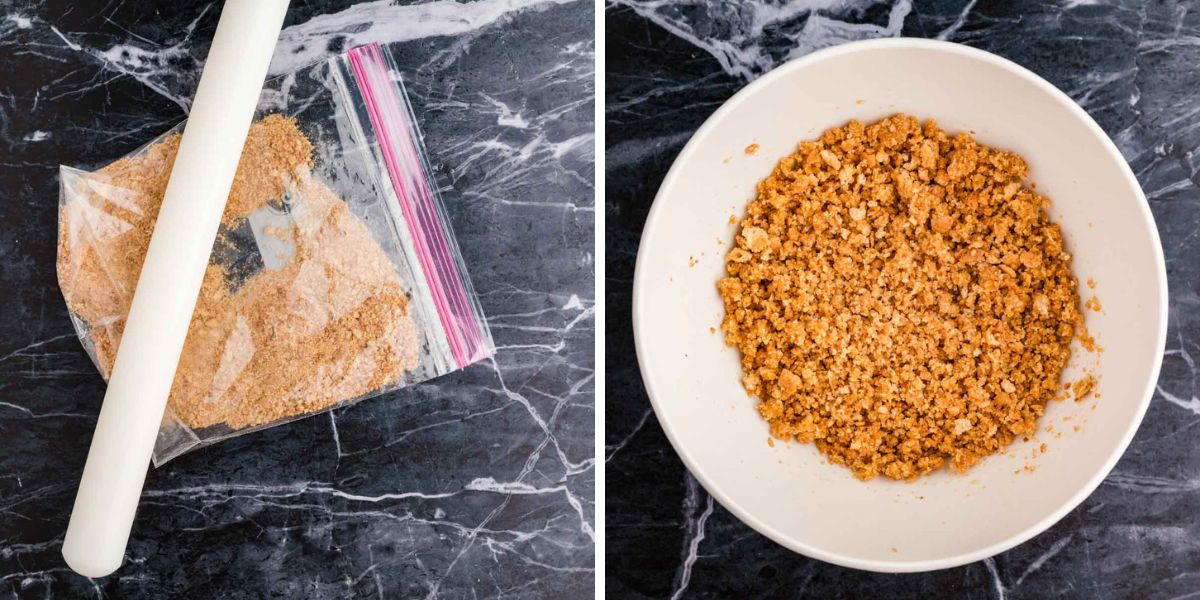
Place the graham crackers in a zipper-top bag and break them into pieces by breaking them up by hand or using a rolling pin. (You don’t want the crackers to be all small crumbs but quite a few pieces about pea size.)
Step 4 | Mix Dry Ingredients & Wet Ingredients
In a medium mixing bowl, whisk together the flour, baking soda, and salt. Add this mixture and the graham cracker pieces to the wet ingredients and mix until just combined.
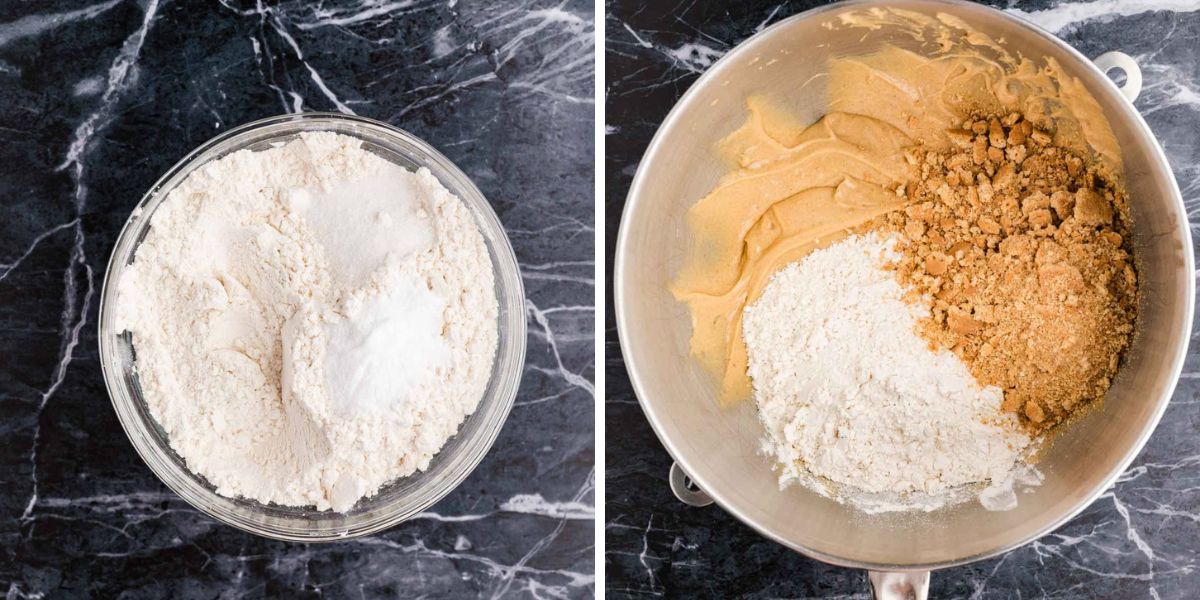
Step 5 | Stir In S’mores Add-Ins
Add the Reese’s Minis and marshmallows and mix gently by hand until just combined. Some of the Reese’s Minis will break, but be gentle and do not smash all of them.
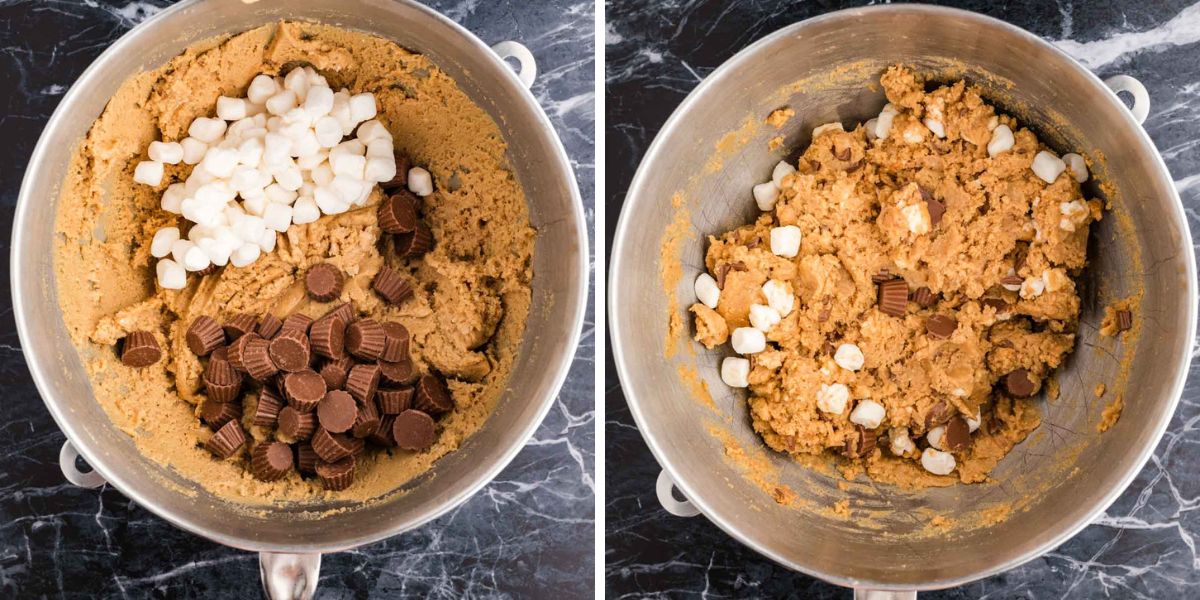
Step 6 | Chill Cookie Dough
Cover the bowl with plastic wrap and refrigerate for 30 minutes while your oven preheats to 350℉.
Step 7 | Scoop Dough Onto Pans & Bake
Line 2 baking sheets with parchment paper and spoon 3 tablespoon-sized dough balls (about 50 g each) on the baking sheet several inches apart. Do not overcrowd your baking sheet, or you will have cookies that stick together. I bake 6 cookies at a time.
Bake for about 10-12 minutes until any marshmallows on top have melted and started to turn light brown and the edges of the cookies look set.
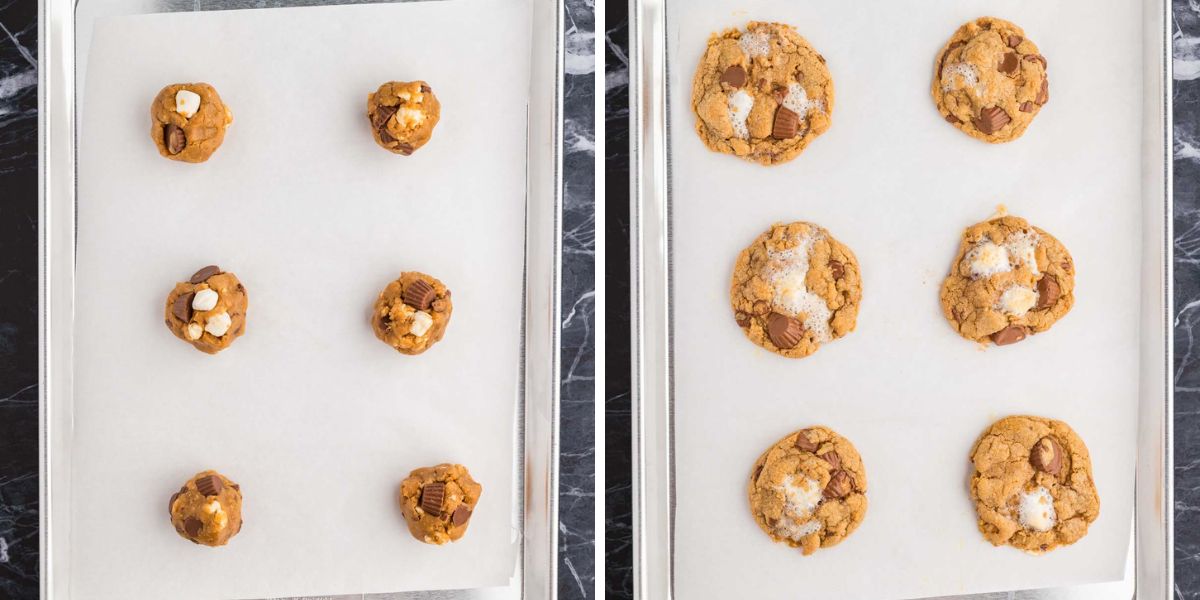
Step 8 | Cool Cookies
Remove the pan from the oven and let the cookies cool on the baking sheet for 8-10 minutes before transferring them to a wire cooling rack to finish cooling.
Peanut butter Chocolate drizzle, if using;
Melt the chocolate chips and peanut butter together in 20-30-second increments at 50% power, stirring in between each time in the microwave. Only microwave until smooth. If it gets too stiff to drizzle at some point while decorating the cookies, microwave for another 15-20 seconds
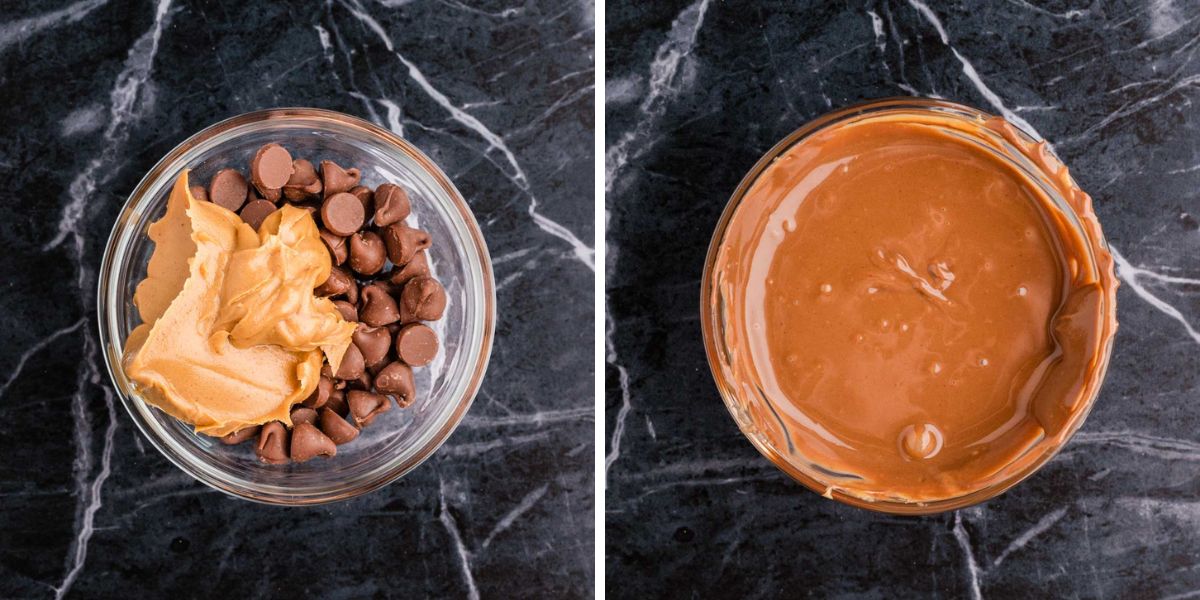
Buttered graham cracker topping, if using;
Using the same zipper bag you previously used to crush graham crackers, crush 4 graham crackers squares (2 full sheets) into fine crumbs. Pour the crumbs and 1 ½ tablespoons melted butter into a small bowl. Mix them with a fork to create a sandy consistency.
Assemble
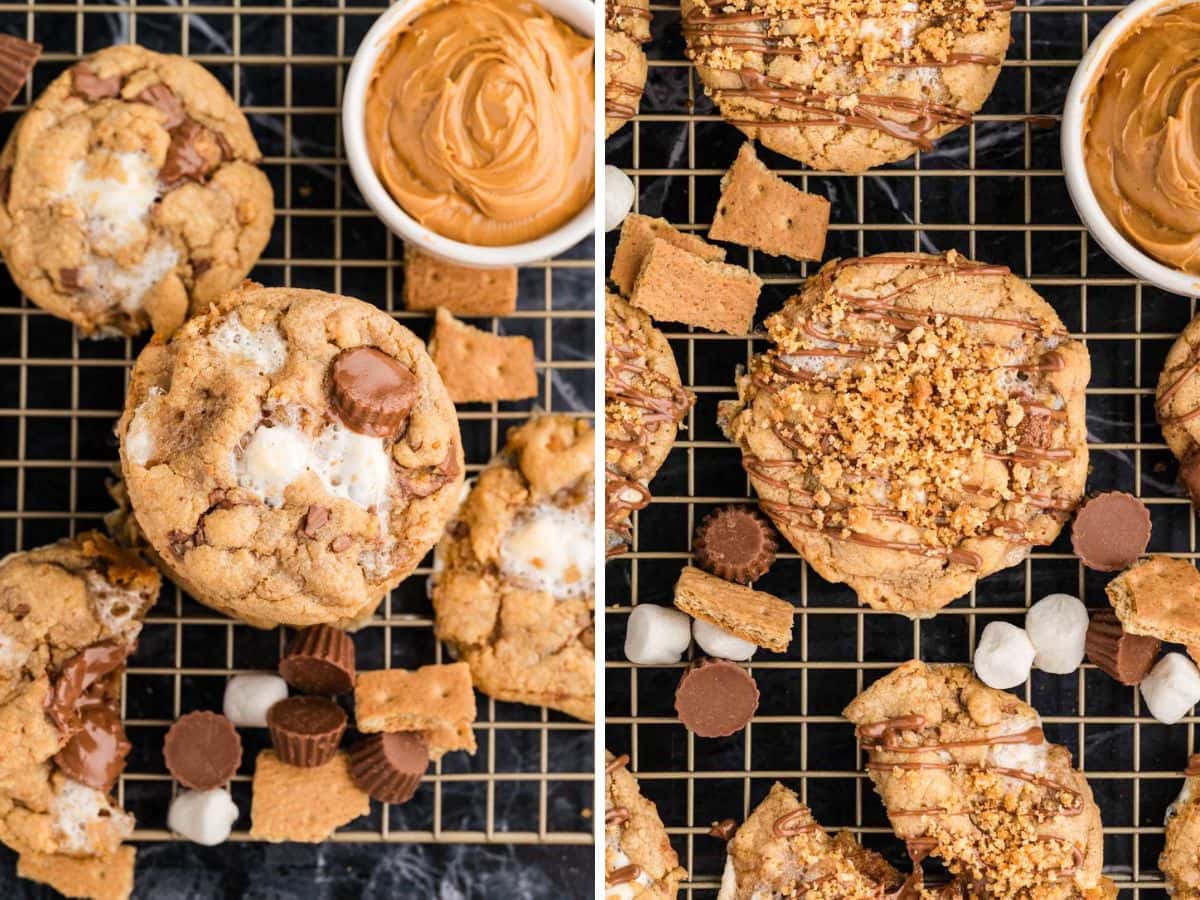
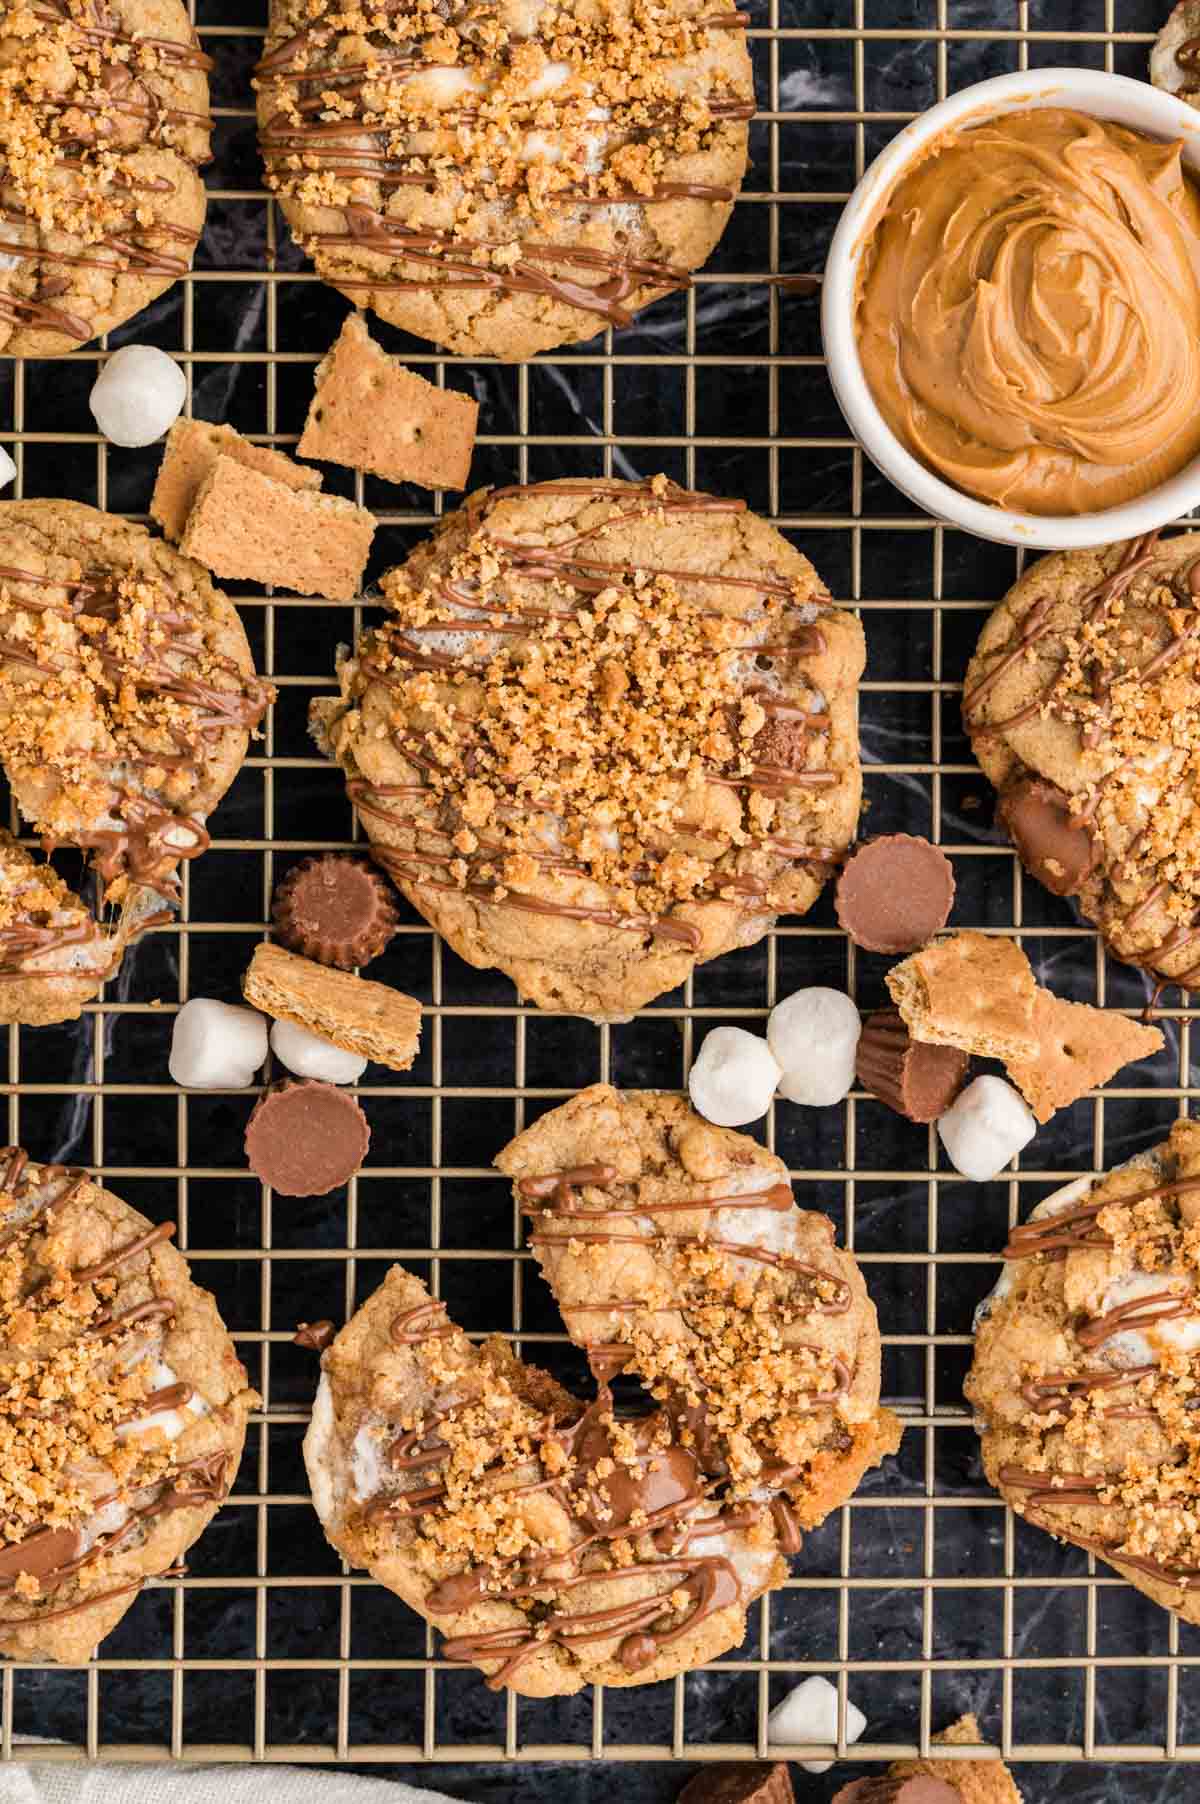
Once the cookies have cooled, drizzle the chocolate on top using a fork or a sandwich-size zipper bag with a very small end cut off. Sprinkle the graham cracker topping on top.
Variations and Substitutions
Chocolate Options:
- Swap the Reese’s minis for dark, milk, or white chocolate chips.
- Add peanut butter chips for extra peanut buttery goodness.
- Use chopped chocolate bars for larger, melty pockets throughout the cookies.
Nut-Free Alternative:
- Replace peanut butter with sunflower seed butter or cookie butter for a nut-free version.
- Skip the Reese’s minis and use regular chocolate chips instead.
Add-Ins for Extra Crunch:
- Stir in chopped pretzels, pecans, or walnuts for a salty-sweet twist.
- Add crushed toffee bits for even more flavor and texture.
Marshmallow Substitutions:
- Use marshmallow bits (like the kind in hot cocoa packets) for less gooey and a crisp, chewy bite. Or do half and half for a little of both.
- If you prefer, swap mini marshmallows with larger ones cut in forths for gooey bites.
Spiced-Up Flavor:
- Add 1/2 teaspoon of cinnamon or a pinch of cayenne for a warm, spiced twist.
- A splash of espresso powder can deepen the chocolate flavor.
Want to Save this Recipe?
By submitting this form, you consent to receive emails from Soulfully Made.
Peanut Butter Substitutions: If you don’t want to use peanut butter, try it with Biscoff Spread, Nutella, or even pecan butter for a different flavor.
RECIPE TIPS
- Brown the Butter for Extra Flavor: Browning the butter adds a rich, nutty flavor that makes these cookies stand out. Just be sure to keep a close eye on it—once the butter solids turn brown, it can burn quickly.
- Don’t Skip Chilling the Dough. Chilling the dough helps control spreading and gives the cookies a thicker, chewier texture. Even a quick 30-minute chill makes a noticeable difference.
- Don’t Overcrowd the Baking Sheet: Spaced a few inches apart. This prevents them from sticking together and ensures even baking.
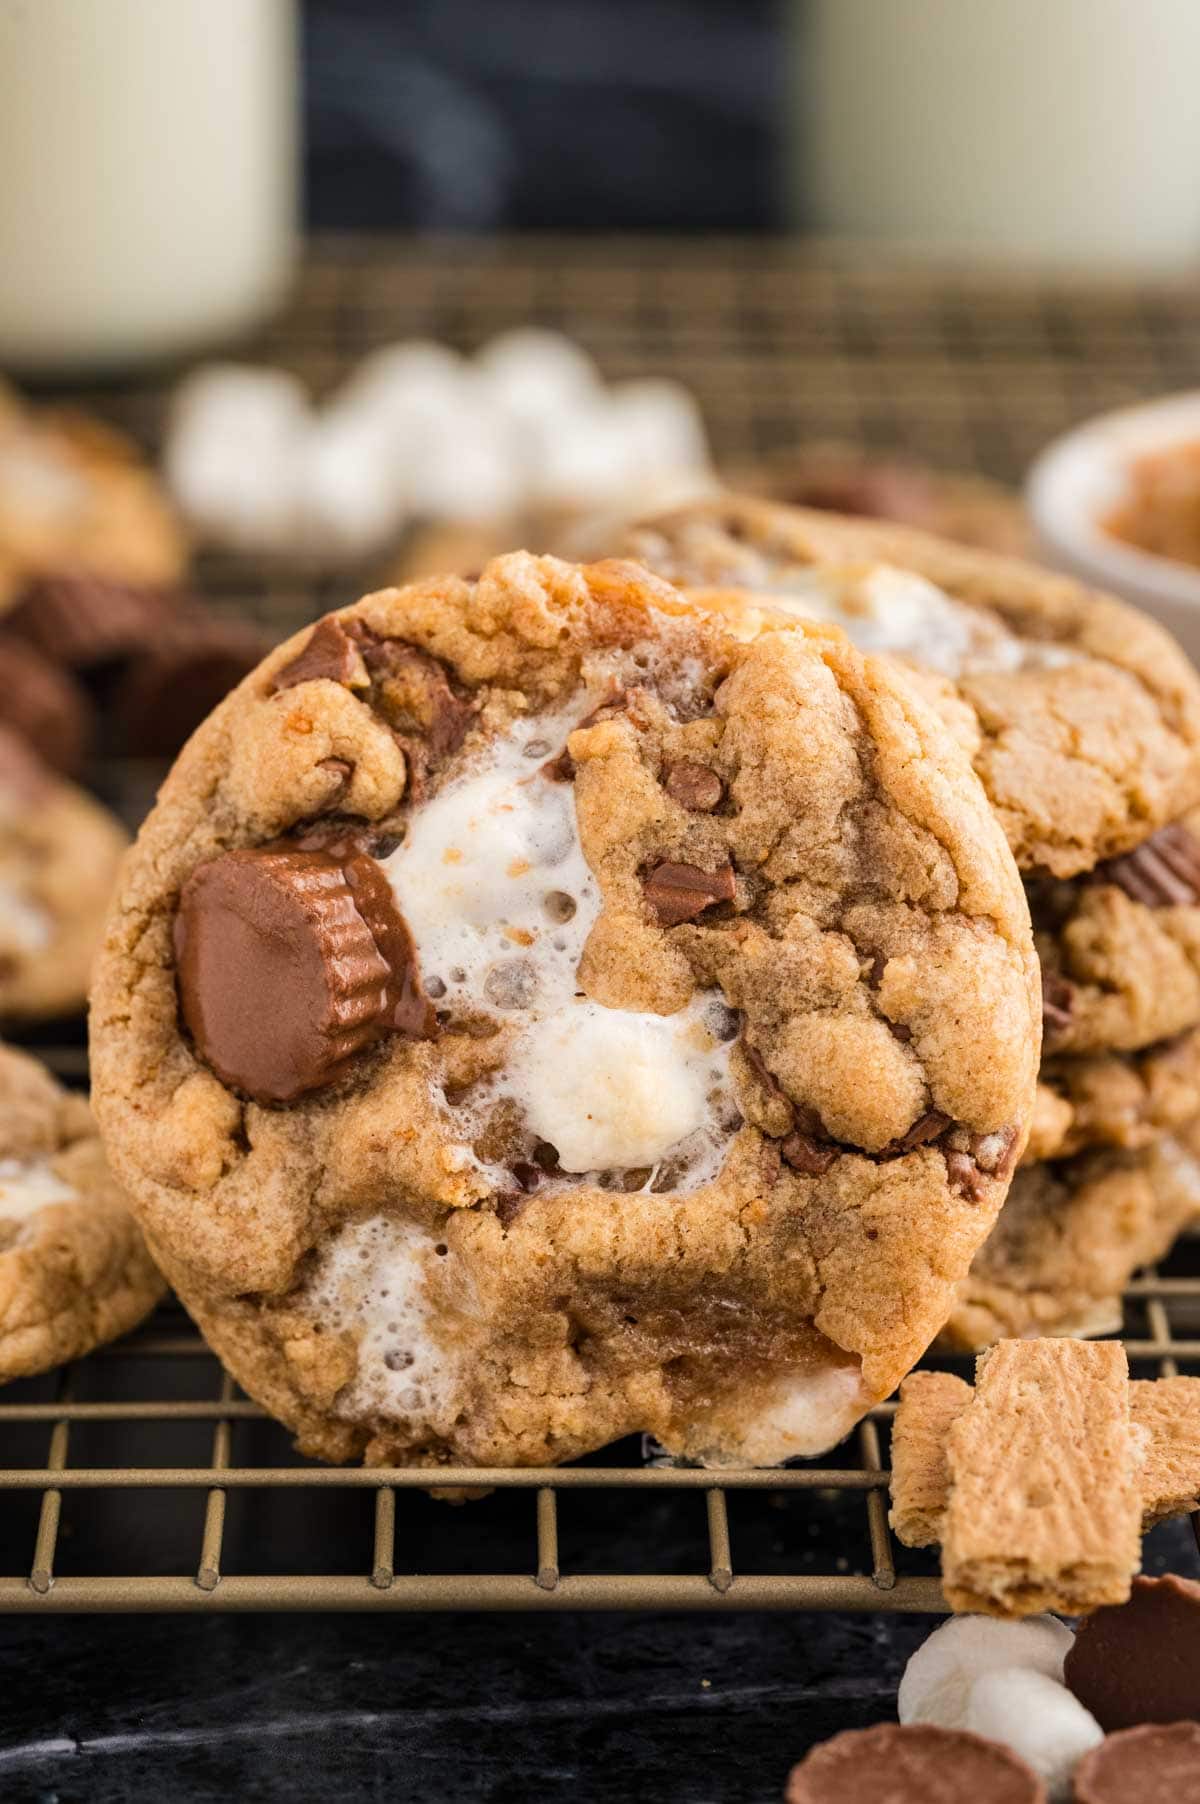
- Keep the Marshmallows Inside the Dough: Try to tuck most of the marshmallows into the center of the dough balls—any on the edges can melt and cause the cookies to spread too much. Leave 2-3 on top to see roasted marshmallows like you would with traditional s’mores.
- Watch for Doneness: The cookies are done when the edges are golden, but the centers still look slightly soft—they’ll continue to set as they cool.
Recipe FAQs
Almost every baked good I’ve made with peanut butter doesn’t turn out well with all-natural peanut butter. This recipe was developed using Jiff Creamy peanut butter, but all creamy peanut butter that doesn’t separate should work perfectly.
Adding more than a cup of marshmallows may make your cookies spread too much because the marshmallows melt, making the cookies thin out. If you have a lot of marshmallows showing on the edges of your cookies, try pushing them in the middle of the dough ball more or removing a few so you only have 2-3 showing on the outside. Your baking soda may also be old. It’s best to use baking soda that is less than a month old.
You can! I’d suggest using half chocolate chips and half peanut butter for a similar taste.
Yes, you can. If you do, add ¼ teaspoon more salt to the cookie dough.
Equipment Needed for S’more Cookies
Since we’re working with sticky gooey marshmallows, I highly recommend using silicone baking mats for this recipe. They’re reusable, non-stick, and make sure those melty marshmallow centers don’t cling to the baking sheet when transferring the cookie to a cooling rack.
These are my favorite baking pans and cookie scoops. You can check out all my cookie recipes here!
More Cookie Recipes
If you are a peanut butter fan, try this easy peanut butter pie, peanut butter brownies, or these peanut butter fingers! And for a sugar-free option, try these sugar-free peanut butter cookies!
Storage, Freezing, and Make-Ahead Tips for Peanut Butter S’mores Cookies
Storage: Store baked cookies in an airtight container at room temperature for up to 5 days.
Freezing Baked Cookies:
- Let the cookies cool completely before freezing.
- Place them in a single layer on a baking sheet to freeze first, then transfer to a zip-top freezer bag or airtight container.
- Baked cookies can be frozen for up to 2 months. When ready to enjoy, let them thaw at room temperature for 15-20 minutes.
Freezing Cookie Dough Balls:
Frozen dough balls are perfect for last-minute baking—whether it’s for a bake sale, party, or just when a craving hits!
- After scooping the dough, place the dough balls on a baking sheet lined with parchment and freeze until solid (about 1-2 hours).
- Once frozen, transfer the dough balls to a freezer-safe bag or container. They’ll keep for up to 2 months.
- Bake straight from the freezer—just add an extra 1-2 minutes to the baking time.
- slightly before scooping.
Make-Ahead Tips:
- Prepare the dough up to 48 hours in advance and store it covered in the fridge.
- If the dough feels too hard after chilling, let it sit at room temperature for 5-10 minutes to soften slightly before scooping.
Hungry for more easy, home-cooked, delicious recipes?
Sign up for my free recipe club to get family-friendly recipes in your inbox each week! Find me sharing daily meal-time inspiration on Pinterest, Facebook, and Instagram.
Equipment
Ingredients
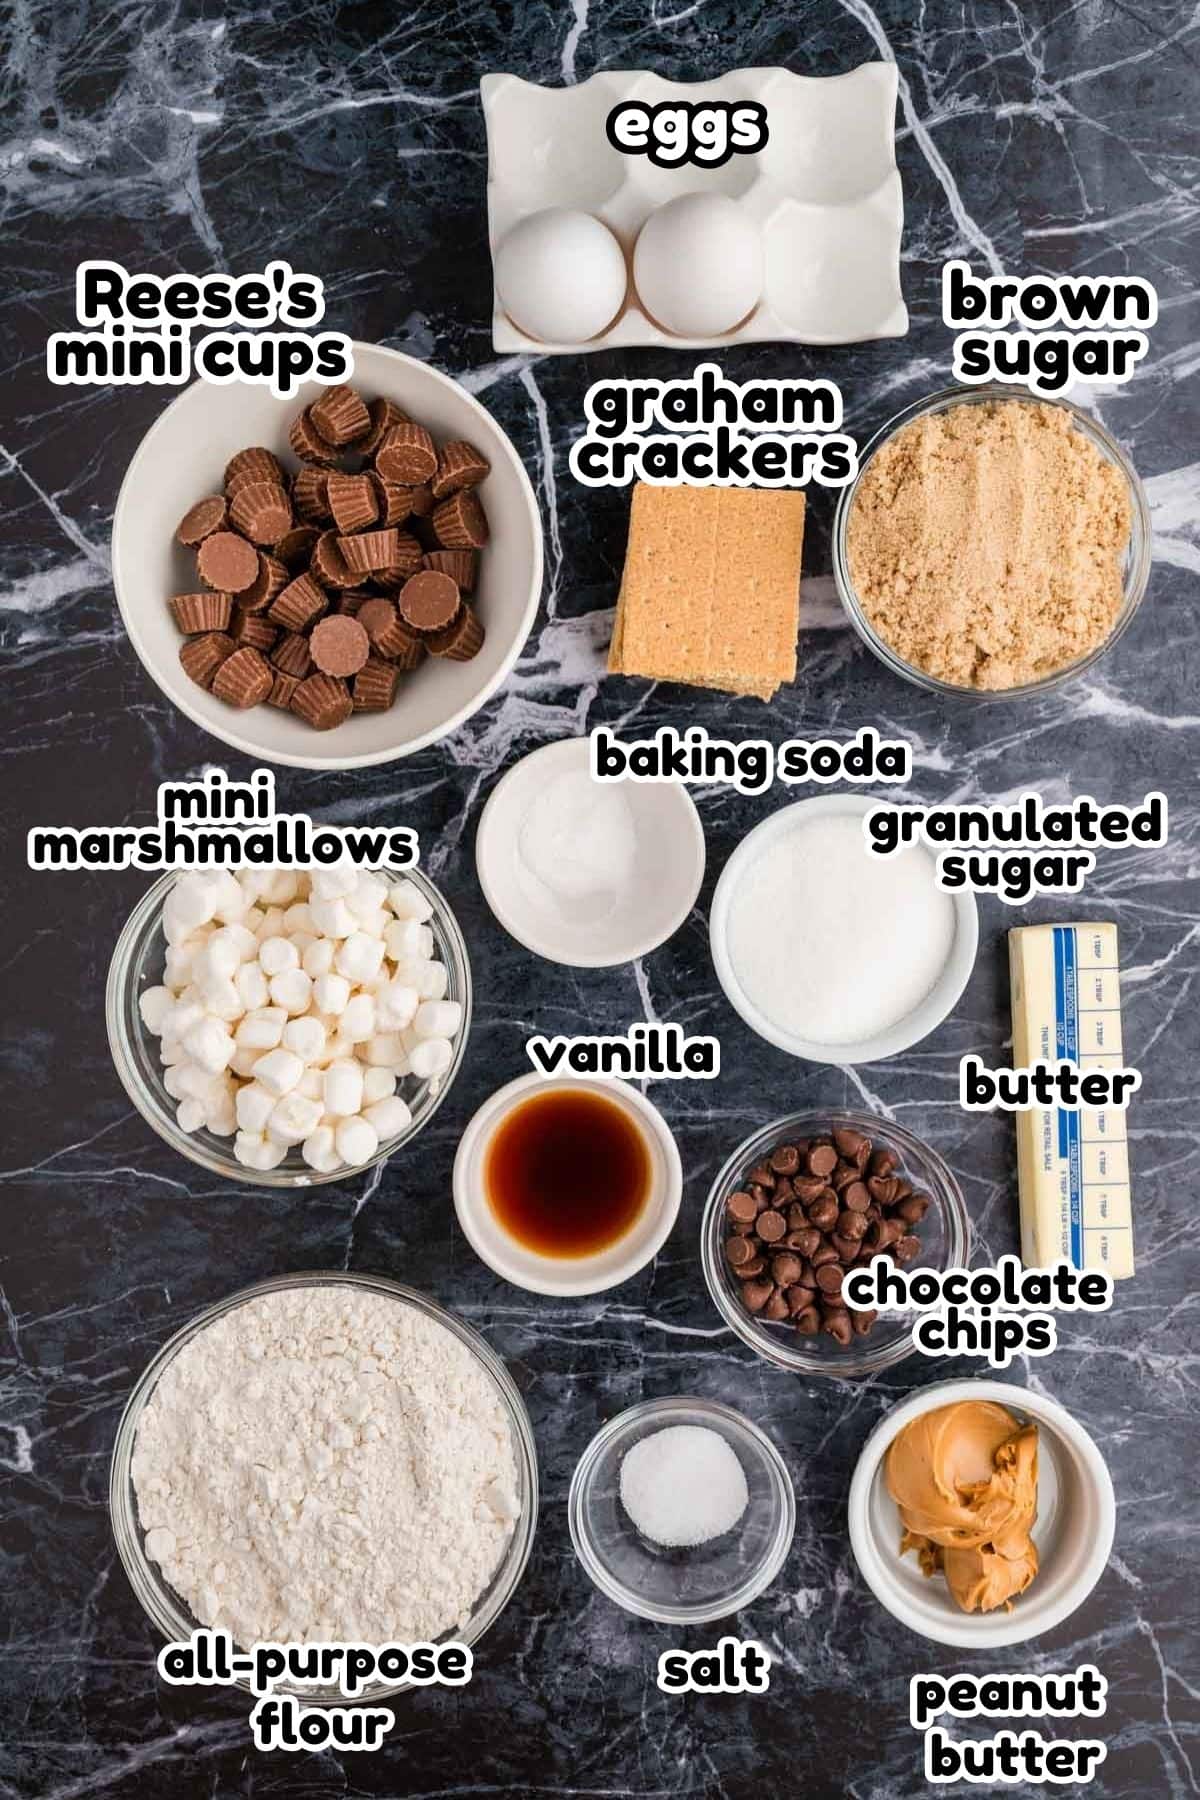
- ½ cup salted butter
- ¼ cup creamy peanut butter
- ¾ cup light brown sugar - packed
- ½ cup granulated sugar
- 2 large eggs
- 2 teaspoons vanilla extract
- 12 squares graham crackers - 6 full sheets (2 squares = 1 full graham cracker sheet)
- 2 ¼ cups all-purpose flour
- 1 teaspoon baking soda
- 1 teaspoon salt
- 1 ¼ cup Reese's minis
- 1 cup mini marshmallows
- ¼ cup milk chocolate chips
- 2 tablespoons creamy peanut butter
- 4 graham cracker squares - 2 sheets
- 1 ½ tablespoons salted butter - melted
Instructions
- BROWN BUTTER: In a skillet, brown the butter over medium-low heat. The butter will melt, then after a few minutes, will start to bubble, followed by seeing the parts of the butter separate into clear yellow and white parts. After another few minutes, the white specks will turn brown. At this point, take the pan off the heat. Don’t keep the pan on the heat long after the specks become brown, or your butter will burn. Let the butter sit till it cools and solidifies again. To speed up this process, you can pour the butter into a dish and set it in the fridge, stirring every 5 minutes till it’s a soft and creamy consistency.
- COMBINE WET INGREDIENTS: Add the soft butter and peanut butter to the bowl of a stand mixer fitted with a paddle attachment and mix for a few minutes until smooth and fluffy. Add the brown sugar and white sugar and beat again until creamed. Add the eggs and vanilla and mix again.
- BREAK UP GRAHAM CRACKERS INTO PIECES: Place the graham crackers in a zipper-top bag and break them into pieces by breaking them up by hand or using a rolling pin. (You don’t want the crackers to be all small crumbs but quite a few pieces about pea size.)
- MIX DRY INGREDIENTS & ADD TO WET INGREDIENTS: In a medium mixing bowl, whisk together the flour, baking soda, and salt. Add this mixture and the graham cracker pieces to wet ingredients in the mixer and stir until just combined.
- STIR IN S'MORES ADD-INS: Add the Reese’s Minis and marshmallows and mix gently by hand until just combined. Some of the Reese’s Minis will break, but be gentle and do not smash all of them.
- CHILL COOKIE DOUGH: Cover the bowl with plastic wrap and refrigerate for 30 minutes while your oven preheats to 350℉.
- SCOOP DOUGH ONTO PANS & BAKE: Line 2 baking sheets with parchment paper or silicone mats, and spoon 3 tablespoon-sized dough balls (about 50 g each) on the baking sheet several inches apart. Do not overcrowd your baking sheet, or you will have cookies that stick together.Bake for about 10-12 minutes until any marshmallows on top have melted and started to turn light brown and the edges of the cookies look set.
- COOL COOKIES: Remove pan from oven and let cookie cook on the baking sheet for 8-10 minutes before removing to a wire cooling rack to finish cooling.
- Melt the chocolate chips and peanut butter together in 20-30-second increments at 50% power, stirring in between each time in the microwave. Only microwave until smooth. If it gets too stiff to drizzle at some point while decorating the cookies, microwave for another 15-20 seconds.
- Using the same zipper bag you previously used to crush graham crackers, crush 4 graham crackers squares (2 full sheets) into fine crumbs. Pour the crumbs and 1 ½ tablespoons melted butter into a small bowl. Using a fork, mix them to create a sandy consistency.
- Once the cookies have cooled, drizzle the chocolate on top using a fork or a sandwich-size zipper bag with a very small end cut off. Sprinkle the graham cracker topping on top.
Want to Save this Recipe?
By submitting this form, you consent to receive emails from Soulfully Made.



I switched out the Reece’s cup with just chocolate chips but other than that, I followed the recipe by putting the dough in the fridge for 30 minutes before baking. Just by their nature the marshmallows melted into nothing while cooking. Was kind of hoping to see them in the cookie. Maybe the freezer method would accomplish this or just putting marshmallow on top halfway through baking. Or putting them on top and just torching them for the s’more effect.