This post may contain affiliate links. Please read our disclosure policy.
Looking for the Perfect Hard Boiled Egg Recipe? Look no further – Instant Pot Hard Boiled Eggs are easy to peel and cooked to perfection each and every time!
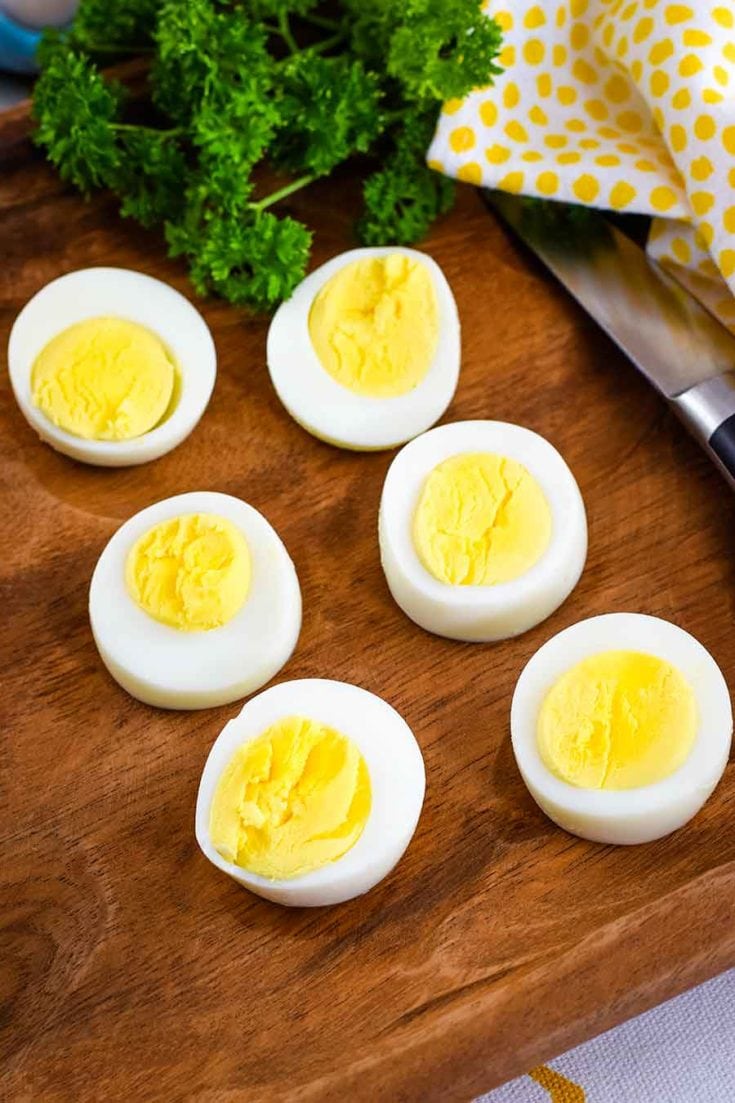
A hard boiled egg is perfect for breakfast, a midday snack, they are great on salads, deviled eggs and so much more.
Creating the perfect hard boiled egg isn’t really rocket science (although sometimes when boiling it seemed like it), but I would say the most pesky thing about boiling them has always been the peeling. The other was that greenish grey ring that sometimes reared its ugly head. Once I started making them in the Instant Pot those little problems were all gone.
Below, I will be sharing two methods with you. Making Hard Cooked Eggs with each of these methods come out just perfect each time.
I decided to share both of them with you, because for a while now I have used the 5 – 5 -5 Method. And recently switched to the 8 minute Steam method. It knocks a couple of minutes off the process and is a full quick release method. Feel free to try either or both, but honestly you get the same delicious egg either way!
How to cook hard boiled eggs in a pressure cooker
5-5-5 Method for Cooking hard Boiled Eggs
- 5 Minute High Pressure Cook Time
- 5 Minute Natural Release
- 5 Minutes in Ice Bath
- Pour 1 cup of water in the inner pot of 6 Quart Instant Pot. Liquid allows the electric pressure cooker to come to pressure.
- Place large eggs on top of the trivet that comes with the instant pot or on top of an egg rack insert.
- Put the lid on the pressure cooker and seal it to a locked position and make sure the valve is sealed.
- Set to Cook 5 Minutes – Manual High Pressure and adjust timer to 5 minutes.
- After Cook Time is complete, Natural Release for 5 Minutes (this means to let the eggs remain in the Instant Pot and leave the valve closed). I set a timer because I always get busy and lose track of time.
- Once the 5 minutes of Natural Release is up, open the seal valve by pushing to the open position with a wooden spoon, kitchen towel, or tongs to release any remaining pressure.
- Carefully remove the eggs from the pressure cooker and place them in an ice bath (a large bowl of water with ice in it – don’t fill it all the way full – be sure to leave room for eggs). They will be extremely hot, so use tongs or a potholder.
- After eggs are in the ice bath for 5 minutes, remove from them from the ice bath. (If you want to serve the eggs warm you can remove them after 1 minute. You really are just wanting to stop the cooking process.)
- Peel these perfect eggs and enjoy!
Or
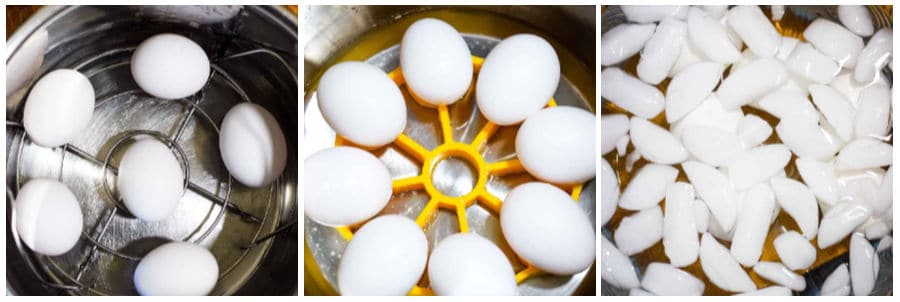
Use the 8 Minute Steam Method to Hard Cook Eggs in Instant Pot
- Pour 1 cup of water into the inner pot of 6 Quart Instant Pot. Liquid allows the electric pressure cooker to come to pressure.
- Place large eggs on top of the trivet that comes with the instant pot or on top of an egg rack insert.
- Put the lid on the pressure cooker and seal it to a locked position and make sure the valve is sealed.
- Use the Steam Button and set the time for 8 Minutes.
- Once the 8 minute Time is Up, do a Quick Manual Release. Push open the seal valve with tongs or a wooden spoon.
- After the pin or valve drops remove it to an Ice Water Bath to stop cooking.
- Then remove from the Ice bath and peel those perfect eggs!
Want to Save this Recipe?
By submitting this form, you consent to receive emails from Soulfully Made.
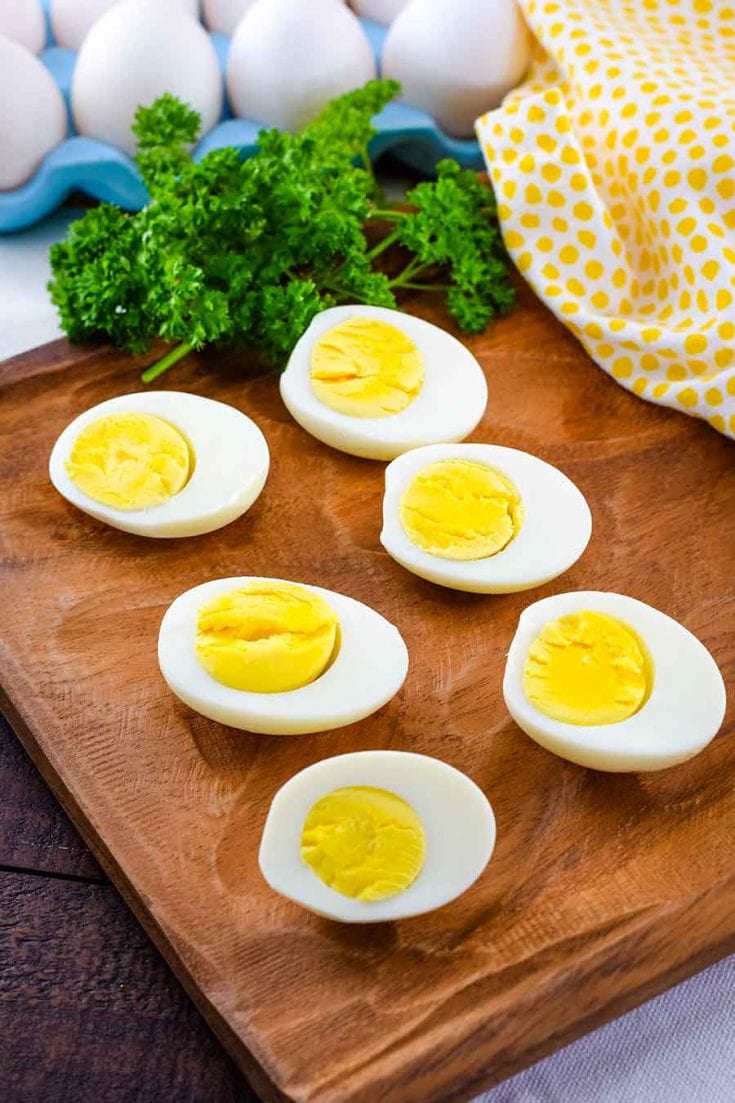
Results are beautifully golden yellow eggs that peel like a dream and are absolutely creamy DELICIOUS! AND BOTH METHODS WORK MAGICALLY!
This recipe has been tested with large eggs. I would reduce the cooking time by 1 minute for medium eggs and increase the cooking time by 1 minute for extra-large eggs.
I really have not found a difference in cooking 1 or 12 eggs they cook the same. I do recommend a stackable egg rack if putting more than 6 or 8 on the trivet. Overcrowding can cause them to crack.
Peeling Instant pot boiled eggs
- Tap the eggs on the counter in a few places or gently roll the eggs on the countertop to crack.
- Then use fingers to pull away from the shell. Either way, they peel like a charm!
TIP: It is best to peel the eggs immediately after removing them from the ice bath for best results!
Best Way to Store hard-boiled eggs
- Hard-boiled eggs can be stored at room temperature for 2 hours.
- They will last in the refrigerator for 7 days.
- Cooked egg yolks can be frozen if desired. Place them in a freezer bag and store them in the freezer for up to 3 months. Egg whites do not freeze well, they have a rubbery texture.
Other Delicious Instant Pot Recipes
- Instant Pot Garlic Butter Green Beans
- Instant Pot Corn on the Cob
- Instant Pot Turkey Breast & Gravy
- Instant Pot Beef Tips
- Instant Pot Lemon Garlic Glazed Chicken
Hungry for more easy, home-cooked, delicious recipes?
Sign up for my free recipe club to get family-friendly recipes in your inbox each week! Find me sharing daily meal-time inspiration on Pinterest, Facebook, and Instagram.

Perfect Instant Pot Hard Boiled Eggs
Ingredients
- 1 to 12 Large Eggs
- 1 Cup Water
Instructions
5 – 5 – 5 Method
- Pour 1 cup of water in the inner pot of 6 Quart Instant Pot.
- Place large eggs on top of the trivet that comes with the instant pot or on top of an egg rack insert.
- Put the lid on the pressure cooker and seal to locked position and make sure the valve is sealed.
- Set to Cook 5 Minutes – Manual High Pressure and adjust timer to 5 minutes.
- After Cook Time is complete, Natural Release for 5 Minutes (this means to let the eggs remain in the Instant Pot and leave the valve closed). I set a time, because I always get busy and lose track of time.
- Once 5 minute Natural Release is up, open the seal valve by pushing to open position with a wooden spoon or tongs to release any remaining pressure.
- Carefully remove the eggs from the pressure cooker and place in an ice bath They will be extremely hot, so use tongs or a pot holder.
- After in the ice bath for 5 minutes, remove from ice bath. Peel these perfect eggs and enjoy! (If you want to serve the eggs warm you can remove after 1 minute. You really are just wanting to stop the cooking process.)
8 Minute Steam Setting Method
- Pour 1 cup of water in the inner pot of 6 Quart Instant Pot.
- Place large eggs on top of the trivet that comes with the instant pot or on top of an egg rack insert.
- Put the lid on the pressure cooker and seal to locked position and make sure the valve is sealed.
- Use the Steam Button and set the time for 8 Minutes.
- Once the time is up, do a manual quick release. Open the seal valve with tongs or a wooden spoon.
- Once pin or valve drops remove to an Ice Water Bath to cool for 5 Minutes.
- Then remove from Ice bath and peel those perfect eggs!
Want to Save this Recipe?
By submitting this form, you consent to receive emails from Soulfully Made.
Notes
Nutrition Information
Nutritional Disclaimer
Soulfully Made is not a dietician or nutritionist, and any nutritional information shared is only an estimate. We recommend running the ingredients through an online nutritional calculator if you need to verify any information.
©️Soulfully Made


I can’t wait to try this! As much as I use the pressure cooker, I’ve never used for eggs. Thank you for a great recipe!
You will be hooked. My favorite way to make hard boiled eggs now.
I wasn’t sure about making hard boiled eggs in my IP until I saw your post. This is definitely easy and the eggs turned out perfect!
It works like a charm! So easy and they come out perfect! Love my IP!
I wish the instant pot was a thing when my children were young and we were dying Easter eggs. This recipe is the only way I make hard-boiled eggs now!
I know me too. I came late to the whole pressure cooking idea. This would have made it so much easier.
I eat so many hard boiled eggs that being able to make a large batch, and not have to take up space on the stove top is right up my alley!
It does make it so much easier! I love the texture of the eggs and they peel so easily too!
Nikki, what a fabulous tutorial and guide for easy, perfect hard-boiled eggs! Thank you, I truly stumble when it comes to something this easy on the stovetop, this will be perfect!
Thank you Kathleen! This is the only way I make them now!