This post may contain affiliate links. Please read our disclosure policy.
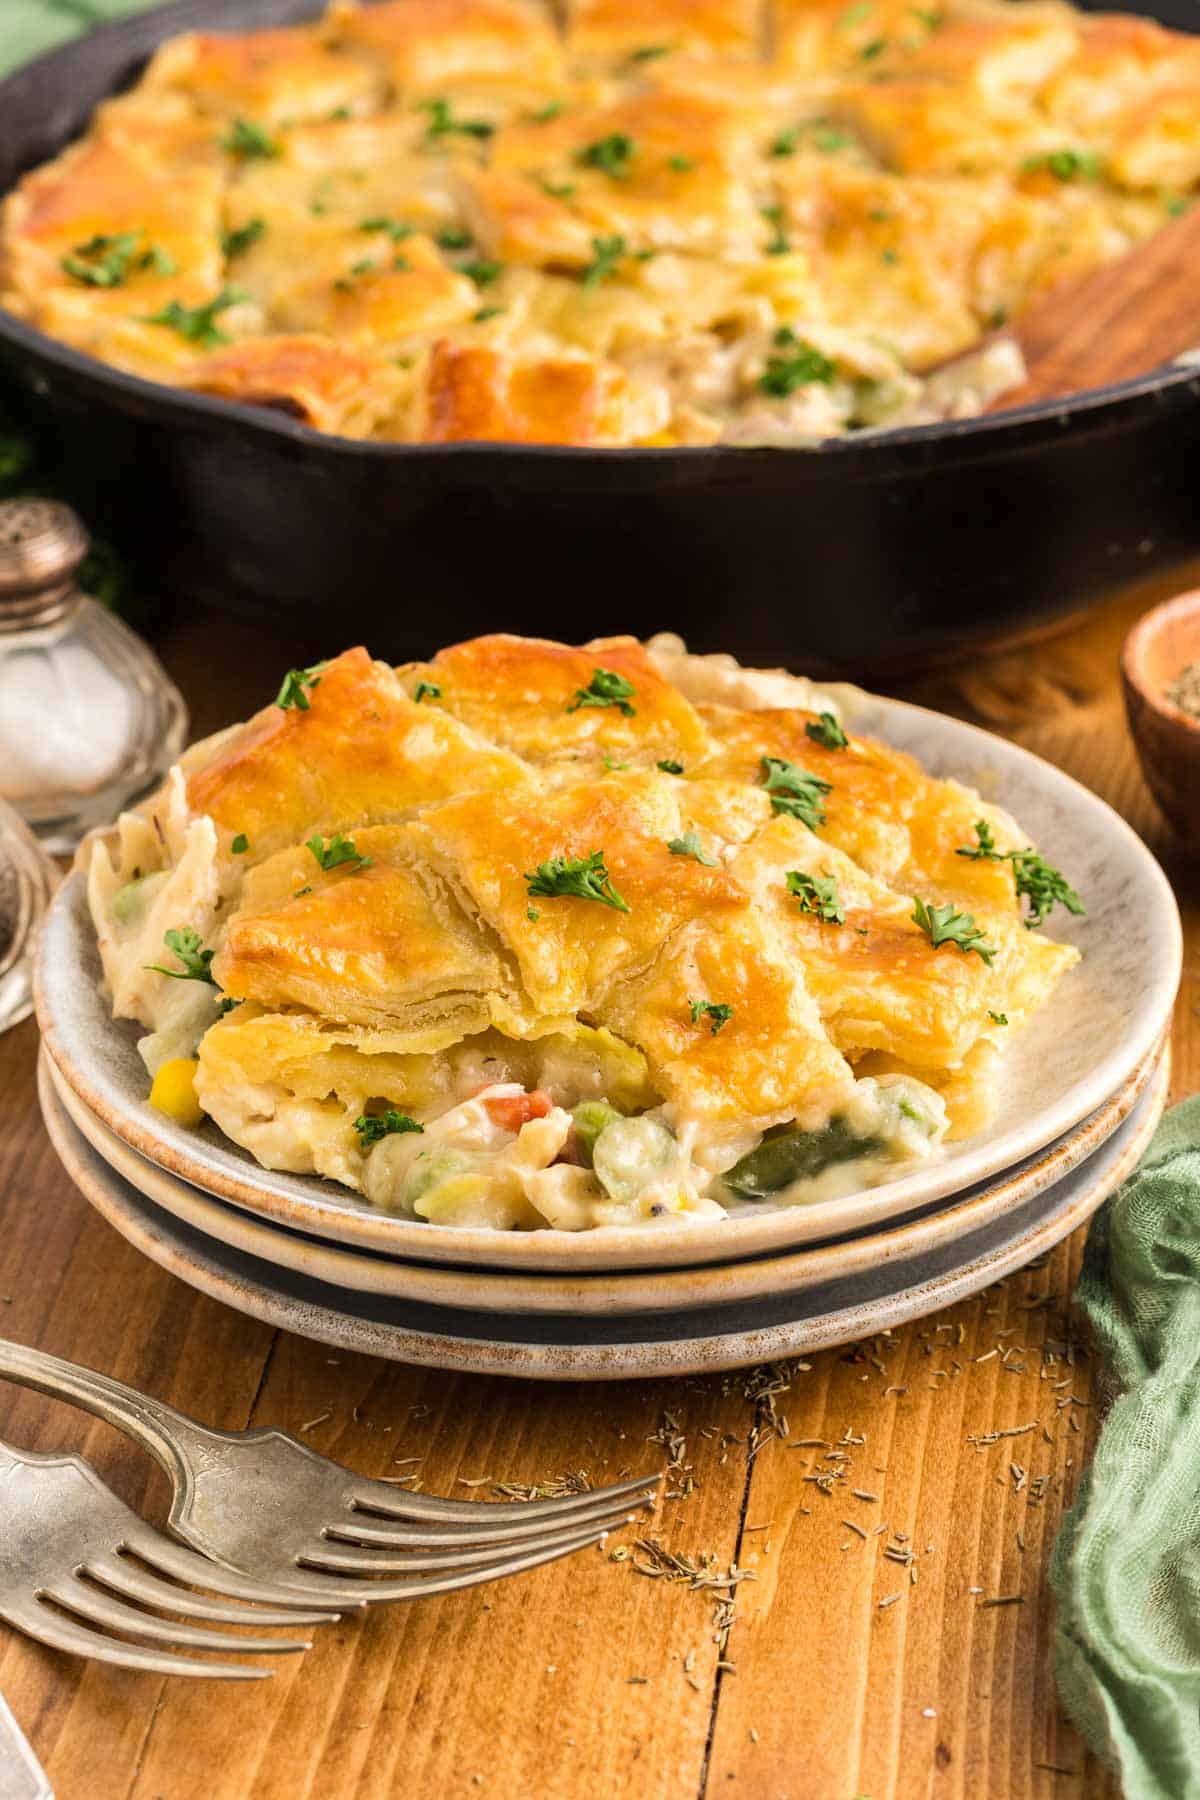
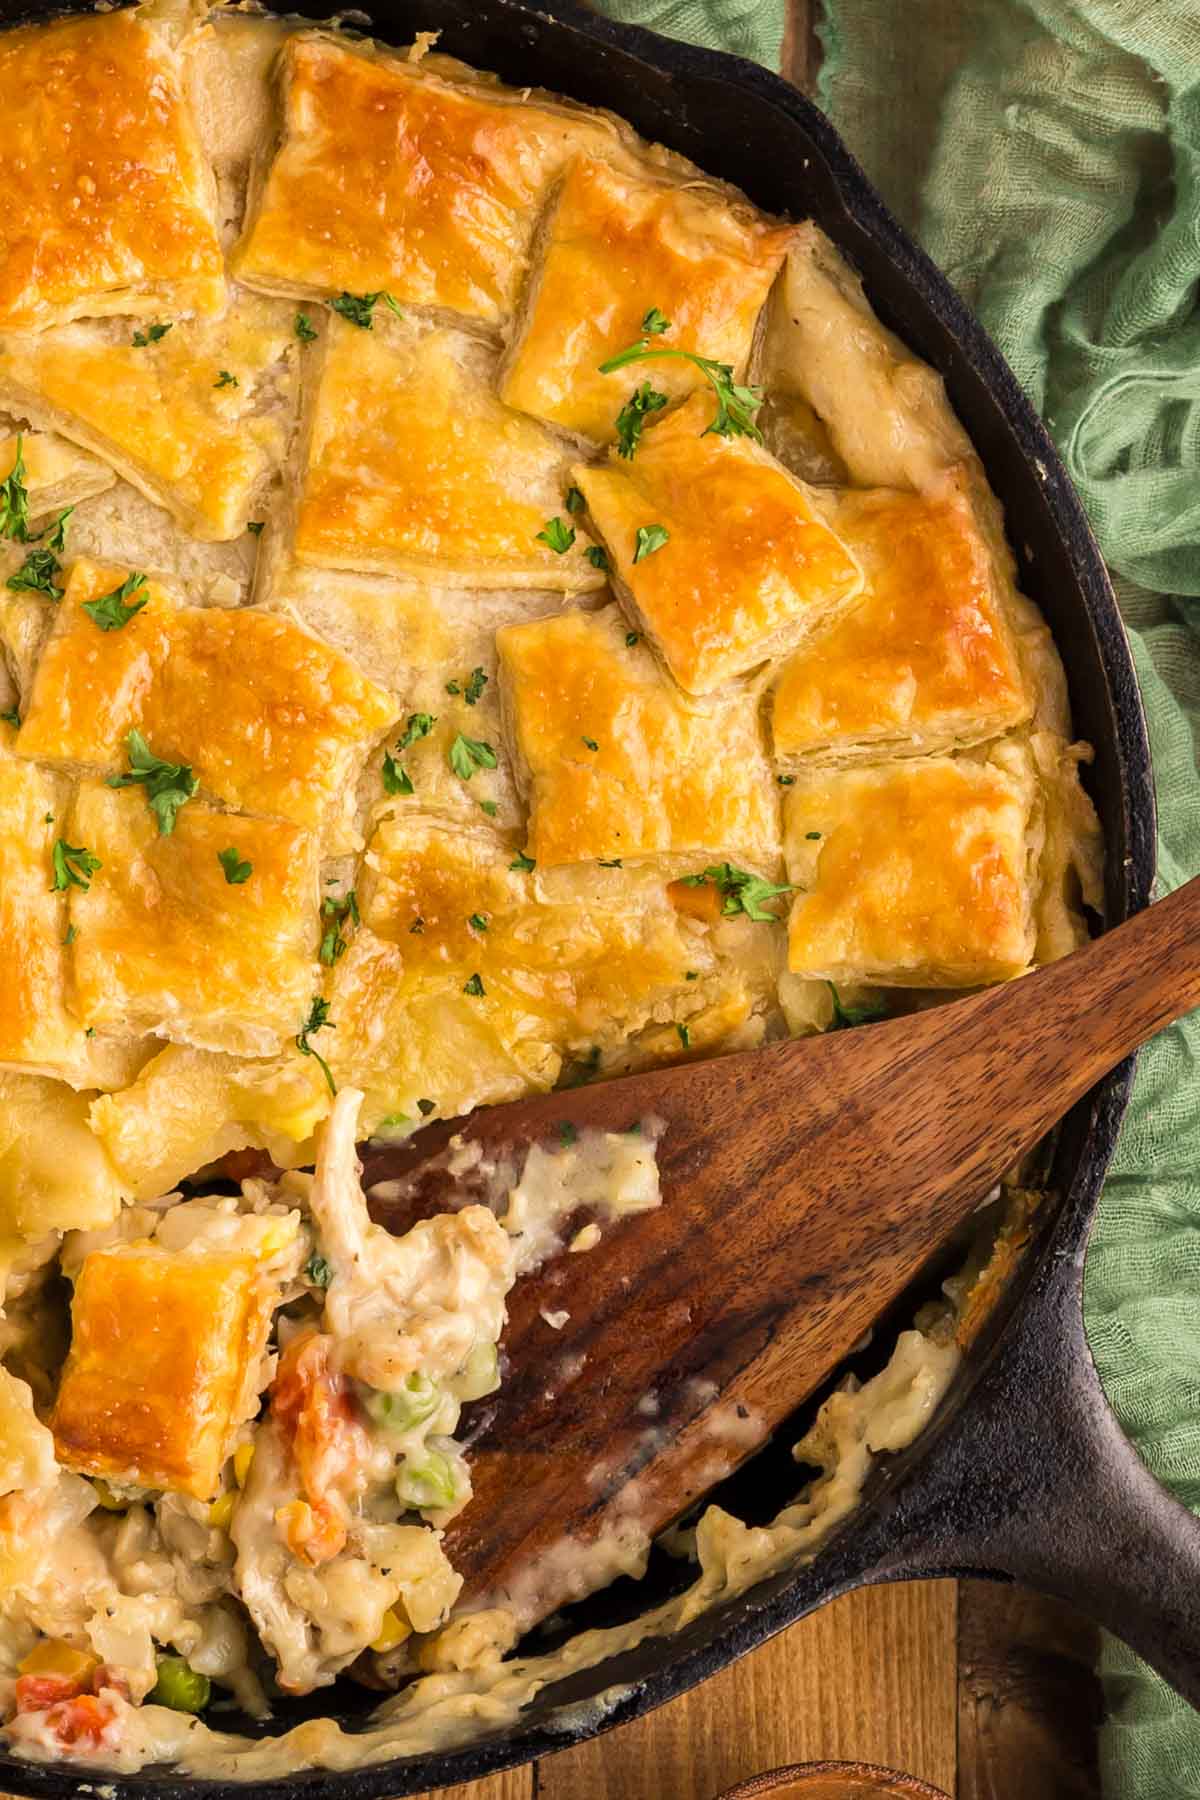
This no-hassle Puff Pastry Chicken Pot Pie has a creamy filling topped with store-bought puff pastry for a delicious and easy crust! And it bakes to a golden, bubbly perfection in a cast iron skillet!
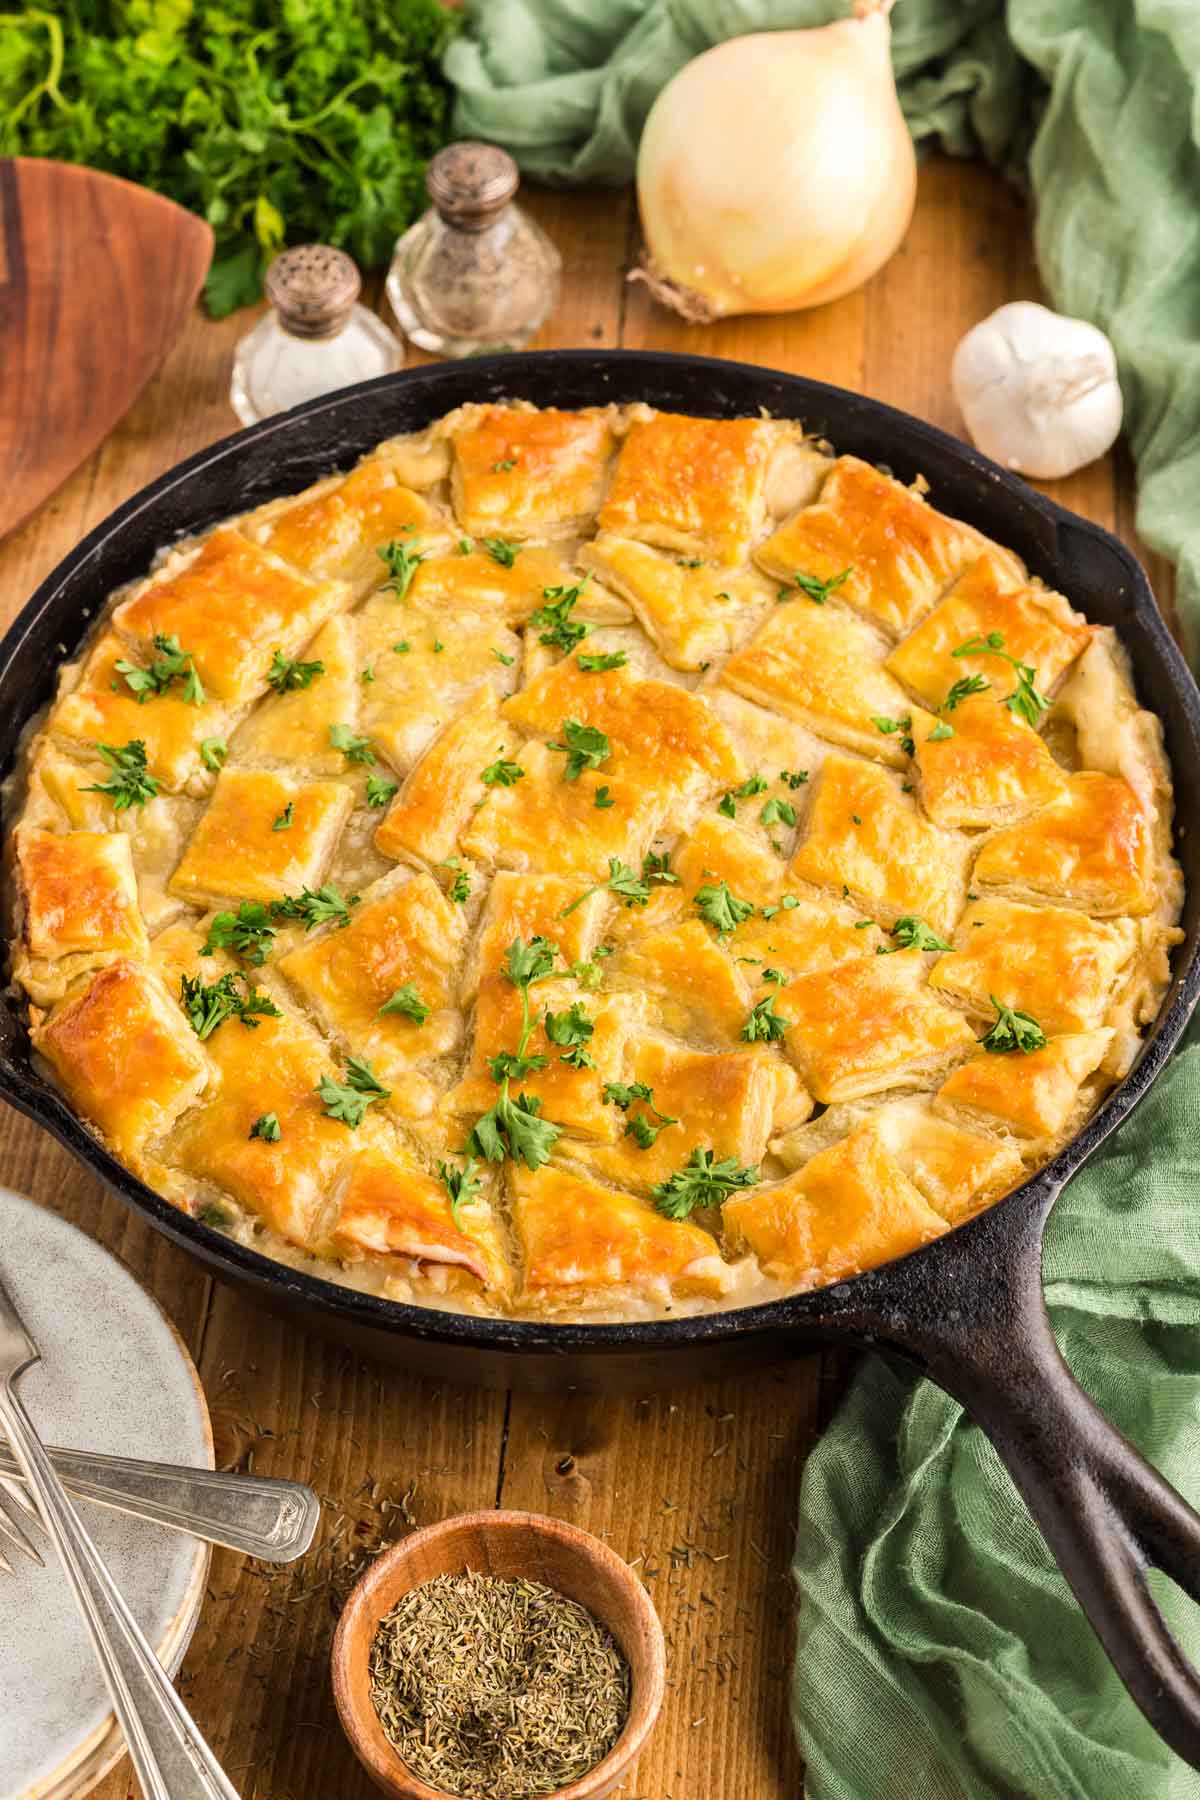
What can I say about Chicken Pot Pie? I just can’t get enough of this ultimate comfort food, and each version has its own twist. This one’s easier because it just uses a sheet of puff pastry on top before baking. Truly, I love baking, but it’s great to have some tasty shortcuts up your sleeve.
For more chicken pot pie recipes, try my Easy Chicken Pot Pie with classic crust and semi-homemade filling and this creamy and cozy Chicken Pot Pie Soup!
Ingredient Notes
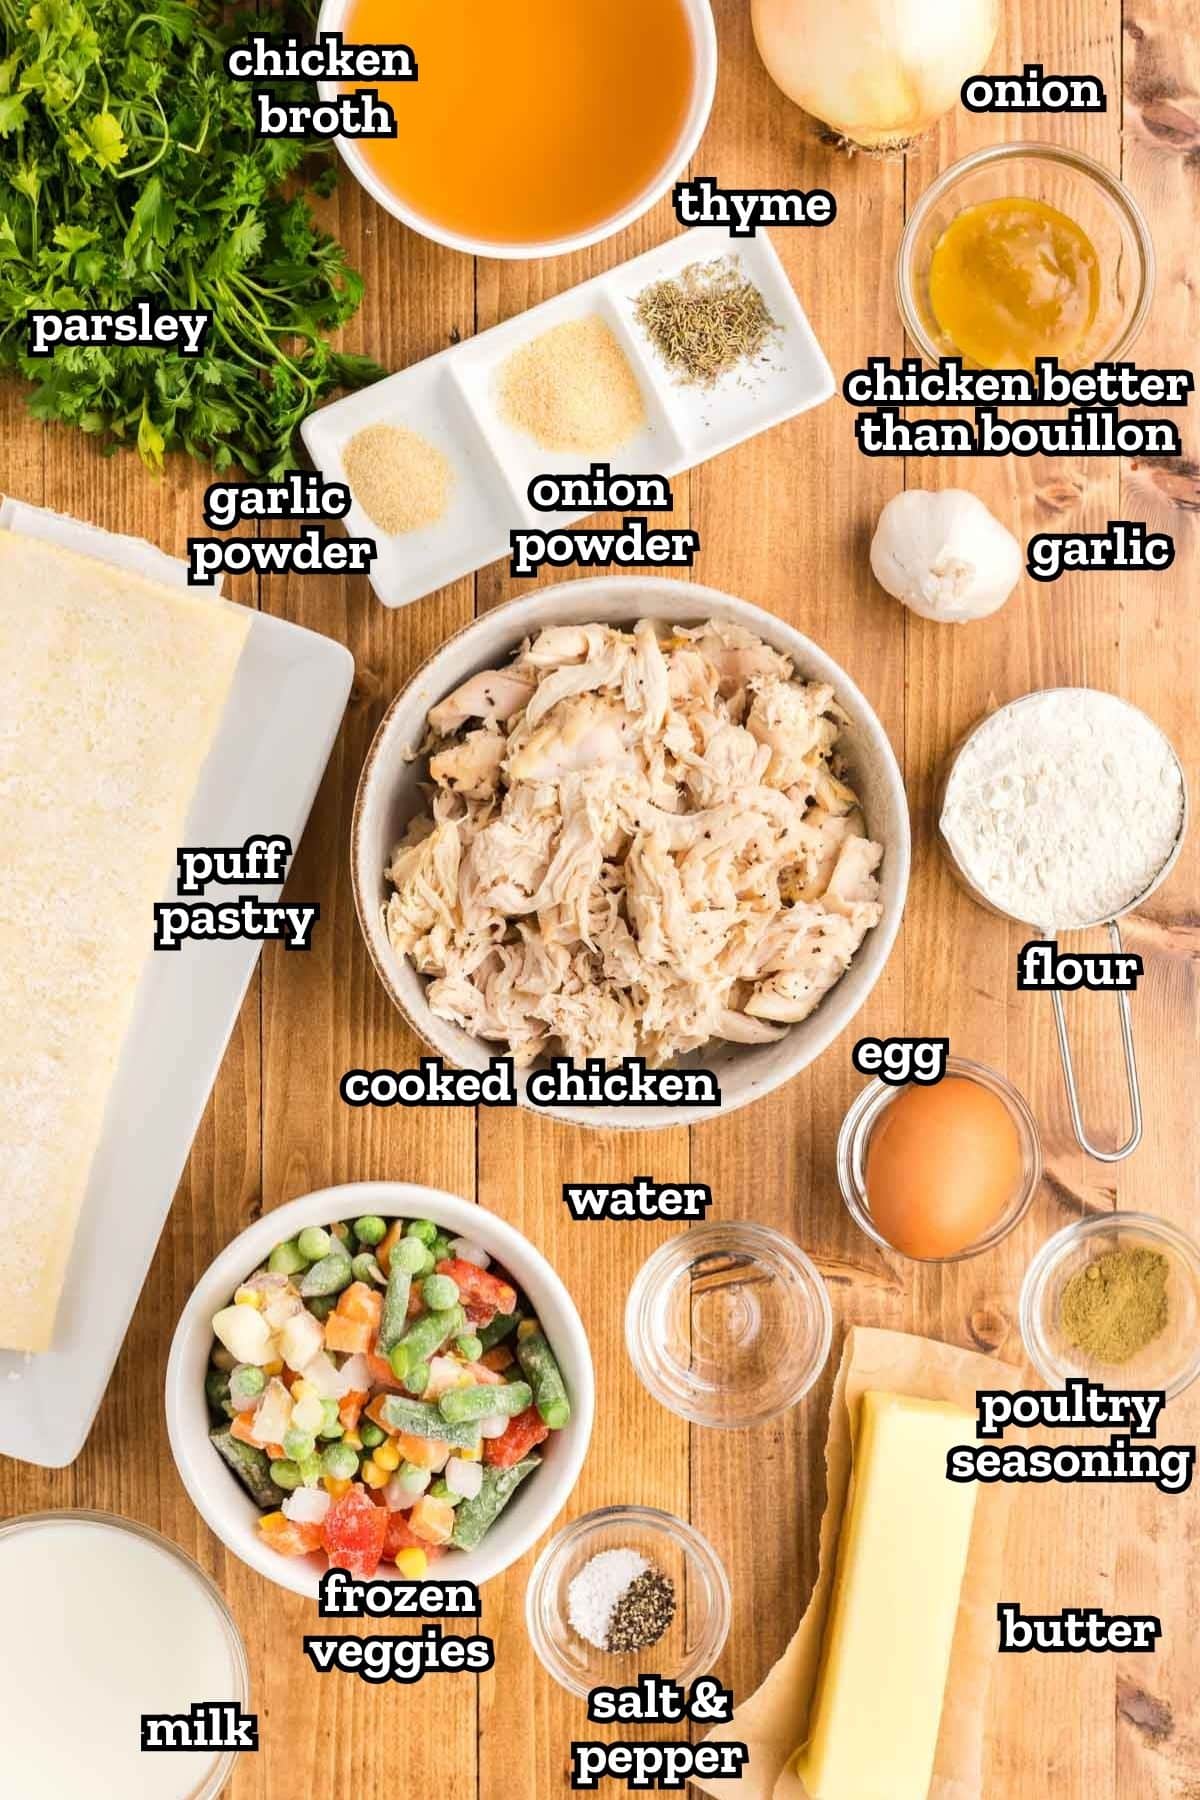
Variations and Substitutions
- Mini Chicken Pot Pies: Make individual pies by placing the filling into 4-5 large ramekins. Top each with squares of pastry, letting them hang over the edges if needed.
- Get Creative: Make a fun design on top of the dough! One way is to cut the pastry into 6 strips. Weave the strips over the chicken pot pie filling, tucking any extra dough inside the dish or trimming off any overhang.
- Gluten-Free Pot Pie: To make a gluten-free chicken pot pie, substitute cornstarch for the flour and use a gluten-free puff pastry.
- Extra Creamy: For an extra creamy chicken pot pie, add cream cheese or swap the milk with heavy cream.
- This recipe works just as well with fresh vegetables or a drained can of Veg-all.
- If you’re up for the challenge, you can use traditional pie crust instead of puff pastry dough and follow the rest of the recipe for the filling.
How to Make Homemade Chicken Pot Pie with Puff Pastry Crust
✱ Be sure to see the recipe card below for exact ingredients and full recipe instructions!
Step 1 | Preheat and prep
Start by preheating the oven to 400°F. Then, get the pastry ready by cutting it into squares.
Next, chop onion, parsley, and mince garlic and set aside.
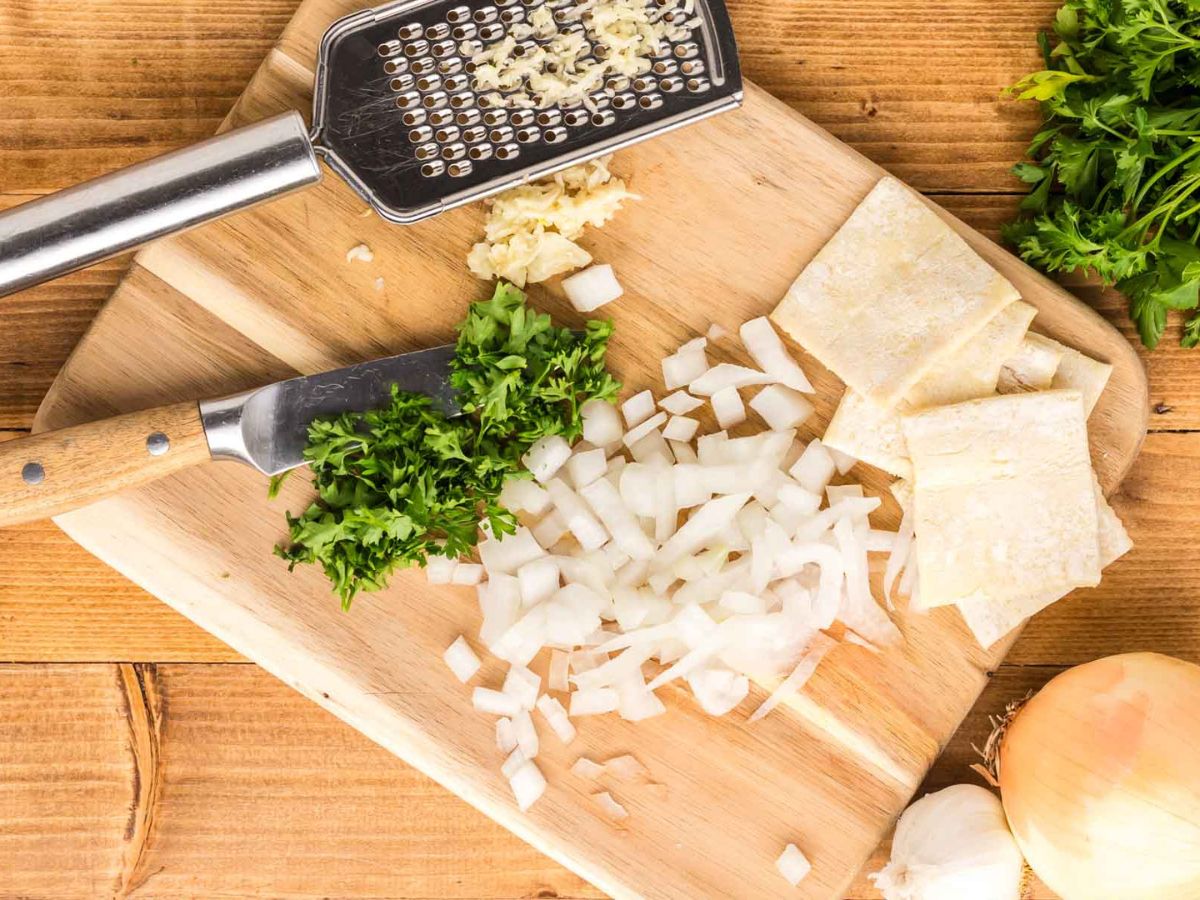
Whisk together the egg and water to brush the crust later.

Step 2 | Saute onions and garlic
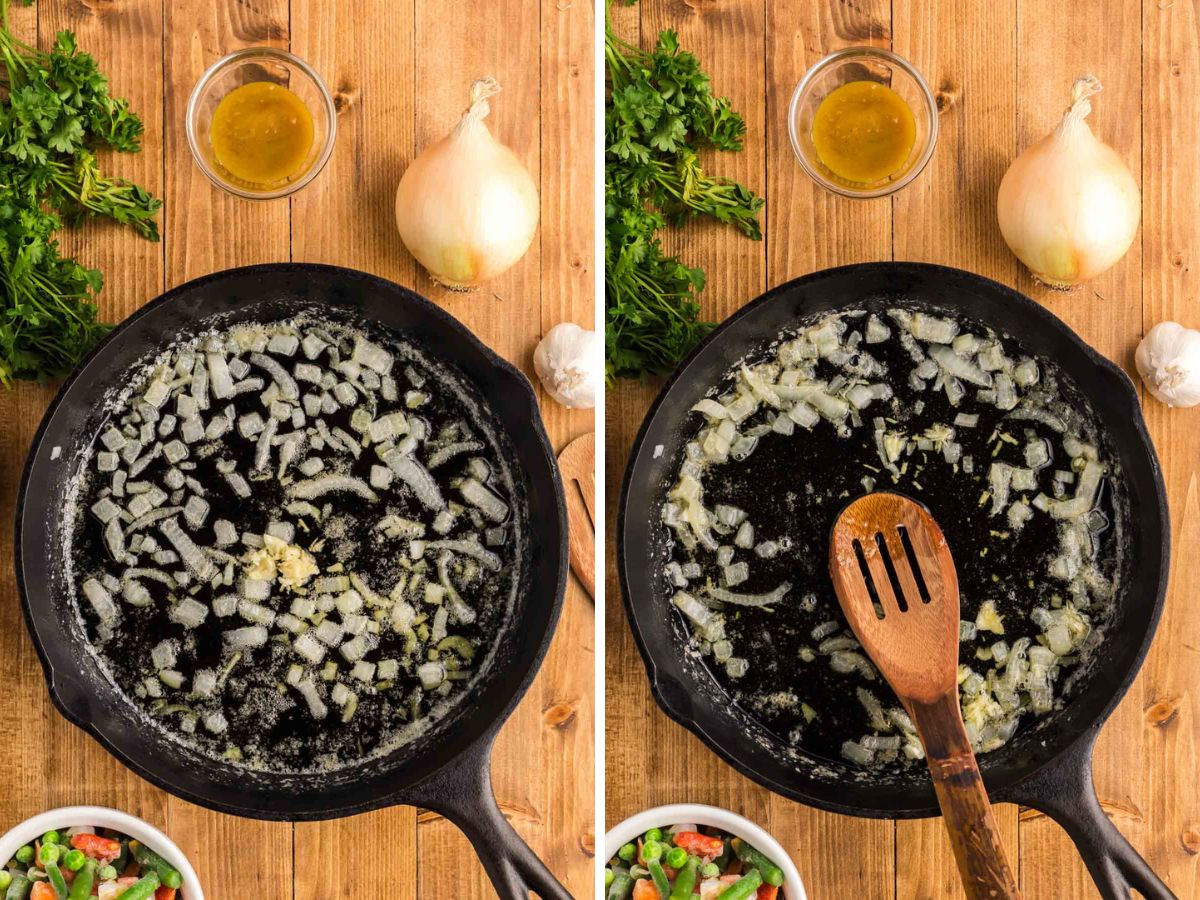
Now, add the onions and butter to a large skillet over medium heat and stir for 3 minutes or until the onions are translucent.
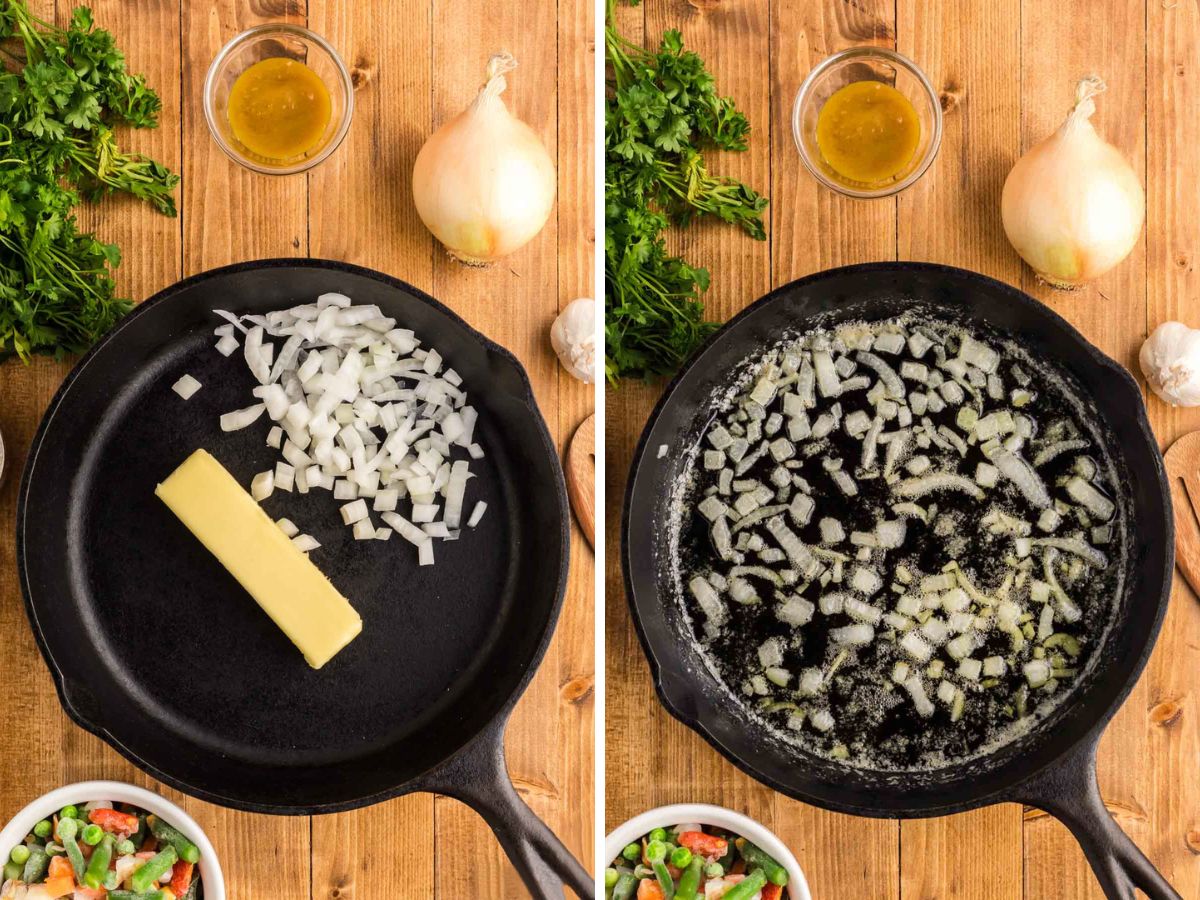
Then, add the minced garlic, stirring for another minute or so. Don’t forget to ensure the skillet is oven-safe, like a cast iron skillet.
Step 3 | Make the filling
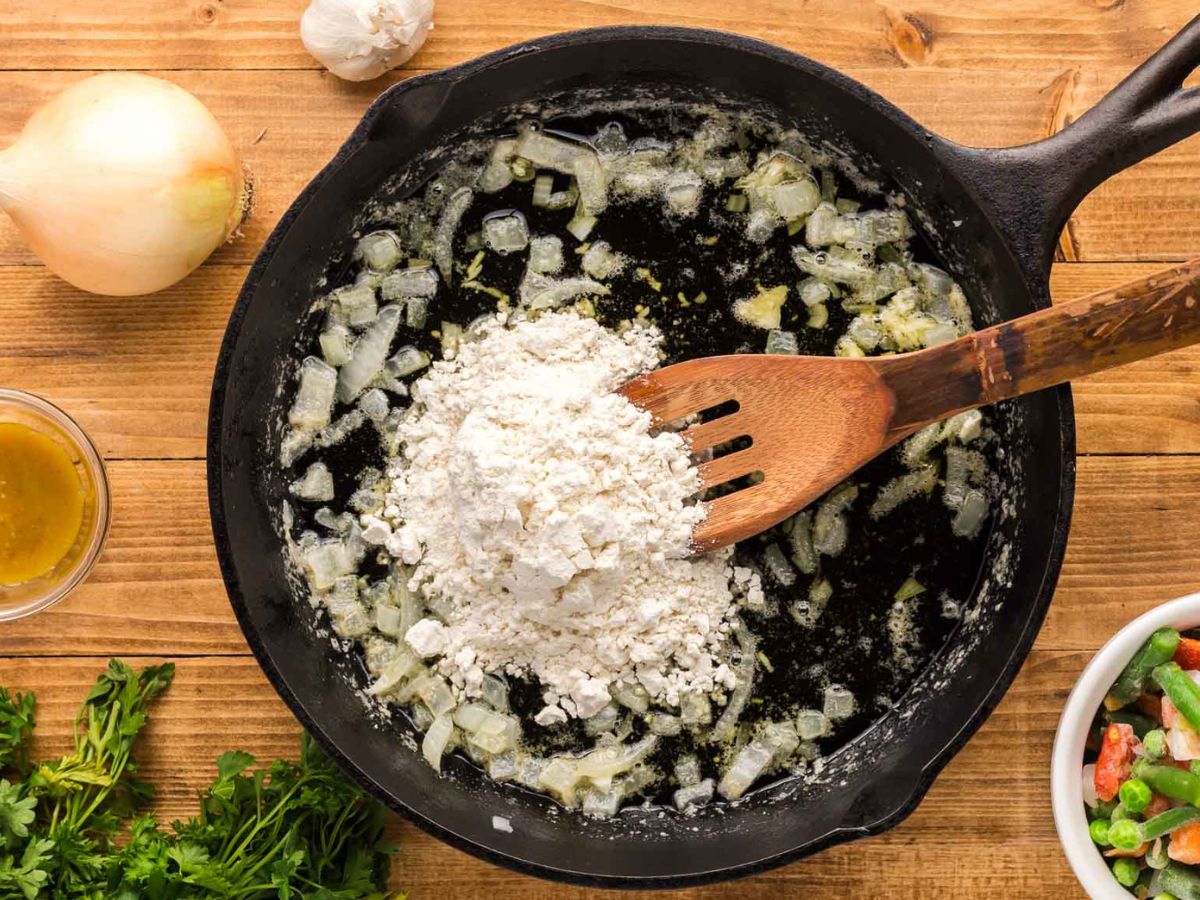
Next, add in the flour and stir it for 2 minutes.
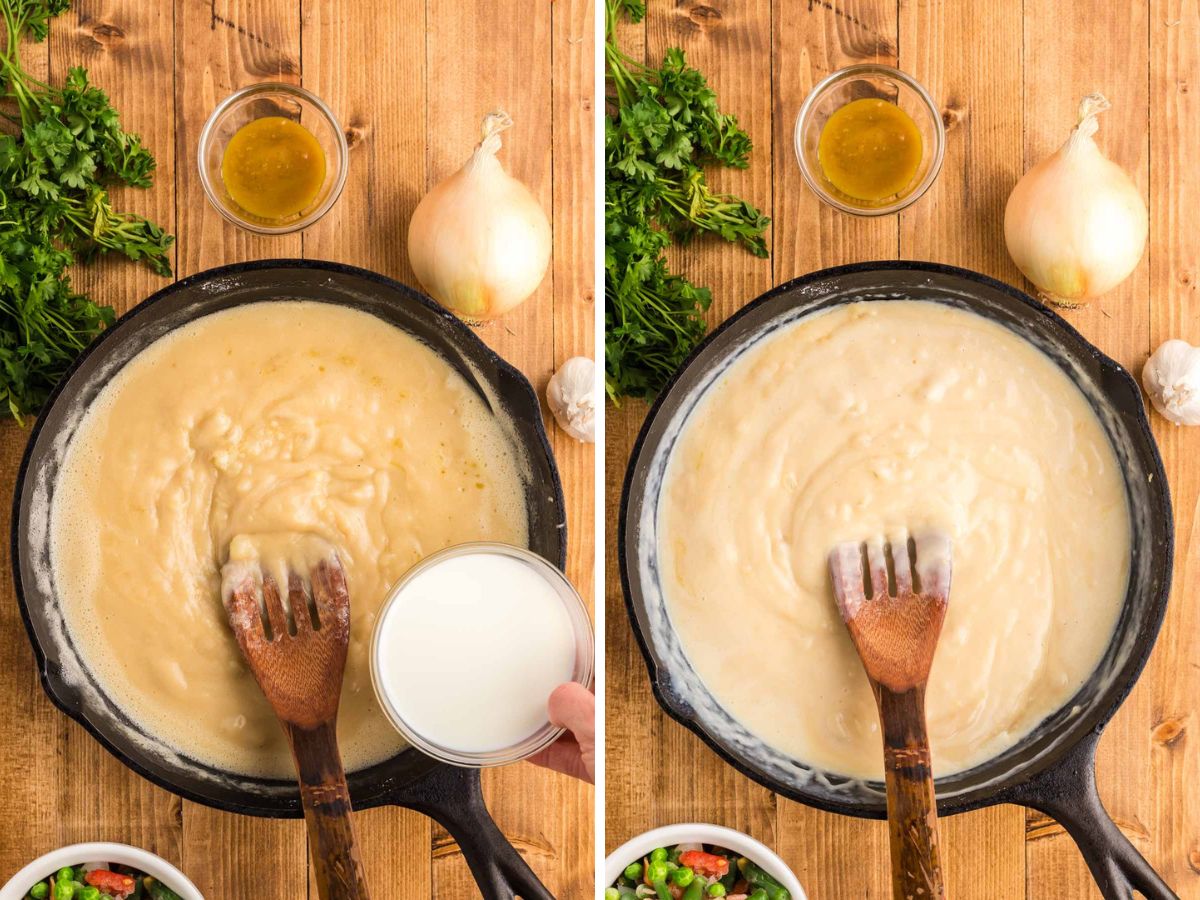
Slowly pour in the chicken broth, stirring for 1 more minute or until the sauce becomes thick. Stir in the milk until all the filling ingredients are fully combined.
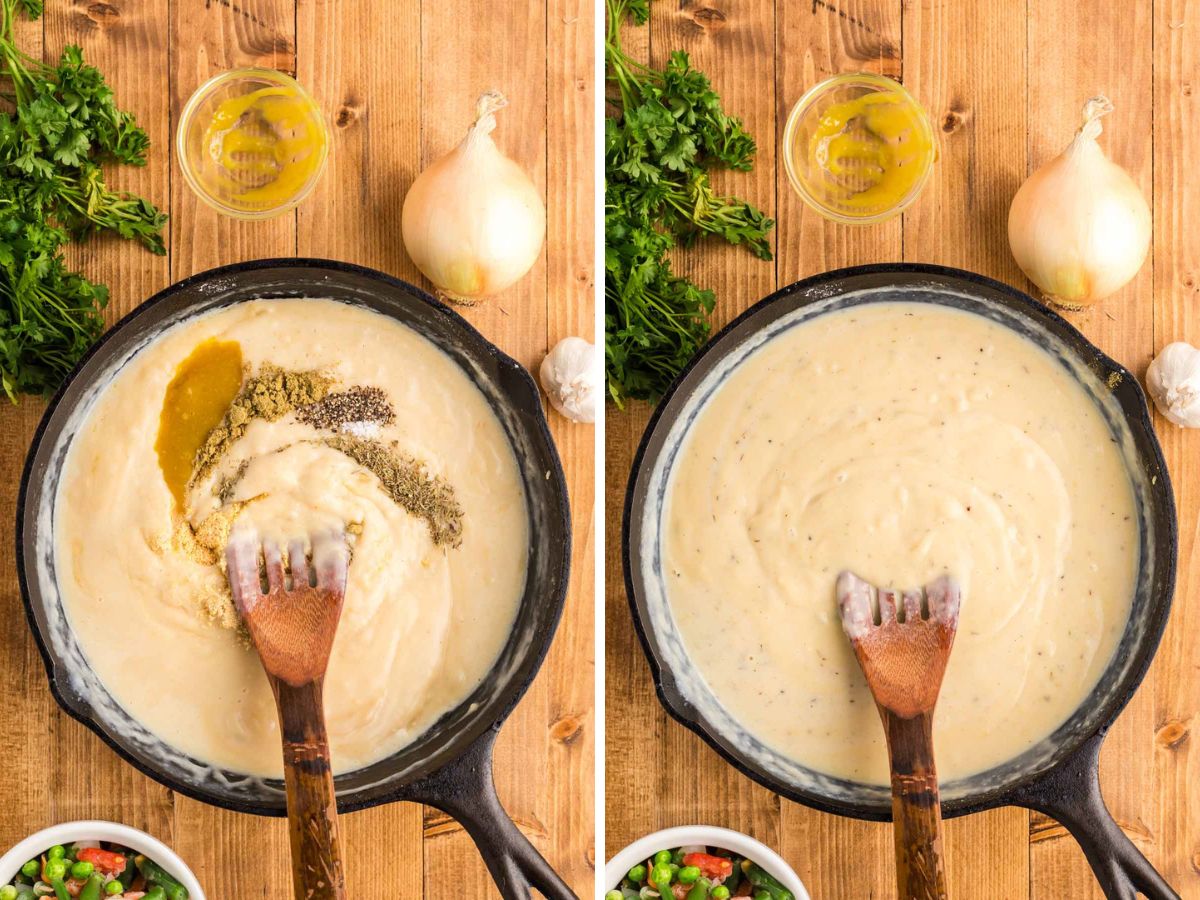
Finally, add the Better than Bouillon and the seasonings. Mix well and taste what you have so far to see if more salt is needed.
Step 4 | Add chicken and frozen veggies
Toss in the cooked chicken and vegetables, stir everything together until it’s all well combined, then turn off the heat.
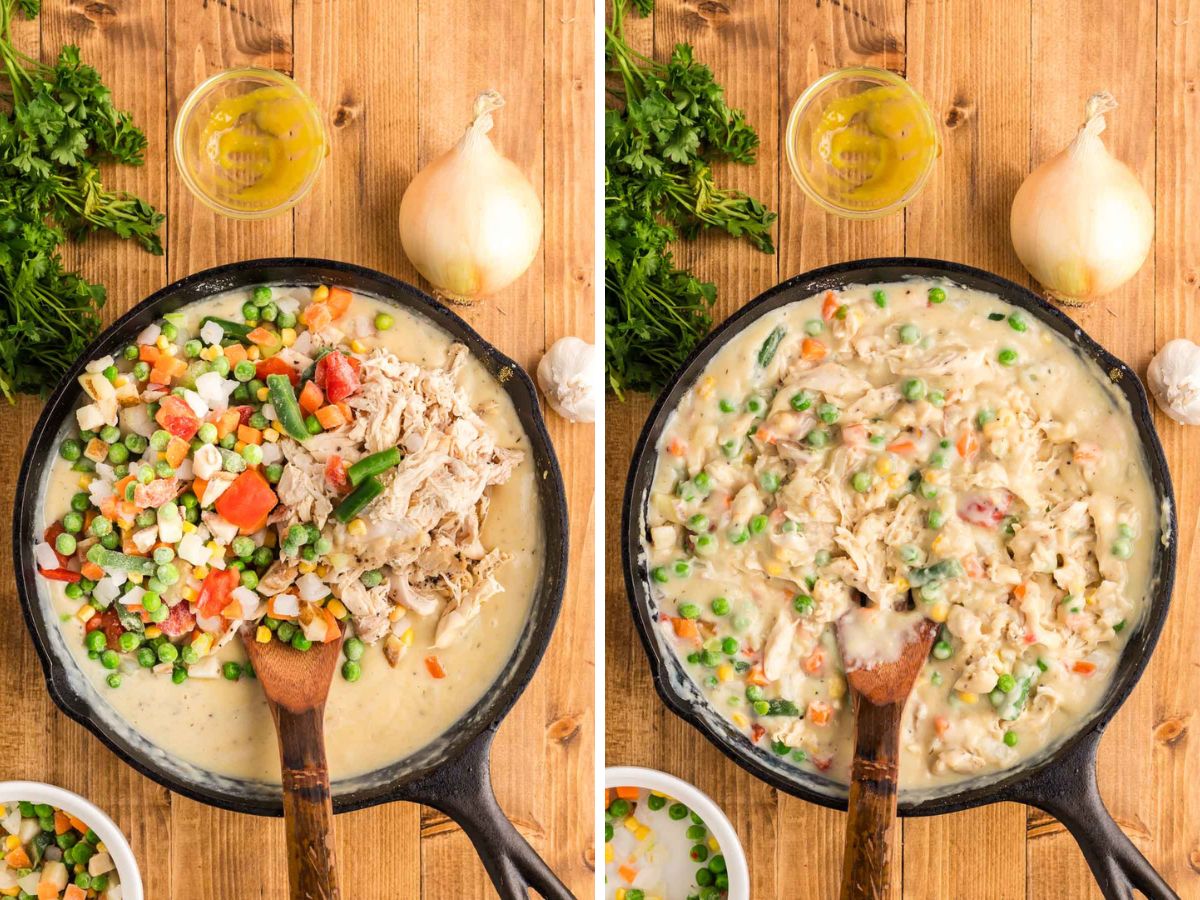
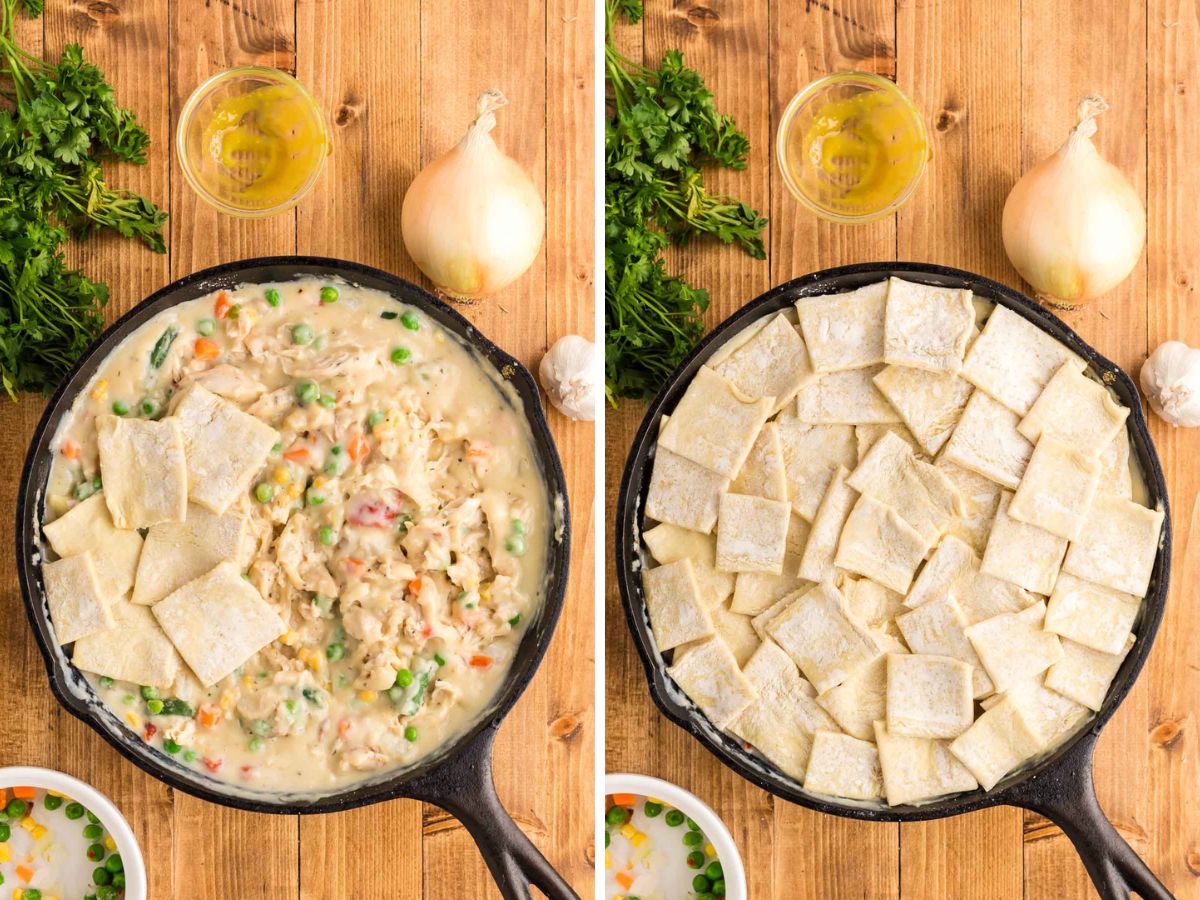
Step 5 | Lay pastry on top and bake
Just before slipping it in the oven, top the pot pie with the squares of puff pastry, overlapping them a little to ensure coverage.
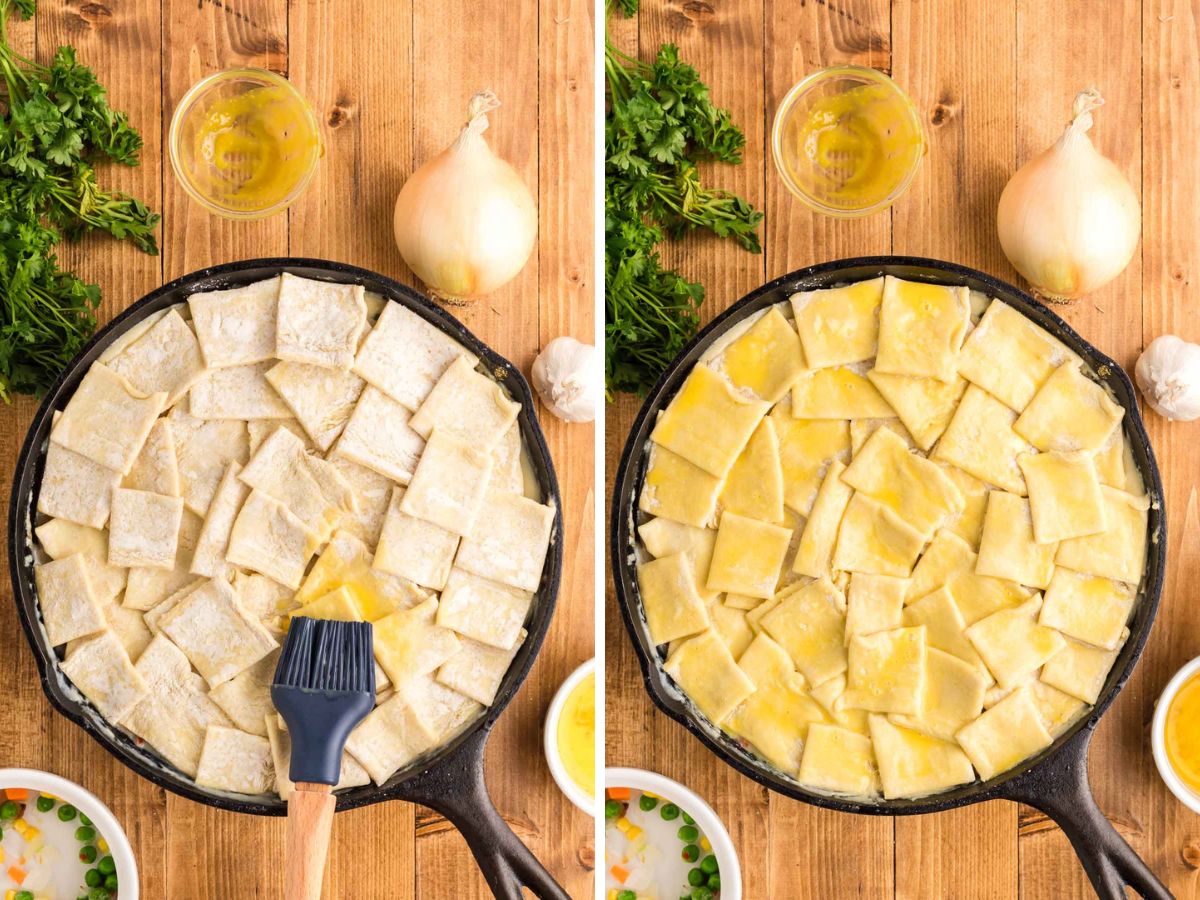
Then, use a pastry brush to brush the egg wash on the puff pastry squares.
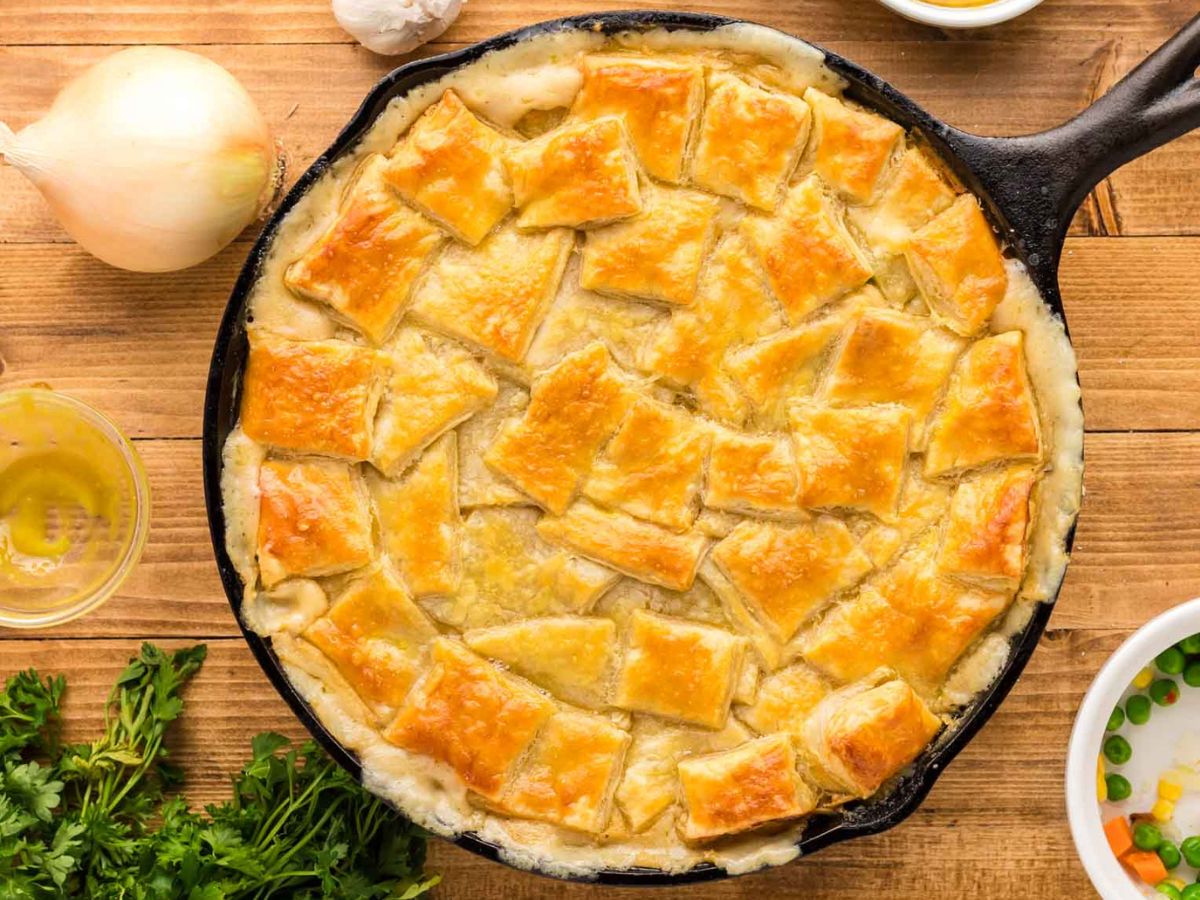
Step 6 | Bake the Pie
Lastly, bake the pot pie for 25-30 minutes or until the pastry is golden brown.
Tips
- I used a 10 X 2-inch cast iron skillet. You can use any oven-safe skillet. If you use a larger skillet, you may need to use more puff pastry, and cooking time could be slightly less.
- Leave some open space or make slits in the pastry to allow the steam to escape when cooking. Otherwise, the filling may pop through the top of the crust. Cutting the dough into squares helps with this.
- Even Baking: Always bake the pot pie on the middle rack to ensure even heat so the filling gets hot and bubbly and the crust turns golden and crispy.
- Watch closely: To avoid burning the crust, keep an eye on it for the last 10 minutes. Turn on the oven light and watch closely for the final 5-10 minutes.
- Thaw the Pastry Dough: Don’t use puff pastry if it’s still frozen; it won’t bake right and will fall apart. If you forget to thaw it, just set it on a lightly floured surface in a warm spot, like near a stove or oven, to speed up the process.
For more tips, see our Variations and Substitutions and Recipe FAQs.
Want to Save this Recipe?
By submitting this form, you consent to receive emails from Soulfully Made.
Recipe FAQs
Yes, I like cutting into squares, as it makes for such a beautiful top. And with a round skillet, it’s easier to work with. If you want to transfer into a rectangular baking dish or don’t want to bother with cutting the dough, you can use a solid sheet. Just be sure to cut a few slits in the top to allow the steam to release when cooking. This will help prevent the filling from pushing through the top of the dough.
I wouldn’t recommend using puff pastry as the bottom pie crust. The filling can make it soggy and prevent it from puffing up. I have to say I haven’t tested adding a bottom pastry crust. If you want to experiment, let me know how it works out. I would start with partially baking it, though. My solution if you want a bottom crust is to buy another package of pastry and bake squares or even cut out shapes of the dish you plan to serve them in. Then bake the pastry dough and scoop your cooked pot pie over a warm and crispy baked puff pastry slice.
You can put puff pastry on top of hot filling, but it shouldn’t be boiling—just slightly cooled. The side touching the filling won’t brown, but the top will puff up and cook nicely.
Chicken pie usually has chicken in gravy with a top and bottom crust. Classic pot pie is chicken in a creamy sauce with veggies and just a top crust.
Storage & Freezing Instructions
Refrigerate: Keep leftovers in an airtight container in the fridge for 3-4 days.
Freeze for Later: After baking, let it cool, then store it in a freezer container or bag for up to 3 months. You can also freeze it before baking—just wrap it tightly to avoid freezer burn. When cooking from frozen, you’ll need to extend the baking time.
Reheat Leftovers: Microwaving will soften the crust, but it’s the quickest way to reheat it if you don’t mind the change in texture. For a crispier crust, reheat in the oven at 325°F until hot. Cover with foil if the crust starts to brown too fast.
Make Ahead Instructions:
Follow the recipe up to Step 4. Then, transfer the filling to an airtight container and store it in the refrigerator for up to 1 day.
When ready to bake, assemble the pie by adding the pastry crust. Since the filling is cold, it may take a bit longer to bake. And if the top starts to brown too quickly, cover it loosely with foil.
What to Serve with the Skillet Pot Pie Recipe
This skillet pot pie recipe is deliciously comforting on its own, but if you want to add some extra greens, serve it with my Oven-Roasted Broccoli Recipe with Parmesan, this mouth-watering Blue Cheese Cole Slaw Recipe, or a fresh salad that contrasts the creaminess of the puff pastry pot pie, like Caesar Salad with Homemade Caesar Dressing—Yum!
More Cozy Chicken Recipes
- Slow Cooker Chicken and Gravy
- Chicken and Dumplings Casserole
- Chicken Poppy Seed Casserole
- Stuffed Chicken Parmesan
- Baked Chicken Spaghetti Casserole
Hungry for more easy, home-cooked, delicious recipes?
Sign up for my free recipe club to get family-friendly recipes in your inbox each week! Find me sharing daily meal-time inspiration on Pinterest, Facebook, and Instagram.

Puff Pastry Chicken Pot Pie
Ingredients
- 1 ½ sheets puff pastry, thawed and cut into 2-inch pieces
- 1 large egg
- 1 tablespoon water
- ½ cup chopped yellow onions
- ½ cup unsalted butter
- 3 cloves garlic, minced
- ½ cup all-purpose flour
- 2 cups chicken broth
- 1 cup milk
- 2 teaspoons Chicken Better Than Bouillon
- ½ teaspoon black pepper
- ¼ teaspoon poultry seasoning
- ¼ teaspoon dried thyme
- ¼ teaspoon garlic powder
- ¼ teaspoon onion powder
- ⅛ teaspoon coarse kosher salt, or to taste
- 3 cups cooked shredded rotisserie chicken
- 3 cups frozen vegetables for soup, (includes corn, peas, carrots, green beans, and potatoes)
- 2 tablespoons chopped parsley
Instructions
- Preheat the oven to 400°F.
- Cut the pastry into squares. Chop onion, parsley, and mince garlic. Set aside.
- Whisk together the egg and water. Set aside.
- To a large (oven-safe) skillet, add the onions and butter over medium heat. Stir for 3 minutes or until the onions are translucent.
- Add the minced garlic. Stir for 1 minute.
- Then, add in the flour. Stir for 2 minutes.
- Slowly pour in the chicken broth. Stir for 1 minute or until thick.
- Next, add the milk. Stir until fully combined.
- Add the Better than Bouillon and the seasonings. Mix until combined. Taste to see if more salt is needed.
- Add the chicken and vegetables. Stir until everything is combined. Turn off the heat.
- Top the pot pie with the squares of puff pastry. Use a pastry brush to brush the egg wash on the puff pastry squares.
- Bake for 25-30 minutes or until the pastry is golden brown.
Want to Save this Recipe?
By submitting this form, you consent to receive emails from Soulfully Made.
Notes
TIPS:
- I used a 10 X 2-inch cast iron skillet. You can use any oven-safe skillet. If you use a larger skillet, you may need to use more puff pastry, and cooking time could be slightly less.
- Leave some open space or make slits in the pastry to allow the steam to escape when cooking. Otherwise, the filling may pop through the top of the crust. Cutting the dough into squares helps with this.
- Even Baking: Always bake the pot pie on the middle rack to ensure even heat so the filling gets hot and bubbly and the crust turns golden and crispy.
- Watch closely: To avoid burning the crust, keep an eye on it for the last 10 minutes. Turn on the oven light and watch closely for the final 5-10 minutes.
- Thaw the Pastry Dough: Don’t use puff pastry if it’s still frozen; it won’t bake right and will fall apart. If you forget to thaw it, just set it on a lightly floured surface in a warm spot, like near a stove or oven, to speed up the process.
Storage & Freezing Instructions
Refrigerate: For leftovers, keep them in an airtight container in the fridge for 3-4 days. Freeze for Later: After baking, let it cool, then store it in a freezer container or bag for up to 3 months. You can also freeze it before baking—just wrap it tightly to avoid freezer burn. When cooking from frozen, you’ll need to extend the baking time. Reheat Leftovers: Microwaving will soften the crust, but it’s the quickest way to reheat it if you don’t mind the change in texture. For a crispier crust, reheat in the oven at 325°F until hot. Cover with foil if the crust starts to brown too fast.Make Ahead Instructions:
Follow the recipe up to Step 4. Then, transfer the filling to an airtight container and store it in the refrigerator for up to 1 day. When ready to bake, assemble the pie by adding the pastry crust. Since the filling is cold, it may take a bit longer to bake. And if the top starts to brown too quickly, cover it loosely with foil.Nutrition Information
Nutritional Disclaimer
Soulfully Made is not a dietician or nutritionist, and any nutritional information shared is only an estimate. We recommend running the ingredients through an online nutritional calculator if you need to verify any information.
©️Soulfully Made


