This post may contain affiliate links. Please read our disclosure policy.
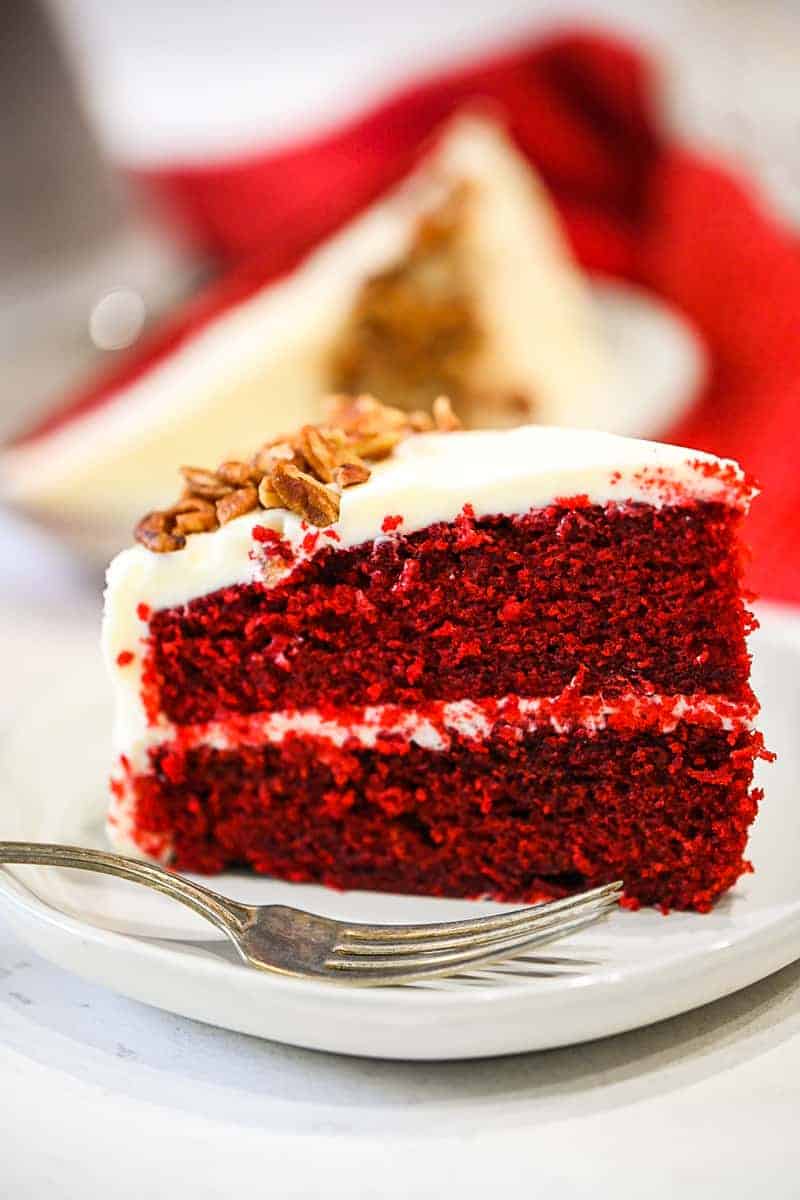
Red velvet cake is so much more than a red-tinted dessert—it’s magic in every bite! This from-scratch recipe has been a favorite in my kitchen for over 20 years, thanks to its perfect hint of cocoa, a tangy kick from buttermilk, and the dreamiest cream cheese frosting. Whether it’s Christmas, Valentine’s, or just because, this is the one cake everyone always requests—and it never disappoints!
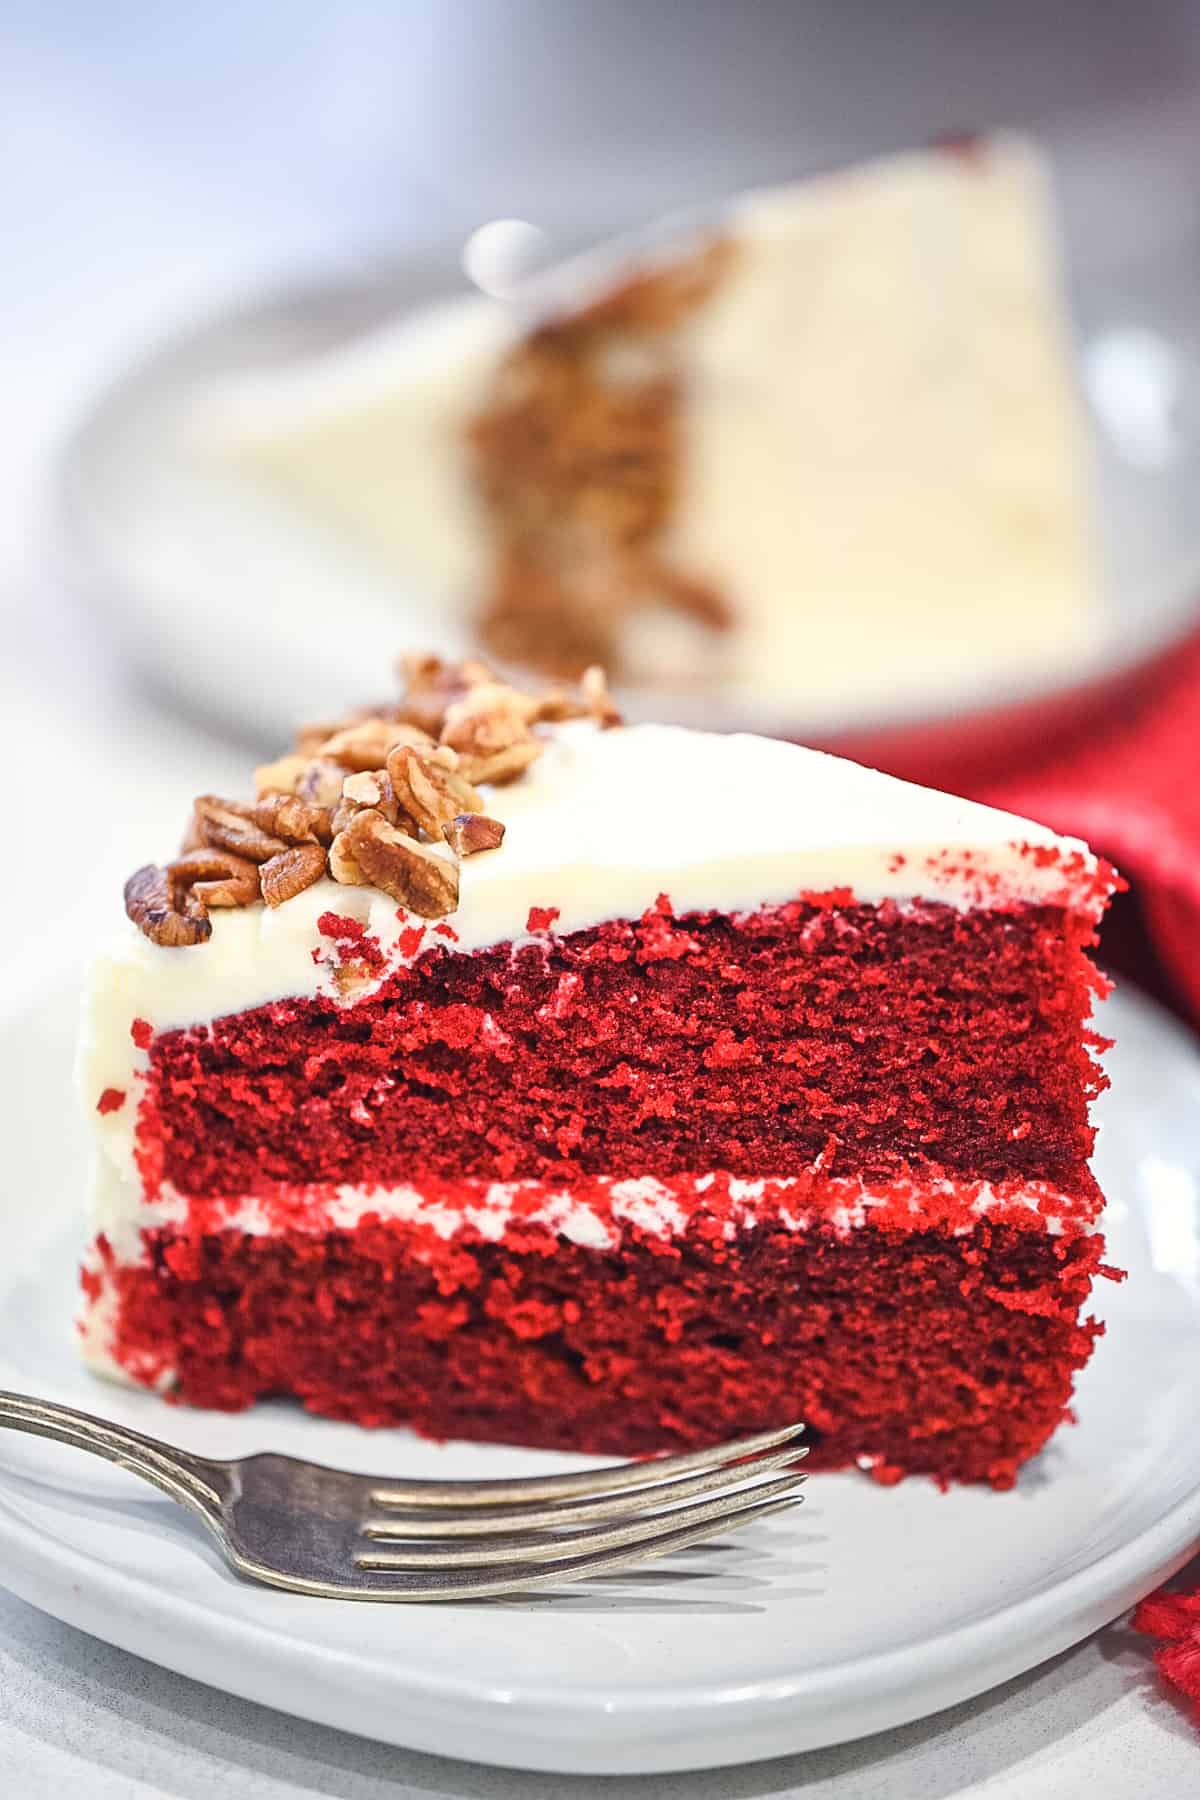
I first got this recipe decades ago from a dear friend, and after digging through some old family cookbooks, I found it was almost identical to one my cousin used to make. Of course, I had to tweak it a little—upping the cocoa powder just enough to add a richer chocolate undertone without overpowering that classic red velvet flavor. And yes, I know the amount of oil might seem like a lot, but trust me, it’s what makes this cake incredibly moist. The texture is perfectly soft and dense, and once people get a bite, they always want to know my “secret.”
This cake is a family favorite, especially around Christmas, and a few close friends even request it for their birthdays—it’s that good. It bakes up beautifully every single time with that signature velvet crumb, and the creamy, tangy frosting takes it over the top. Whether it’s dressed up for the holidays or served just because, this cake brings smiles and memories every time. There’s something so special about sharing a cake that’s been passed down through friends and family—each bite feels like a little piece of love.
Nikki’s Recipe Rundown
- Taste: Perfectly balanced with a mild chocolate flavor, a little tang from the buttermilk, and topped with silky cream cheese frosting—it’s the perfect balance of sweet, smooth, and decadent.
- Texture: Moist, soft, and dense with that signature velvet crumb that practically melts in your mouth.
- Ease: Super simple to make with pantry staples. I always use a stand mixer for this recipe. You could really whip this cake up with a hand mixer or even by hand. No complicated steps—just mix, bake, and frost!
- Pros: Crowd-pleaser for holidays, birthdays, or just because. Freezes well, stays moist, and always gets rave reviews.
- Considerations: The oil might seem like a lot, but it’s the secret to that perfect texture.
- Recipe Repeatability: Absolutely—this one is a keeper! I’ve been making this for over 20 years, and it’s still the first dessert to disappear. If it’s not on the holiday table, let’s just say… I’ll be hearing about it from the family!
What exactly is Red Velvet Cake?
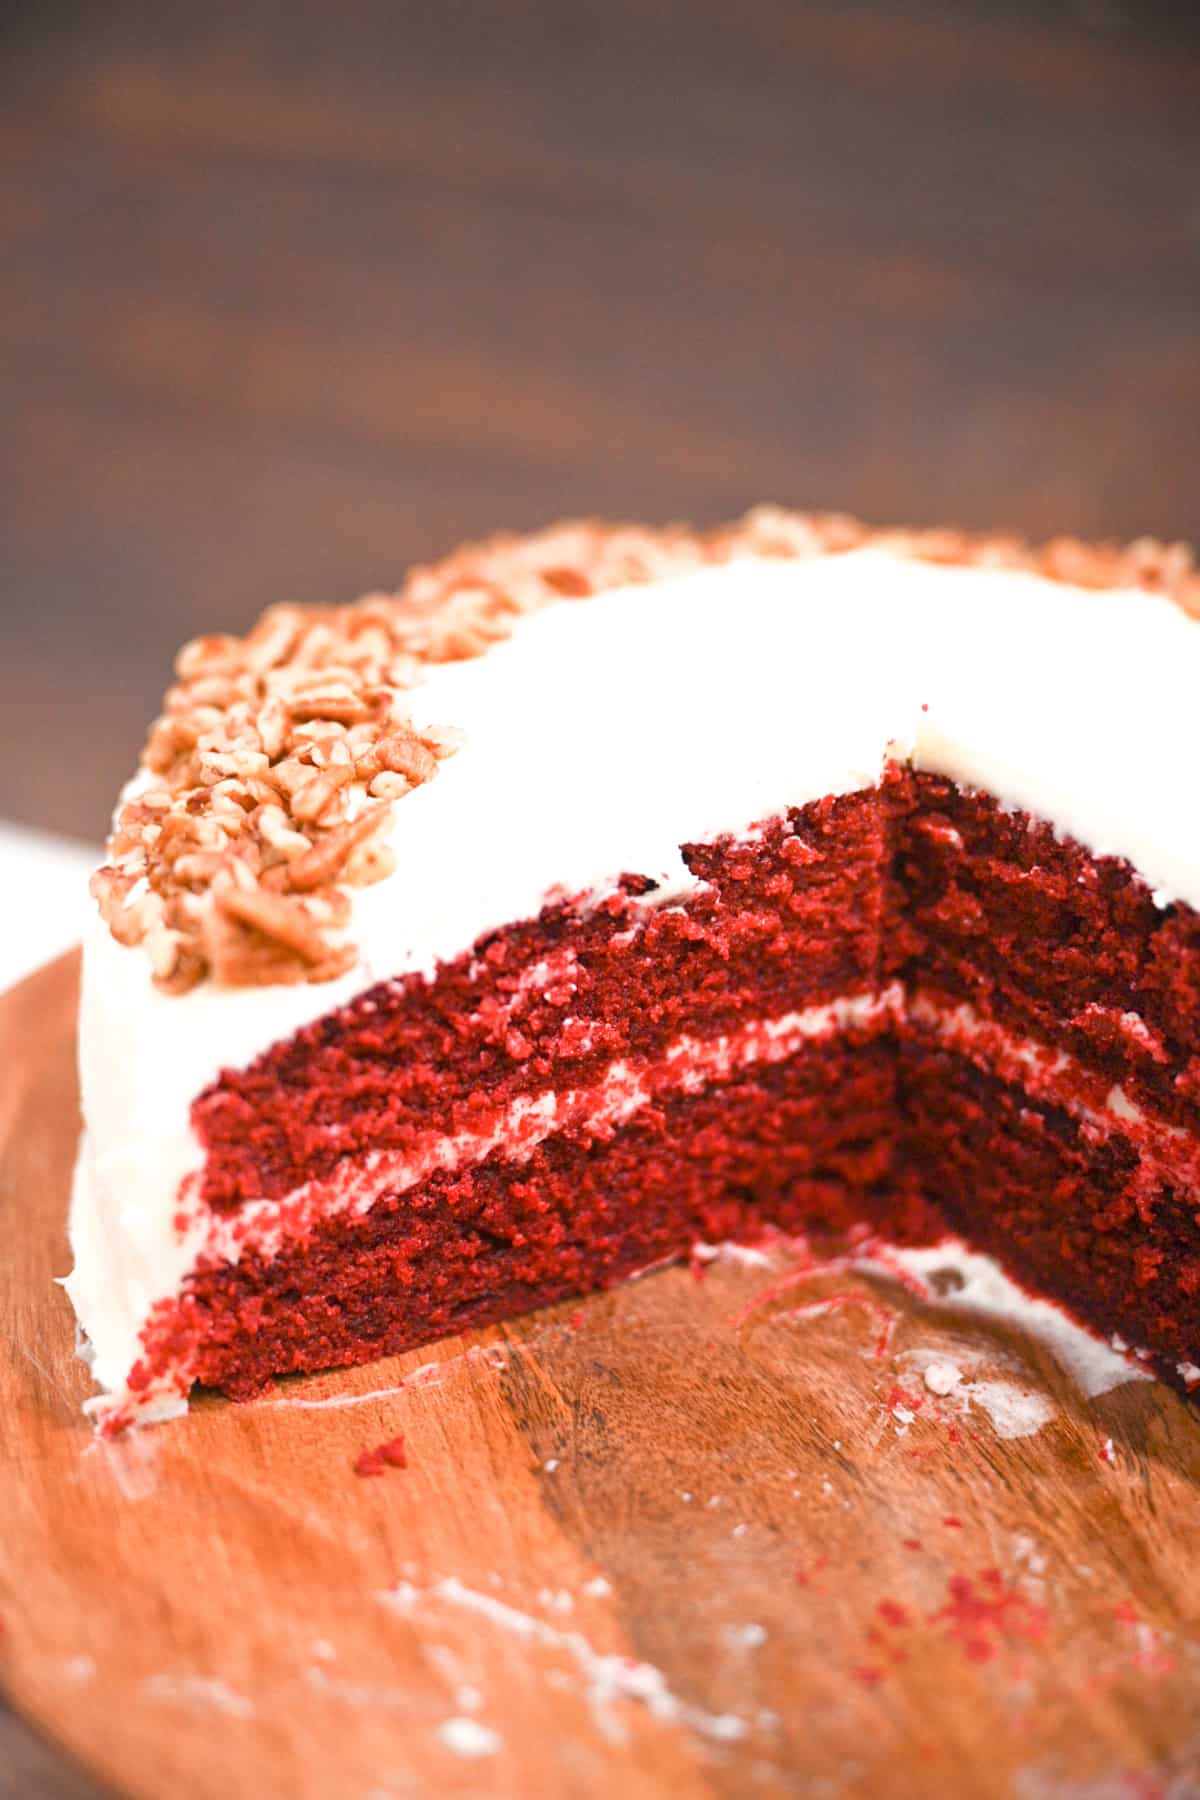
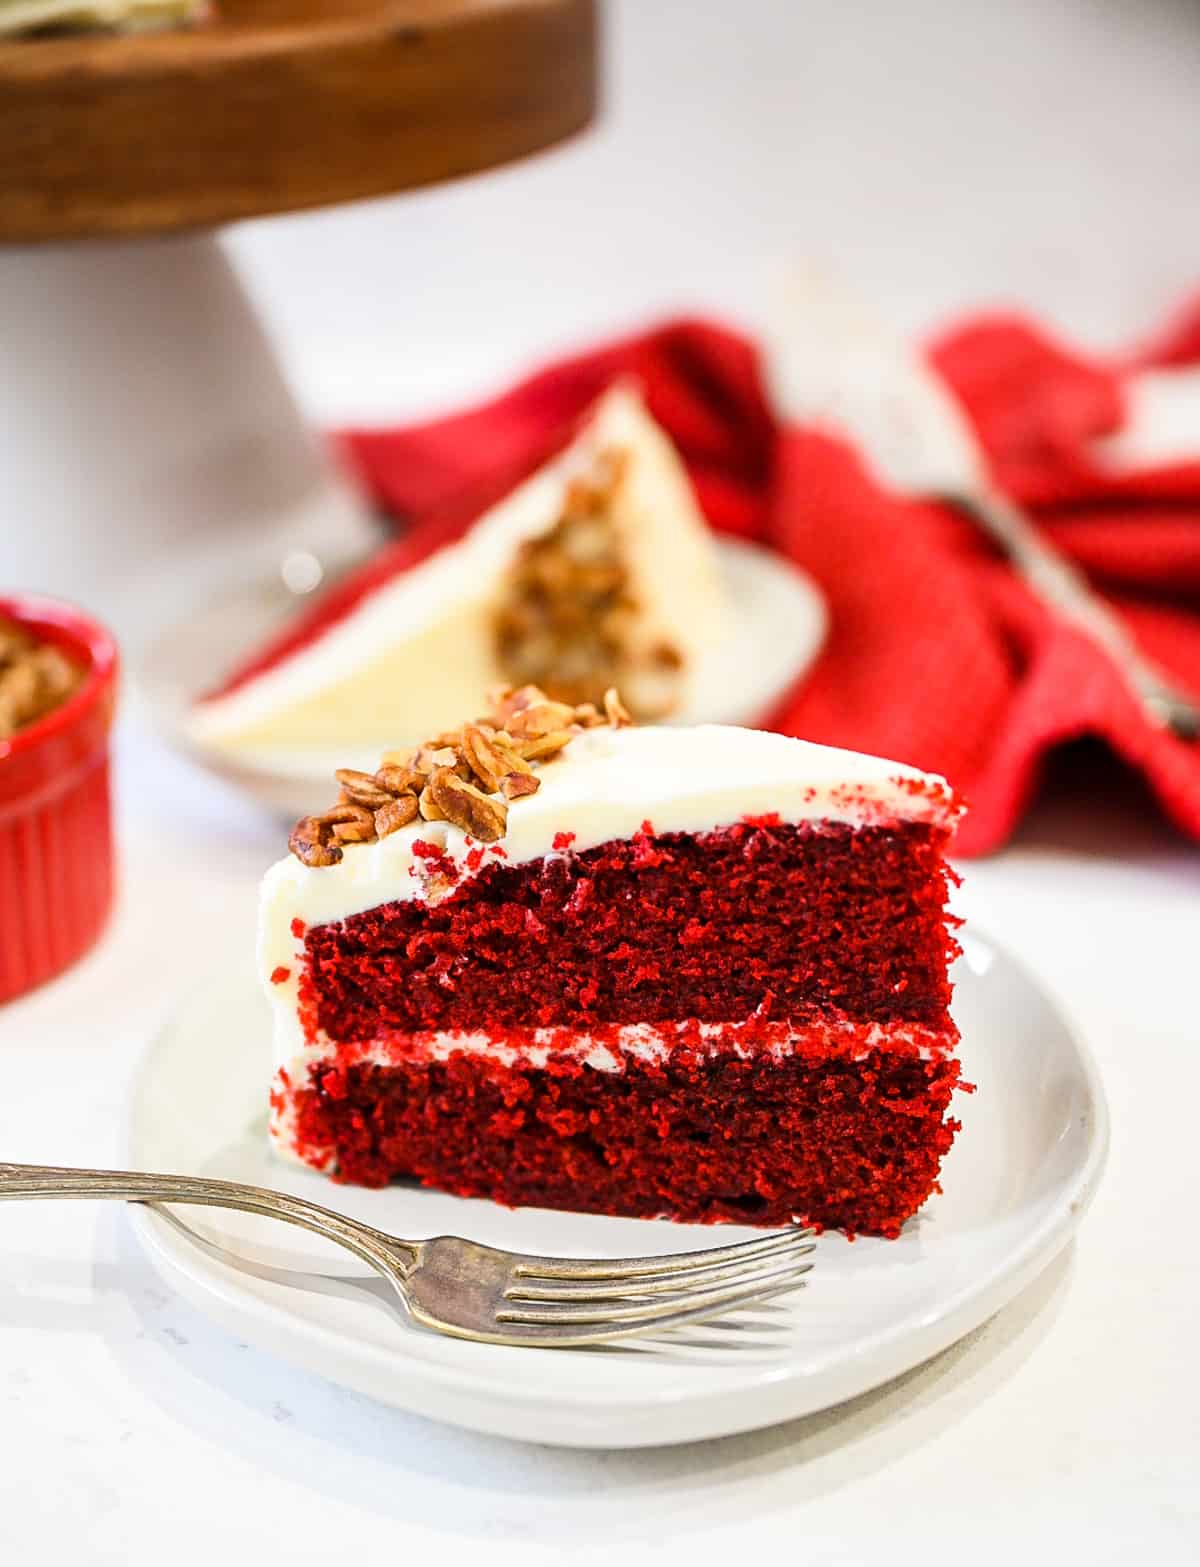
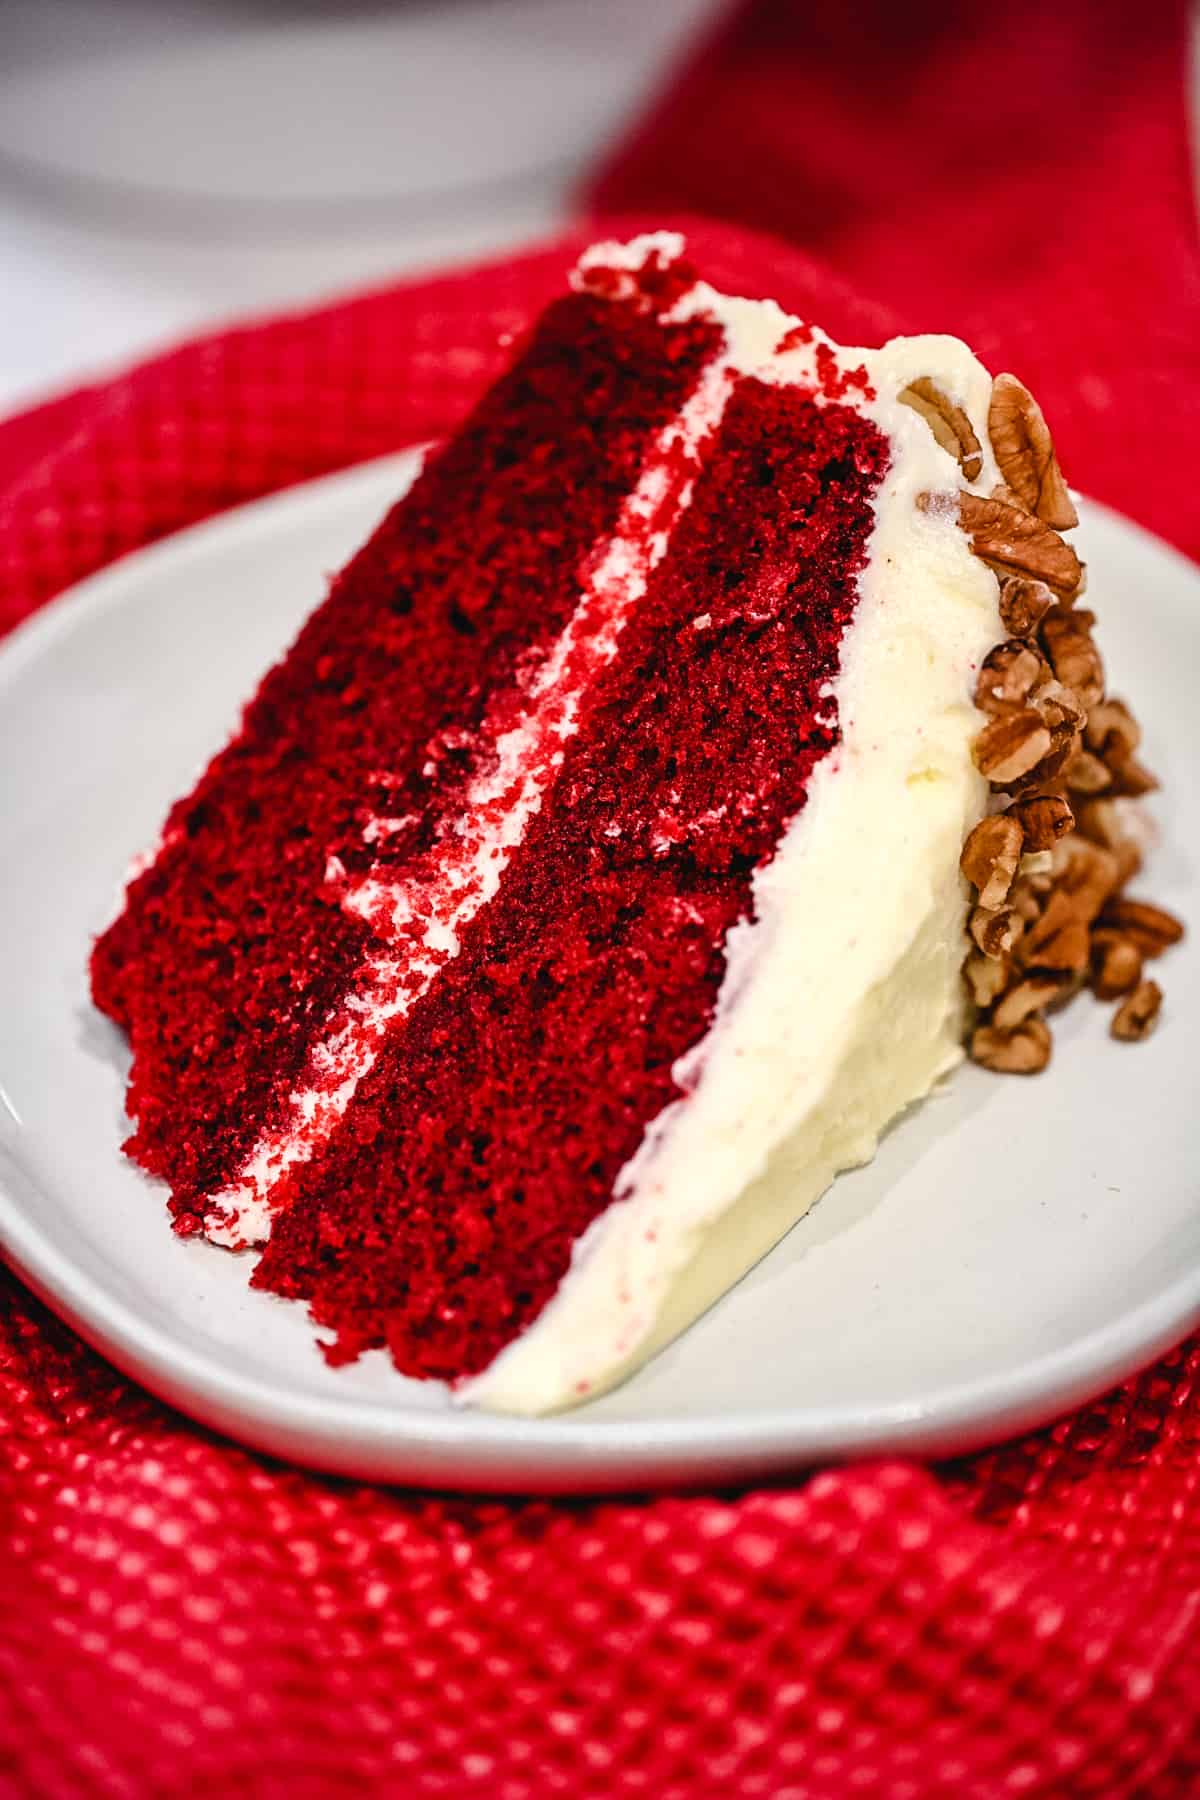
Red Velvet Cake is not just a red cake or a chocolate cake that has red coloring added in. The cake is soft and moist and has a velvet-like texture. The chocolate is mild (although I add a little more than most recipes). It is almost a little mysterious in taste. Not vanilla and not full-on chocolate. It has a subtle tang from the buttermilk and that dash of vinegar.
A fluffy cream cheese frosting tops this off, making one of the most unique and delicious cakes!
Perfectly Imperfect Cake:
If you have been following along here for any amount of time. You know I don’t usually do anything too fancy, or at least I don’t proclaim to make things picture-perfect. I like to say my desserts have a rustic flair. Well, the same goes here.
This Southern Red Velvet Cake tastes delicious even though I don’t always slice it perfectly or keep crumbs at bay. I am sure you will do a much better job at that than I do. But I do promise it tastes AMAZING, my friends!
Here’s what you need to make the perfect southern red velvet cake!
Southern Red Velvet Cake Recipe Ingredients
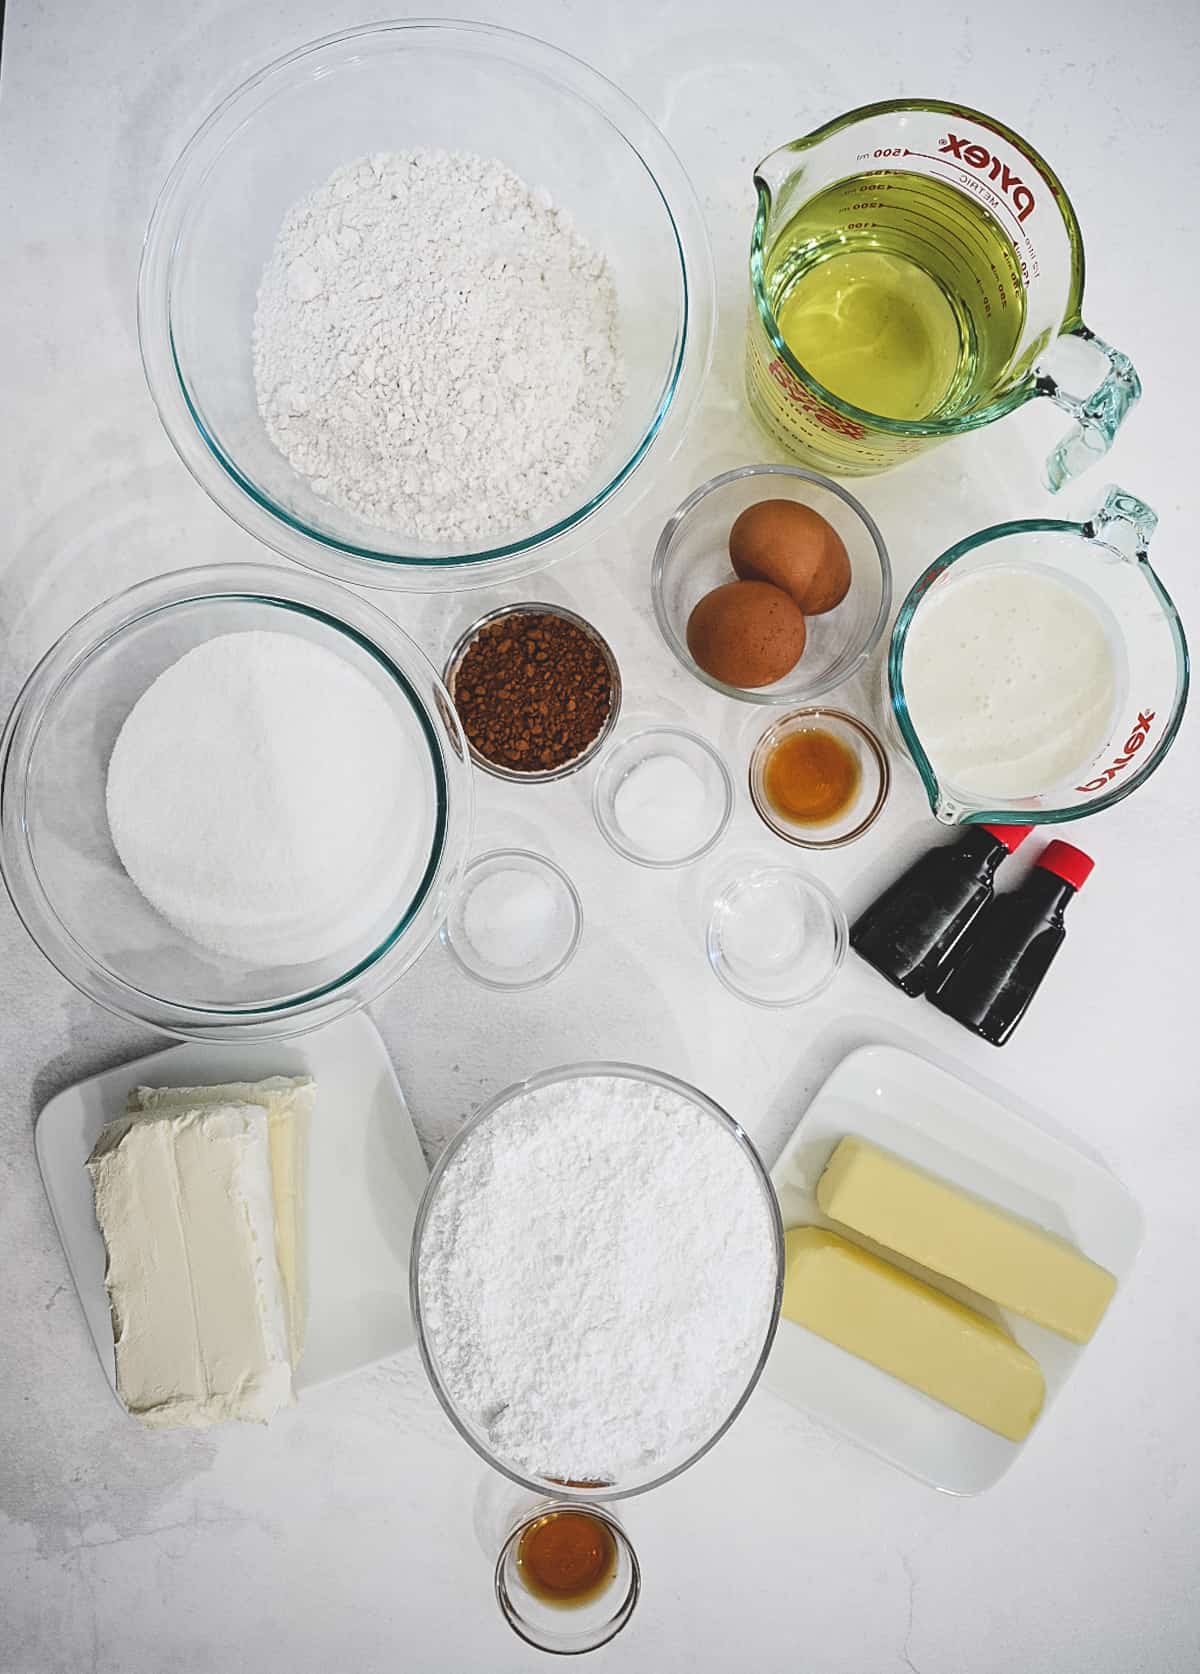
Cake Ingredients
- All-Purpose Flour: This is the base of the cake.
- Unsweetened Cocoa: That hint of chocolate that makes this cake famous. I add a little more than most recipes. I find this amount delightfully delicious.
- Baking Soda: Baking soda works much like baking powder, but it is more powerful. You do need acid to activate it. The buttermilk will do that for this recipe. The vinegar aids in this as well.
- Kosher Salt: Salt balances out the sweetness and adds to the special flavor in this cake.
- Granulated Sugar: Sugar adds sweetness to this red velvet cake.
- Buttermilk: Adds a tanginess and buttery flavor to the cake. It also adds moisture. It’s a must-have in this recipe.
- Vegetable Oil: This recipe calls for a little more oil than most cakes, and I believe it is one of the reasons this one is extra special. Don’t be alarmed it doesn’t taste oily at all. You get the moistest and most amazing cake!
- Eggs: This recipe uses just enough to hold the cake together while not giving it too much of an eggy taste.
- Vanilla Extract: This will add flavoring to the cake and to the icing.
- Red Food Coloring: 2 bottles of the classic red food coloring. You can find this in most grocery stores. It really gives a nice deep red color.
- White Distilled Vinegar: Some say vinegar originally was put in this recipe to react with the cocoa to get a red tint. It also adds acidity to react with the baking soda. In either case, the combination creates a fantastic texture.
Icing Ingredients:
- Block Cream Cheese: Make sure to use the block cream cheese for the right consistency. The containers are a little softer in texture. This gives a nice tang to the icing, too! So yummy!
- Butter: Butter makes everything better, and butter in icing is no exception. It adds a creamy and airy factor making icing so dreamy.
- Powdered Sugar: This is also known as confectioner sugar. It’s airy and soft and creates the perfect icing.
How to Make This Red Velvet Cake Recipe From Scratch
✱ Be sure to see the recipe card below for exact ingredients and full recipe instructions!
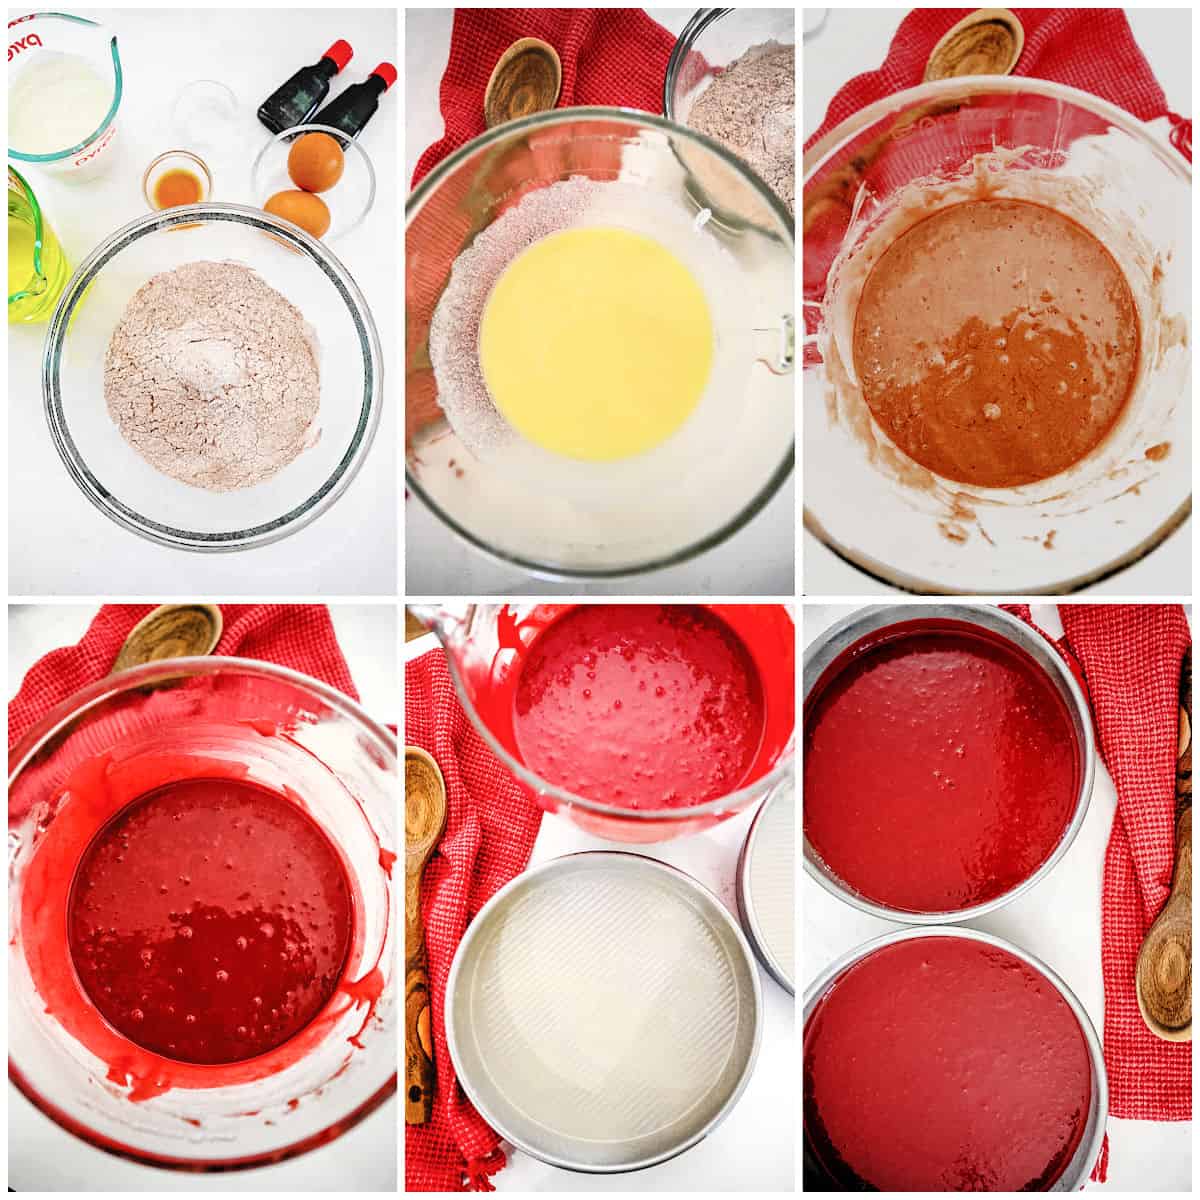
Step 1 | Mix Dry & Wet Ingredients
Sift together all the dry ingredients to get a nice lump-free fluffy mix. Set aside.
In a stand mixer with the paddle attachment or large bowl (using a hand mixer), mix together all the wet ingredients until combined (minus the red food coloring and vinegar). I like to add that in at the very last.
Slowly add the dry ingredients to the wet ingredients until incorporated. Turn down the mixer to low and add in food coloring and vinegar. Once incorporated turn to medium speed and mix until fluffy. (Don’t overmix)
Step 2 | Pour into can pans and bake.
Pour red velvet cake batter into prepared cake pans and bake in preheated 350° oven.
Want to Save this Recipe?
By submitting this form, you consent to receive emails from Soulfully Made.
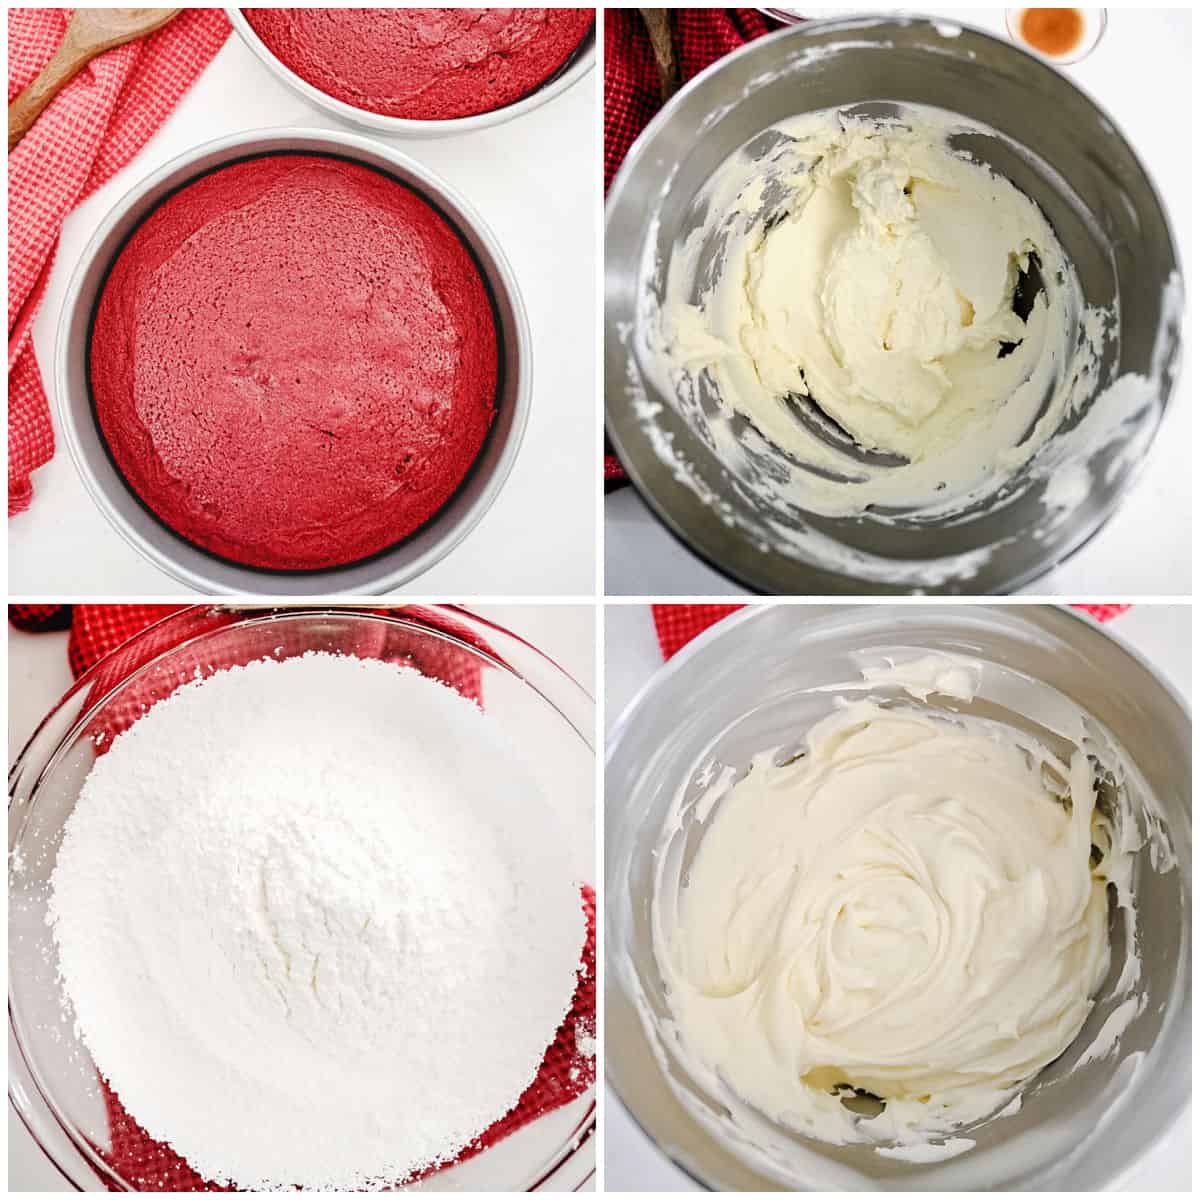
Step 3 | Icing the Cake
Beat cream cheese and butter until light and fluffy, and then slowly add in powdered sugar until combined. Add in vanilla and mix until combined and icing is creamy and spreadable.
Optional: If desired, cut the top (dome) of each cake to level or make layers flat.
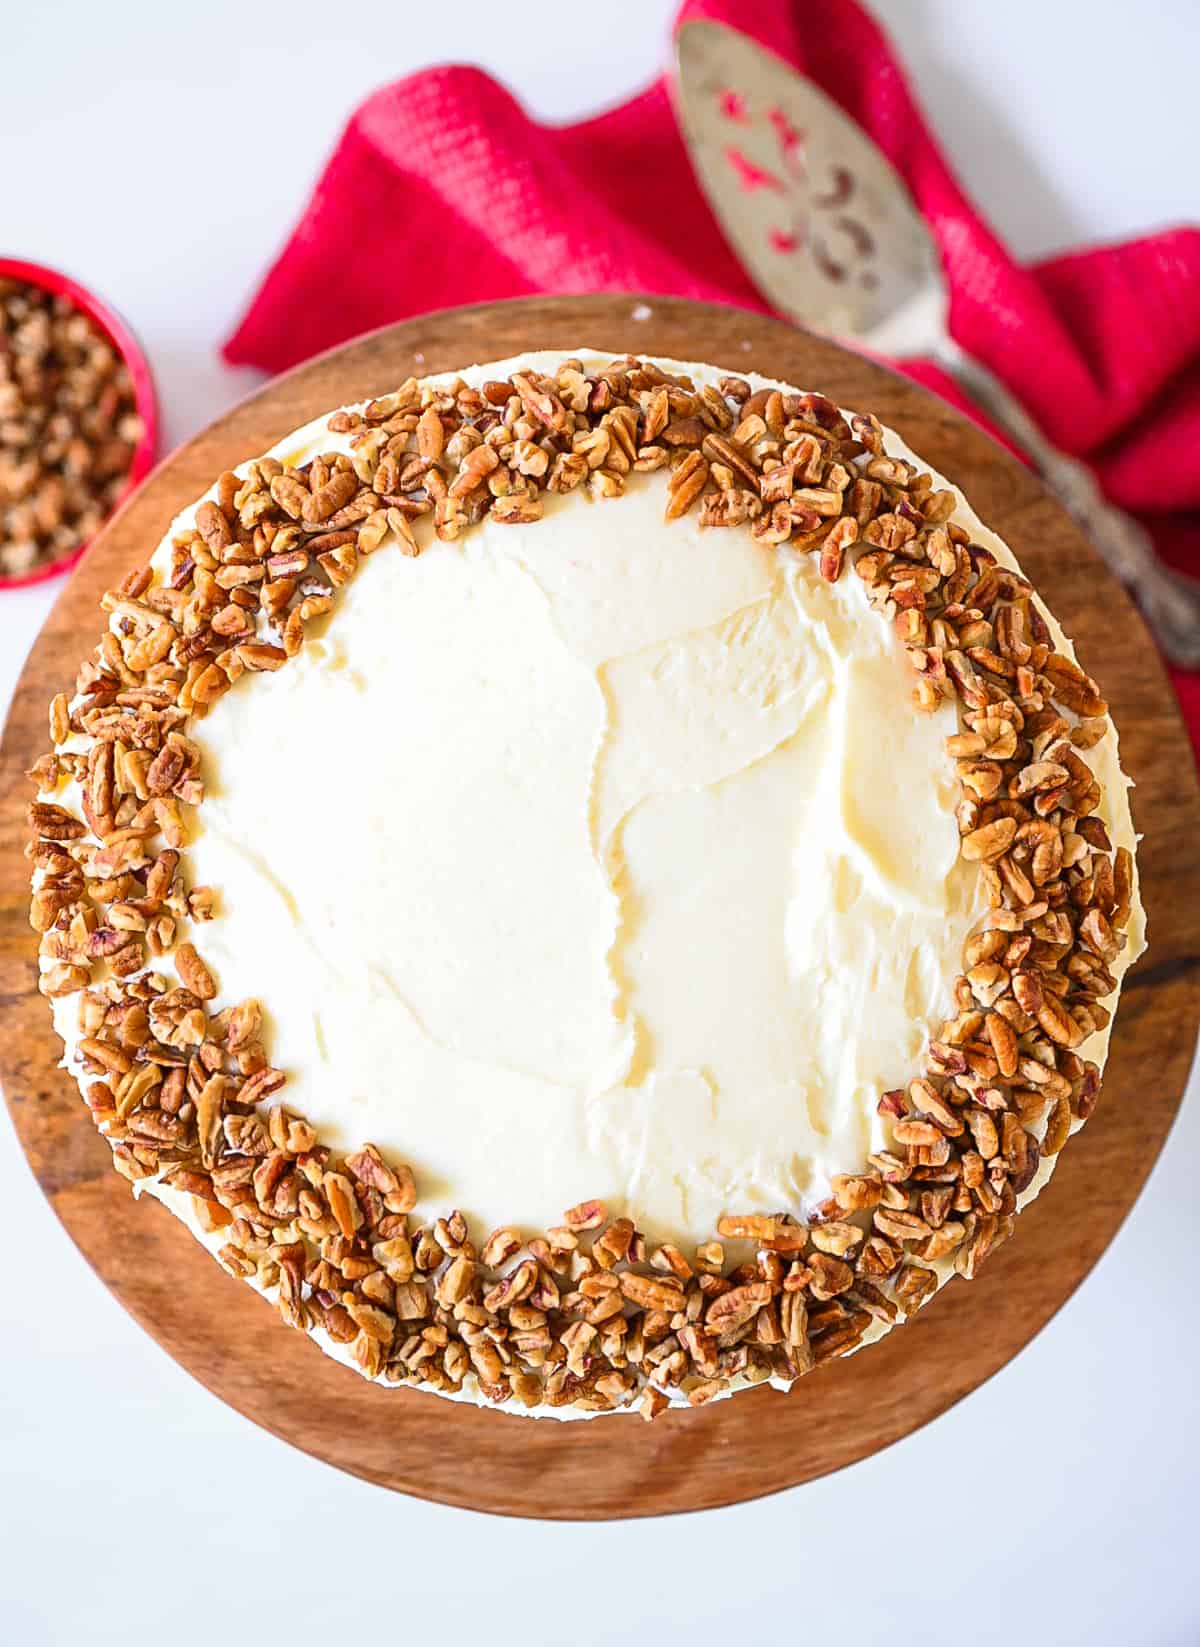
Spread the top of one of the cakes with some of the icing. Top with other cake. Spread the top and sides of the cake with the remaining icing.
Southern Red Velvet Cake Tips
- Measure your flour correctly: Adding too much flour to the recipe is the most common mistake. This will cause the cake to be dry. Make sure to fluff your flour with a spoon, sprinkle it into your measuring cup, and use a knife to level it off.
- Buttermilk: Buttermilk is a key ingredient and flavor in this recipe. If you don’t have buttermilk, you can make your own substitution. To do this, add 1 ½ teaspoons of fresh lemon juice or white vinegar to a liquid measuring cup. Add enough whole milk to make 1 cup. Stir the two together, then let it sit for 5 minutes before using. (Note: You will still need the additional vinegar in the recipe as well.)
- Make sure buttermilk, eggs, cream cheese and butter are at room temperature. This allows everything to mix together evenly and give a nice smooth texture.
- Prepare Cake Pans Well: Make sure to spray the cake pans well with baking spray (the one with flour in it) or use oil or butter and flour to coat the pan. If desire you can place a parchment circle in the bottom of the pan and spray it as well.
- If you want taller thicker layers use 8-inch cake pans.
- For a 3 Layer Cake: Make 1.5 times the recipe and divide into 3 cake pans.
- The best cake pans: I like to use a heavy light colored cake pan. I find they cook more evenly. These USA pans are my favorite. They come in 8 or 9-inch options.
- If you want your cakes absolutely even in size you can weigh your pans and cake batter on a kitchen scale. Just eyeballing the amount is fine too, that is what I usually do.
- Start checking at about 20 minutes the first time you bake. Oven temperatures vary and this will help you gauge how yours is cooking.
- For the icing, you want room temperature or softened cream cheese and butter. For the butter, you want an indention when you touch it but it shouldn’t be so soft you press right through it. Same with the cream cheese. If the icing gets too soft just place it in the refrigerator for a bit until the icing firms back up.
- Add a dollop of icing to the base of serving dish then spread out a little. This will hold the bottom cake layer in place and keep it from moving around on the serving dish.
Southern Red Velvet Cake Recipe Variations
How to Make The Best Moist Red Velvet Cake Recipe in Advance
Make-Ahead Instructions:
The cake layers can be baked, cooled, and covered tightly at room temperature overnight.
The frosting can be prepared then covered and refrigerated overnight. Let the frosting sit at room temperature to slightly soften for 10 minutes before assembling and frosting.
How to Store Homemade Red Velvet Cake
Store the frosted cake in an airtight container in the fridge for up to 5 days. Let slices come to room temperature before serving for the best flavor and texture.
How to Make The Best Moist Red Velvet Cake Recipe in Advance
Here’s the best way to store your red velvet cake layers to keep them fresh and delicious!
Once the uncut, unfrosted layers have cooled completely, wrap them tightly in several layers of plastic wrap. Then, pop them into a freezer bag or airtight container. Don’t forget to date them.
You can store them at room temperature for up to 4 days or freeze them for up to 2 months. When you’re ready to use them, let them defrost overnight in the fridge—trust me, don’t thaw them on the counter, or you’ll end up with a mushy cake!
Frequently Asked Questions
No, it may look a little fancy, but the cake really is easy to make. Just measure out your ingredients as directed and you are good to go.
The cocoa reacts with the addition of vinegar along with the buttermilk to create the perfect texture. Don’t skip either of these!
I always use the McCormick bottled food coloring. It comes in a 1-ounce bottle and yes 2 bottles are what you need. It gives that deep rich color and it does not alter or give a bitter taste to the cake. However, there are all kinds of colorings you can try. Gel colorings work well. There are also natural colorings available like beet powder. Feel free to experiment if you would like. I just stick to the basics here.
While I love and recommend a cream cheese frosting with this cake, you can make a flour-based frosting by using 1 cup milk, ¼ cup all-purpose flour, ⅛ teaspoon kosher salt, 1 cup butter (room temperature), 1 ½ cups powdered sugar, and ½ teaspoon vanilla.
In a medium saucepan whisk milk, flour, and salt together on medium-low heat until it thickens (like a gravy). Remove the pan from heat and allow it to cool (stirring occasionally). In the bowl of a stand mixer beat butter until light and fluffy. Add in cooled flour mixture and vanilla, and mix until combined (2-3 minutes). Frosting will be thick and smooth.
More Delicious Cakes to Enjoy
Hungry for more easy, home-cooked, delicious recipes?
Sign up for my free recipe club to get family-friendly recipes in your inbox each week! Find me sharing daily meal-time inspiration on Pinterest, Facebook, and Instagram.
Southern Red Velvet Cake Recipe
Click Stars To Rate
Ingredients
- 2 ½ cups all purpose flour
- ¼ cup unsweetened cocoa powder
- 1 teaspoon kosher salt
- 1 teaspoon baking soda
- 1 ½ cups granulated sugar
- 1 cup buttermilk - room temperature
- 2 cups vegetable oil
- 2 large eggs - room temperature
- 1 teaspoon vanilla extract
- 2 ounces red food coloring
- 1 teaspoon white distilled vinegar
- 12 ounces block cream cheese - softened
- ¾ cups butter - softened
- 5 to 6 cups powdered sugar - sifted
- 1 ½ teaspoon vanilla extract
Instructions
- Preheat oven to 350°F and spray with baking spray or oil and flour – 2 (8 or 9-inch) round cake pans. You can also line with parchment rounds in the bottom and spray if desired.
- In a large bowl sift together flour, cocoa powder, salt, and baking soda.
- In the bowl of a stand mixer (or large bowl), mix together oil, buttermilk, vanilla, and eggs until combined.
- Add in sugar and mix until combined. Then slowly add in flour mixture and mix until combined.
- Slowly add in food coloring and then vinegar, then mix until combined.
- Divide evenly into 2 prepared 8 or 9-inch round cake pans.
- Bake for 25 to 32 minutes (this will depend on cake pan size and oven) or until a wooden pick comes out clean or lightly crumbed. The cake should slightly pull away from the edges of the pan.
- Once the cake is done remove it from the oven and let it cool in the pan for 10 to 15 minutes. Then turn out onto a cooling rack and allow to completely cool.
- Beat cream cheese and butter until light and fluffy (about 3 minutes it will change from a yellowish color to an almost white color).
- Slowly add in powdered sugar until combined. Add in vanilla and mix until combined and icing is creamy and spreadable.
- Optional: If desired cut the top (dome) of each cake to level or make layers flat.
- Spread the top of one of the cakes with 1 to 1½ cups of icing. Top with other cake. Spread top and sides of cake with remaining icing.
- Optional: Use crumbles cut off of cake or toasted pecan pieces to decorate the top rim and sides or base of the cake as desired.
- Refrigerate the cake for at least 30-60 minutes before slicing. This helps the cake hold its shape when cutting.
Notes
Cake Sizes:
3 Layer Cake: Divide the batter between 3 – (8 or 9-inch) cake pans. Bake for about 20-25 minutes. Use a toothpick to test for doneness Bundt Cake: This cake batter fits into a 10-cup or larger bundt pan. I’m unsure of the exact bake time (likely around an hour), but use a toothpick to test for doneness. Sheet Cake: This batter fits nicely into a 9×13 inch cake pan or 12×17 inch or jelly roll pan. Same oven temperature. Bake for about 35-40 minutes for 9 x 13 or 20-25 minutes for jelly roll pan. Keep your eye on the cake and use a toothpick to test for doneness. *Original Icing Recipe: I adapted to 1 ½ of the recipe as my family likes a little more icing. Feel free to cut back if desired.- 8-ounce block cream cheese, softened
- 1 stick (½ cup) butter, softened
- 4 cups powdered sugar
- 1 teaspoon vanilla extract
Want to Save this Recipe?
By submitting this form, you consent to receive emails from Soulfully Made.




My son loves red velvet cake and this is THE best recipe I have found.
Thank you, Michele! I am so glad you loved this one.
Thank u for the recipe
You are welcome, Sharon!
So good & so easy to make.
Thank you, Kaysie! That means so much to me! We had it for our Christmas!
Can I use self-rising flour instead of all purpose flour. And why is there so much oil in the cake, but no butter?
I have not tested the recipe with self rising flour. My recipe doesn’t call for butter and it may seem like a lot oil, but it makes the moistest most delicious cake. Hope you give it a try!
Can you make cupcakes with this recipe?
Yes. In a preheated oven at 350 degrees F, bake in cupcake pan for 12 to 15 minutes or until a wooden stick inserted into the center comes of mostly clean. You can decrease to 325 degrees for a nonstick or darker pan.
Do you recommend cake flour or is all purpose flour the best for this cake ?
I use all-purpose flour.
This Red Velvet Cake is delicious!
I love how you have it all broke down, where it’s easy to understand the Recipe.
Making it for my sweetheart!!
And might as well make one today!
Thank you, Julie! So glad the instructions are helpful and easy to understand! Your sweetie will love it almost as much as he loves you ;)!
The best red velvet recipe I’ve ever tasted. Beats every restaurant and bakery cake I’ve tried!!
Thank you so much, Lauren! Best compliment ever!