This post may contain affiliate links. Please read our disclosure policy.
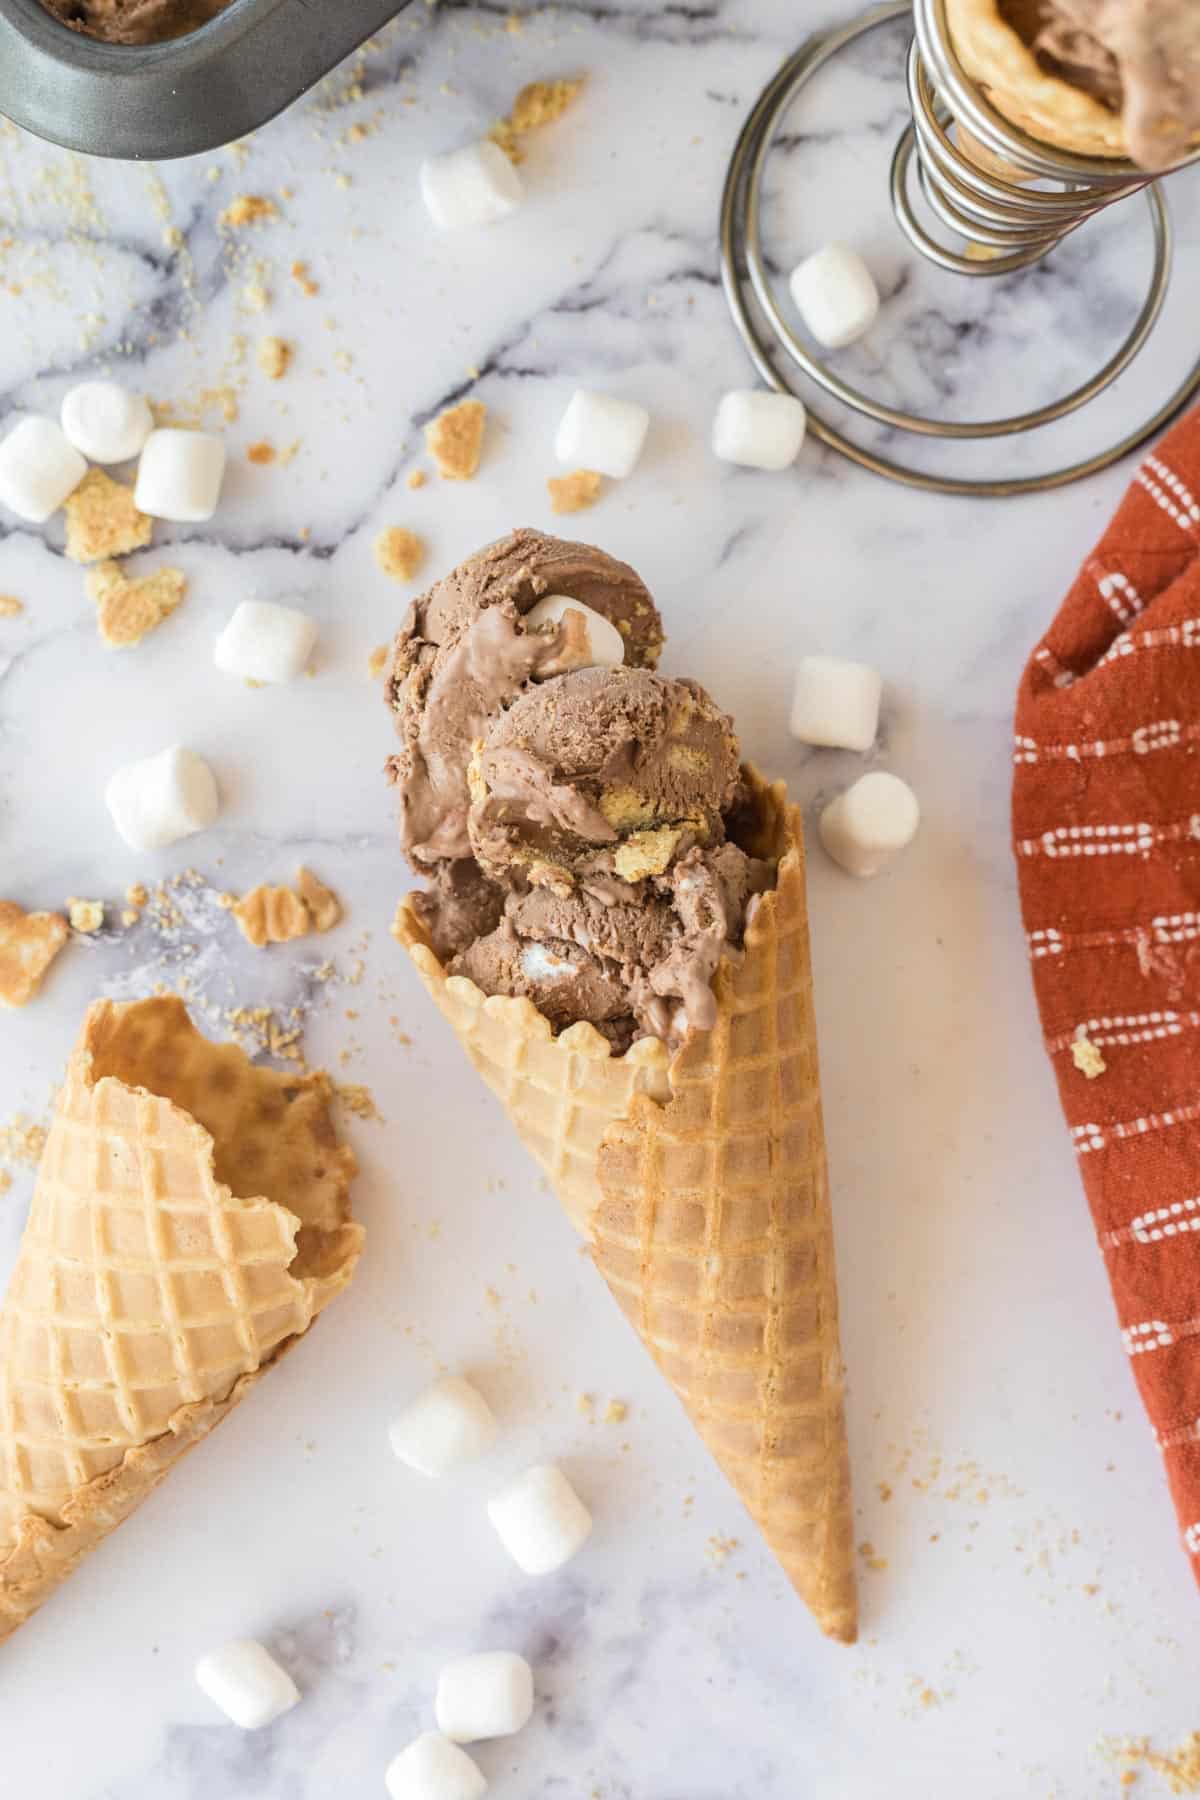
Indulge in the ultimate summer treat with this irresistible No-Churn Chocolate S’mores Ice Cream. Decadent chocolate flavors blend perfectly with gooey marshmallows and crushed graham crackers, creating a creamy and delightful frozen dessert that captures the essence of everyone’s favorite campfire treat.
Prefer a vanilla ice cream base? You can easily adapt this to have your favorite S’mores flavors in vanilla ice form.
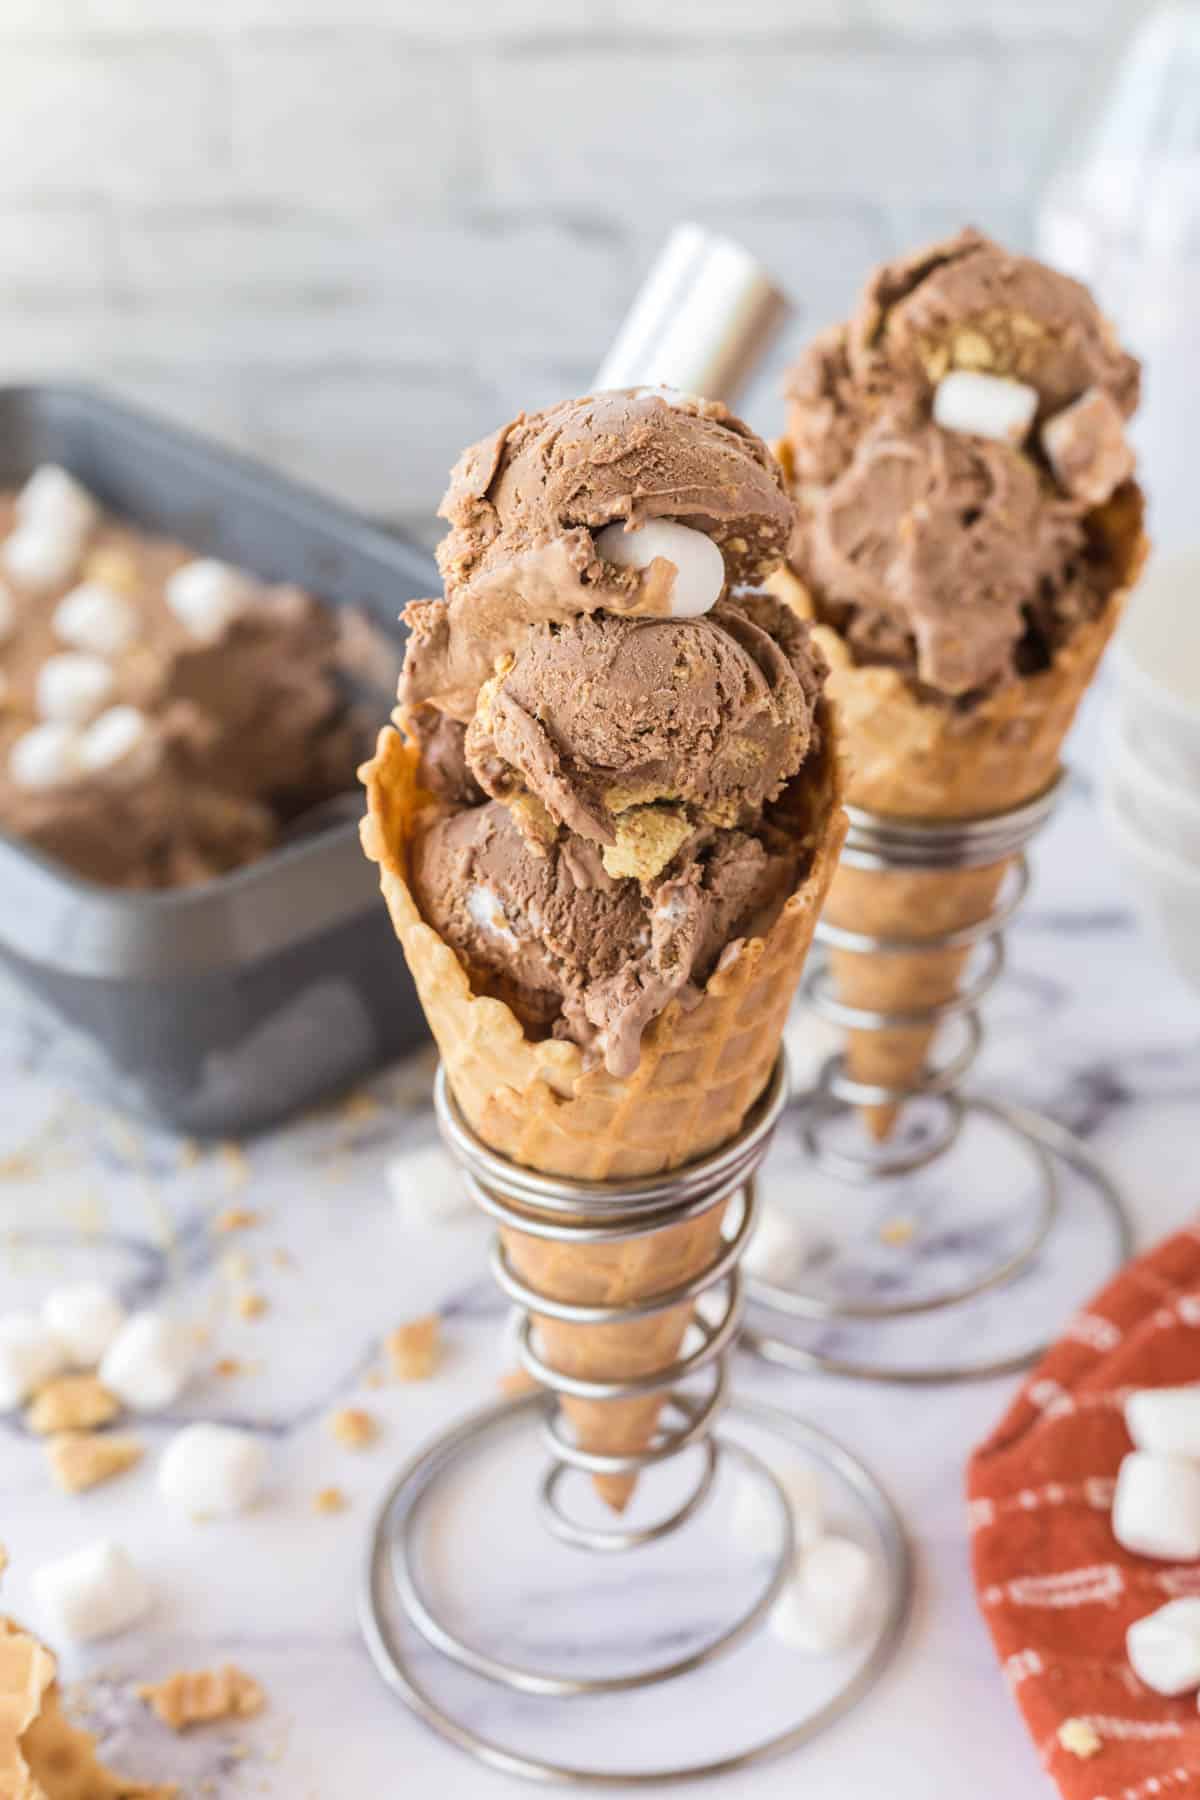
Why We Love This No-Churn S’mores Ice Cream Recipe!
- No-Churn Convenience: This recipe doesn’t require an ice cream maker or the need for any special equipment. It’s a simple and convenient way to enjoy a delicious frozen treat.
- Creamy and Decadent Texture: Despite being a no-churn recipe, this ice cream still delivers a creamy and indulgent texture. The whipped cream and sweetened condensed milk create a velvety base that perfectly complements the s’mores components.
- Customizable and Fun: This recipe serves as a great base for customization and experimentation. You can add your favorite mix-ins, such as chocolate chunks, nuts, or even caramel swirls, to personalize the ice cream to your liking. It’s a fun and creative way to put your own twist on a classic flavor.
Need a way to beat that summer heat? Well, this No-Churcn S’mores Ice Cream is just the treat to cool you down on a hot summer day. Who am I kidding? This one is delicious enough to enjoy any day of the week.
With all of the warm days ahead and plenty to celebrate, like Memorial Day, July 4th, or Labor Day, your summers will be packed with plenty of outdoor celebrations, and a need for something cool and sweet is just the reason you are looking for to indulge in a little something sweet.
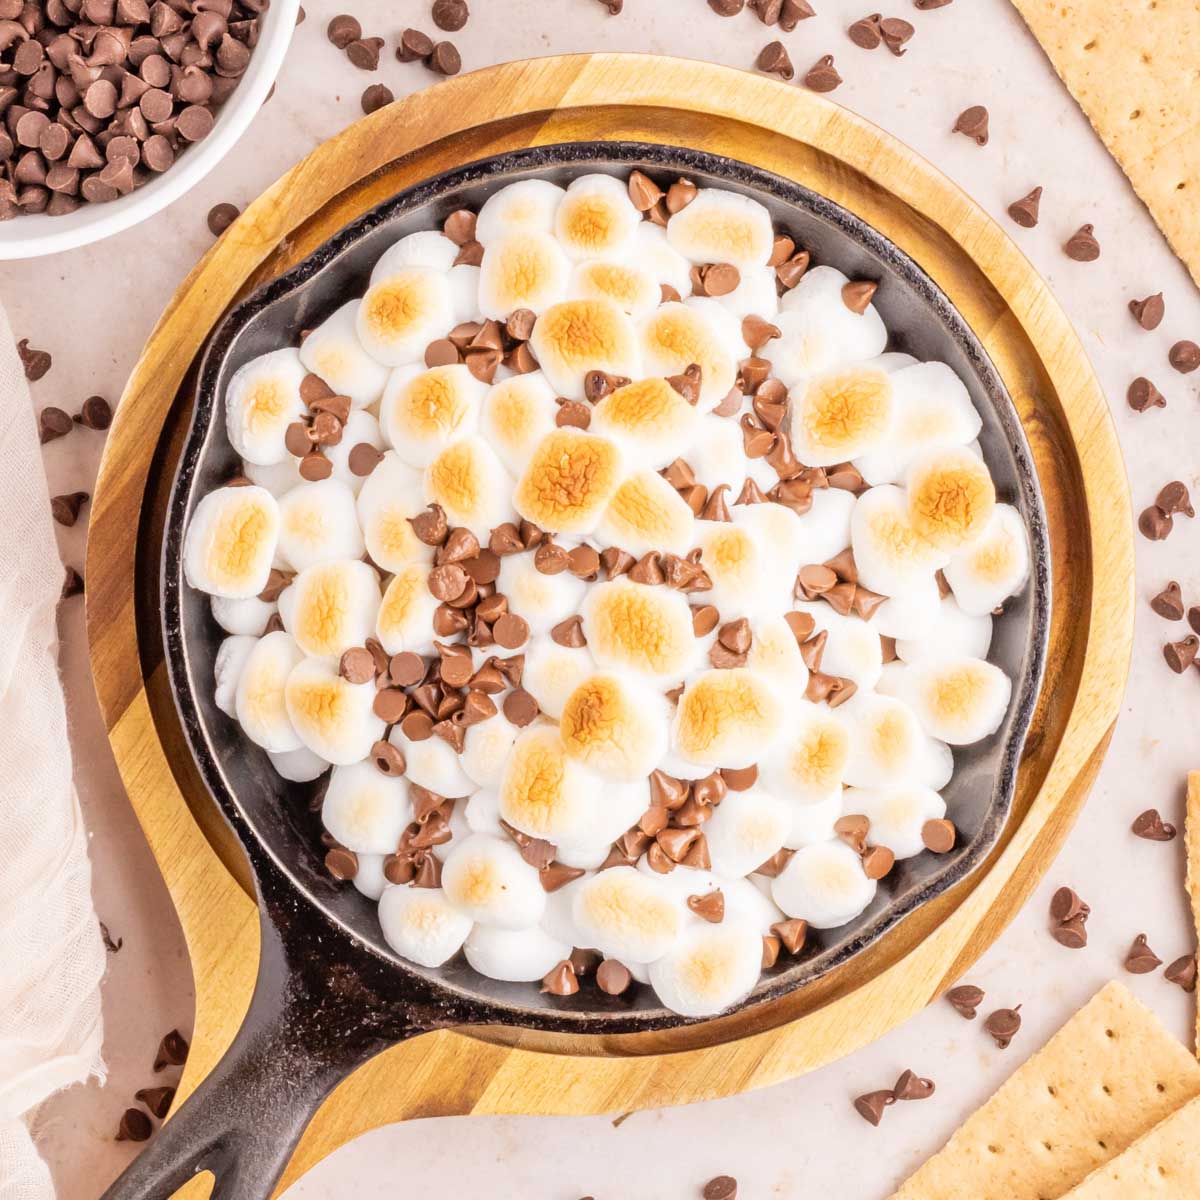
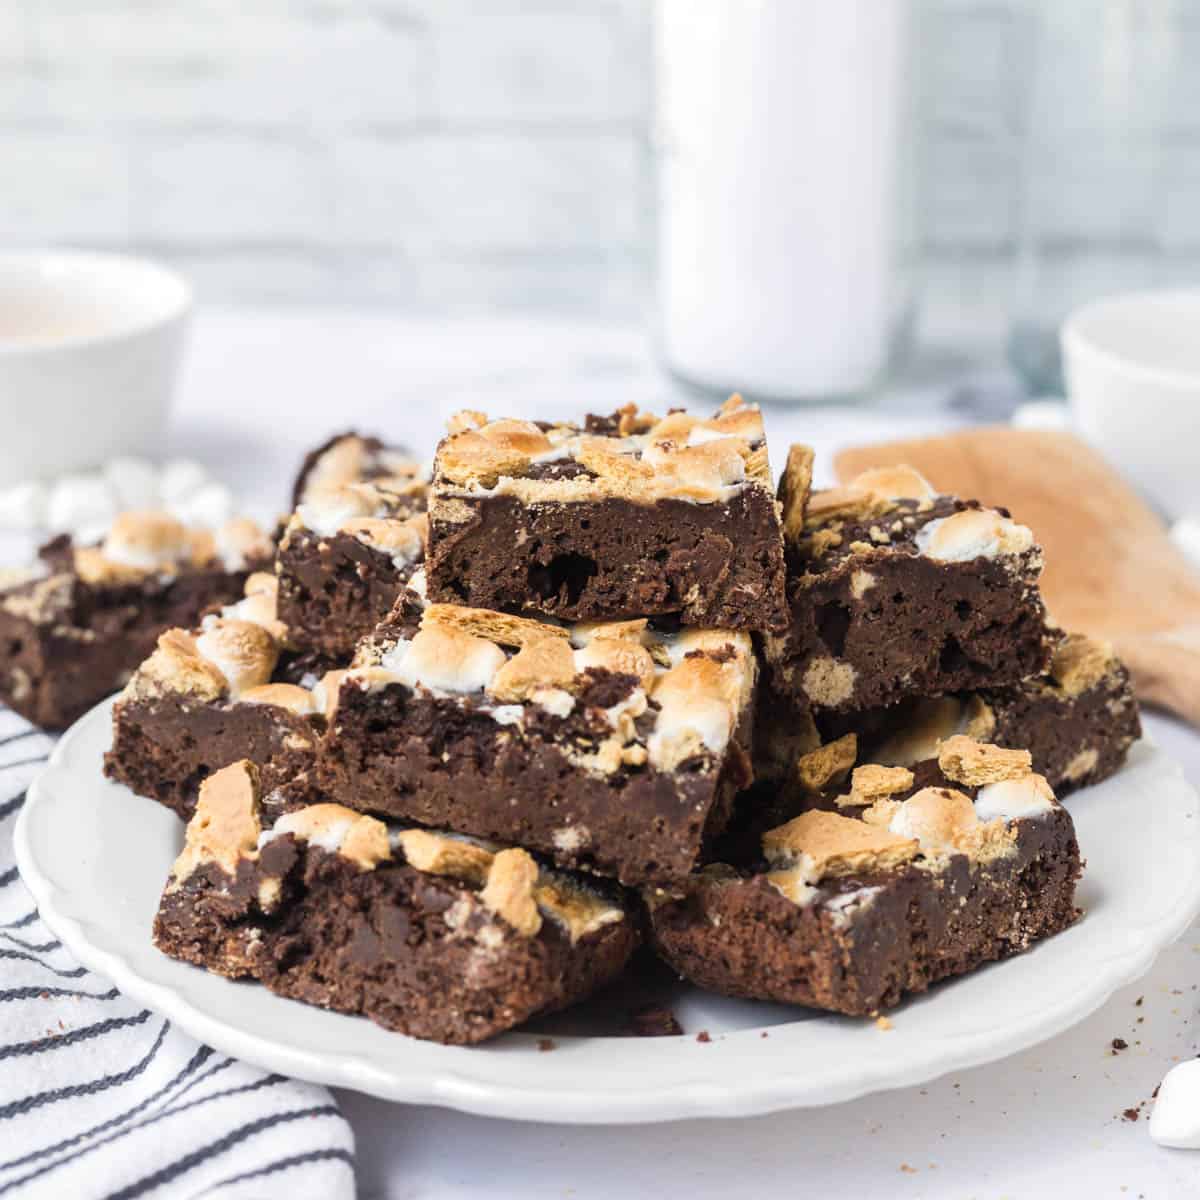
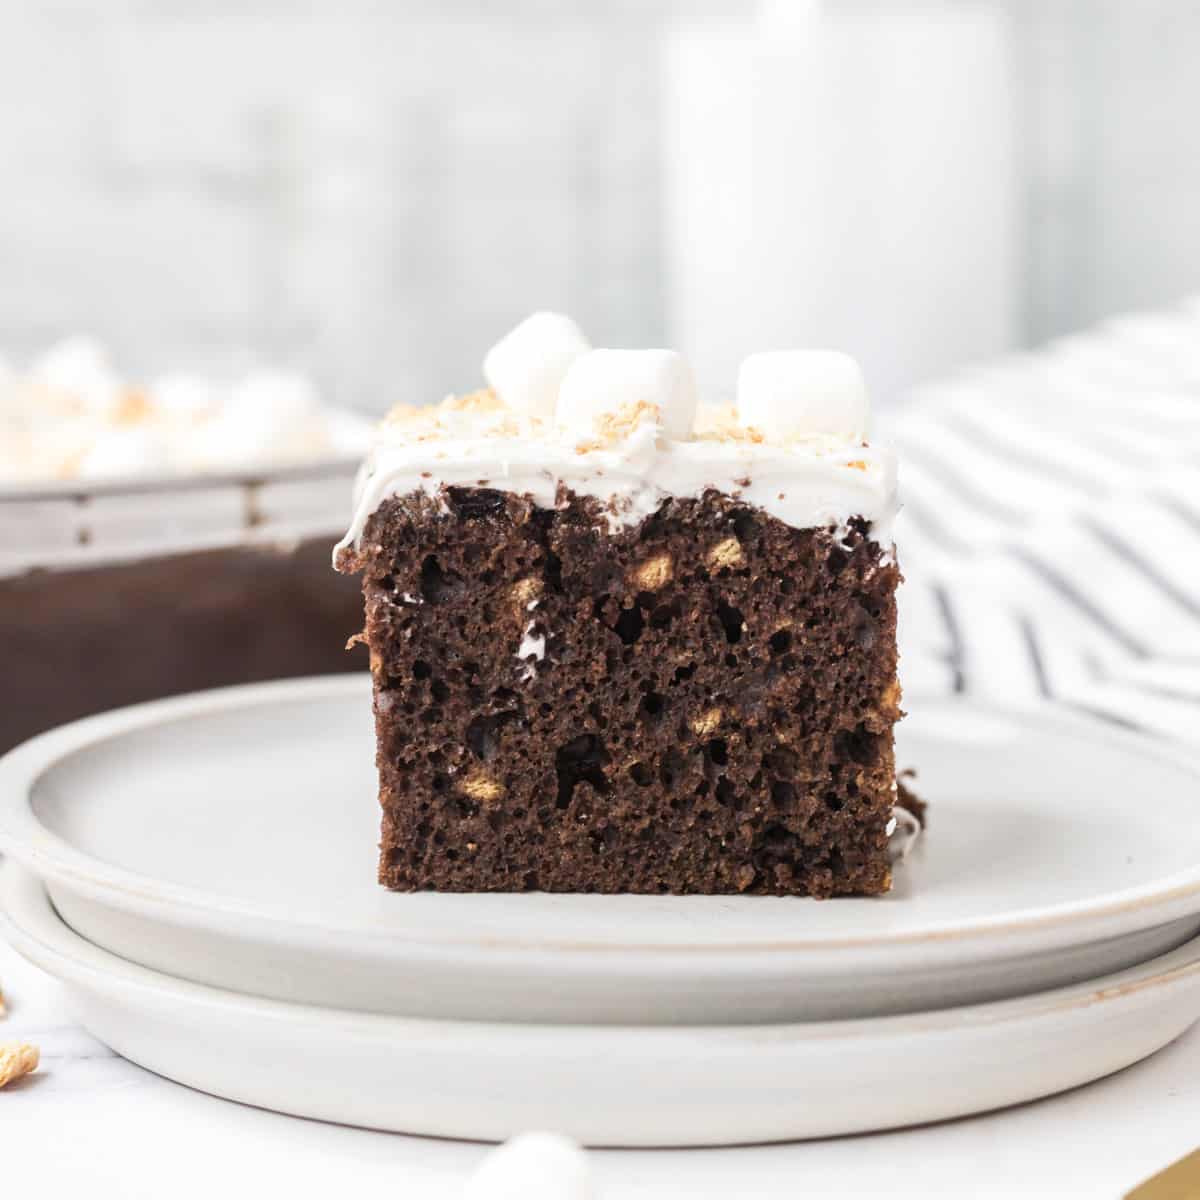
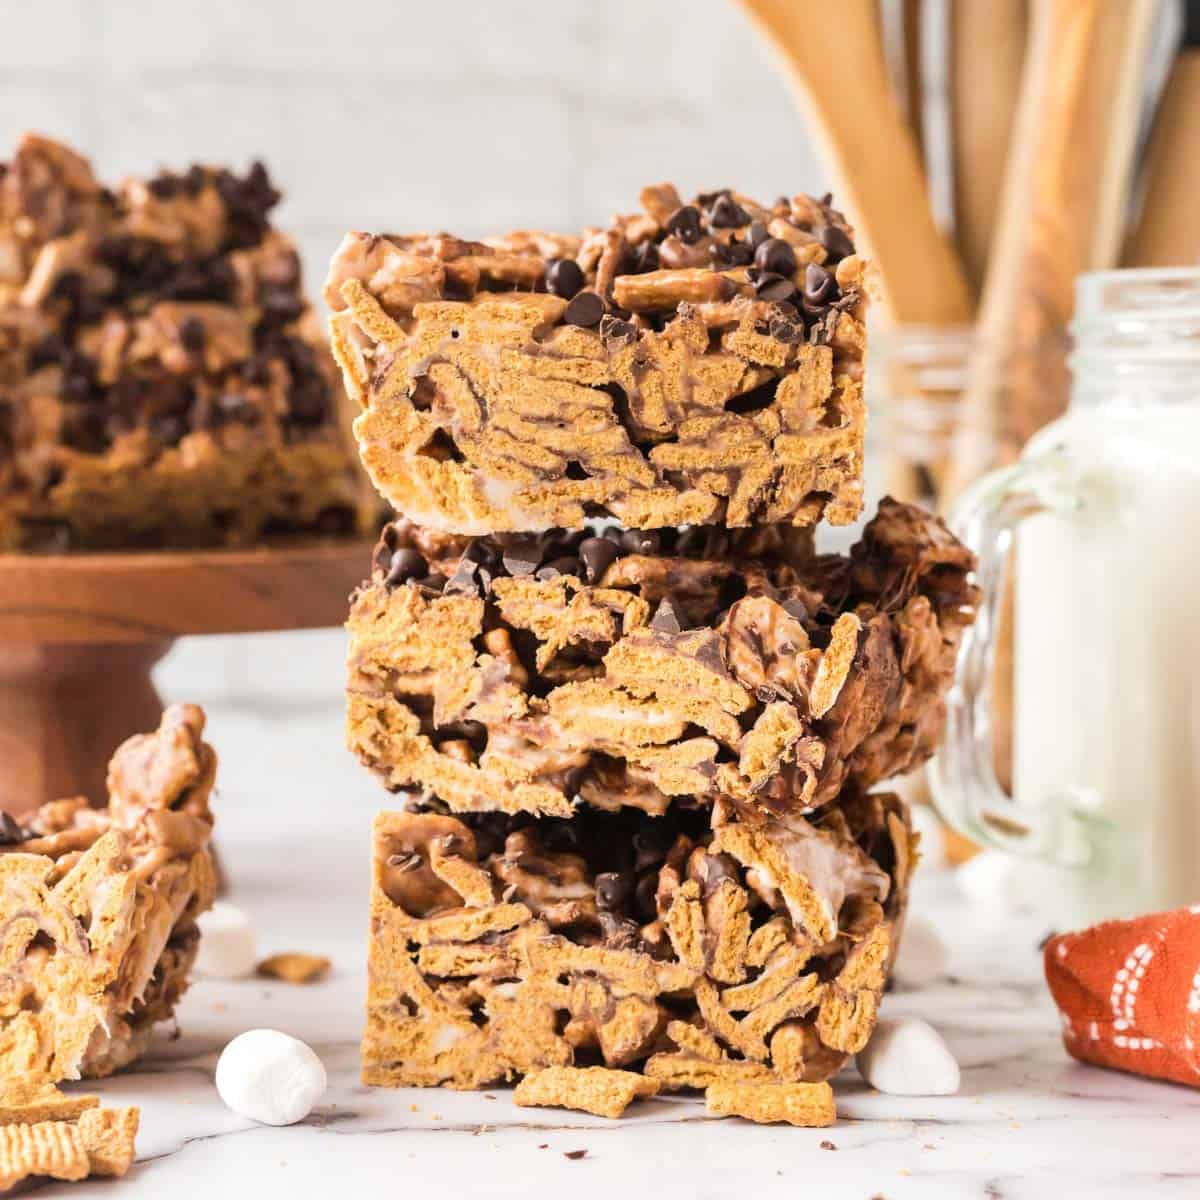
If you are a S’mores fanatic, try our S’mores Cereal Bars, S’mores Cake, Gooey S’mores Dip, or S’mores brownies while you are at it!
Ingredient Notes
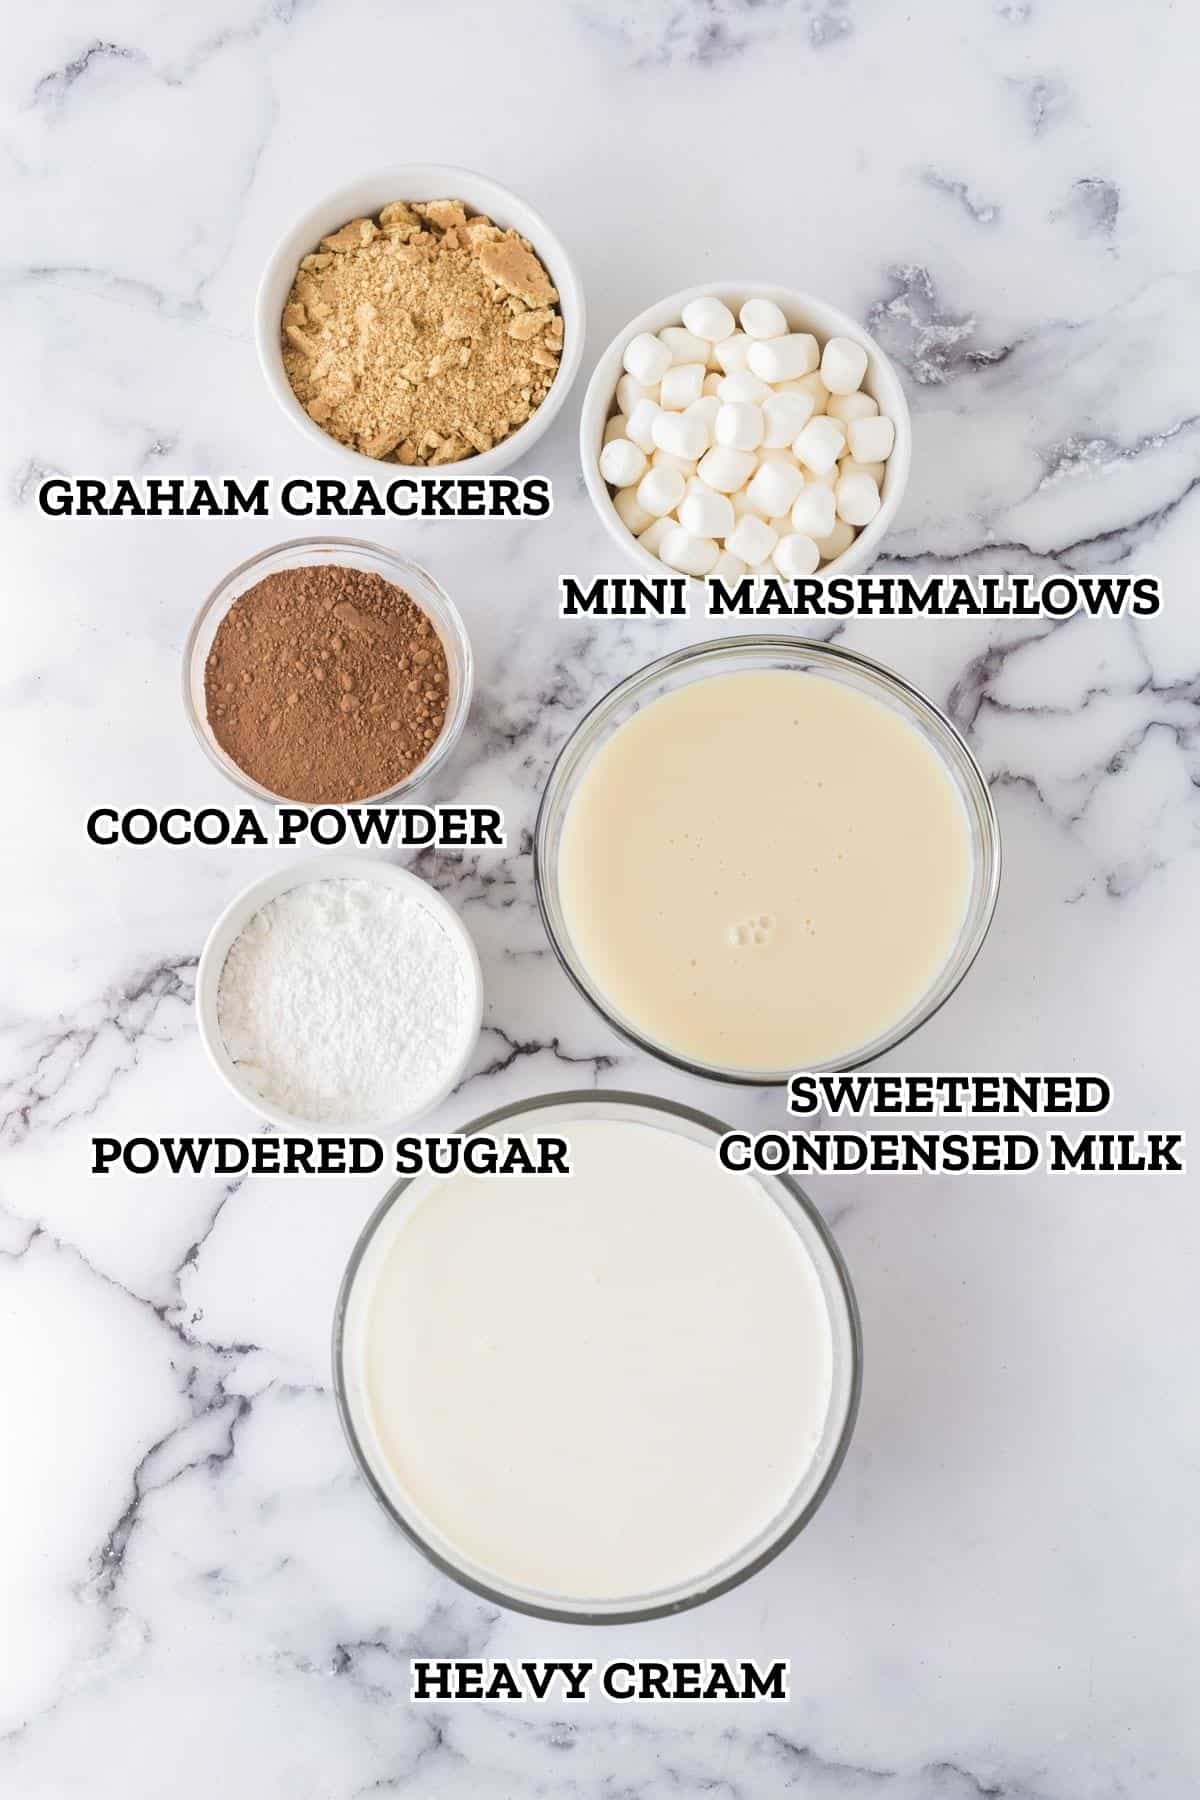
How To Make No-Church Chocolate S’mores Ice Cream
✱ Be sure to see the recipe card below for exact ingredients and full recipe instructions!
Alright, let’s dive into making this delicious no-churn chocolate s’mores ice cream! Get ready for a fun and easy process.
Step 1 | Make the Creamy Chocolate Base
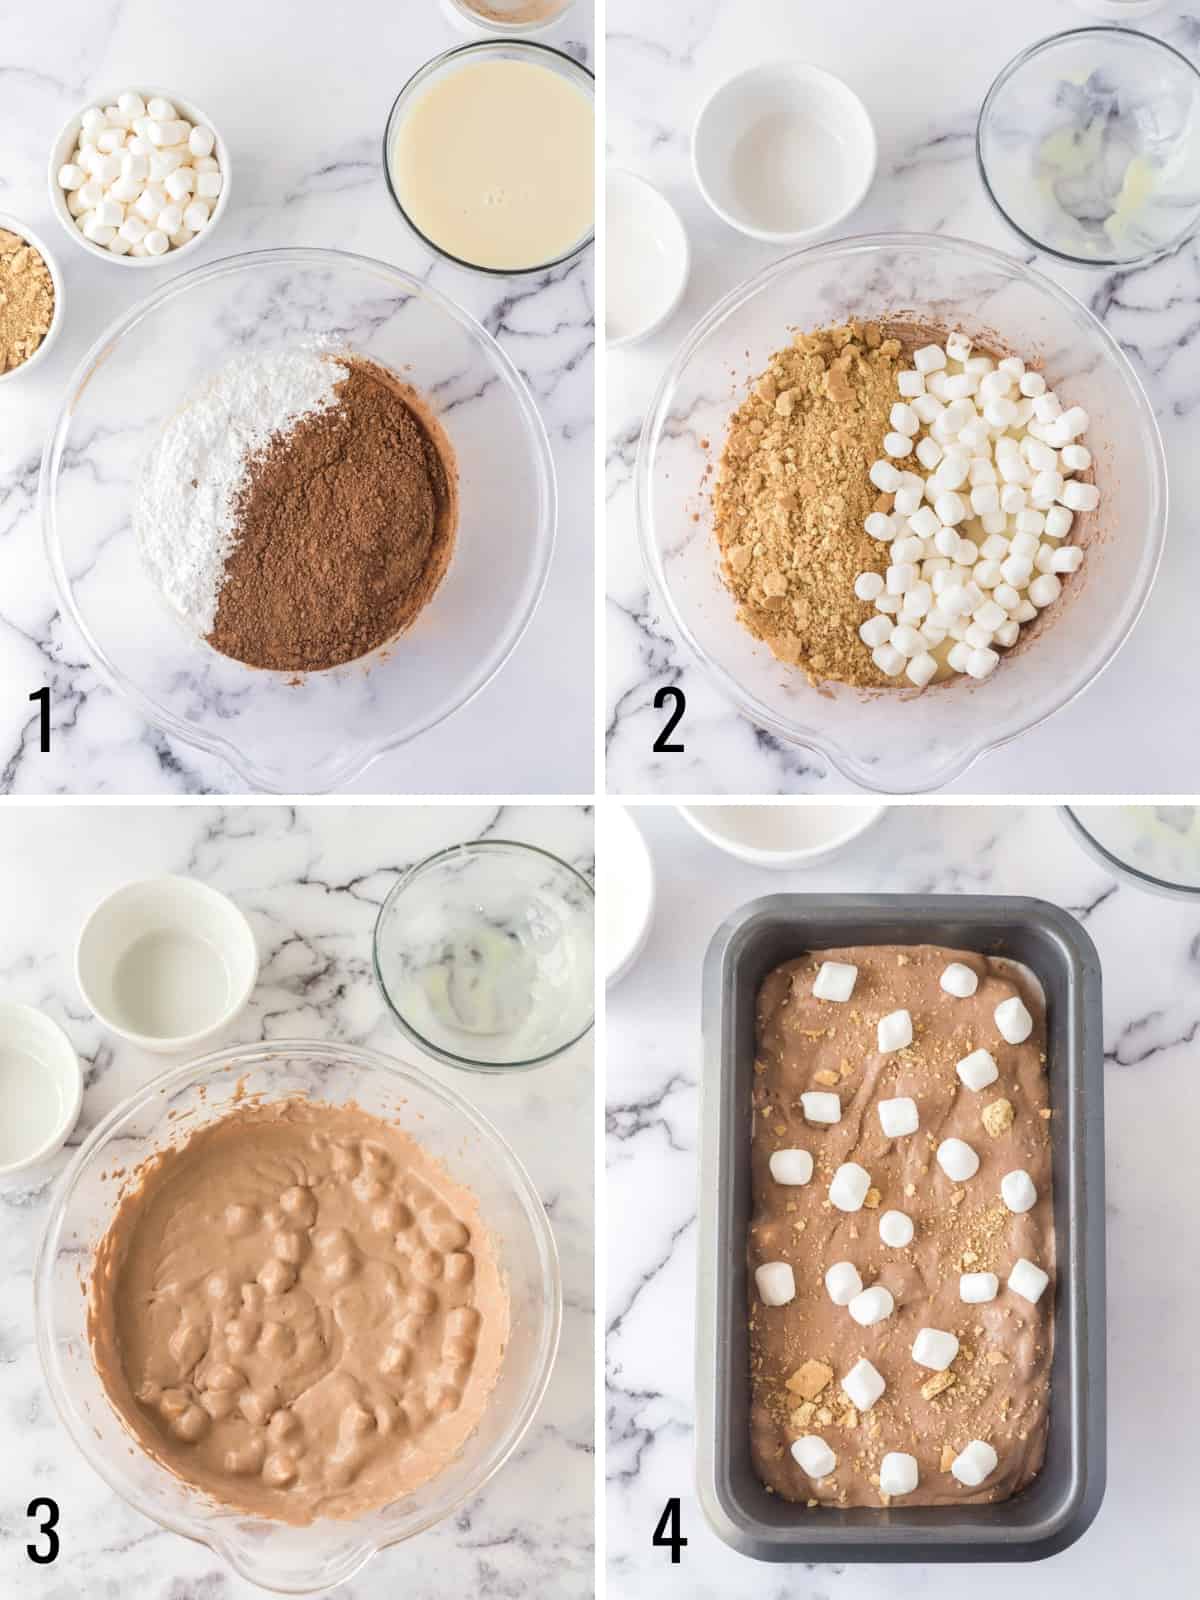
First, grab a mixing bowl and pour in the cold heavy whipping cream. Whip it up with an electric hand mixer or use a stand mixer with the whisk attachment until you see soft peaks forming. It should have a fluffy texture.
Next, add the powdered sugar and cocoa powder to the whipped cream. Gently fold them in using a spatula until everything is nicely combined. This will give the ice cream its sweet chocolatey base.
Step 2 | Stir in the Condensed Milk and S’more Magic
Now, pour in a 14-ounce can of sweetened condensed milk. This condensed milk will make the ice cream super creamy without needing an ice cream maker.
Time to bring in the s’mores magic! Add in the crushed graham crackers and marshmallows.
Give it a good stir and continue folding until everything is evenly incorporated.
Step 3 | Place in Loaf Pan and Freeze
Once everything is mixed together, grab a loaf pan or a container suitable for freezing. Pour the ice cream mixture into it, smoothing the top with a spatula.
To give it the s’mores touch, sprinkle some extra crushed graham crackers and mini marshmallows on top. This will add extra texture and visual appeal.
Cover the pan tightly with plastic wrap or a lid, and place it in the freezer for at least 6 hours or overnight. Be patient; the wait will be worth it!
Step 4 | Enjoy a Scoop of Ice Cream
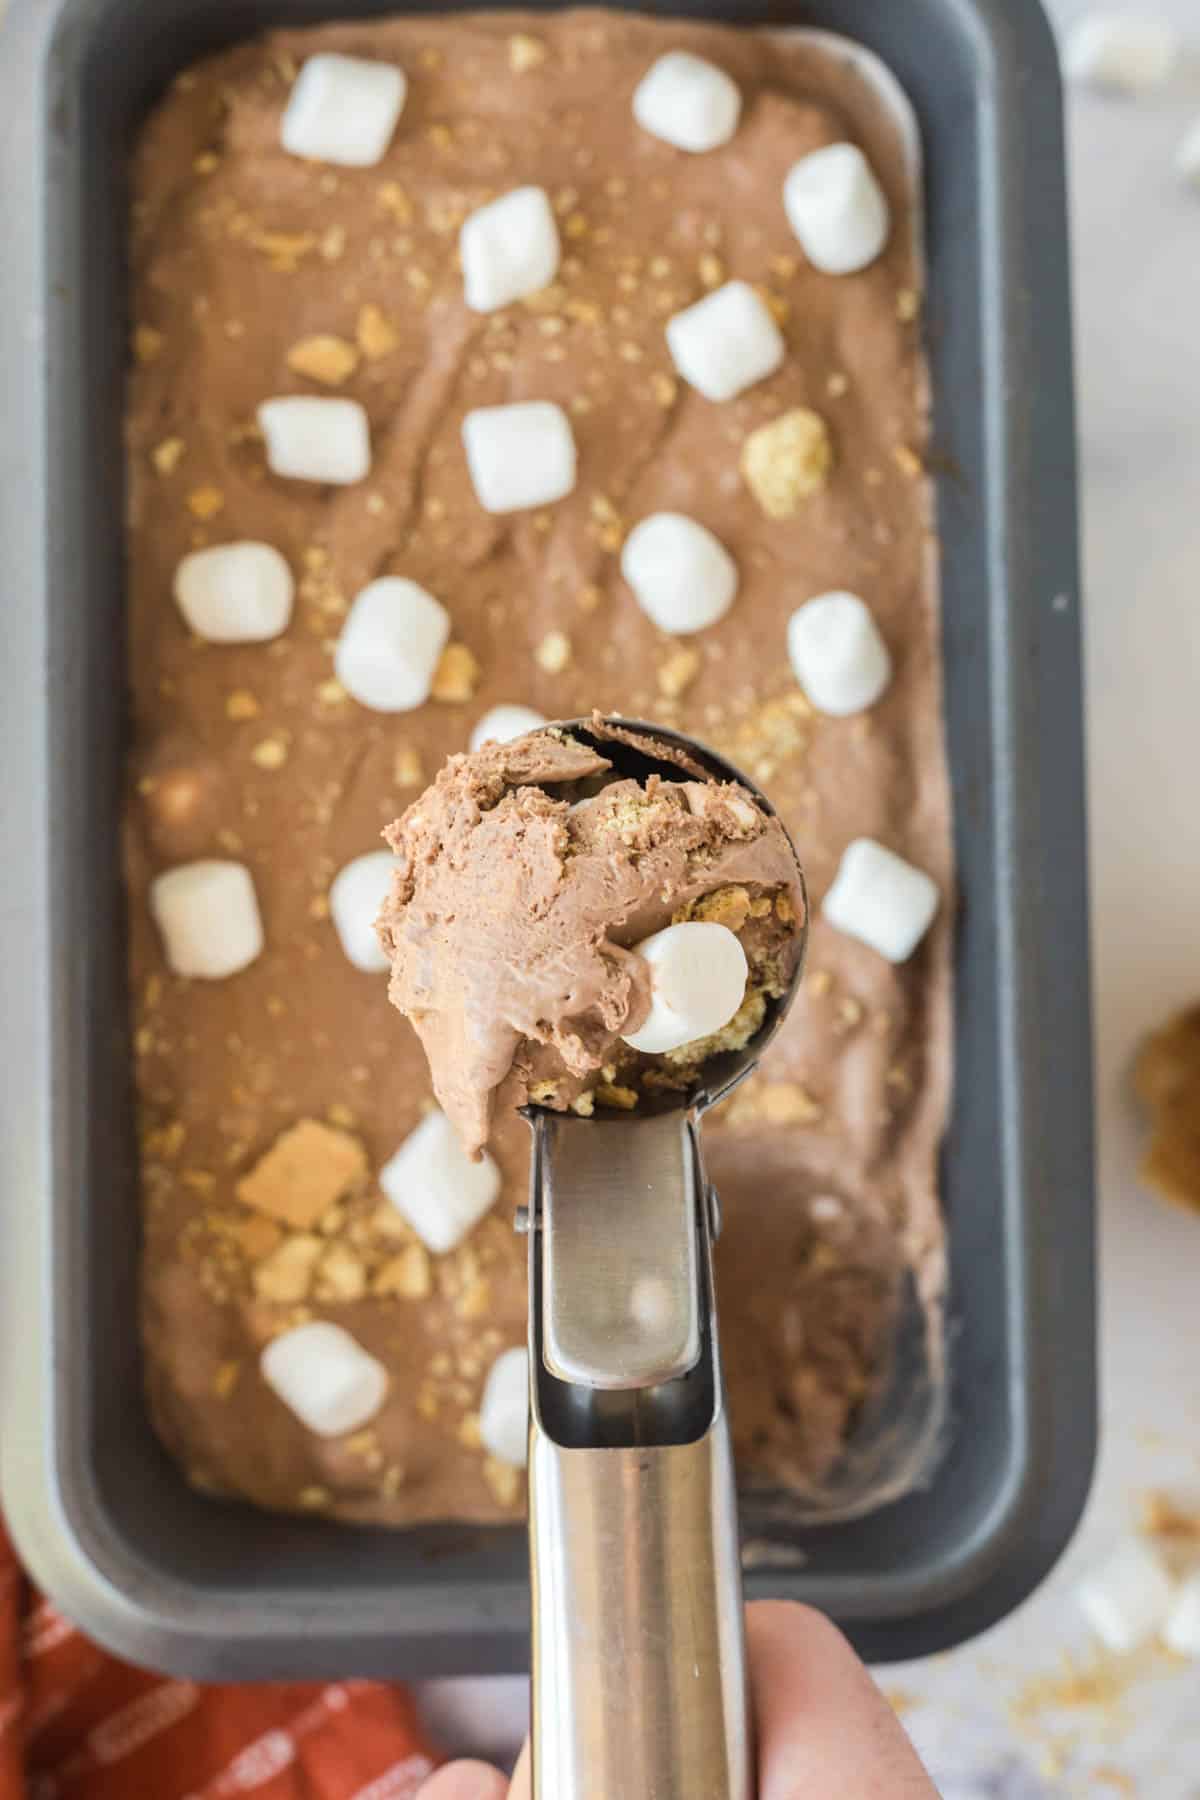
When it’s time to indulge, scoop out a generous portion of this homemade delight, grab a spoon, and savor every chocolaty, marshmallowy, and graham cracker-filled bite of this delightful no-churn chocolate s’mores ice cream. Enjoy!
Tips
- Cold Whipping Cream: Make sure your heavy whipping cream is cold before you start whipping it. Cold cream whips up faster and creates a lighter and fluffier texture.
- Chilled Mixing Bowl and Whisk: For best results, chill your mixing bowl and whisk in the refrigerator for about 15 to 30 minutes before using them. This helps to keep the cream cold and aids in achieving the desired whipped consistency.
- Sift the Powdered Sugar & Cocoa Powder: To avoid any lumps in your ice cream mixture, it’s a good idea to sift the powdered sugar and cocoa powder before adding them to the whipped cream. This ensures a smooth texture with no lumps.
- Gentle Folding: As soon as the cream starts forming stiff peaks, you can fold in the remaining ingredients. When combining the ingredients, use a gentle folding motion with a spatula. This helps to maintain the airiness of the whipped cream and results in a lighter texture. Over-whipping the cream will cause the ice cream to become hard and crumbly once set.
- Freezing Time: Give your ice cream enough time to freeze properly. It’s recommended to freeze it for at least 6 hours or overnight for the best consistency. This allows the flavors to meld together and for the ice cream to set properly.
Variations and Substitutions
Want to Save this Recipe?
By submitting this form, you consent to receive emails from Soulfully Made.
Recipe FAQ’s
It’s not recommended to substitute whipped topping for heavy whipping cream in this recipe. Whipped topping may not hold its shape as well and can result in a less creamy texture. Stick to using heavy whipping cream for the best results.
Powdered sugar is preferred in this recipe because it dissolves easily and helps create a smoother texture. If you don’t have powdered sugar on hand, you can make your own by blending granulated sugar in a blender or food processor until it becomes a fine powder.
Certainly! If you have an ice cream machine, you can adapt the recipe by following the manufacturer’s instructions for making chocolate ice cream. However, the no-churn method is specifically designed to create a creamy ice cream without the need for a machine.

Storage Instructions
Storage: Once the s’mores ice cream is fully frozen and set, transfer it to an airtight container. Make sure the container is well-sealed to prevent freezer burn, ice crystals, and flavors from other items in the freezer. Label the container with the date and flavor for easy identification. Store the ice cream in the freezer for up to 2-3 weeks.
Make Ahead: If you want to make the ice cream ahead of time, simply follow the recipe instructions and freeze it as directed. You can prepare it a day or two in advance or even longer if needed. When you’re ready to serve, remove the ice cream from the freezer and let it sit at room temperature for 5-10 minutes to soften slightly. This will make it easier to scoop and serve. Enjoy!
What to Serve
No-Churn S’mores Ice Cream is a delightful treat on its own, but if you’re looking to enhance the experience or create a complete dessert, here are some delicious serving suggestions:
Make a S’mores Ice Cream Sandwich by filling our brownie cookies or a graham cracker with this good stuff!
Build-Your-Own S’mores Bar: Set up a s’mores bar with all the classic ingredients like graham crackers, chocolate bars, and marshmallows. Guests can create their own customized s’mores using the ice cream as a delicious twist. Provide skewers or long forks for roasting the marshmallows over a portable grill, fire pit, or tabletop fire pit for indoors.
More Delicious Summer Treats
- No-Bake Fireworks Oreo Cheesecake Bars
- Gummy Worm Dirt Cupcakes
- Strawberry Ice Cream Cake
- Lemon Pudding Poke Cake
- No-Churn Blueberry Ice Cream
Hungry for more easy, home-cooked, delicious recipes?
Sign up for my free recipe club to get family-friendly recipes in your inbox each week! Find me sharing daily meal-time inspiration on Pinterest, Facebook, and Instagram.

No-Churn S’mores Ice Cream
Click Stars To Rate
Ingredients
- 2 ½ cups heavy whipping cream
- ¼ cup powdered sugar
- ⅓ cup cocoa powder
- 14 ounces sweetened condensed milk
- ¾ cup crushed graham crackers
- 1 cup mini marshmallows
Instructions
- Combine the heavy cream, powdered sugar, and cocoa powder in a large mixing bowl. Using an electric hand mixer, whip the ingredients together on medium-high speed until the heavy cream begins to form stiff peaks.
- Once the cream has formed stiff peaks, add the sweetened condensed milk, graham crackers, and marshmallows. Use a large spoon or spatula to fold the mixture together until the sweetened condensed milk is fully incorporated.
- Pour the ice cream mixture into a 9×5 inch loaf pan or other large container. Allow the ice cream to set in the freezer for 4 hours, or until the ice cream is firm to the touch.
- Scoop, serve, and enjoy!
Notes
-
- Cold Whipping Cream: Make sure your heavy whipping cream is cold before you start whipping it. Cold cream whips up faster and creates a lighter and fluffier texture.
- Chilled Mixing Bowl and Whisk: For best results, chill your mixing bowl and whisk in the refrigerator for about 15 to 30 minutes before using them. This helps to keep the cream cold and aids in achieving the desired whipped consistency.
- Sift the Powdered Sugar & Cocoa Powder: To avoid any lumps in your ice cream mixture, it’s a good idea to sift the powdered sugar and cocoa powder before adding them to the whipped cream. This ensures a smooth texture with no lumps.
- Gentle Folding: As soon as the cream starts forming stiff peaks, you can fold in the remaining ingredients. When combining the ingredients, use a gentle folding motion with a spatula. This helps to maintain the airiness of the whipped cream and results in a lighter texture. Over-whipping the cream will cause the ice cream to become hard and crumbly once set.
- Freezing Time: Give your ice cream enough time to freeze properly. It’s recommended to freeze it for at least 6 hours or overnight for the best consistency. This allows the flavors to meld together and for the ice cream to set properly.
Want to Save this Recipe?
By submitting this form, you consent to receive emails from Soulfully Made.




Your recipes always hit the spot! Thank you for making cooking fun, easy, and enjoyable.
Thank you so much Alison!
I love the fact that there is no making of a custard for this ice cream. Such a delicious treat and my family will love this.
I love that you can make this totally rich and decadent ice cream without an ice cream maker! Ours turned out great – it was creamy and sweet!
I’m a big fan of no churn recipes, so effortless and easy to pull together.
Thank you, Charla! I love how easy they are to make and so good!
This was the best summer ice cream! My family loved it!
Thank you, Ned!